


Amplifier PA Watt-20 40-MPA
fm.2001-32 |
1 Page |
2000 4, February Friday, |
AM 7:53 |
Owner’s Manual
Please read before using this equipment.
32-2001.fm Page 2 Friday, February 4, 2000 7:53 AM
ˆ Contents |
|
Features ................................................................................................................... |
3 |
Preparation .............................................................................................................. |
4 |
Presetting the Controls ....................................................................................... |
4 |
Choosing a Location ........................................................................................... |
4 |
Making Connections ............................................................................................... |
4 |
Speakers .................................................................................................................. |
5 |
Speaker Phasing ................................................................................................ |
5 |
Determining Total Speaker Impedance .............................................................. |
6 |
Connecting Speakers ......................................................................................... |
7 |
One Speaker ................................................................................................ |
7 |
Two or More Speakers Without Transformers ............................................. |
7 |
Multiple Speakers with Transformers ........................................................... |
9 |
Controls and Operation ........................................................................................ |
11 |
Troubleshooting .................................................................................................... |
12 |
Care and Maintenance .......................................................................................... |
13 |
Replacing Fuses ............................................................................................... |
13 |
DC Cable ................................................................................................... |
13 |
Amplifier ..................................................................................................... |
13 |
Specifications ........................................................................................................ |
14 |
Notes ...................................................................................................................... |
15 |
© 2000 Tandy Corporation.
All Rights Reserved.
RadioShack and RadioShack.com are registered trademarks used by Tandy Corporation.
2
32-2001.fm Page 3 Friday, February 4, 2000 7:53 AM
ˆ Features
Your RadioShack 20-Watt PA Amplifier gives you 20 watts of solid power for your PA system. Its wide frequency response easily handles amplification of voice and music. It operates on either 120 volts AC or 12 volts DC power so you can use it anywhere you want to deliver special announcements or play music with great sound.
Its features include:
Microphone Jacks — let you connect up to two dynamic microphones.
Input Jacks — let you connect auxiliary equipment, such as a CD player, tape deck, or receiver, for music and special effects.
Individual Microphone Controls — let you separately adjust the volume of each microphone.
Master Volume Control — lets you adjust the overall sound level.
Auxiliary Volume Control — lets you adjust the volume of the connected equipment.
Tone Control — lets you customize the sound to suit your personal preferences, depending on the acoustics, speakers, and sound source.
Five Speaker Terminals — make speaker connection easy.
Your amplifier is ETL listed to UL standards and meets all applicable FCC standards.
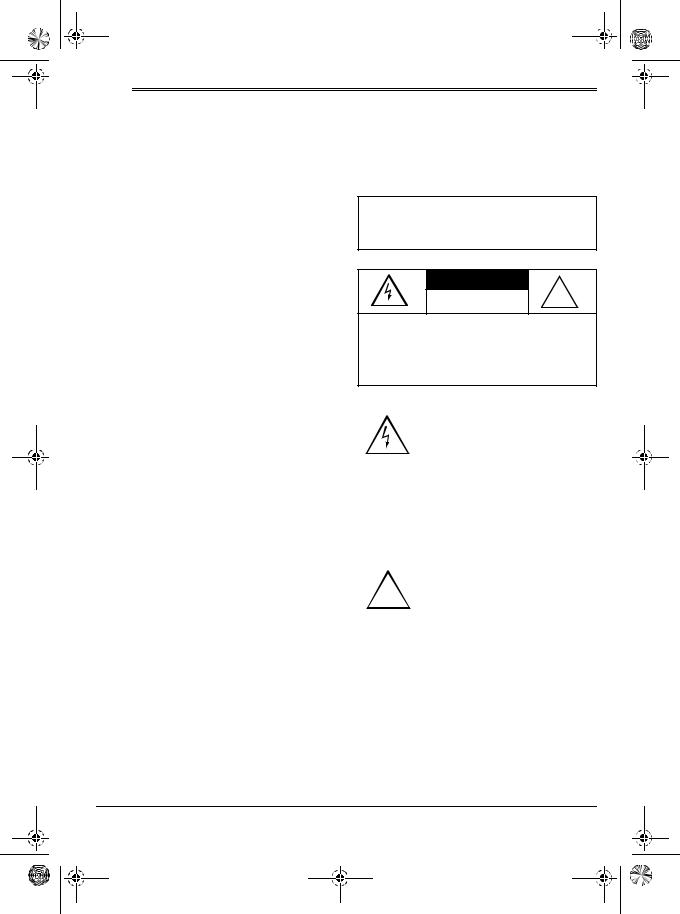
WARNING: To reduce the risk of fire or shock hazard, do not expose this product to rain or moisture.
CAUTION |
! |
RISK OF ELECTRIC SHOCK. |
|
DO NOT OPEN. |
CAUTION: TO REDUCE THE RISK OF ELECTRIC SHOCK, DO NOT REMOVE COVER OR BACK. NO USER-SERVICE- ABLE PARTS INSIDE. REFER SERVICING TO QUALIFIED PERSONNEL.
This symbol is intended to alert you to the presence of uninsulated dangerous voltage within the product’s enclosure that might be of sufficient magnitude to constitute a risk of electric shock. Do not open the product’s case.
This symbol is intended to
!inform you that important operating and maintenance instructions are included in the literature accompanying this product.
3

32-2001.fm Page 4 Friday, February 4, 2000 7:53 AM
ˆ Preparation
PRESETTING THE
CONTROLS
Warning: A sudden high output from the amplifier could damage your hearing or the speakers connected to the amplifier’s output.
To avoid accidentally overdriving a channel or prematurely amplifying an audio input, set all the amplifier’s frontpanel controls to their lowest settings.
To avoid sudden audio from the input sources, be sure all audio devices are turned off before you connect them to the amplifier.
CHOOSING A LOCATION
Choose a location with adequate ventilation. Do not place the amplifier on thick carpeting or cushions (which can restrict the air flow) or near a heat source, such as a heat vent or radiator (which can cause the amplifier to overheat).
ˆ Making Connections
Be sure you connect all auxiliary equipment and speakers before connecting and turning on power.
AUX/CD Input Jack — connect any high-level sound source (such as a tape deck, CD player, or receiver). To connect a stereo audio source to this jack, use a shielded Y-adapter (not supplied; available at your local RadioShack store).
PHONO Input Jack — connect a turntable with a moving magnetic cartridge. To
avoid sound distortion, do not connect a high-level audio input source to this jack.
GROUND Screw — connect the ground wire (usually black or green) from your turntable to this screw to avoid a low-fre- quency hum. You can also use this screw to ground any other system connection.
4
32-2001.fm Page 5 Friday, February 4, 2000 7:53 AM
PHONO/AUX/CD Switch — select the input source. Even if you connected auxiliary equipment to both the PHONO and AUX/CD input jacks, you can use only one source at a time.
Speaker Push Terminals — press the appropriate tab to open a terminal. Insert the end of a speaker wire into the opening, then release the tab to close the terminal and secure the wire (see “Connecting Speakers” on Page 7).
AC Power Cord — to use AC power, simply plug this attached cord into a standard AC outlet.
4A/12V (4-Amp/12-Volt DC Power) Jack — connect the supplied DC power
cable’s barrel plug to this jack if you want to temporarily power the amplifier from your vehicle’s 12-volt battery. Then connect the cable’s other end to your vehicle’s 12-volt accessory socket (such as a cigarette-lighter socket).
Cautions:
•Your vehicle must have a negativeground electrical system. If you are not sure it does, check with your vehicle dealer.
•Unplug the AC power cord before you connect the DC power cable. Likewise, disconnect the DC power cable before you plug in the AC power cord.
ˆ Speakers
SPEAKER PHASING
Phasing is the direction the speaker cone moves with reference to the polarity of the connection wires. Proper phasing is important when you use more than one speaker in the same room or area. Out-of-phase speakers can lose up to one-half of their potential volume, and can have a significantly decreased bass effect.
Speakers are in phase if all the speaker cones move in the same direction when an equal signal is applied. Phasing is correct if you observe the correct polarity (+ to + and – to –) when connecting the speakers.
Most speaker terminals are color-coded or have a mark that indicates the terminal’s polarity. Usually, terminals with positive polarity are red or have a plus symbol (+), and terminals with negative polarity are black or have a minus symbol (–). If the speaker terminals are unmarked, follow these steps to determine their polarity.
1.Remove about 1 inch of insulation from both ends of a short piece of wire (not supplied; available at your local RadioShack store). Then twist the exposed wire to secure all its strands.
2.Connect one end of the wire to one of the speaker terminals.
5
 Loading...