

Page 1
PRJLE64
Portable Home Theater
Projector
Page 2
PRJLE64
Portable Home Theater Projector
IMPORTANT
This Guide includes all the feature operations and
troubleshooting necessary to install and operate your new
PRJLE64 Portable Home Theater Projector.
Please read, understand, and follow all safety information
contained in these instructions prior to the use of this
projector. Retain these instructions for future reference.
Figures and illustrations in this User Manual are
provided for reference only and may differ from
actual product appearance. Product design and
specications may be changed without notice.
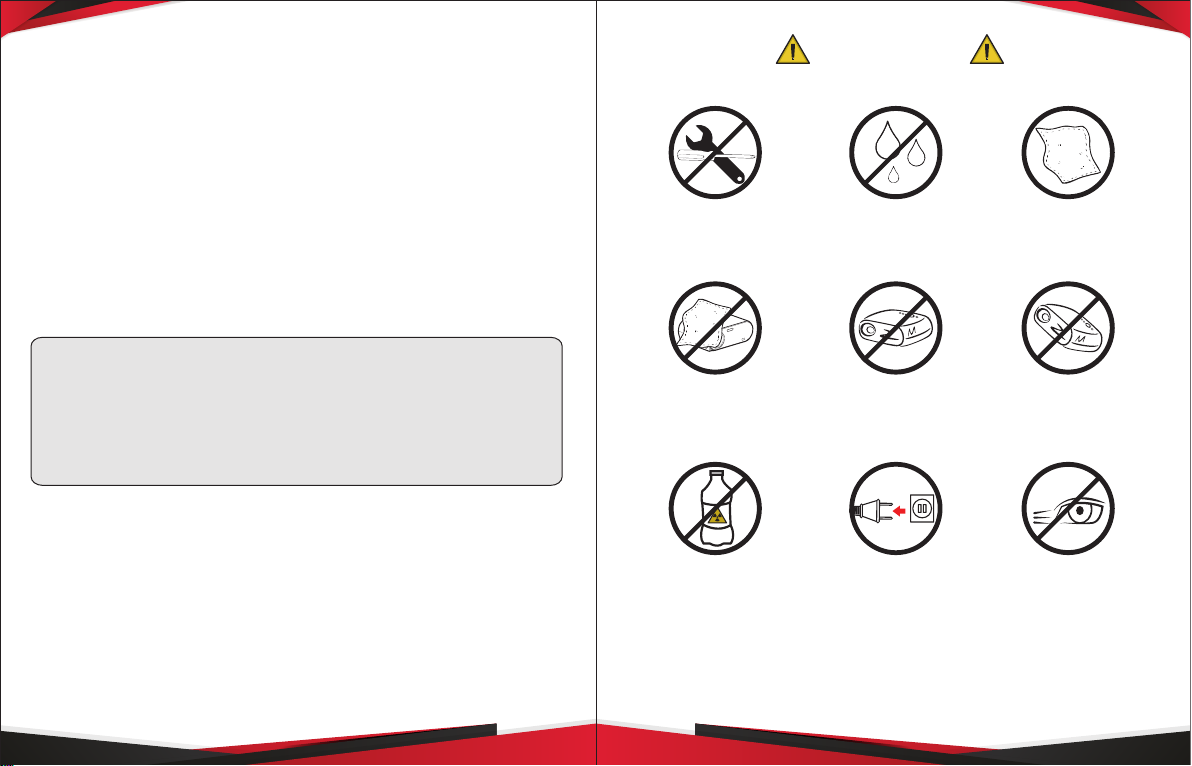
• Do not try to open • Do not place
near water
• Don't cover the
lens or vents
• Don't clean
with chemical
• Place it in
horizontal position
• Disconnect
when not in use
• Clean with a
soft, dry cloth
• Place it in
ventilated places
• Don't look directly
to the light
2 3
www.PyleUSA.comwww.PyleUSA.com
Page 3

HIGHLIGHTS
RJ45-LAN
1. With this PRJLE64 Portable Home theater Projector, you
can enjoy Movies, Sport, Videos, Pictures and more, like if
you were watching a 120 inches dynamic image.
2. Plug your DVD or Blu-ray in one of the two available
HDMI Digital inputs or send video from your computer
via VGA port. You can use the AV input to plug another
video player.
3. You can connect your USB Memory to the projector for
your Multimedia Files.
4. The Portable home theater projector delivers clear
images in low light conditions; the audio can be played
through the built in speaker, but if you need more audio
power output, you can connect an external speaker or
audio system using the 3.5mm connector. It is very light
weight and small size with respect to the home theater
projector market, it is different from other brands.
Remote control included.
Note: Video playback should not be in bright light
environments. We do not recommend the projector for
Word or spreadsheet. This is not a professional education
projector, video playback is the main function.
CONTENT
PARTS
FRONT PANEL
Focus
Lens
Lens Cover
REAR PANEL
Projector RCA Cable Power
Remote
Cable
4 5
Control
User
Manual
www.PyleUSA.comwww.PyleUSA.com
Page 4

HIGH PANEL
B. HD IN Connection
Left Volume -
UP
Return
Menu
Enter / OK
Down
Source
ON / OFF
Right Volume +
INSTRUCTIONS
CONNECTIONS
Before making any connections, turn off all the input
sources ( Blu-Ray, PC, video, game console ) and the
projector.
A. RCA ( AV ) Connection
Use the 3.5mm cable to RCA ( included )
● The HDMI cable must not exceed the 10m length
C. VGA ( PC ) Connection
D. USB Connection
6 7
www.PyleUSA.comwww.PyleUSA.com
Page 5

E. Audio Connection
Start Menu display when turned ON
HOW TO USE
1. How to turn on the device
● This menu is only available for USB connection.
Refer to the user manual to know the mode of use
2. Selecting the Input source
Press the SOURCE button or press INPUT in the remote
control and select with the navigation keys the desired
input source.
When turned on, the start menu will be shown
● Signicant differences based on different versions.
Different UI have different "Input Source"
6 7
www.PyleUSA.comwww.PyleUSA.com
Page 6

3. Place the device into a stable surface and focus the
image.
Turn the lens until the image is clear.
Some of the core product parameters will appear as icons
as follows. For different models, different parameters are
expressed.
4. Adjusting the volume using the portable projector.
Using the remote control.
8 9
High Brightness Native 1280x800
Physical Resolution
Fully Enclosed
Smart Optical Engine
Based on the
Android OS
More than
30,000 Hours Life
1080P/Full HD
Video Decode
4Ω,3W
Stereo Speaker
Short Distance
Projection 120 inch
Dynamic Image
Perfect PPT
Wireless Viewer
Portable Small
Sizefor Home Theater
Keystone
Correct Support
www.PyleUSA.comwww.PyleUSA.com
 Loading...