

Page 1
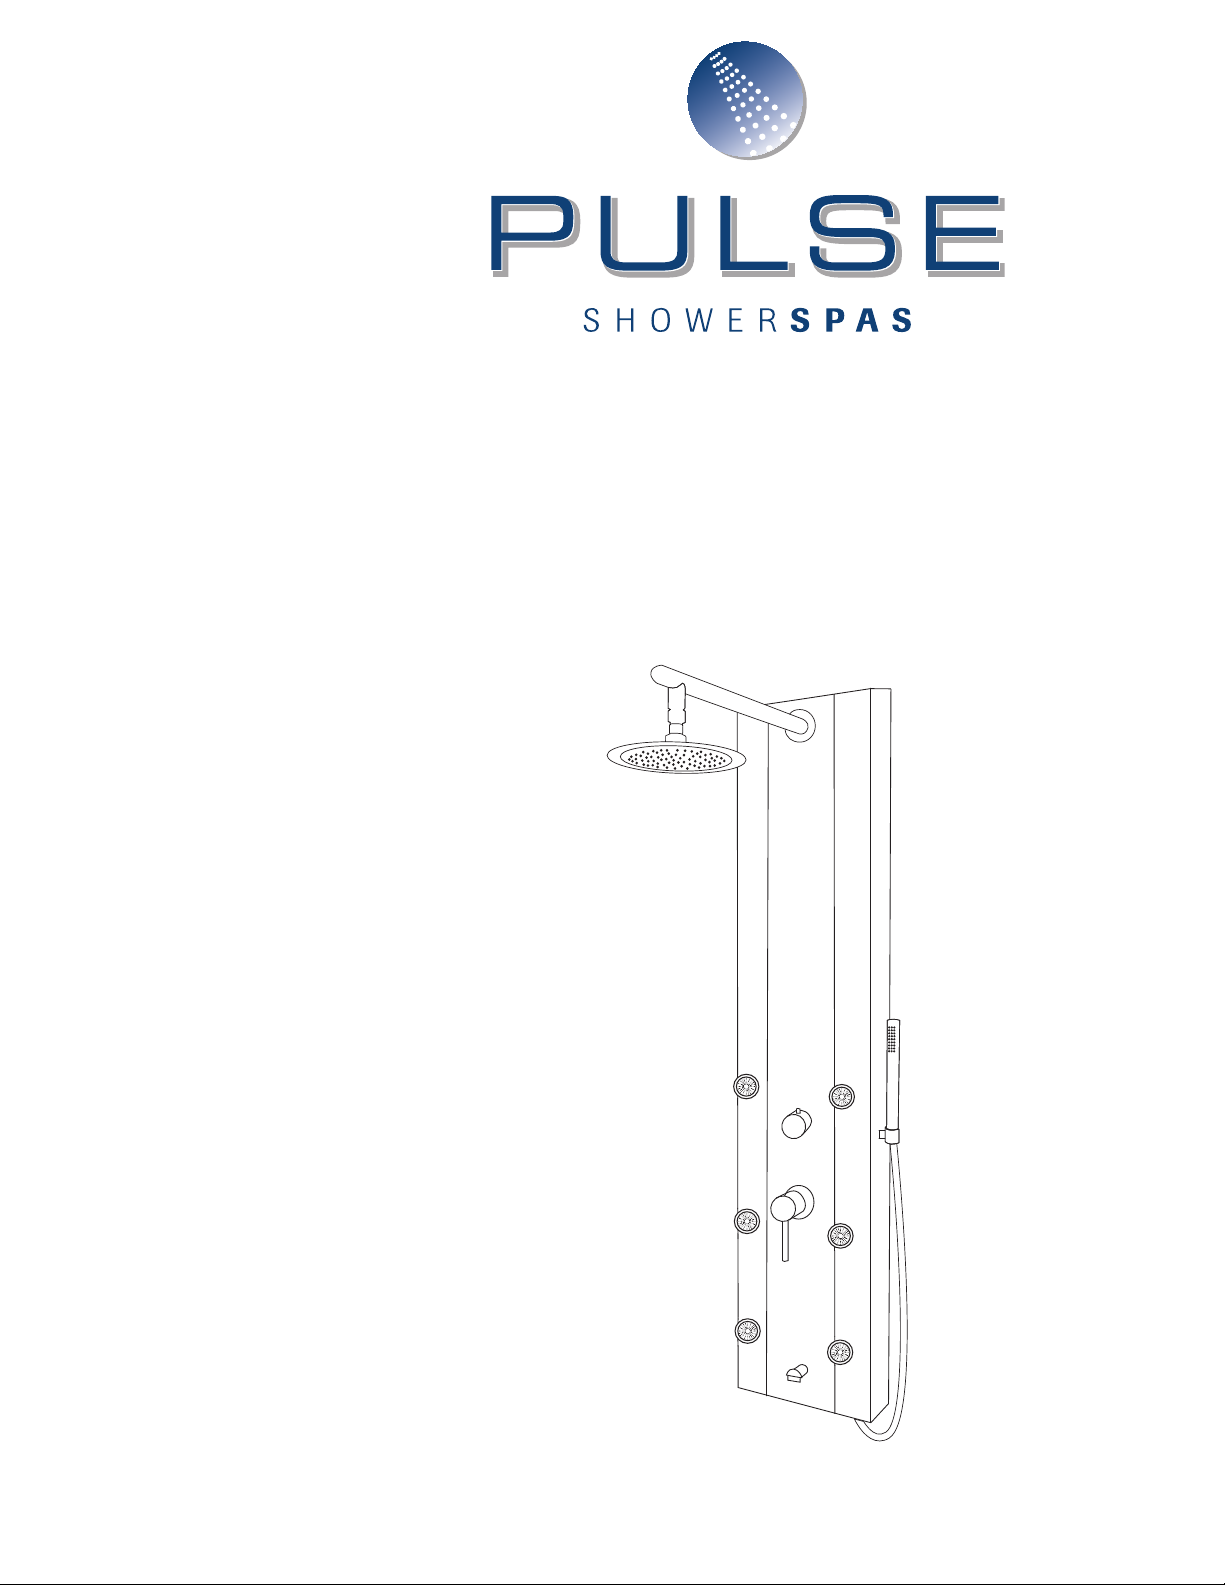
Rio ShowerSpa
Model #1049B-BN
RIO
Owner’s Manual
Page 2
Rio ShowerSpa Model 1049B-BN
Please Read The Following Instructions
C O M P L E T E LY Before Beginning!
Our goal is to ensure your installation goes smoothly and safely. Please read these
instructions carefully and follow recommendations for plumbing and mounting.
After reading instructions, if you determine you do not have the necessary skills
and/or tools, we recommend that a licensed plumbing contractor complete the
installation.
If you encounter any problems during installation
CALL TECHNICAL SUPPORT
TOLL FREE at 888-785-7320
Before returning your ShowerSpa to the store
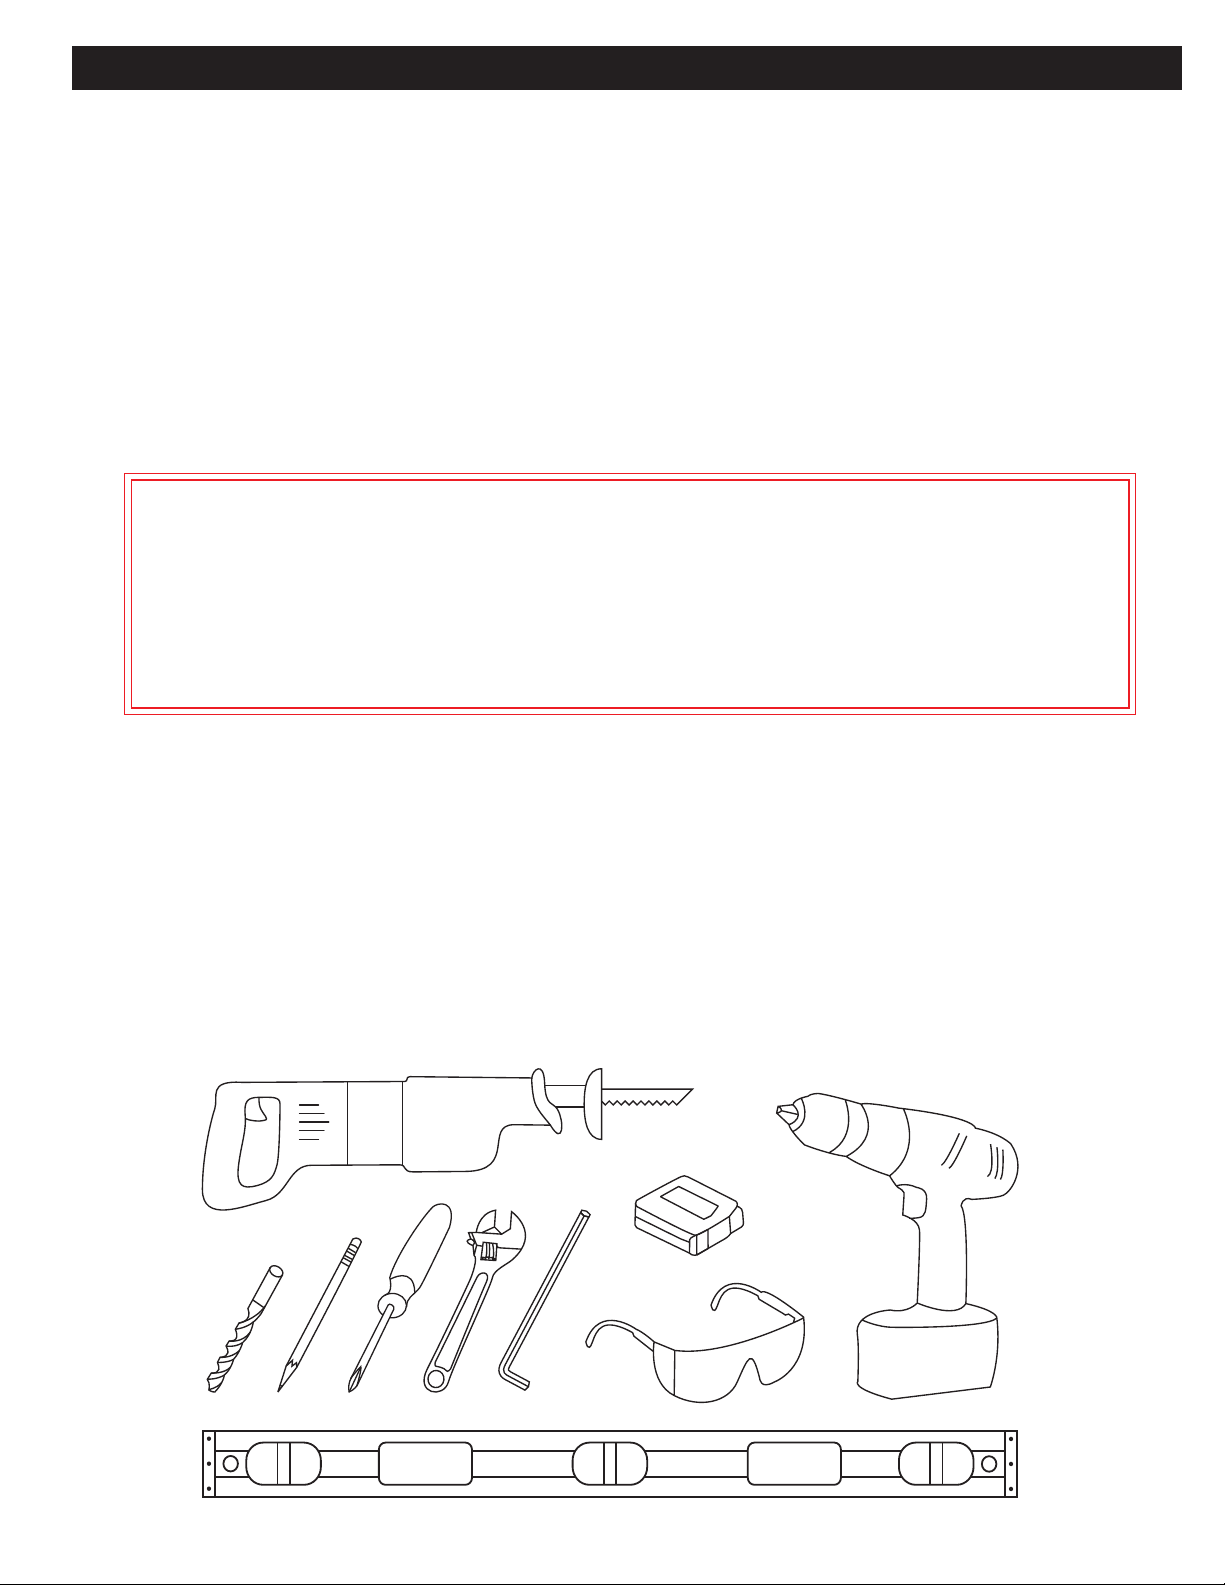
You Will Need The Following Tools
Soft pencil or felt pen to mark tile
4mm allen wrench
Safety glasses
Tape measure
Level
Reciprocating saw w/metal cutting blade (Sawzall®)
Channel locks or adjustable wrench
Drill (Preferably cordless)
¼" Masonry drill bit
Phillips screwdriver
2
Page 3

Product Dimensions
533 mm
21 in
394 mm
15.50 in
30.32 in
770 mm
Top
53.15 in
1350 mm
9.06 in
230 mm
9.06 in
230 mm
5.91 in
150 mm
36.42 in
925 mm
16.73 in
425 mm
48 in
1219 mm
34.65 in
880 mm
9.84 in
250 mm
Top
280 mm
11.02 in
152 mm
6 in
3
Page 4

Parts Legend
5
4
3
13
2
1
11
10
12
7
9
1. ShowerSpa
2. Shower Arm Escutcheon
3. Shower Arm
4. Shower Head
5. Rubber Washer......8(4 extra)
6. Hand Shower Hose
7. Hand Shower
8. Hand Shower Holder
9. Hand Shower Holder Nut
10. Mounting Screw .................4
11. Wall Mount Bracket ...........2
12. Nylon Wall Anchor .............4
13. Stainless Nut
5
8
6
5
4
Page 5

Assembly
After unpacking your ShowerSpa, some assembly is required prior to installation.
Shower Arm Assembly
1. Place escutcheon (2) over threaded end of shower arm (3) and insert through shower arm hole. Use stainless nut (13) at front of panel and
secure shower arm to ShowerSpa.
2. Attach hose fitting to shower arm (3) ensuring rubber washer is still in hose fitting. Do not over-tighten.
Hand Shower Holder Assembly
1. Insert hand shower holder (8) into hole located on side of ShowerSpa and secure with nut (9).
2. Secure nut (9) with adjustable wrench if needed.
After ShowerSpa is mounted to the wall
Hand Shower Assembly
1. Insert washer (5) into hexagon shaped end of hand shower hose (6) and attach to threaded outlet on bottom of ShowerSpa. Do not overtighten.
2. Insert washer (5) into tapered end of hand shower hose (6) and attach to hand shower (7). Insert hand shower into holder (8).
Installation – New Construction
Extensive Remodel – New Finished Wall Surface
1. Prior to sheetrock, stub-out ½" hot and cold supply lines beyond
finished wall surface, 4" on center. For best results, attach 90°
brass fittings (available at most hardware stores) to the stub-outs
maintaining ¼" – ½" of space between the fitting and finished
wall. The open end of the 90° brass fittings should point down so
the ShowerSpa's supply lines attach parallel to wall. 1
2. For a person 5'8" – 6'2" we recommend stub-outs be 38" above
finished floor.
3. Before installation, make certain water is COMPLETELY TURNED
OFF to both hot & cold supply lines of shower.
4a. Mark location of holes for top mount, making sure holes are
level. For a person 5'8" – 6'2", we recommend placing holes of
upper mount at approx. 70¼" above finished floor.
4b. To determine location for lower mount measure distance
between indents on bottom edge of horizontal mounting bars
on back of ShowerSpa (approx. 345⁄8"). Using this distance,
measure down from holes in upper mount to obtain location of
holes in lower mount making certain mounts are plumb.
2
2
4c. Use mounts to mark location of holes for each mount.
5. Before drilling holes, make certain that connecting to stub-outs
DOES NOT INTERFERE with backside of ShowerSpa and it is flush
with finished wall at desired mounting height.
6. Drill ¼" holes through wall surface using a masonry bit. Drill
slowly through wall surface to avoid cracking and chipping. Insert
anchors and securely screw brackets to wall. Before connecting
hot and cold supply lines, hang ShowerSpa on wall, check height
and make sure ShowerSpa is flush against wall with a secure fit.
7. Connect hot and cold water supply lines to stub-outs—DO NOT
OVERTIGHTEN. Before mounting ShowerSpa, check fittings to
make sure they are secure. Turn on water and check for leaks.
When fittings are leak-free, mount ShowerSpa on wall.
8. OPTIONAL—Seal around body of ShowerSpa with a bead of
silicone. DO NOT SEAL BOTTOM.
3
5
Page 6

Retrofit – Existing Shower Replacement
NOTE—In a remodel in which you are not replacing the finished wall surface (tile, or backing material) it is advisable to purchase a PULSE
ShowerSpa model that covers the location of your existing valve assembly—either single handle or two-handle type. If your PULSE
ShowerSpa model does not cover this area, you will need to either choose another PULSE ShowerSpa model that does or make necessary
repairs with appropriate materials (i.e. wallboard, tile, fiberglass, etc).
1. TURN OFF WATER SUPPLY TO SHOWER. Typically there is a gate
valve where the water main enters the house. Turning the water
valve off at hot water tank does not turn off cold water supply
line.
2. Make certain water is completely turned off to both hot & cold
supply lines of shower. Turn shower valve on, both hot and cold,
to VERIFY WATER SUPPLY IS OFF. Open a sink faucet in the
bathroom in which you are installing ShowerSpa to relieve any
pressure and help adequately drain shower supply lines.
3. Remove handle(s) and trim cover(s) of your existing shower valve,
exposing valve body in wall.
4. Locate hot and cold supply lines entering valve. Using a
reciprocating saw with sharp metal saw blade, cut existing
valve out, preserving threads of supply lines entering valve. You
should also cut riser within wall supplying existing shower head.
Carefully twist and remove valve.
5. Unscrew old shower head from shower arm, then unscrew
shower arm from wall.
6. Water lines must be extended to outside of wall cavity, 4" on
center. For best results, attach 90° fittings (available at most
hardware stores) to the stub-outs maintaining ¼" – ½" of space
between fitting and finished wall. The open end of 90° fittings
should point down so supply lines attach parallel to wall.
1
7a. Mark location of holes for top mount, making sure holes are
level. For a person 5'8" – 6'2", we recommend placing holes of
upper mount at approx. 70¼" above finished floor.
2
7b. To determine location for lower mount measure distance
between indents on bottom edge of horizontal mounting bars
on back of ShowerSpa (approx. 345⁄8"). Using this distance,
measure down from holes in upper mount to obtain location of
holes in lower mount making certain mounts are plumb.
7c. Use mounts to mark location of holes in each mount.
8. Before drilling holes, make certain connecting to stub-outs DOES
NOT INTERFERE with backside of ShowerSpa and it is flush with
finished wall at desired mounting height.
3
9. Drill ¼" holes through wall surface using masonry bit. Drill slowly
through wall surface to avoid cracking and chipping. Insert
anchors and securely screw brackets to wall. Before connecting
hot and cold supply lines, hang ShowerSpa on wall, check height
and make sure ShowerSpa is flush against wall with a secure fit.
10. Connect hot and cold water supply lines to stub-outs—DO NOT
OVERTIGHTEN. Before mounting ShowerSpa, check fittings to
make sure they are secure. Turn on water and check for leaks.
When fittings are leak-free, mount ShowerSpa on wall.
11. OPTIONAL—Seal around body of ShowerSpa with a bead of
silicone. DO NOT SEAL BOTTOM.
1
Additional fittings or longer supply lines may be necessary depending on your specific situation.
2
The mounting height can vary depending on several factors (i.e. location of supply lines, interference from ShowerSpa plumbing, old valve access area,
personal preference, etc.)
3
The desired mounting height of ShowerSpa determines, or is determined by location of the ½" stub-outs.
6
Page 7

Usage
Pressure Balance Mixing Valve
The Rio ShowerSpa is equipped with a cUPC® pressure balance mixing valve to adjust water flow and temperature. The valve automatically adjusts to changes in water pressure (i.e. someone flushes a toilet), keeping your
temperature constant and preventing accidental scalding. To turn on the ShowerSpa simply raise the handle
until the desired flow rate is achieved. Rotate to the right to decrease temperature and rotate to the left to
increase temperature. Be sure that the handle is in the OFF position when you are done using your ShowerSpa
so that pressure does not build up inside the unit.
Brass Diverter
The brass diverter is used to change between ShowerSpa functions. Simply rotate the diverter knob either direction to select the desired function—shower head, hand shower, body jets or tub spout.
Hand Shower
The brass hand shower has a sleek wand-shaped design that delivers a satisfying power-spray pattern with a
1.5M - 1.8M stainless steel stretch hose.
Body Jets
There are six single-function brass Silk Spray Jets that provide soothing spray. You can adjust the angle of spray
by pushing on the front edge of the jet in any direction.
Care and Maintenance
Always blot dry any water from the surface of your ShowerSpa. To protect your ShowerSpa from hard water
stains and mineral deposits, use an auto spray wax periodically and wipe down your ShowerSpa after each use.
Allowing water to evaporate on the surface can lead to a buildup of mineral deposits. Cleaning with a damp,
non-abrasive sponge and drying with a clean soft cloth should help keep your ShowerSpa looking beautiful.
REMEMBER
Never use any abrasives or harsh cleaners!
Clean with mild soap and water ONLY!
To keep your ShowerSpa in pristine condition,
DRY AFTER EACH USE!
7
Page 8

Manufacturer’s Limited Warranty
PULSE ShowerSpas, Inc. warrants that all ShowerSpas are free from
defect in workmanship and/or materials for a period of three years
from the date of purchase. This warranty extends to the original
purchaser only and is non-transferable.
This warranty does not cover, and PULSE ShowerSpas will not pay for
any conditions, malfunctions or damages resulting from (1) normal
wear and tear, improper installation (whether performed by a
contractor, a service company or the consumer), improper
maintenance, misuse, abuse, negligence, accident or alteration; (2) the
use of abrasive, caustic or “no-rinse” cleaning agents; (3) the use of
the product in any manner contrary to the product instruction; (4) any
condition in the home such as excessive water pressure or corrosion.
Should any ShowerSpa be determined by PULSE ShowerSpas, Inc.
to be defective in normal residential use, at the option of PULSE
ShowerSpas, Inc., such product shall either be replaced or repaired
and returned to the customer free of defects. The consumer shall give
notice of any defects to PULSE ShowerSpas, Inc. within thirty days of
discovery of such defect.
Proof of purchase (original sales receipt) must be provided to PULSE
ShowerSpas, Inc. with all warranty claims.
PULSE ShowerSpas, Inc. is not responsible for any labor charges,
removal charges, installation or other consequential costs. In no event
shall the liability of PULSE ShowerSpas, Inc. exceed the purchase price
of the ShowerSpa.
Some states/provinces do not allow limitations of how long an implied
warranty lasts or the exclusion or limitation of such damages, so these
limitations and exclusions may not apply to you. This warranty gives
the consumer specific legal rights. You may also have other rights that
vary by state/province.
Follow manufacturers recommended installation. Use caution with
children under ten years of age. Do not use ShowerSpa as a support
device. Do not use harsh chemicals or abrasives when cleaning. Turn
water supply off when servicing your ShowerSpa.
Pulse ShowerSpas, Inc. ~ 297 Anna Street ~ Watsonville, CA 95076 ~ 888.785.7320
info@pulseshowerspas.com ~ www.pulseshowerspas.com ~ support@pulseshowerspas.com
Part #1049B-BN-OM-ENG Rev. Y2014-09-24
 Loading...