

PS Audio HCPS Owners manual
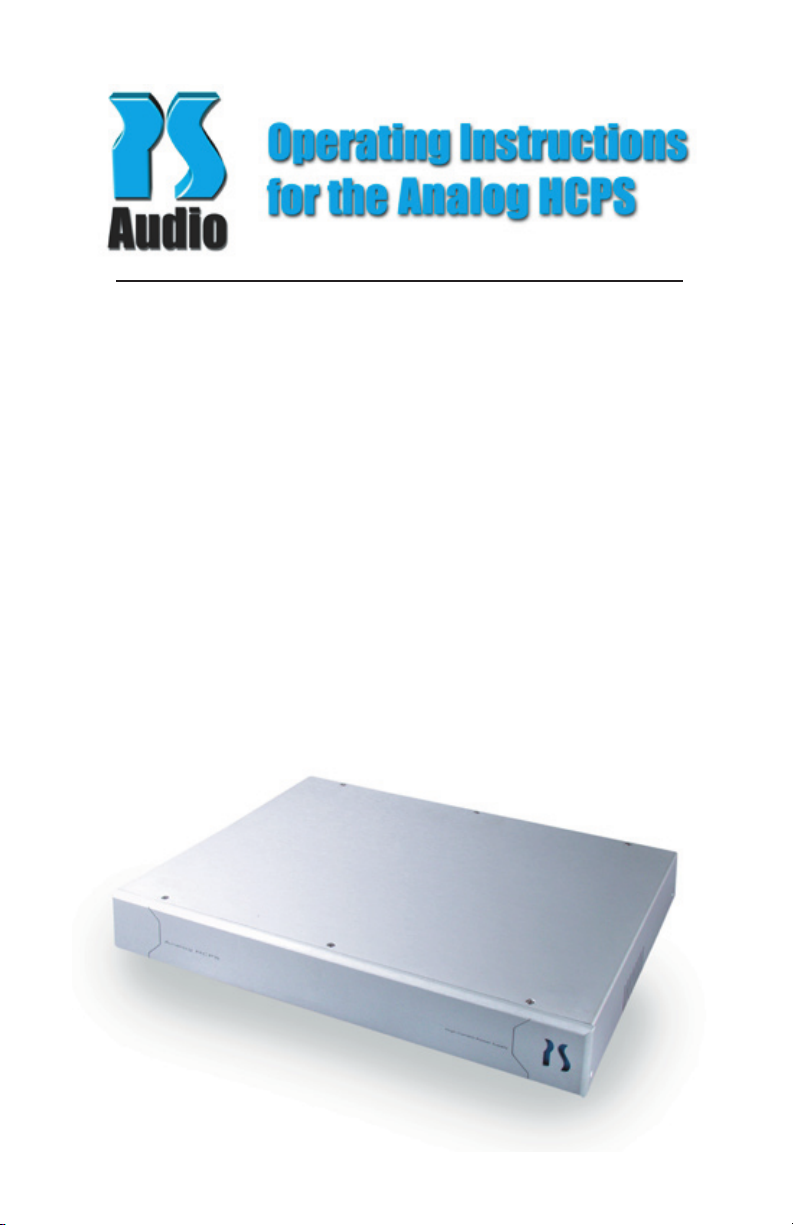
Table of Contents
What’s in the Box
1. What’s in the Box
2. Safety Instructions
3. Overview
3. Setup Guide
4. Rear Panel Layout
5. Front Panel Layout
6. Troubleshooting Guide
7. Specifications
7. Warranty and Service Issues
8. Contact Information
• One Analog HCPS
• One 2 meter AC power cable
• Two 1 meter power supply cables
• One users’s manual
• One warranty card
• One spare 3 amp fast blow fuse
IMPORTANT:
Be sure to save all packing materials
included with the Analog High Current
Power Supply as this will be required if you
ever need to ship the unit for service or
modification.

Warning
Overview
To prevent fire or shock hazard, do not
expose the High Current Power Supply
to rain or moisture. To avoid electrical
shock, do not open the enclosure. Refer
servicing to qualified personnel only.
To prevent electric shock, use only a 3
prong, grounded type power cable.
Any change or modifications not expressly
approved in the manual could void your
warranty.
Safety Instructions
Read the operating instructions provided with the Analog High Current Power
Supply.
Retain the operating instructions for later
use and reference.
Unplug the Analog High Current Power
Supply from the wall outlet before chang
ing the fuse or performing any cleaning or
service.
Do not operate the High Current Power
Supply near water. Avoid placement near a
water reservoir or excessive moisture.
When replacement parts are required,
ensure they are specified by the manufac
turer to have the same characteristics as
the original part. Unauthorized substitutions
may result in fire, electric shock, or other
hazards.
The PS Audio Analog High Current Power
Supply is designed to enhance the sonic
performance of the PCA-2 preamplifier as
well as other PS Audio accessories.
The Analog High Current Power Supply
is designed to improve upon conventional
design by housing a large power supply in
an external chassis. By locating the power
supply in an external chassis interference
between it and sensitive circuity of the PCA2 is minimized.
The Analog HCPS uses a huge toroidal
transformer coupled to 75,000 µf of storage
capacity. The Analog HCPS is designed to
readily deliver massive amounts of clean
current when the PCA-2 requires it.
• Separate power cables for control cir
cuitry and analog gain stage
• Additional outlet to supply power to
-
-
other PS Audio accessories
• Built in High Current Ultimate Outlet
• PS Audio’s brushed aluminium chas
sis
• Front panel illumination control from
PCA-2
• 1 meter xStream connecting cables
included
-
-
Do not operate with faulty or frayed power
cables.
2

Quick Start Guide
1. Connect the Analog High Current Power
Supply to the PCA-2. The included Neutrik
power supply cables are color keyed to the
connectors. Connect the Preamp Power
Supply A and B on the Analog HCPS to the
External Power Supply A and B on the
PCA-2. The connectors will twist clockwise
and lock into place. To remove the cables
simply slide the metal clip away from the unit
and twist counter-clockwise.
(Optional) If additional PS Audio products
are to be powered by the external power
supply connect them to the Accessory
Power Supply connector now.
2. Ensure the PCA-2 is not plugged directly
into the wall (or other power source). It
should receive power only from the HCPS.
3. Verify the Analog HCPS’s power switch
is in the off position [O]. Plug the Analog
HCPS into the wall AC outlet or power distri
bution device (such as a Power Plant). Use
the supplied cable or an aftermarket power
cable. For optimum results we suggest the
use of a PS Audio xStream Power cable.
-
4. Turn the rear panel power switch to the
ON position [I]. The switch should illumi
nate.
5. If the Preamp is connected properly it
should begin its startup process. Once the
Preamp finishes the startup process and is
powered on, the blue PS will illuminate on
both the Analog HCPS and the PCA-2.
6. Enjoy the sonic benefits the High Current
Power Supply will bring to any system.
-
3
 Loading...