


 Loading...
SANLink2
8G FC/16G FC/10GBase-T/10G SFP+
Device driver software utility installation for Mac OS
Version 2.0
© 2015 PROMISE Technology, Inc. All Rights Reserved.
Contents
Introduction 1 |
|
Install SANLink2 Driver |
2 |
Install SANLink2 Utility |
5 |
Using the SANLink2 Utility 6
Using the SANLink2 Utility for 10GBase-T and 10G SFP+ 6
Using the SANLink2 Utility for 8G and 16G FC 9
Changing the SFP+ module |
14 |
|
Inserting the wrong SFP+ type |
14 |
|
Contacting Technical Support |
15 |
|

SANLink2 F2102/F2202/ E2002t/E2002p |
Promise Technology |
Introduction
This installation guide describes how to install the device driver and software utility for the SANLink2 F2102 (8G FC), F2202 (16G FC), E2002t (10GBase-T) and E2002p (10G SFP+) on a Mac computer equipped with a Thunderbolt port. Download the driver and utility installation files from the PROMISE website. The device driver should be installed before connecting the SANLink2 to the Mac. After the driver is installed, go ahead and connect the SANLink2 according to the instructions in the Quick Start Guide.
An additional download, the SANLink2 utility, is available from the PROMISE website. It is used for monitoring device function and changing some settings such as port speed and topology. This is also available from the website. The utility is not required for the device to be operational since all device settings are auto-detect, and it is not necessary to manually change any setting for the SANLink2 to function.
To download the device driver and utility:
1.Go to the PROMISE website at http://www.PROMISE.com/, click on Support near the top of the page, select the Download Center option.
2.Use the two pull-down menus to first choose the SANLink2 then the SANLink2 option.
3.Under the heading Download search results below:
•Click on the Drivers link and download the SANLink2 Mac driver.
•Click on the Utilities link and download the PROMISE SANLink2 Utility. (Optional)
1
SANLink2 Driver and Utility Installation |
SANLink2 8G FC/16G FC/10GBase-T/10G SFP+ |
|
|
Install SANLink2 Driver
The driver installation procedure is the same for the SANLink2 F2102 (8G FC), F2202 (16G FC), E2002t (10GBase-T) and E2002p (10G SFP+).
Download the SANLink2 Mac Driver from the PROMISE website at www.promise.com and follow the steps below to install the driver for the SANLink2. You can then proceed to connect the SANLink2 according to the instructions in the Quick Start Guide.
To install the SANLink2 driver:
1. Unzip the SANLink2 Mac Driver file, open the folder and double-click on the driver package file. The driver installation file icon looks like this 
Note
The name of the driver installation package available from the website will change periodically to reflect the version as it is updated.
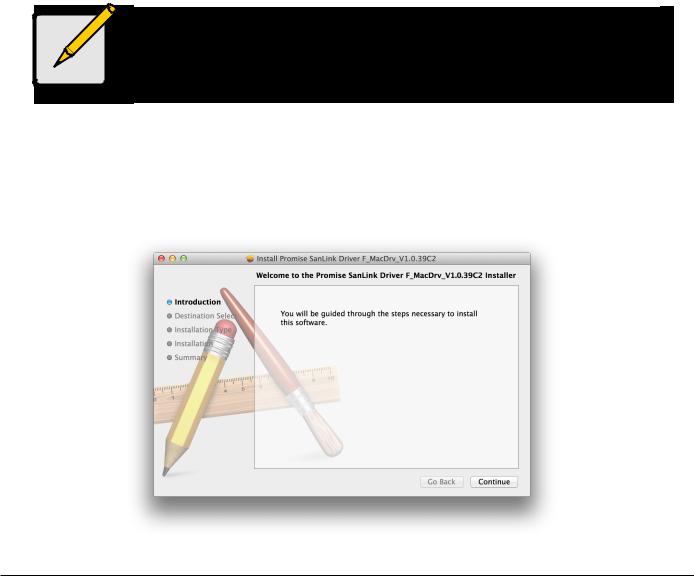
2.The driver installation menu appears. Click the Continue button to proceed with the driver installation.
2

SANLink2 F2102/F2202/ E2002t/E2002p |
Promise Technology |
|
|
3.The new menu appears listing the space required for the installation. Note that you are not allowed to choose the destination for the installed files. Click Install to proceed with the installation.
4.Since this is a software installation, you will be required to enter the Name and Password information of the computer administrator. Enter this information and click on Install Software to start the process.
3
SANLink2 Driver and Utility Installation |
SANLink2 8G FC/16G FC/10GBase-T/10G SFP+ |
|
|
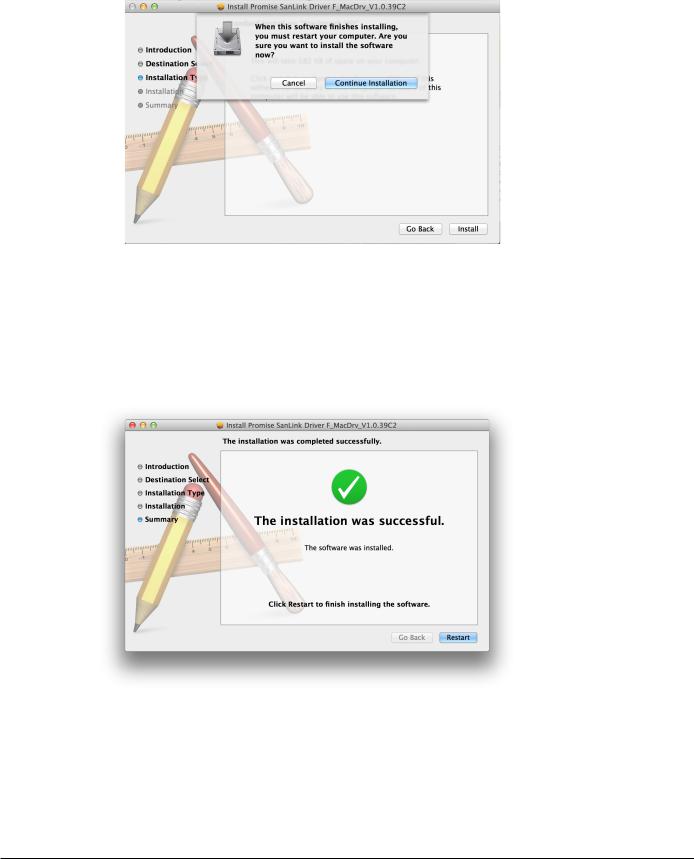
5.Another pop-up dialog let’s you know that a system restart will be necessary. Click Continue Installation to proceed.
6.When the driver is installed, a message appears letting you know that the installation succeeded. Click on Restart to reboot the Mac.
Upon restarting, you can either install the utility or go ahead and connect the SANLink2 to your Mac according to the instructions in the Quick Start Guide.
4
Loading...