

Prince Castle 919 Installation Manual
OPERATING
INSTRUCTIONS
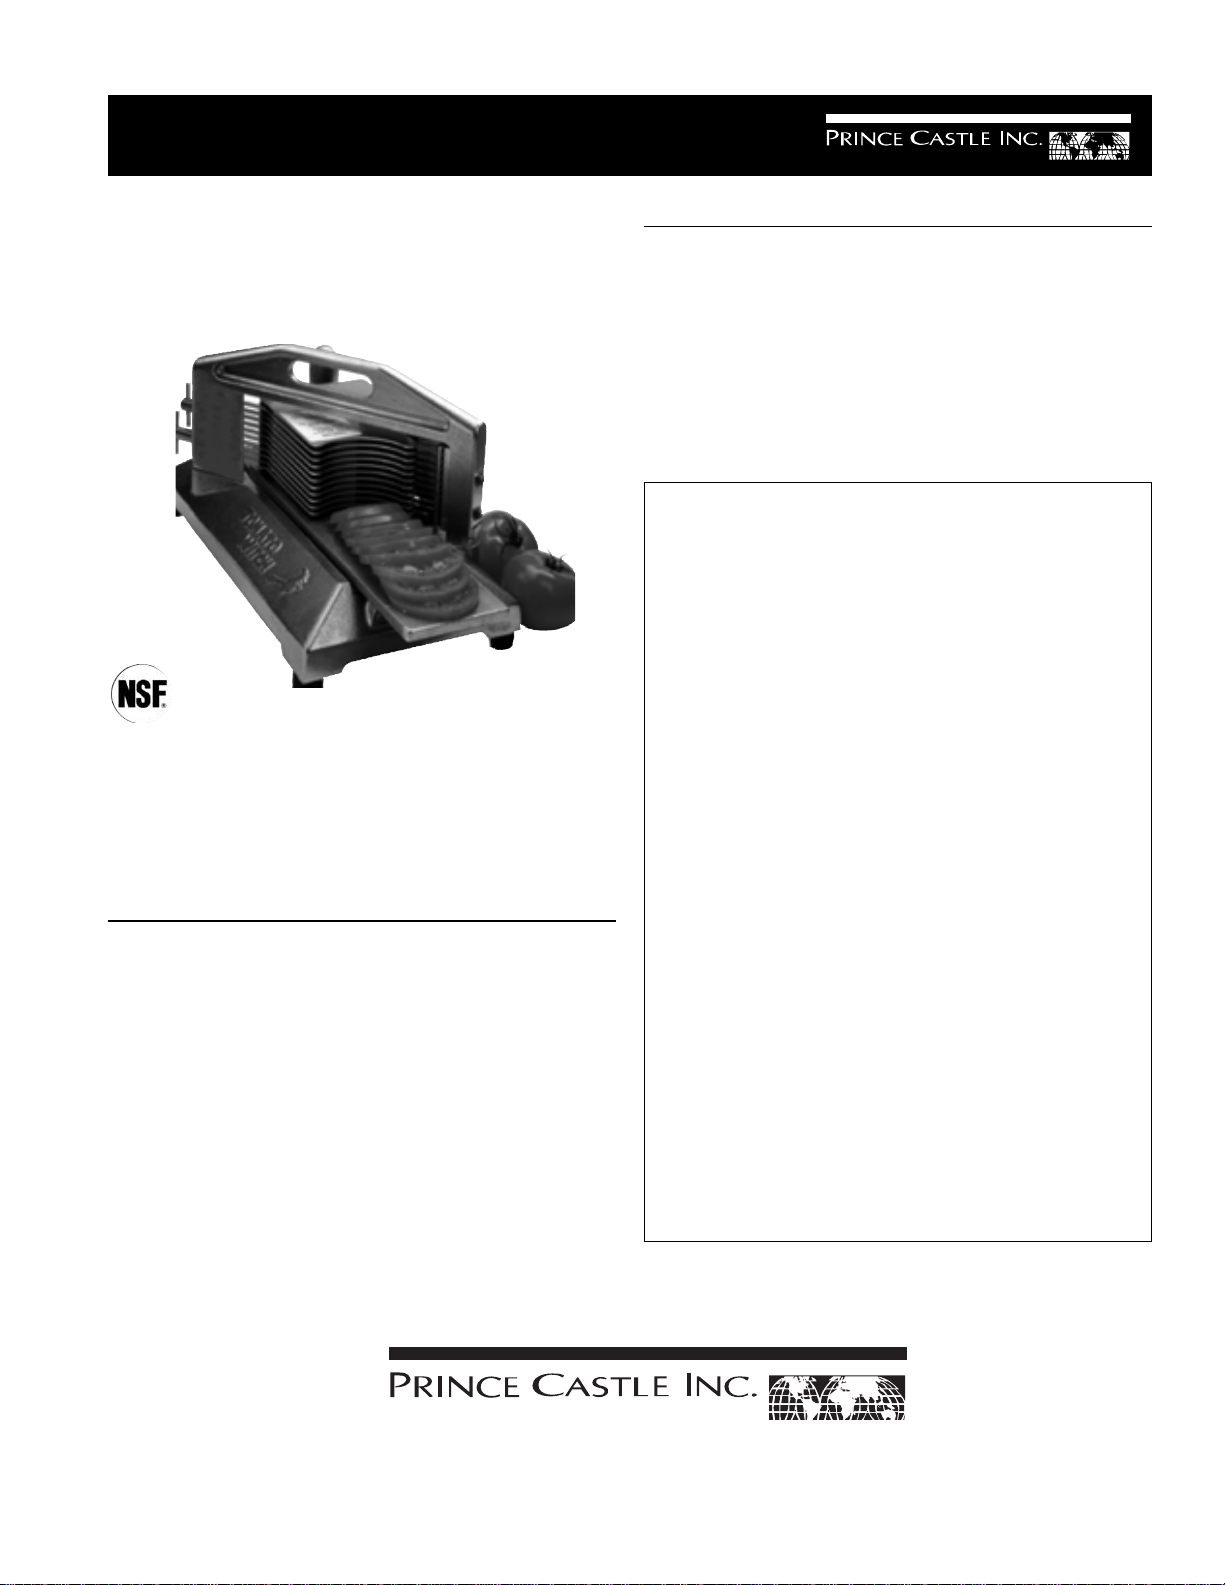
Tomato Witch
Model No. 919 Series
Prince Castle’s Tomato Witch is the ideal tomato
slicing system. The Tomato Witch provides the
safety and strength needed for superior results. It
uniformly slices tomatoes without manual scoring,
and is a necessity for portion control.
SPECIFICATION
WORLDWIDE
TABLE OF CONTENTS PAGE
Installation..................................................................... 2
Operating ....................................................................... 2
Cleaning ........................................................................ 3
Maintenance ................................................................. 3
Blades............................................................................ 4
Parts List....................................................................... 5
LIMITED WARRANTY
This Product is warranted to be free from defects in
material and / or workmanship for a period of (2) years
from date of original installation not to exceed 30
months from date of shipment from our factory,with
the exception of blades. Blades are warranted to be
free from defects at time of delivery only.
Any component which proves to be faulty in material
and/or workmanship will be replaced or repaired (at
the option of Prince Castle, Inc.) without cost to the
customer for parts or labor.
This warranty is subject to the following exceptions/
conditions:
z Use of any non-genuine Prince Castle parts
voids this warranty. All genuine Prince Castle
replacement spare parts are warranted for ninety
(90) days from date of purchase.
919 Series Dimensions
Length 15” (38.1 cm)
Width 8” (20.3 cm)
Height 81/2” (61.6 cm)
Shipping Weight 13 lbs.(5.9 kg.)
Model No. Number Of Blades
919-AAS 3/16” Slice (.477 cm) 14
919-ABS 1/4 ” Slice (.635 cm) 10
919-ACS 3/8 ” Slice (.935 cm) 7
919-ADS 7/32” Slice (.553 cm) 12
355 East Kehoe Blvd. z Carol Stream, IL 60188
Printed in 1998
Prince Castle Inc.
Tel: (630) 462-8800 z Fax: (630) 462-1460
Toll Free: 1-800-PCASTLE
z This equipment is portable; charges for on
location service (e.g., trip charges, mileage)
are not included in the provisions of this warranty.
z Damage caused by carelessness, neglect, and/
or abuse (e.g., dropping, tampering or altering
parts), equipment damaged in shipment, by fire,
flood or an act of God is not covered under this
warranty.
WORLDWIDE
919-535

INSTALLATION
1. After you have removed the slicer from the carton,
inspect the unit for signs of damage. If there is
damage to the unit:
z Notify carrier within 24 hours after delivery.
z Save carton and packing materials for inspection
purposes.
z Contact your local dealer, or if purchased
directly,the Prince Castle Customer Sales
Department at 1-800-722-7853 to arrange for
a replacement to be sent.
2. Verify that all parts have been received.
OPERATION
CAUTION: This slicer is designed to slice
tomatos only. Using it on other products will
damage the slicer.
1. Check tomatoes for proper condition (no bruises, scarring or mold) and color (5-6 color grade).
are extremely sharp.
5. Before using the slicer, check if blades
are tight. Loose blades may bow as product
passes through, resulting in damage to both the pusher
head and the blades. Prior to each use, recheck blades
for proper tension. Alternately hand-tighten the blade
tensioning screws (Items 20 & 21 on the exploded view).
6. Place a clean, sanitized pan under slicer at the end
opposite the handle to collect tomato slices.
IMPORTANT: If rubber feet are missing slicer will slide
during cutting process. Replace with part #919-18.
7. Grasp handle, and pull back as far as possible.
8. Insert tomato into pusher with the core
figure 1
2. Place tomatoes to be sliced in a clean, sanitized
colander. Rinse with cold water and drain.
3. Place tomato slicer on a clean, sanitized food prep
table. The back sink should not be used as a
slicing area.
4. Before slicing the first tomato of the day, lubricate
guide rods with Petro Gel/Taylor Lube/Haynes LubriFilm (HCS).
CAUTION: Keep fingers away from blades. They
side down. See figure 1.
9. Push handle with a quick, firm stroke until the pusher
stops. The tomato should be completely sliced.
10. Remove tomatoes.
11. Discard end pieces and any slices with green core
centers (stem) showing.
12. Clean and sanitize slicer and food prep table.
TROUBLESHOOTING CHART
PROBLEM CAUSE SOLUTION
Pusher handle is hard to push or Friction on guide rods. Lubricate guide rods.
pusher head fingers hit blades.
Blades are loose. Hand tighten blades (See
Excessive wobble in carrier plate. Bearing block screws are loose. Tighten the (4) bearing block screws
Bearing blocks are worn out. maintenance tips)
blades section on page 4).
located under the slicer. (See daily
Replace bearing blocks.
Tomato will not go all the Blades are dull. Replace blades. (See exploded view
way through blades. and parts list for correct part number)
Tomato is hanging up on Blades are dull. Replace blades.
left side of blades.
Blades are loose. Hand tighten blade tensioning knobs.
Blades are not tightened flat Re-tighten the (2) slotted hex head
against bridge on left side. screws, until the blade block is flat
against the bridge on the left side.
2
 Loading...