


EN-1
1. Important Safety Instructions ………...…….…………………….
2. Accessories ………………………………………………………….
3. View of Main Unit …………………….……………........................
4. Device Connections ………………….……...…….......................
5. Cautions on Battery Charging ………….………………………...
6. Using Mounting Cradle……………………………………………..
7. Getting Started ………………………………………………………
8. Main Menu …………………………………………………………….
9. Music Player………………………………………………………...
10. Video Player…………………………………………………………
11. Photo Viewer………………………………………………………...
12. Ebook Reader………………………………………………………..
13. Flash Player…………………………………………………………
14. FM Radio…………………………………………………………....
15. Tools………………………………………….…...….....
16. System Settings…………………………………………………....
17. Wallpaper……………………………………………………………..
18. Games…………………………………………………………...
19. Screensaver…………………………………………………………..
20. Analog TV……………………………………………………………..
21. Bluetooth Function …………………………………………………
22. Program Interface...……………………...………………………....
23. Autorouting…………………………………………………………...
24. Additional Features............................…………………................
25. Troubleshooting …………………………………………………….
26. PC Connection……………………………………………………….
2
3
4
5
7
8
9
10
11
13
15
17
19
21
22
24
25
26
27
28
29
32
36
38
39
41
Contents
EN
EN-2
CAUTION
1. To reduce the risk of electric shock, do not remove the cover (or back). No
user-serviceable parts inside. Refer servicing to qualified service personnel.
2. The manufacturer should not hold responsibility for the damage caused by any
substitutions and modifications of the product without authorization from the
manufacturer or authorized unit
.
WARNING
The device should not be exposed to dripping or splashing and no objects filled with
liquids should be placed on the device.
Important Safety
Instructions
The exclamation point within an equil ateral triangle is intended to alert the
user to the presence of important operating and maintenance (servicing)
instruct ions in t he liter at ure acc ompanying the appliance.
EN
EN-3
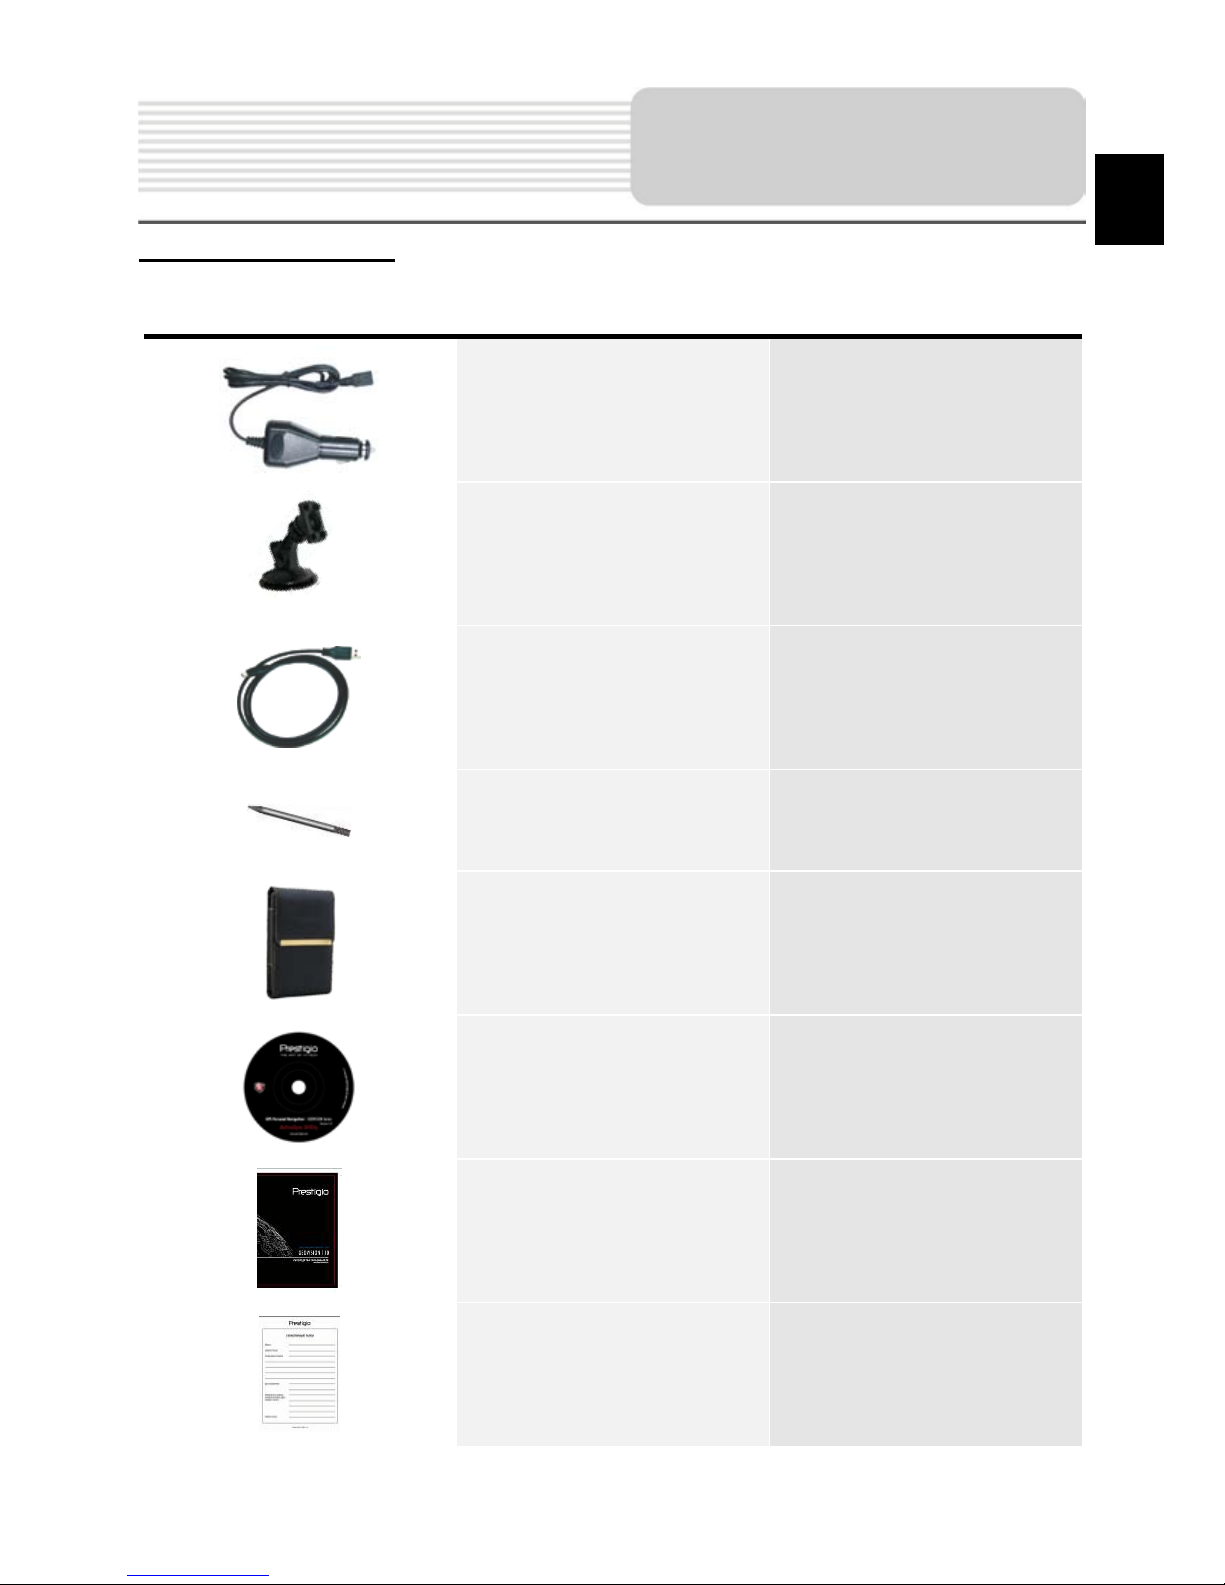
Accessories List
ITEM NAME QTY
Car Charger 1
Mounting Cradle 1
USB Cable 1
Touch Pen 1
Leather Carrying Case 1
Driver/Documentation CD 1
User Manual 1
Warranty Card 1
Accessories
EN
EN-4
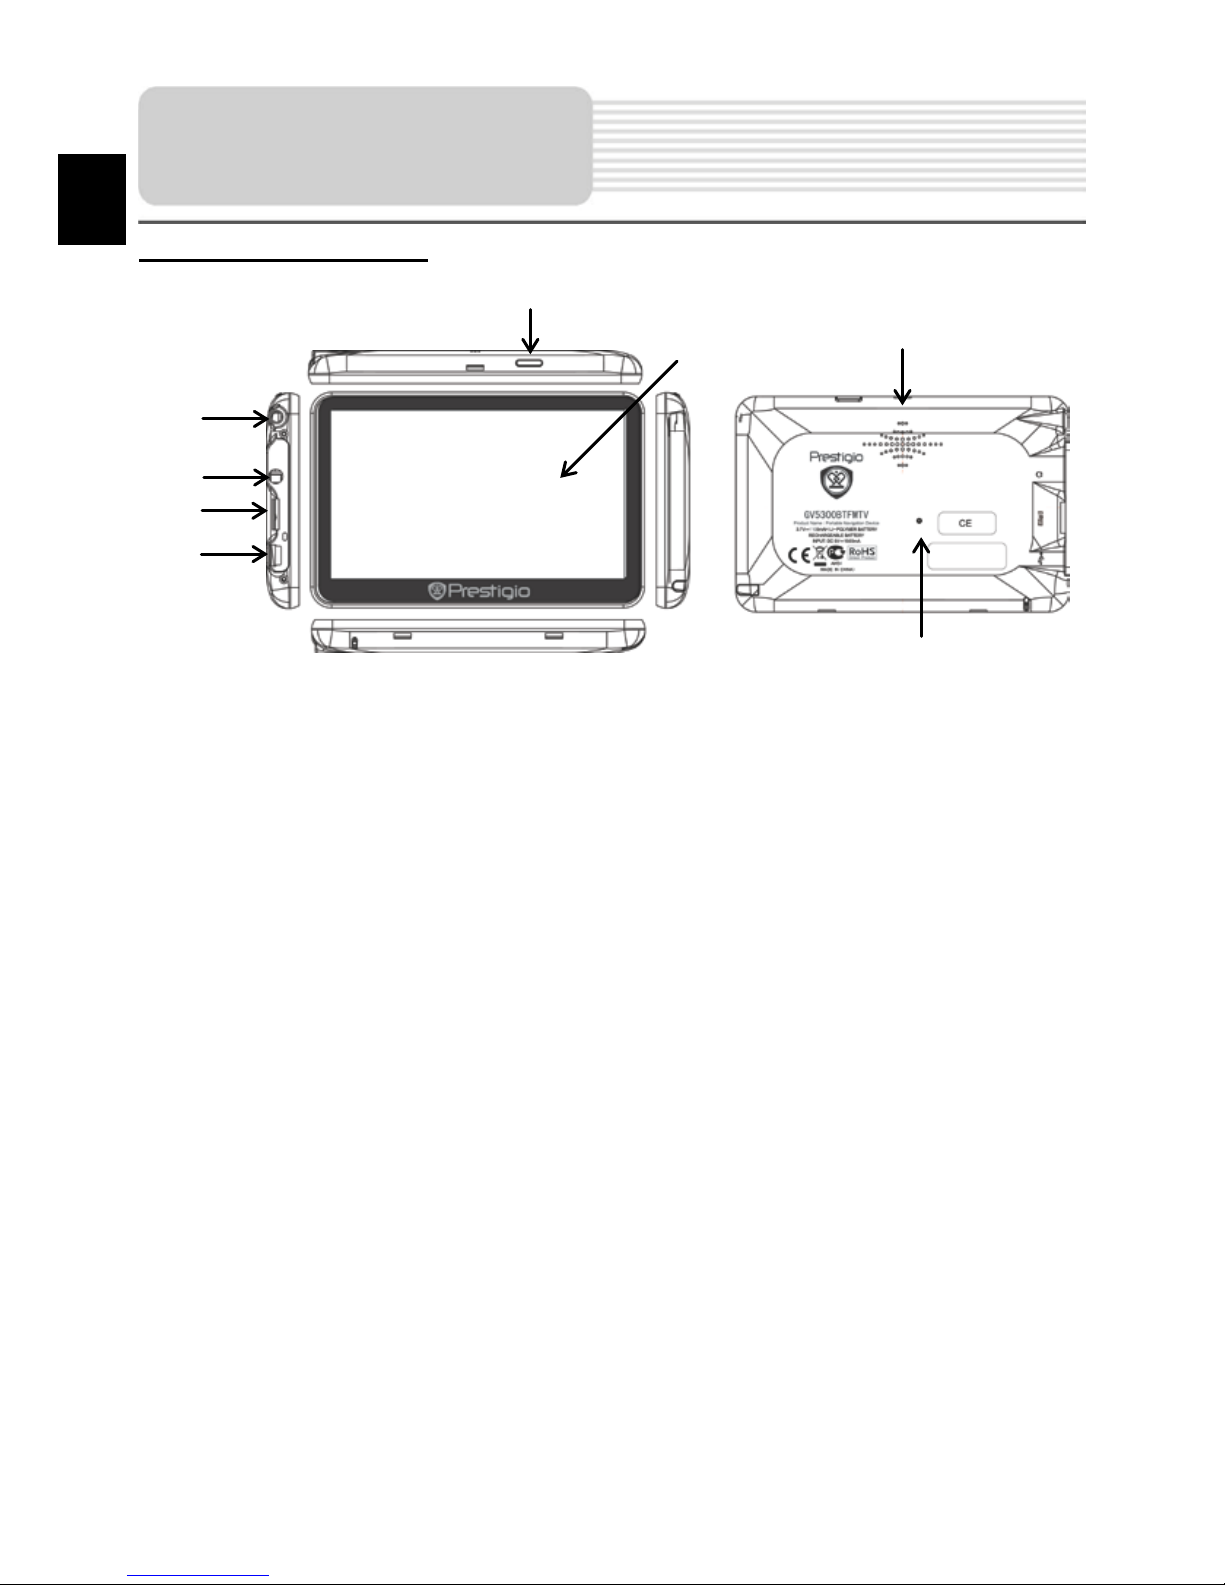
Front and Side View
1. LCD Touch Screen
Tap the screen with touch pen or finger to select menu commands or to enter
information.
2. Power Button
Press to power ON/OFF the device.
3. Analog TV Antenna
Receives television signals.
4. Earphone Port
Connect to headphones or headsets.
5. microSD Sl ot
Insert a microSD memory card for data access or memory expansion.
6. Battery Status Indicator
The indicator glows in bright amber color when battery is fully charged and in red
color when charging.
7. Mini-USB Port
Connect to USB Cable for data access or battery charging
8. Speaker
Emits sound, voic e or music.
9. Reset Button
Press to reboot the device.
View of Main Unit
EN
1
2
7
3
4
5
8
6
EN-5
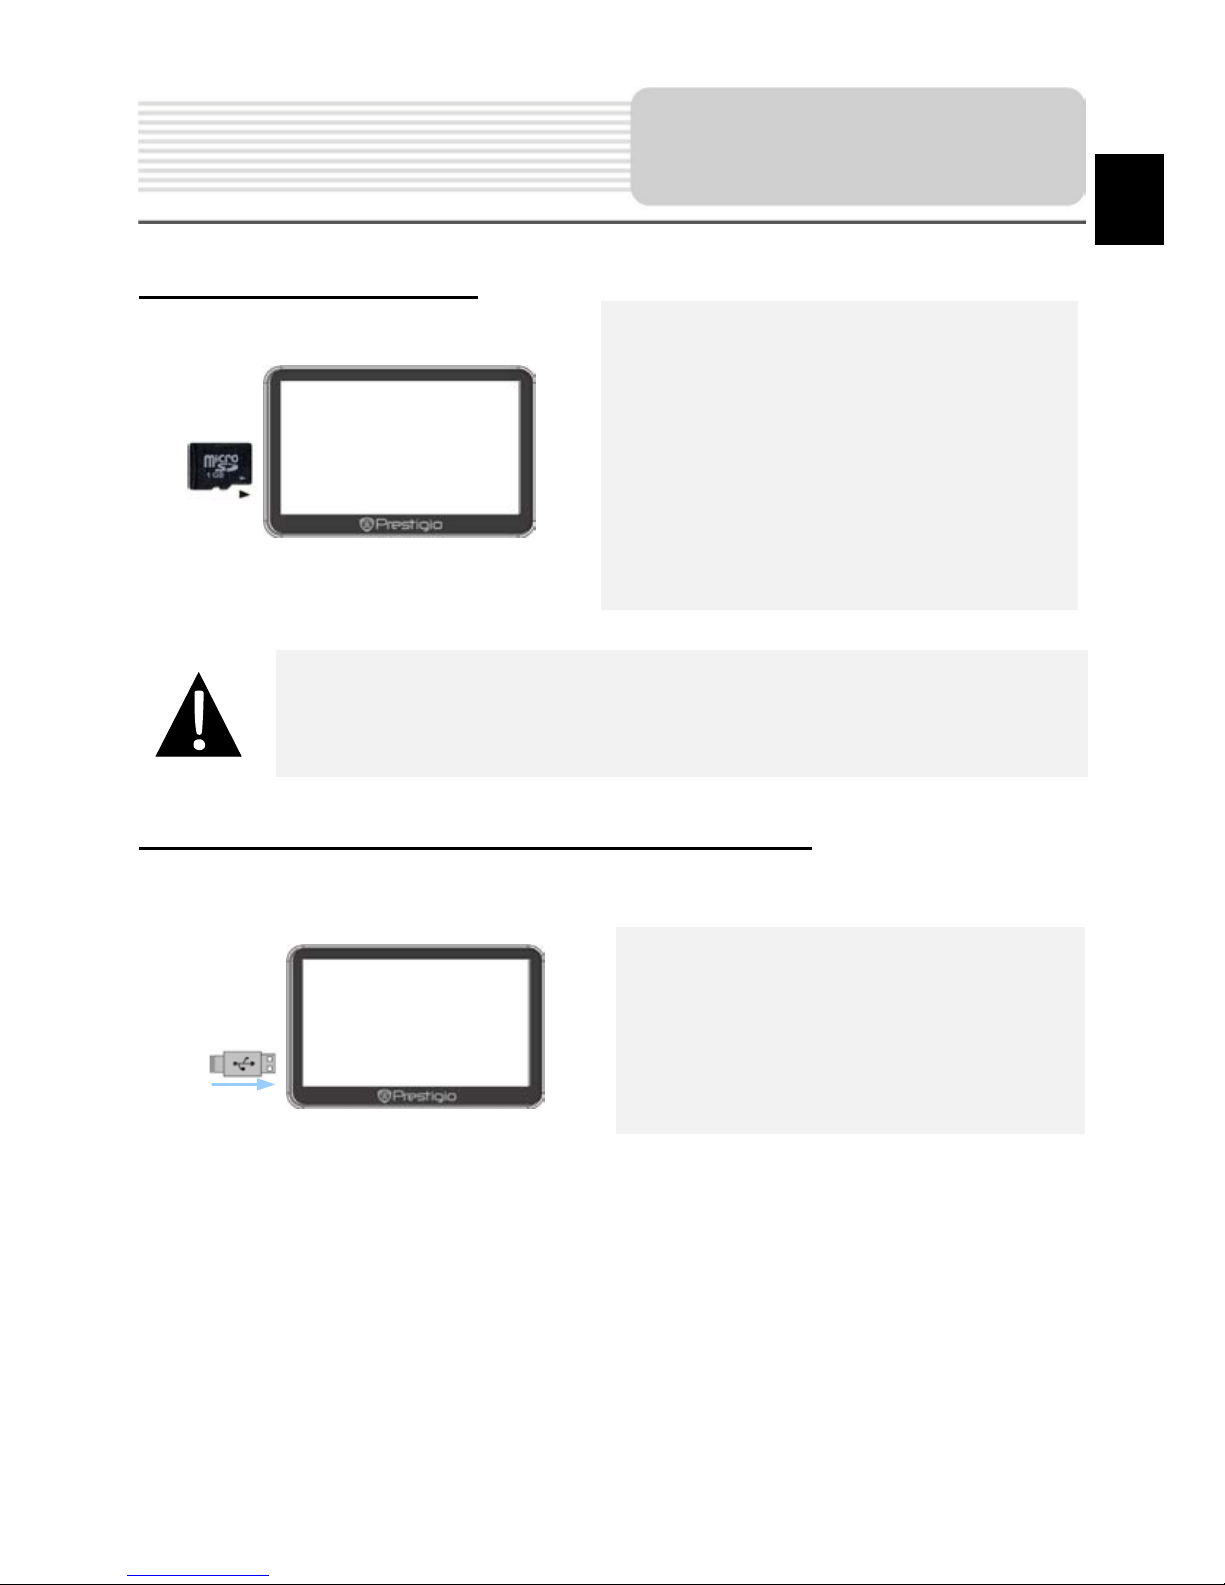
Inserting microSD Card
To insert a microSD card, place the
connector towards the device and the
card label towards the front side of
the device.
To remove a microSD card, gently
press the edge of the card to release
the safety lock and pull the card out
of the slot.
NOTE:
Please always make sure that no application is accessing the microSD
card before extraction.
Connecting to External USB Device (Charging)
Insert the micro USB connector into
the appropriate micro USB port.
Insert the other USB connector into
the USB port on PC to start charging.
Device Connection
EN

EN-6
Connecting to Car Charger
Insert the micro USB connector into
the appropriate micro USB port.
Insert car charger connector into
vehicle 12V accessory/cigarette
socket to start charging.
NOTE:
Please connect the car charger to vehicle 12V accessory/cigarette
socket after the vehicle engine is started to protect the device from
sudden surges in current.
Device Connection
EN

EN-7
About Rechargeable Battery
The device is equipped with a built-in rechargeable battery. Plea se fully charge the
battery (f or at least 4 hours) before initial use. The battery status indicator glows in red
colour when charging and turns bright green colour when charging is complete. Charging
time is approximately 4 hours.
Working conditions and precautions for th e rechargeable battery
Device with new batterry should be fully charged before initial us e.
It is not necessary to start charging the device before the battery is fully
discharged.
Caut ions on Battery
Charging
EN
EN-8
Device Mounting Procedures
The device can be steadily mounted on vehicle dashboard or windshield with the
mounting cradle included. Please follow the procedures below to install the mounting
cradle:
1. Select an appropriate location on windshield or dashboard where the device and
the mounting cradle will not obstruct the driver’s field of vision.
2. Please also make sure that the device has a clear view to the sky to acquire best
GPS signal.
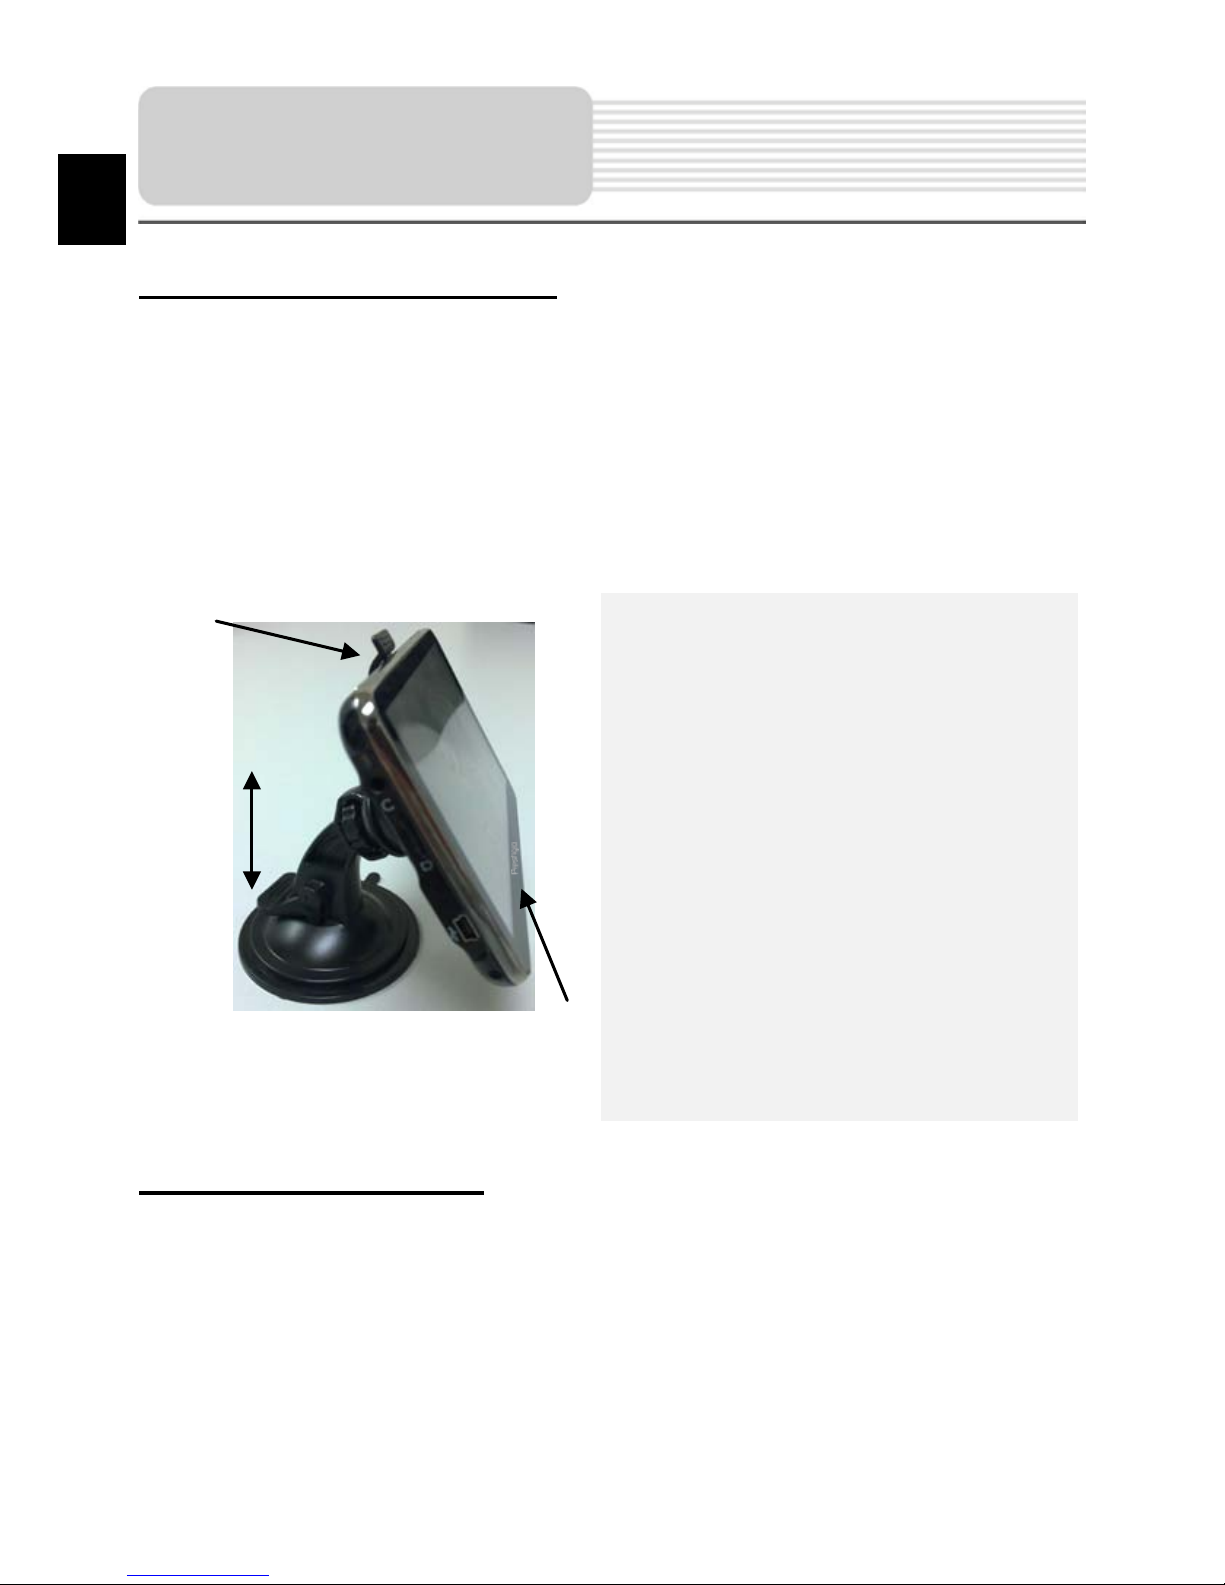
Place the device on the bracket with
the bottom positioned on the
appropriate socket as illustrated by
Arrow 1.
Push on the top edge as illustrated by
Arrow 2 to securely install the device
in the cradle.
Lift the suction cup lever and press
the suction cup at desired location.
Press down the suction cup lever as
illustrated by Arrow 3 to secure the
mounting cradle on the surface.
Rotate the knob to adjust device to
the desired viewing angle.
To Dismount the Device
1. Push the tab on top of the mounting cradle to release the device.
2. Lift the suction cup lever to easily remove the suction cup from windshield or
dashboard.
Using Mounting
Cradle
2
1
3
EN
EN-9
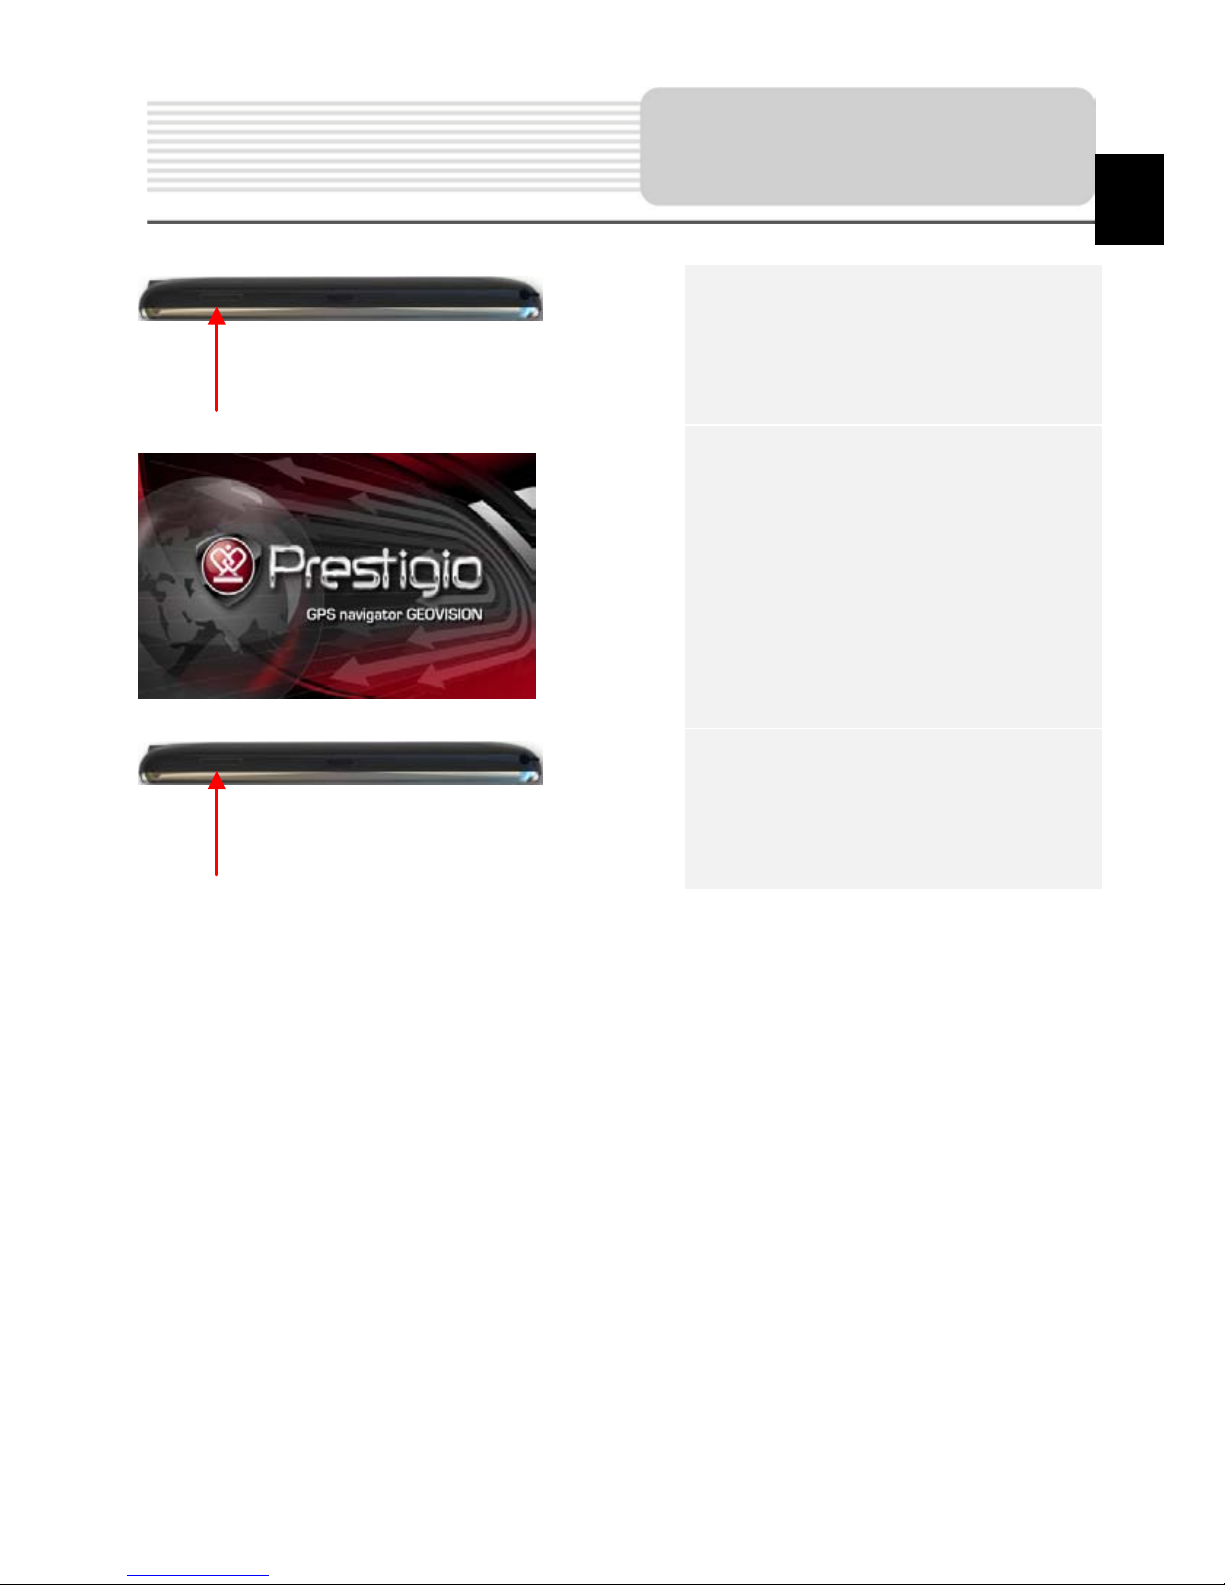
1. Press and hold Power Button
to turn on dev ice.
2. Shortly after the greeting screen
is shown, the main menu will be
displayed.
3. Tap the corresponding buttons
with touch pen included to
navigate various functions.
4. Press and hold Power Button
to turn off the device or to allow
the device to enter sleep mode.
Getting Started
EN
EN-10
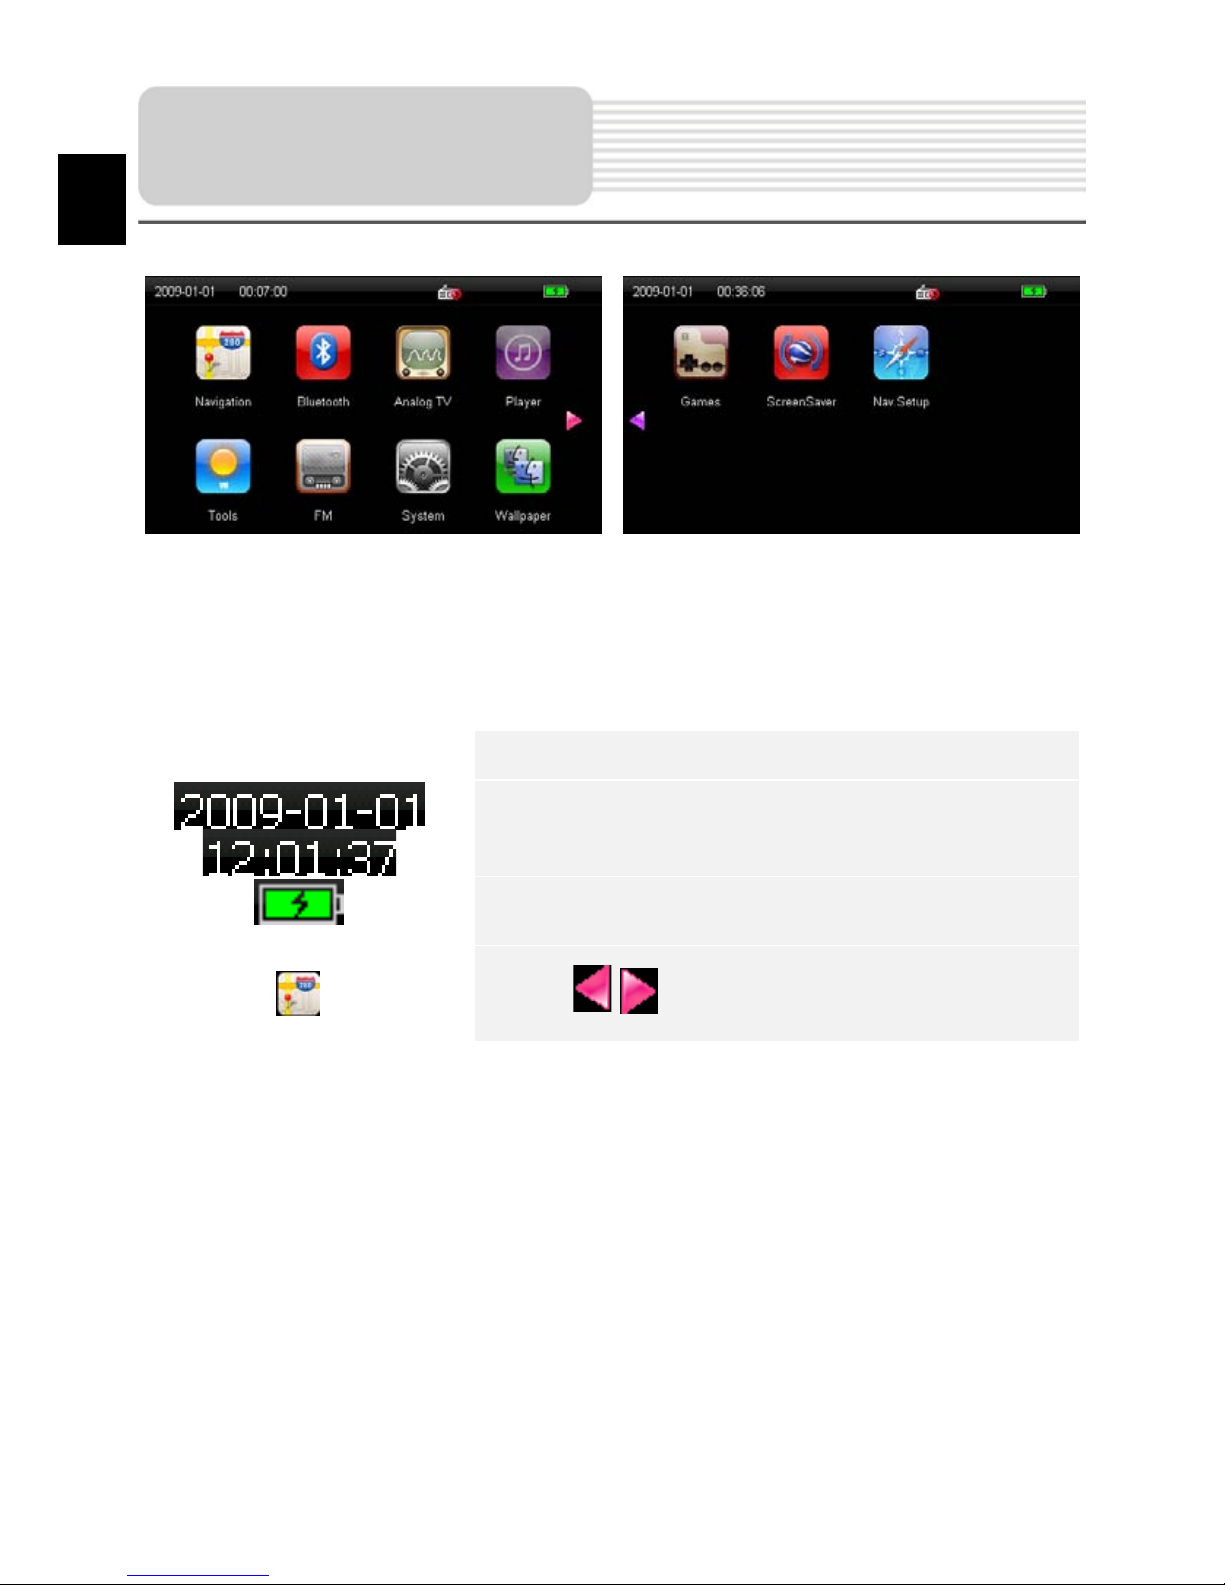
Shortly after the welcome screen is shown, main menu will be displayed automatically.
The main menu consists of the following sections: Navigation, Bluetooth, Analog TV,
Player, FM Radio, Tools, System Settings, Wallpaper, Games, and Screensaver.
In addition to the main menu icons the screen will display supplementary icons,
detailed as follows:
Item
Description
Displays date/time.
Indicates remaining battery capacity.
Tap on / to select functions.
Main Menu
EN
EN-11
NOTE:
Do NOT store audio files in the built-in flash storage for it may result in
system malfunction..
Reminders Regarding Music Playback Function
Audio files should be stored on the micro SD card.
The device supports WMA9, MP3 and WAV music formats.
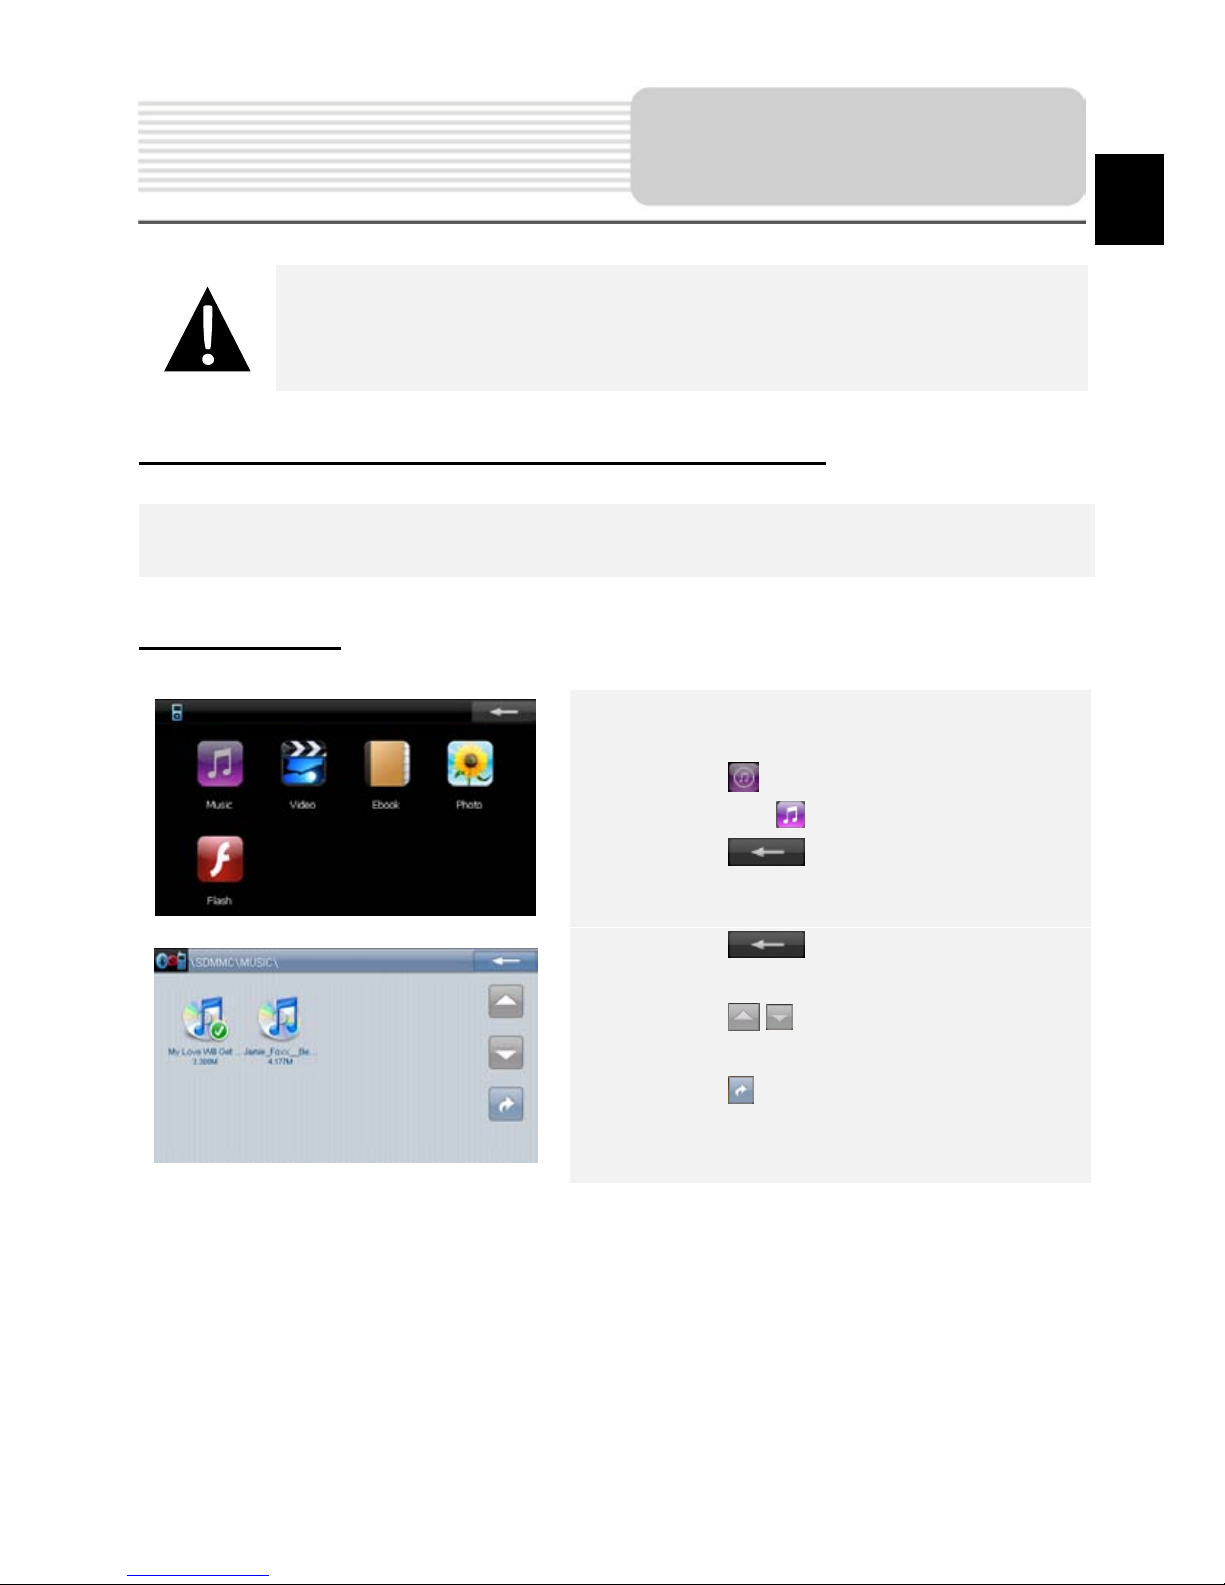
Playing Music
Insert SD card with audio files loaded
before powering on the device.
Tap on to enter Player function,
then tap on to enter audio files list.
Tap on t o exit t he current
function.
Tap on t o exit the current
function.
Tap on / to turn to previous/next
page.
Tap on to return to previous file.
Tap on the desired audio file to enter
music playback.
Music Player
EN
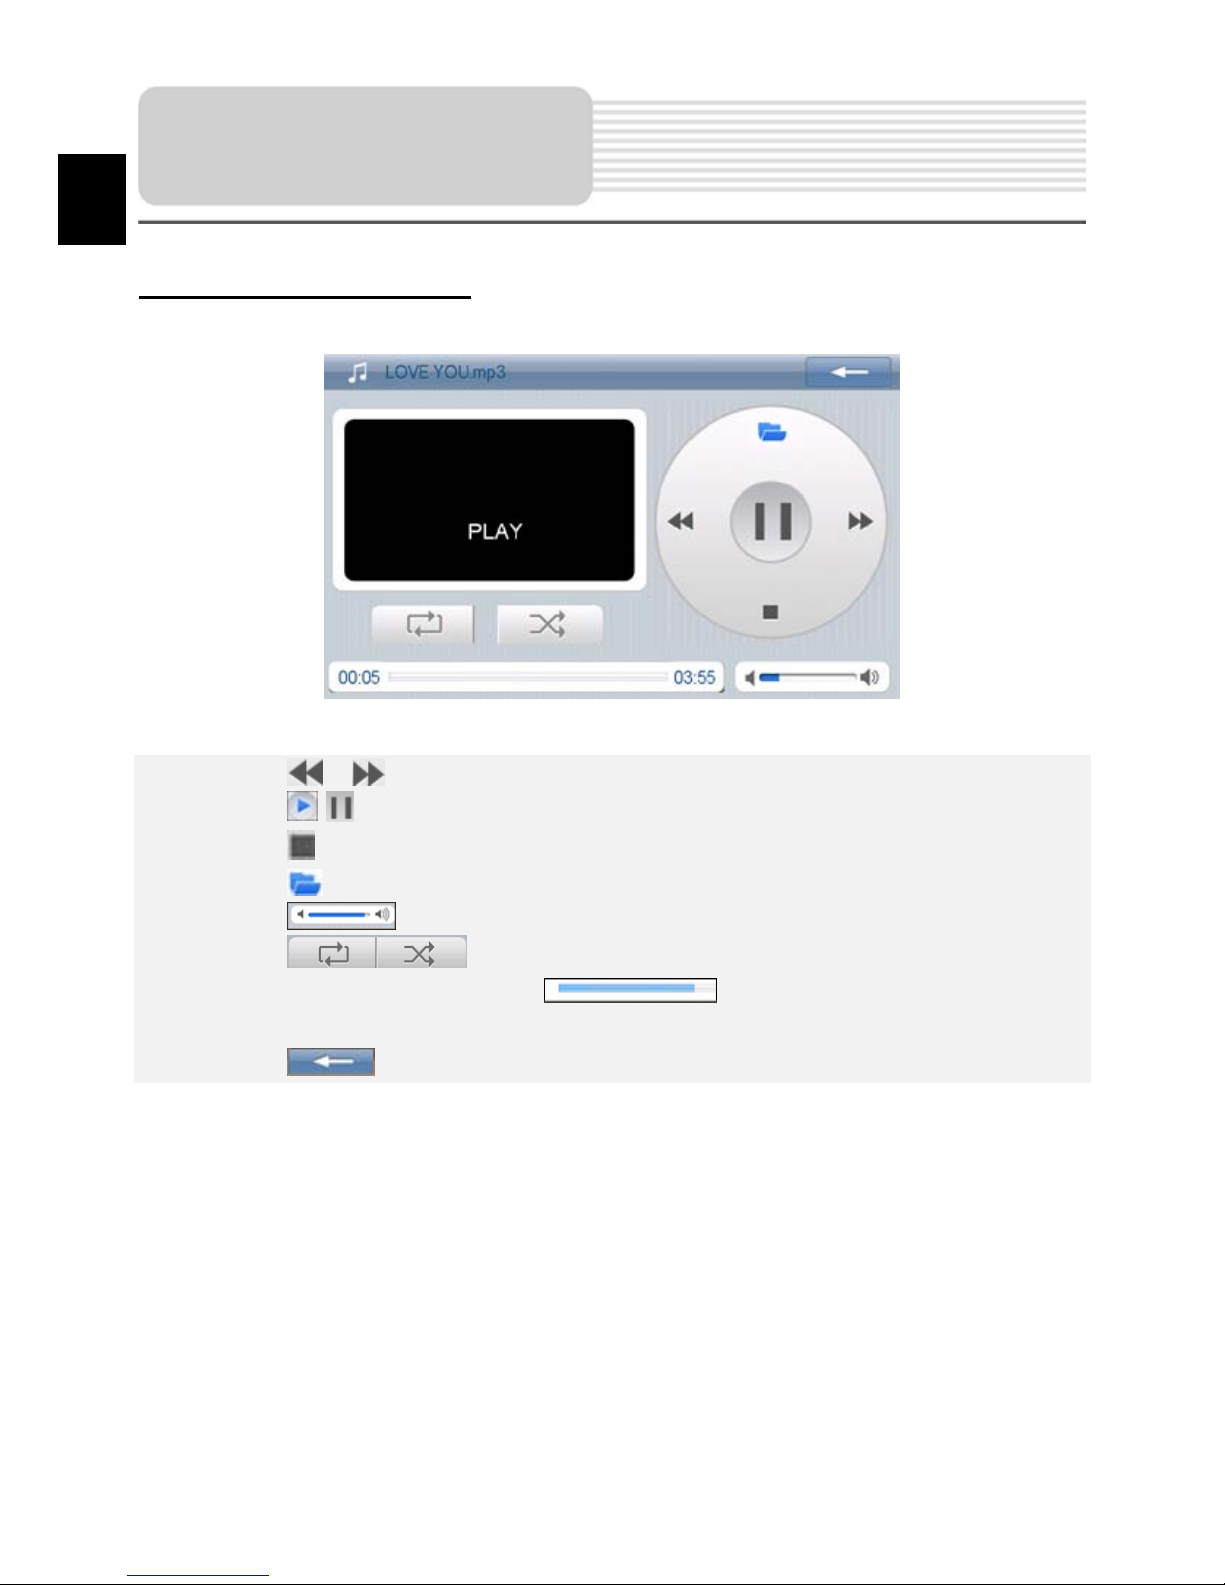
EN-12
During Music Playback
Tap on / to return to previous/skip to next song.
Tap on / to play/pause playback.
Tap on to stop playback.
Tap on to enter audio files list.
Tap on t o adj ust volume.
Tap on to select Repeat/Random playback.
Tap on and drag the bar slider to select desired starting time for
playback.
Tap on t o exit t he Music mode.
Music Player
EN
 Loading...