

Page 1

EasiShow Editor
Application Software
User Manual
Version 4..2.0
www.prestigio.com
Page 2

Contents
1. Installation ................................................................................ 1
2. Installation ................................................................................ 1
2.1 Running Environment ............................................................... 1
2.2 Installing EasiShowEditor .......................................................... 1
3. Manual ...................................................................................... 8
3.1 Working Area ............................................................................ 8
3.2 Main Operation Area ................................................................ 8
3.2.1 New project ............................................................................................. 9
3.2.2 Open project ........................................................................................... 9
3.2.3 Save project ........................................................................................... 11
3.2.4 Add page ............................................................................................... 11
3.2.5 Delete page ........................................................................................... 16
3.2.6 Edit page................................................................................................ 17
3.2.7 Add Resource ........................................................................................ 18
3.2.8 Preview .................................................................................................. 19
3.2.9 Set Presenter ......................................................................................... 20
3.3 Page Area ............................................................................... 21
3.4 Resource Area ......................................................................... 21
3.4.1 Resource Editing Area ........................................................................... 21
3.4.1.1 Edit the date ................................................................................ 22
3.4.1.2 Delete resource ........................................................................... 22
3.4.1.3 Replace resource ......................................................................... 22
3.4.1.4 Edit the text ................................................................................. 23
Page 3

3.4.1.5 Edit the resource name ............................................................... 23
3.4.1.6 Ordering the resource ................................................................. 23
3.4.2 Grouping Resource Area ....................................................................... 24
3.5 Upgrade .................................................................................. 25
3.6 Help ........................................................................................ 25
3.7 About ..................................................................................... 26
Page 4

1. Introduction to the software
EasiShowEditor is a kind of media and resource editing software developed by
Guangzhou Shirui Electronic Co., Ltd, which offers the functionality of material
editing for the presentation of the EasiShow.
2. Installation
2.1 Running Environment
Windows XP/ 7
. Net Framework 4.0 and more advanced version
2.2 Installing EasiShowEditor
Select ***.exe – the application software installer. Double click the installer icon
to pop up the Language Selection dialogue box as shown in Figure2-2-1.
Figure 2-2-1 Language Selection
Click “Ok” to enter to extract the software as shown in Figure2-2-2.
User Manual EasiShow Editor (Application Software) 1
Page 5
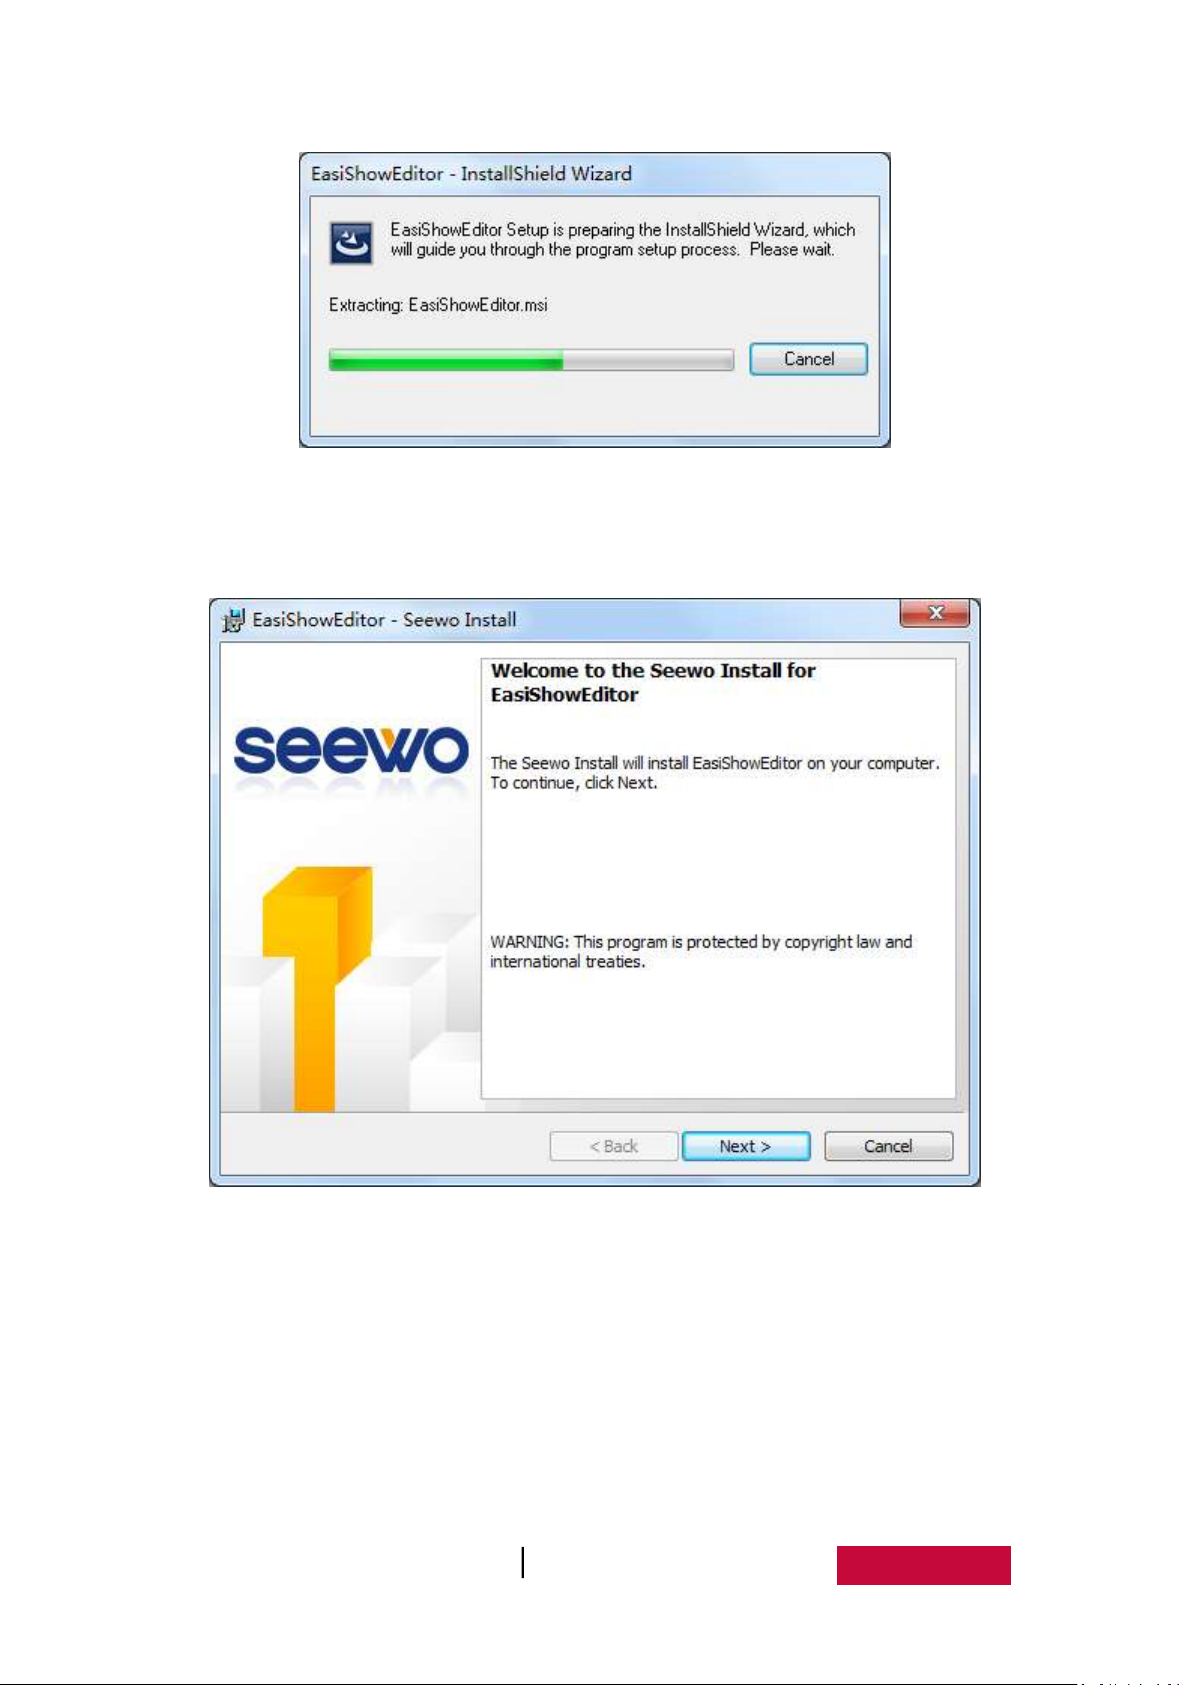
Figure 2-2-2 Extracting Interface
After extracting the software, pop up the Ready to Install Screen as shown in
Figure 2-2-3.
Figure 2-2-3 Ready to Install Screen
Click “Next” to Software End-user License Agreement Screen as shown in Figure
2-2-4.
User Manual EasiShow Editor (Application Software) 2
Page 6

Figure 2-2-4 End-user License Agreement Screen
Click Next to install the software as shown in Figure 2-2-5.
Figure 2-2-5 Installation Path Selection
In the Installation Finish screen as shown in Figure 2-2-6, click Finish to finish
User Manual EasiShow Editor (Application Software) 3
Page 7

the installation.
Figure 2-2-6 Finish Installation
If you have already installed Microsoft .Net Framework4.0 you can directly jump
to click “Finish” to finish installation as shown in Figure 2-2-6, else you should
install .Net Framework4.0 as shown in Figure 2-2-7.
User Manual EasiShow Editor (Application Software) 4
Page 8
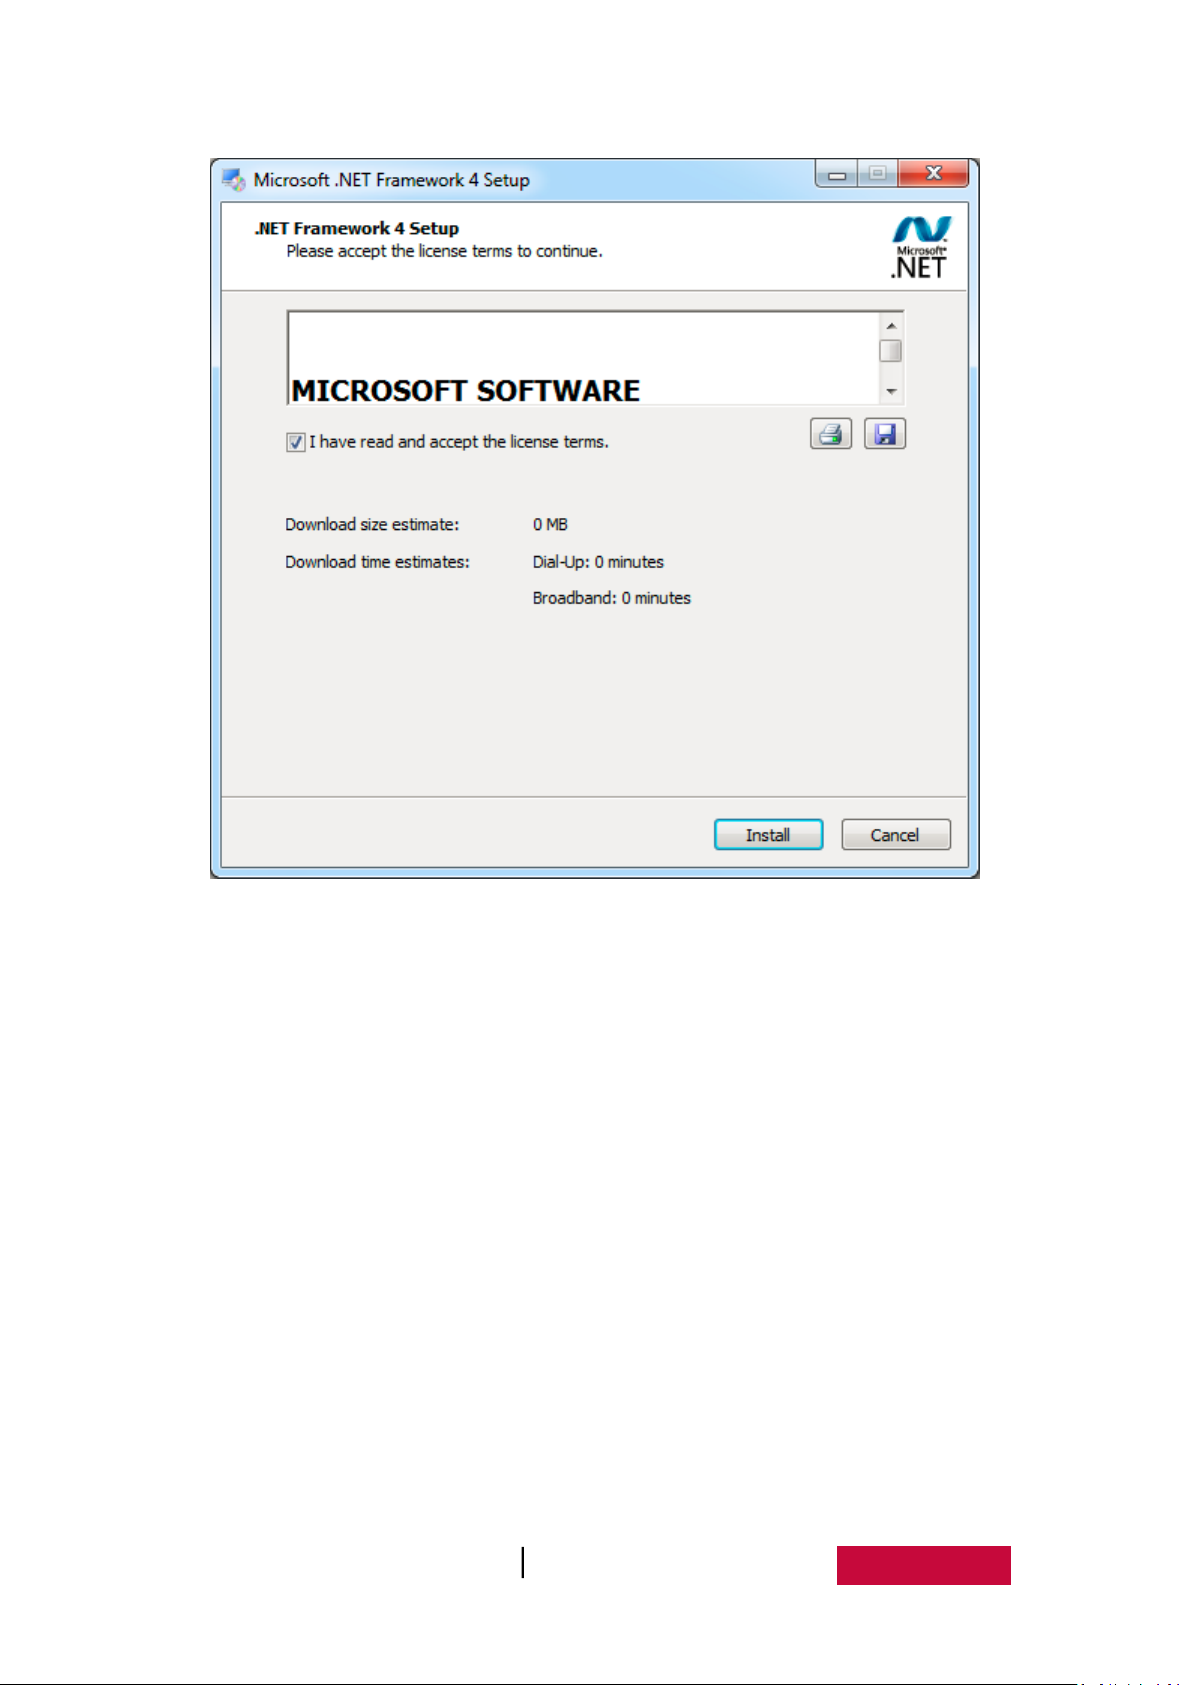
Figure 2-2-7 .Net4.0 Installation Interface
Select “I have read and accept the license terms”, then click Install button to
enter the progress of the installation screen as shown in Figure 2-2-8.
User Manual EasiShow Editor (Application Software) 5
Page 9
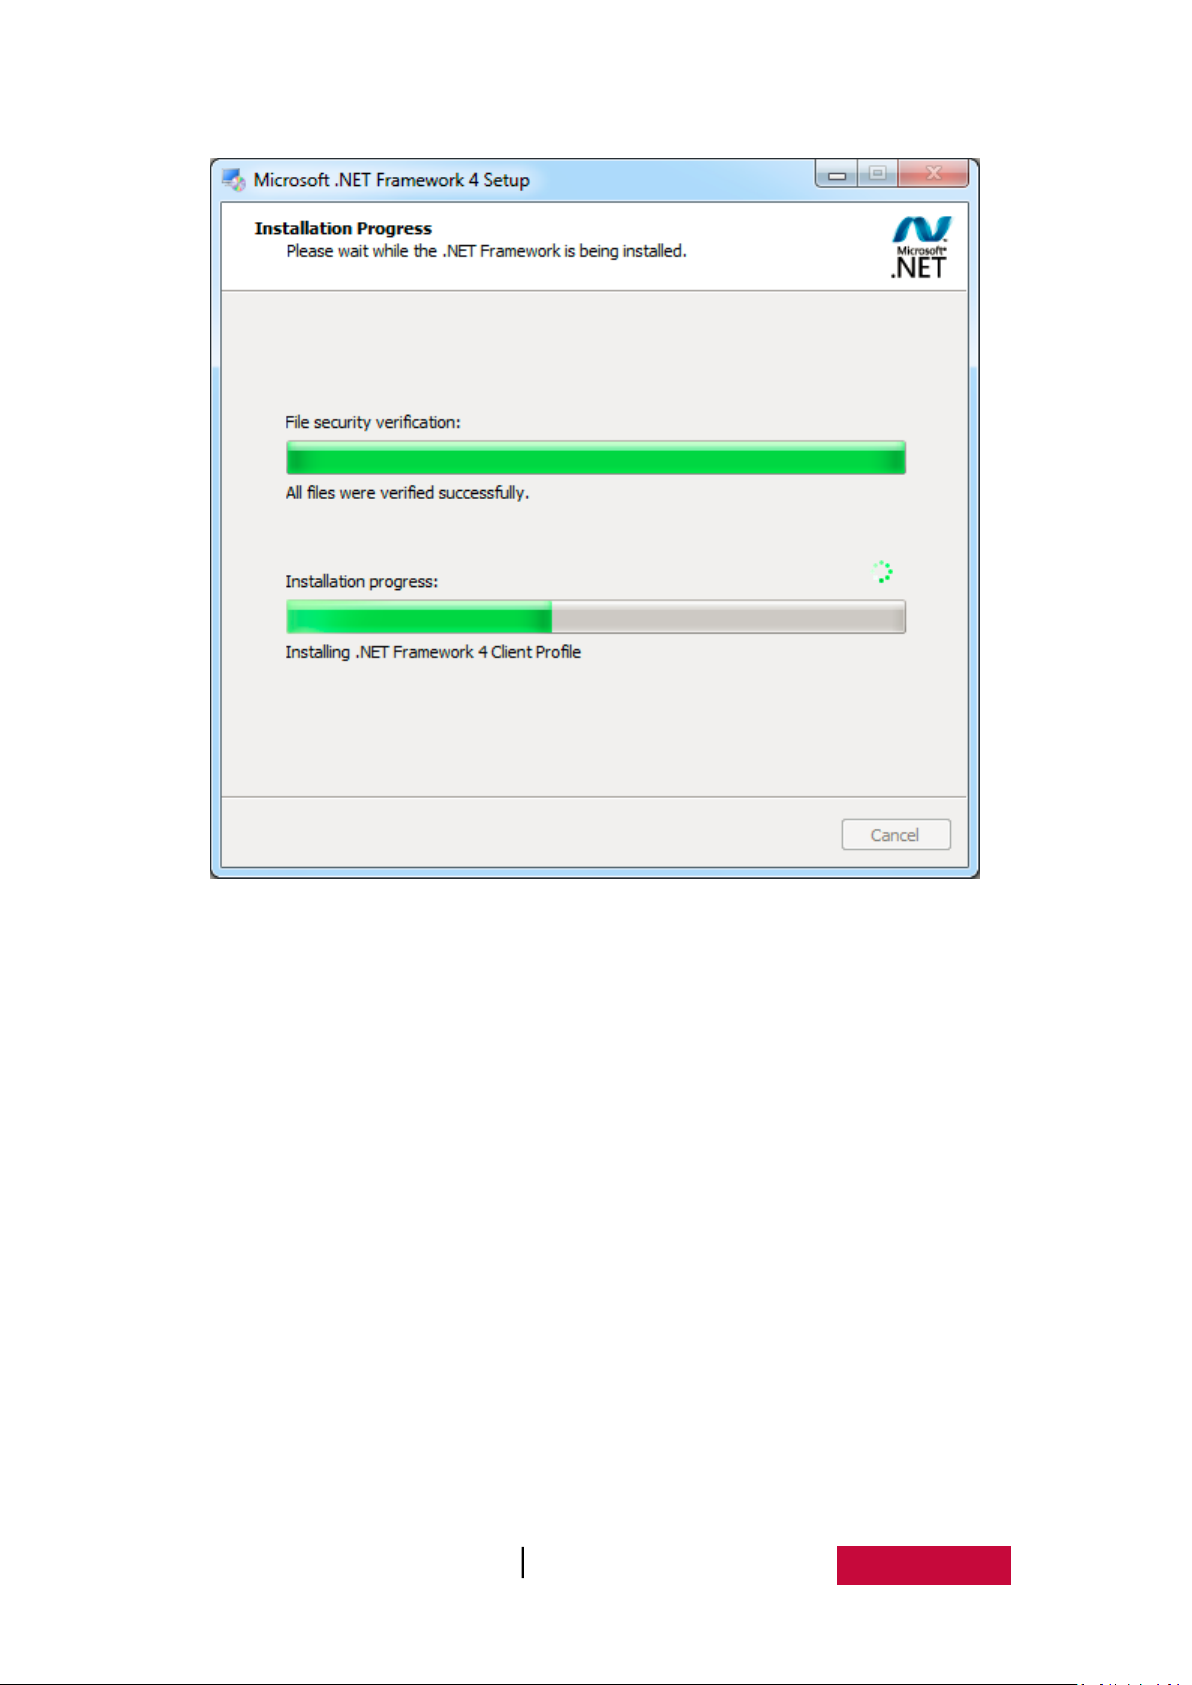
Figure 2-2-8 Progress of the installation
Installation Finish Screen as shown in Figure 2-2-9.
User Manual EasiShow Editor (Application Software) 6
Page 10

Figure 2-2-9 Installation Finish
After installed Microsoft .Net Framework4.0, click “Finish” to finish installation,
at the same time, the screen shown 2-2-6 will shut off automatically and the
software installation finish.
User Manual EasiShow Editor (Application Software) 7
Page 11

3. Manual
When the software installation is finished, double click the icon on the
desktop or select EasiShowEditor from the Programs drop-down list in Start menu to
start EasiShowEditor application software.
3.1 Working Area
After starting the EasiShowEditor, its layout for the working area of the editor is
shown as the following Fig.3-1.
Fig.3-1-2 Layout of Working Area
3.2 Main Operation Area
Fig.3-2 Buttons in Main Operation Area
User Manual EasiShow Editor (Application Software) 8
Page 12

3.2.1 New project
Click the button and then pop up a relevant window shown as the
following Fig.3-2-1. Input the project name and select the saving path as well as the
background photo on the home page. Click the button “OK” to create a new project.
Fig.3-2-1 Interface of A New Project
3.2.2 Open project
Click the button to open the resource package of an existing project
shown as the following Fig.3-2-2-1.
User Manual EasiShow Editor (Application Software) 9
Page 13

Fig.3-2-2-1 Project File
Click the default.eso file in the project to open the resource package shown as
the following Fig.3-2-2-2. If the project is an older version of the software to edit the
resource package works for default.esd file, open the project and the software will
automatically convert them to default.eso file, and then it will generate a new
project folder in the current directory.
Fig.3-2-2-2 Interface After Opening a Project
User Manual EasiShow Editor (Application Software) 10
Page 14

3.2.3 Save project
Click the button to save project shown as the following Fig.3-2-3. When
resource package is finished, exit the software can also save the resource package in
the original location of the saved, as shown in the 3.2.1 New project.
Fig.3-2-3 Interface of Save the Project
3.2.4 Add page
Click the button . You can see a page preview shown as the following
Fig.3-2-4-1 after inputting the page name and selecting the template type as well as
the background. Click “OK” to create a new page.
User Manual EasiShow Editor (Application Software) 11
Page 15

Fig.3-2-4-1 Interface of Adding a Page
There are altogether eight template types, namely SubMainPage, Timeline,
Photo gallery, Photo ball classification, photo hash, photo double ball, photo text and
show window. Please refer to the following Fig.3-2-4-2.
Fig.3-2-4-2 Template Types
(1) SubMainPage
User Manual EasiShow Editor (Application Software) 12
Page 16

Fig.3-2-4-3 Sub Main Page
(2)Timeline
(3) Photo Gallery
Fig.3-2-4-4 Time line Page
User Manual EasiShow Editor (Application Software) 13
Page 17

Fig.3-2-4-5 Photo Gallery Page
(4) Photo Ball classification
Fig.3-2-4-6 Photo Ball classification Page
(5) Photo Hash
User Manual EasiShow Editor (Application Software) 14
Page 18

Fig.3-2-4-7 Photo Hash Page
(6) Photo Double ball
(7) Photo Text
Fig.3-2-4-8 Photo Double Ball Page
User Manual EasiShow Editor (Application Software) 15
Page 19

Fig.3-2-4-9 Photo Text Page
(8) Show Window
3.2.5 Delete page
Fig.3-2-4-10 Show Window Page
In the page area, select the target page(s) and click the button to delete
all the selected ones and the relevant data.
User Manual EasiShow Editor (Application Software) 16
Page 20

3.2.6 Edit page
In the page area, select the target page(s) and click the button to open
the home page editing shown as the following Fig.3-2-6-1 or the page editing shown
as the following Fig.3-2-6-2. The home page can edit the background and set to
Synchronization of modify other page background; The other page can edit the page
name, template type, page background, and set with the same background as the
home page, and then preview the effect at the same time.
Fig.3-2-6-1 Edit the Home Page
User Manual EasiShow Editor (Application Software) 17
Page 21

Fig.3-2-6-2 Edit the Page
3.2.7 Add Resource
Select the target page and click the button to add resource. Select the
target resource and then click the button “Open”. Please refer to the following
Fig.3-2-7-1. (Home page and the Submainpage cannot add resources.)
Fig.3-2-7-1 Select the Target Resource
User Manual EasiShow Editor (Application Software) 18
Page 22

Fig.3-2-7-2 Interface After Adding Resource
In addition, as for the “Photo Ball Classification” template, please add resource
after clicking the button of “Add new group” or “Select exiting group”. Please refer to
the following Fig.3-2-7-3.
Fig.3-2-7-3 Add or Select the Existing Group
3.2.8 Preview
Click the button to enter the home page shown as the following
Fig.3-2-8-1. Click the page button on the home page to preview the page shown as
User Manual EasiShow Editor (Application Software) 19
Page 23

the following Fig.3-2-8-2.
Fig.3-2-8-1 Home Page Preview
Fig.3-2-8-2 Preview of Page
Click close button on the top right corner to quit.
3.2.9 Set Presenter
Click the button to set relevant welcome photos and texts and switch
over the position of the page operation buttons shown as the following Fig.3-2-9.
User Manual EasiShow Editor (Application Software) 20
Page 24

Fig.3-2-9 Interface of Setting Presenter
3.3 Page Area
3.4 Resource Area
Fig.3-3-1 Layout of Page Area
3.4.1 Resource Editing Area
Select the resource and you will see a button of “Edit” on the right shown as the
following Fig.3-4-1. All of these, only Timeline can edit date, delete resources,
replace resources, edit text, edit resources name, and other interface can delete
resources, replace resources and edit resources name.
User Manual EasiShow Editor (Application Software) 21
Page 25

3.4.1.1 Edit the date
Fig.3-4-1 Resource Editing Button
Select the target resource and then click the button to edit date. Select a
certain date and then click “OK”. Please refer to the following Fig.3-4-1-1.
Fig.3-4-1-1 Edit the Date
3.4.1.2 Delete resource
Select the target resource and click the button to delete it and relevant info
as well.
3.4.1.3 Replace resource
Select the target resource and click the button to replace the current
resource with new Resource. Please refer to the following Fig.3-4-1-2.
User Manual EasiShow Editor (Application Software) 22
Page 26

Fig.3-4-1-2 Modify Resource
3.4.1.4 Edit the text;
Select the target resource and click the button to open a relevant window.
Input the text in the window and click “OK”.
Fig.3-4-1-3 Modify the Remark of the Resource
3.4.1.5 Edit the resource name
Click the resource name to modify it and save the modification by clicking any
area outside the name.
3.4.1.6 Ordering the resource
Directly drag the resource for ordering. (Timeline default sorting by time, you
can’t drag the resource for ordering.)
User Manual EasiShow Editor (Application Software) 23
Page 27

Fig.3-4-1-4 Drag the Resource for Ordering
3.4.2 Grouping Resource Area
In the ball classification, you must group the photo. The resources area can be
edit, delete to the group shown as the following Fig.3-4-2-1.
Fig.3-4-2-1 Buttons of Grouping Edit
Click the button of “Edit Group” to modify the grouping names shown as the
following Fig.3-4-2-2.
Fig.3-4-2-2 Editing the Grouping Name
User Manual EasiShow Editor (Application Software) 24
Page 28

Click the “Delete Group” button to delete the groupings and other sources.
3.5 Upgrade
Click to update the software. If the software isn’t the newest version,
click “Yes” to start loading the updating files shown as the following Fig.3-5-1. And
then enter the interface of installing the software. For details, please refer to the
content in “2.Installation”.
Fig.3-5-1 Upgrade to new version
If the software is the newest version, click “OK” to close the window shown as
the following Fig.3-5-2.
Fig.3-5-2 Interface of Software Upgrading
3.6 Help
Click on the button to browse the manual shown as the following Fig.3-6.
User Manual EasiShow Editor (Application Software) 25
Page 29

Users can refer to the instruction to use the software.
Fig.3-6 Software Manual interface
3.7 About
Click the button to show the software info, including name, version, and
so on. Please refer to the following Fig.3-7.
Fig.3-7 the software info
User Manual EasiShow Editor (Application Software) 26
Page 30

It is all about the manual for EasiShowEditor. The manual may be
updated without prior notice.
Thanks again for choosing our product.
User Manual EasiShow Editor (Application Software) 27
 Loading...