

Prestige APS-25E Owner's Manual
Model APS-25E
3 Button Remote Security
System Owner's Manual
Table Of Contents:
Introduction Features and Options Page 2
Arming The System Page 3 - 4
Protection While Armed Page 4
Disarming Your System Page 4
Intrusion Signals Page 4
Valet Override, Programming & Safety Control Switch Page 5
Manually Overriding Your System Page 5
Eliminating the Arm/Disarm Chirps Page 5
Remote Panic Operation Page 6
Trunk Release/Optional Device Channels Page 6
Replacement or Additional Transmitters Programming Page 7
Transmitter Battery Replacement Page 7
System Features At A Glance Page 8
FCC COMPLIANCE
This device complies with Part 15 of the FCC rules and with RSS-210 of Industry
Canada.
Operation is subject to the following two conditions:
1. This device may not cause harmful interference, and
2. This device must accept any interference received, including any interference
that may cause undesired operation.
Warning!
Changes or modications not expressly approved by the party responsible for
compliance could void the user’s authority to operate the equipment
NOTE:The manufacturer is not responsible for any radio or TV interference
caused by unauthorized modications to this equipment. Such modications
could void the user’s authority to operate the equipment
PATENTED: www.voxxintl.com/company/patents
Page 1
128-9321
Page 1/8
PRESTIGE
Congratulations! Your purchase of this state-of-the-art security system
expresses a deep concern for the security of your vehicle, its contents,
and passengers. To fully appreciate the many functions and safeguards
incorporated in this system, please spend a few minutes reading this
manual. You may nd unexpected features that could mean the difference
between “protected” and “fully protected”.
FEATURES:
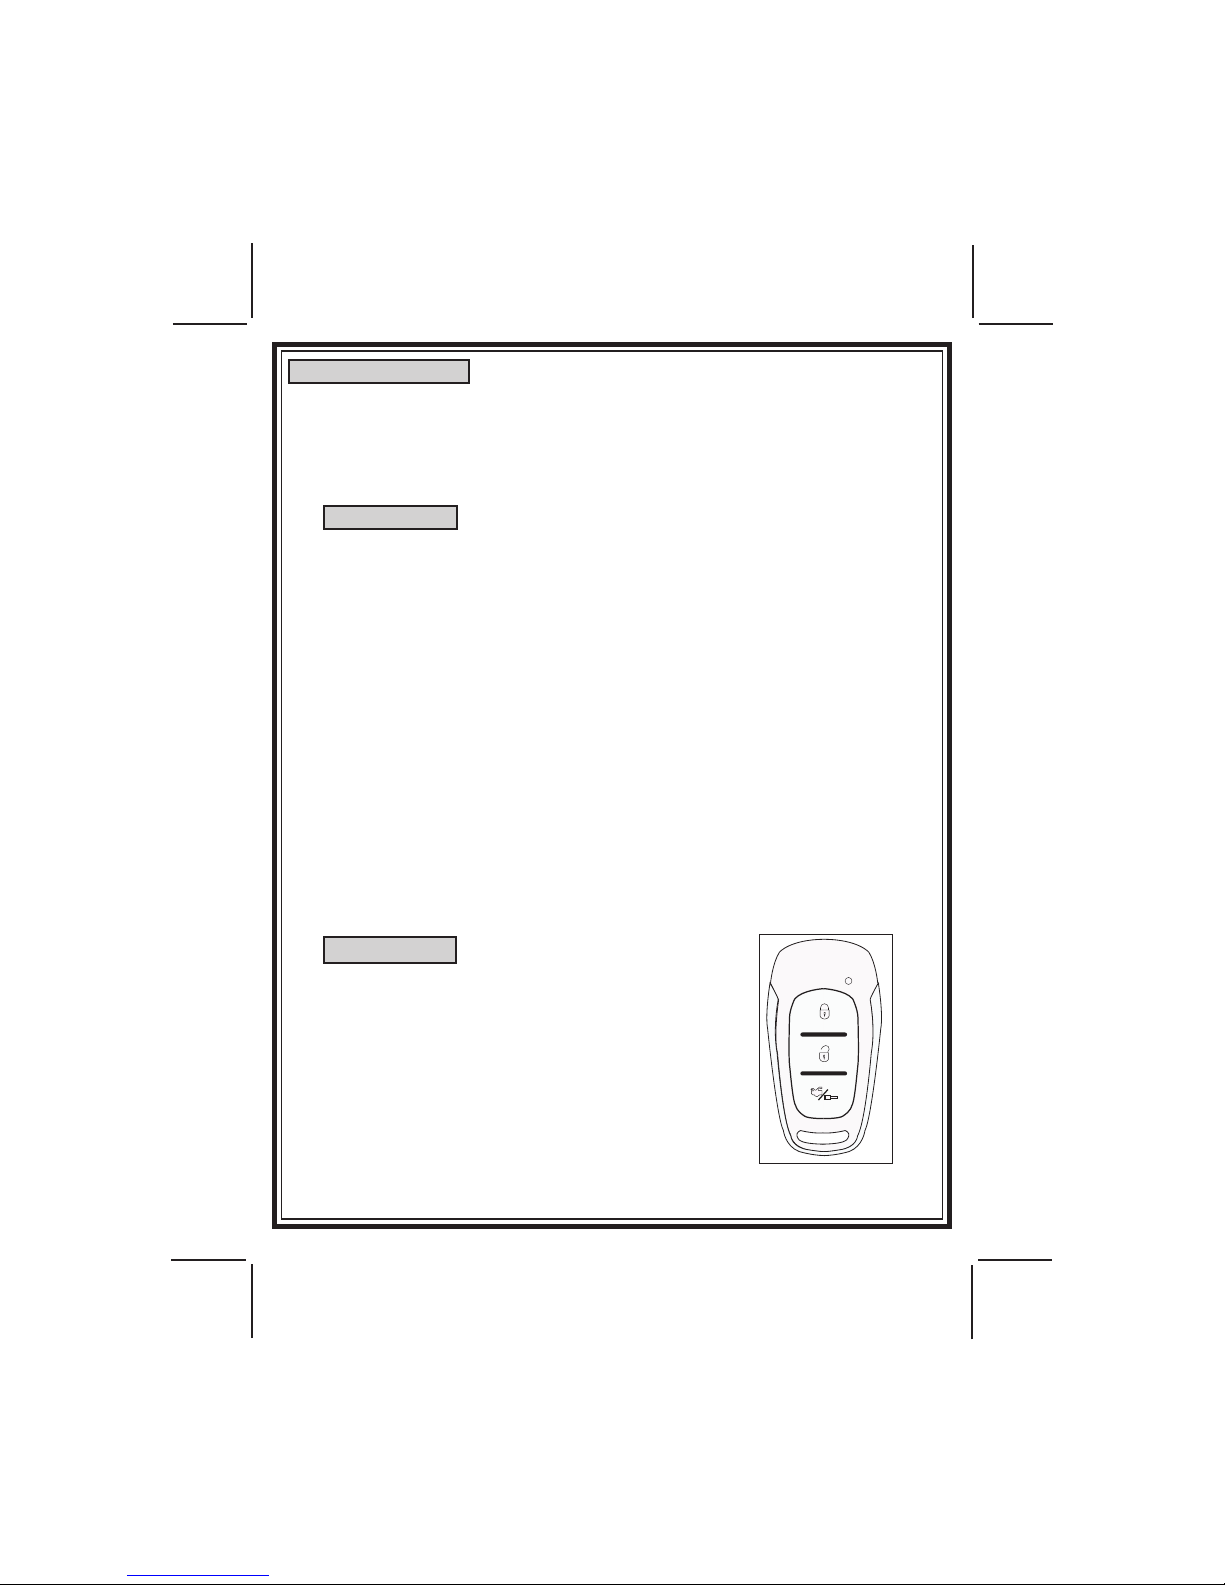
2 Three Button Programmable Code Hopping RF Transmitters
Three Channel Receiver ( capable of accepting 4 transmitters )
Code Learning
Remote Panic in all modes
Protected Valet
7 Function LED - Arm / Disarm / Zones 1, 2, & 3 / Valet / Arming
Intrusion Alert with Memory
Audible Arm / Disarm / Defective Zone / Tamper Conrmation
Instant Siren Activation
Starter Disable
True Last Door Arming ( hardwire only )
Defective Zone By - Pass
Hardwire or Voltage Sense Selectable
Active or Passive Arming Selectable
User Programmable Permanent Chirp Delete
6 Tone Multi-Tone Siren
Additional Negative Trigger Input
RF Inhibit with Ignition On
Parking Light Flasher
Plug In Dual Stage Shock Sensor
OPTIONS:
Remote Trunk Release
Remote Keyless Entry
Multiple Vehicle Capable
Remote Starter
Remote Power Window Roll Up
Page 2
128-9321
Page 2/8

ARMING THE SYSTEM: (ACTIVE)
1. Turn off the engine, exit the vehicle, and close and lock all doors, hood and
trunk.
2. Press and release the Lock button on the keychain transmitter. The siren
will "chirp" once, the vehicle's parking lights will ash once, the doors will
lock (optional) and the dash mounted LED will begin to slowly ash.
WARNING! Excessive pressure on the transmitter buttons will damage the in-
NOTE: If the siren "chirped" three times when Locked, then one of the entry points
ARMING THE SYSTEM: (PASSIVE)
1. Turn off the engine, exit the vehicle, close and lock all doors, hood and trunk.
2. The dash mounted LED will begin to ash rapidly, indicating that the system
is automatically (passive) arming. As an added convenience, the automatic
passive arming will not begin until all doors and trunk lid are closed, allowing
passengers to exit the vehicle at their convenience.
3. In 30 seconds, you will hear a single short "chirp" from the siren and the
vehicle's parking lamps will ash one time, indicating the system is ARMED.
At this time, the dash mounted LED will begin to ash slowly, providing a visual
indication that the system is fully ARMED.
OPTION NOTE: If the optional (not included) power door lock interface has been
a) Automatically lock the doors during step 3 above, or
b) Lock the doors only when the transmitter is operated
ternal components on the circuit board. All that is required is a light
push to the button.
(hood, trunk, doors) has been left opened. Closing the hood, trunk, or doors
will correct the problem and you do not need to disarm the system to make
the correction. If the siren "chirped" three times, sometime after arming,
the exclusive delayed dome light learn circuit has been programmed and
the system detected a open entry point after the learned delay expired.
Again, closing the hood, trunk, or doors will correct the problem and you
do not need to disarm the system to make the correction.
installed, the alarm control module can be programmed to:
4. If you wish to arm the system immediately, simply press and release the
ARMING button on the keychain transmitter. The siren will "chirp" once, the
vehicle's parking lamps will ash once, the doors will lock (optional), and the
dash mounted LED will begin to slowly ash.
Page 3
128-9321
Page 3/8
 Loading...