

Page 1
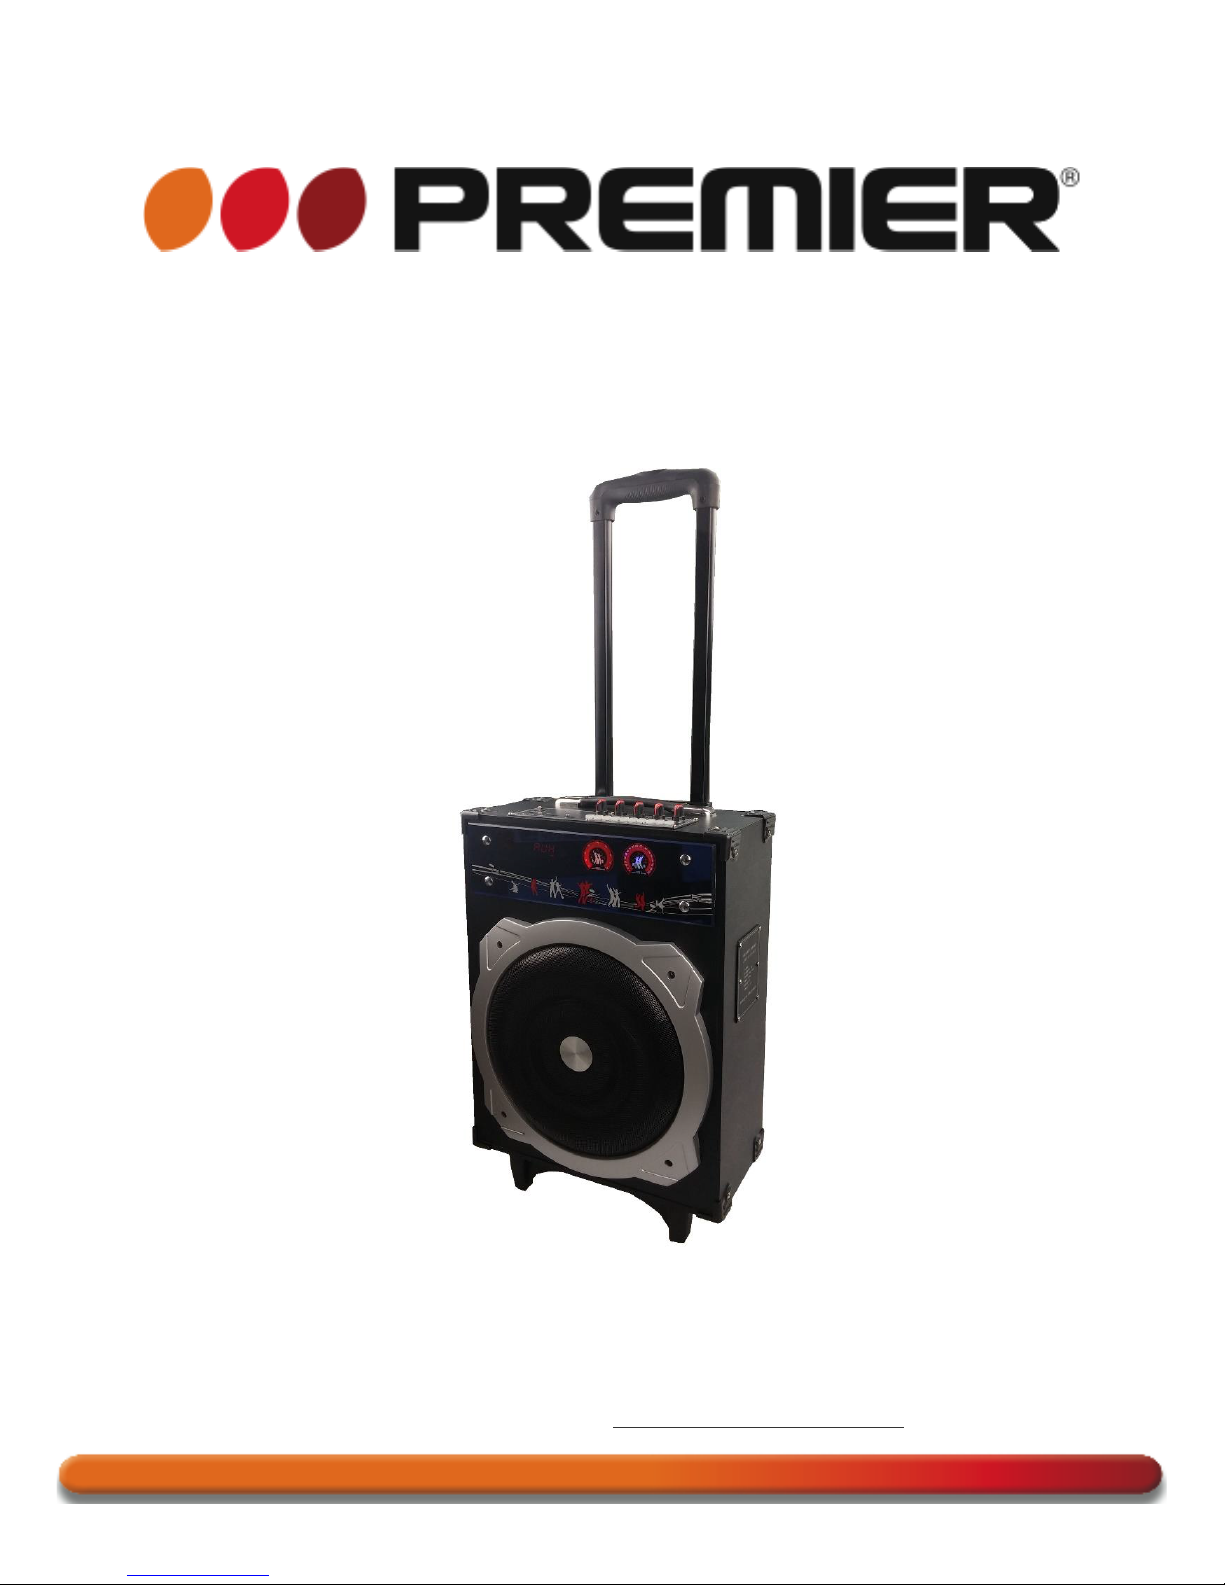
MANUAL DE INSTRUCCIONES
PARLANTE MULTIMEDIA RECARGABLE
BB-5570USBTB
ESTIMADO CLIENTE
Con el fin de que obtenga el mayor desempeño de su producto, por favor lea este manual de
instrucciones cuidadosamente antes de comenzar a utilizarlo, y guárdelo para su futura referencia.
Si necesita soporte adicional, no dude en escribir a: [email protected]
Page 2
P-1
ÍNDICE
CONTROL REMOTO ................................................................................................................................. 2!
PANEL DE CONTROL .............................................................................................................................. 2!
OPERACIÓN DE BLUE-CONNECT .......................................................................................................... 3!
ESPECIFICACIONES ................................................................................................................................ 4!
DIAGRAMA DE CIRCUITOS ..................................................................................................................... 4!
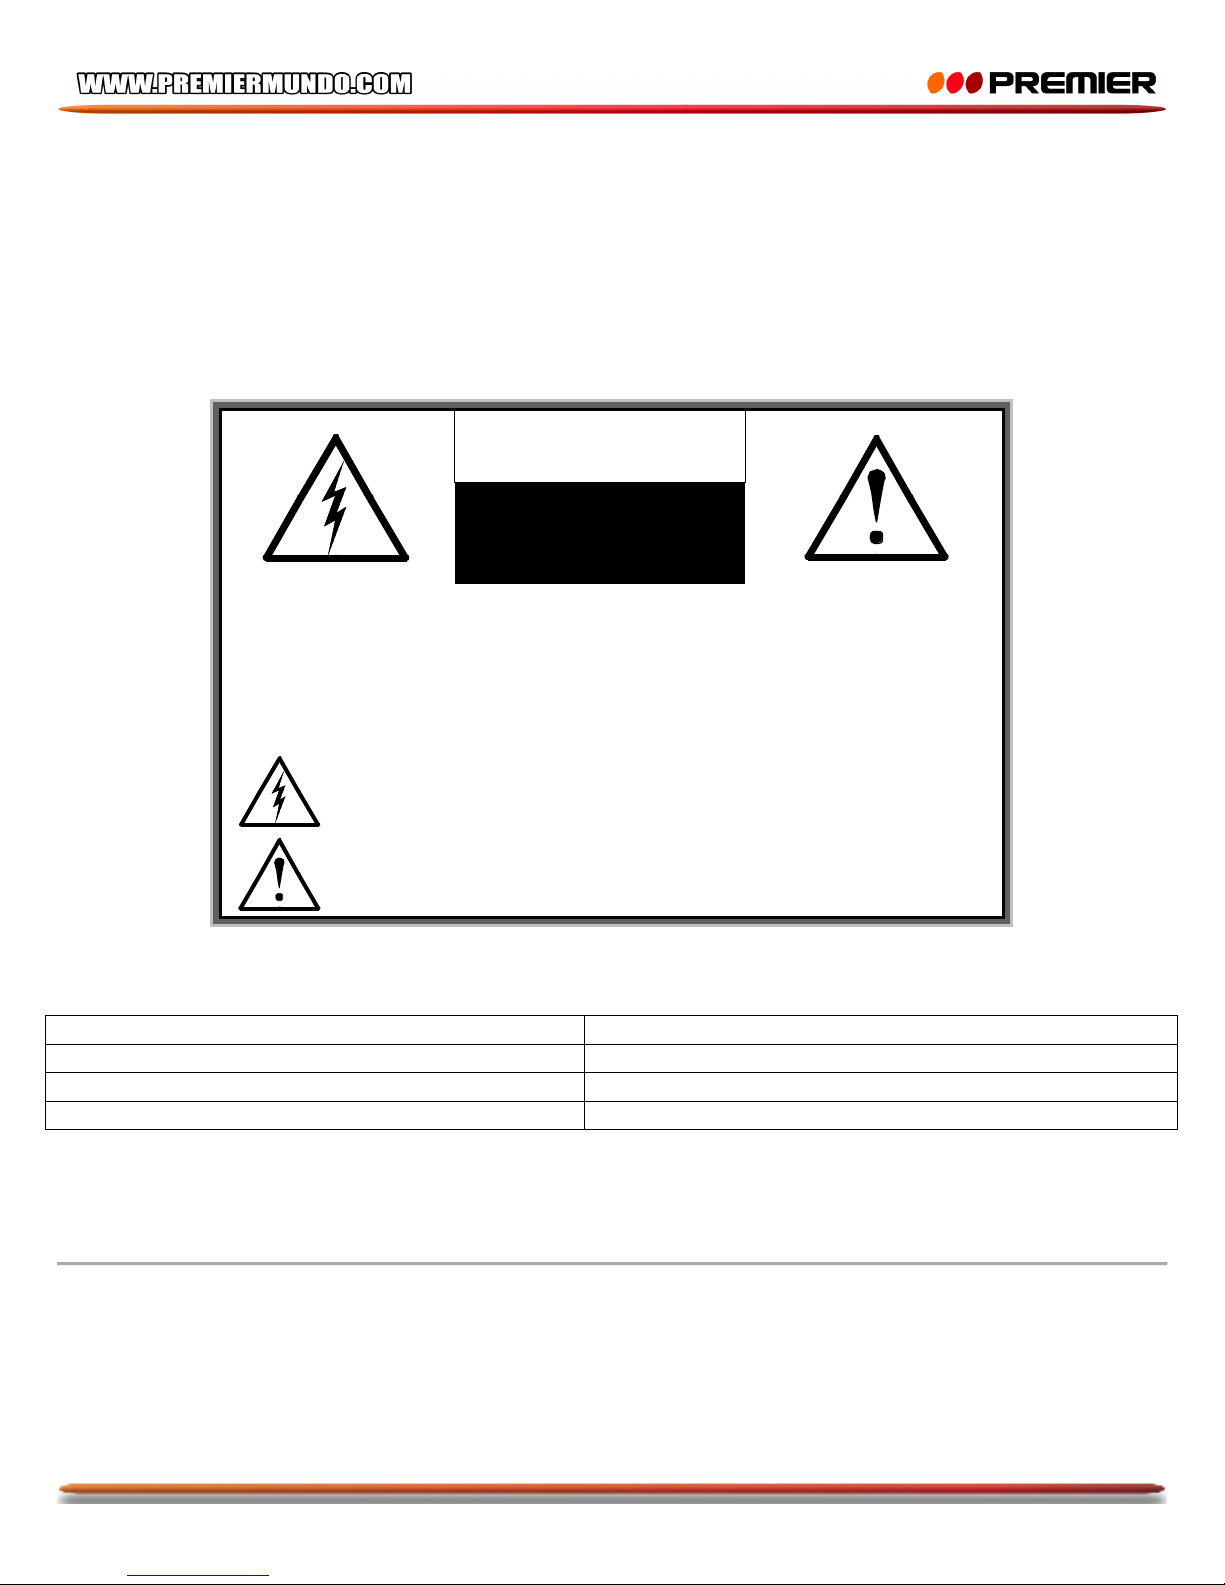
PRECAUCIÓN
RIESGO DE CHOQUE
ELÉCTRICO , NO ABRA
Precaución: Para reducir el riesgo de choque eléctrico, no
retire la cubierta, no hay partes manipulables por el usuario al
interior de la unidad. Refiera todo mantenimiento o
intervención técnica a personal técnico calificado.
Este símbolo indica la existencia de voltaje peligroso al
interior de esta unidad, que constituye un riesgo de choque
eléctrico.
Este símbolo indica que hay importantes instrucciones de
operación y mantenimiento en la literatura que acompaña a
esta unidad.
LÍNEAS DE SERVICIO AL CLIENTE PREMIER
Venezuela:
0800 – ELECTRIC (353-2874)
Panamá:
507 300-5185
Sitio Web:
www.premiermundo.com
E-mail:
NOTA
Nos reservamos el derecho de modificar las especificaciones, características y/u operación de este
producto sin previo aviso, con el fin de continuar las mejoras y desarrollo del mismo.
Page 3

P-2
CONTROL REMOTO
• Presione el botón Encender para reproducir música o poner la unidad en modo standby.
• Presione el botón Detener para detener por completo la operación de reproducción.
• Utilice el botón Silenciador para cancelar el sonido de la unidad. Presiónelo una vez más para
reactivarlo.
• Presione el botón Modo para cambiar la fuente de audio: Blueconnect, Auxiliar, FM, USB, Micro SD.
• Utilice el botón Repetir para para activar la función de repetición (una pista o todas las pistas).
• Utilice el botón de Ecualización durante la reproducción para seleccionar un tipo de actualización.
• Botón Anterior: presione este botón para ir a la pista anterior o estación de radio anterior.
• Botón Siguiente: presione este botón para ir a la pista siguiente o estación de radio siguiente.
• Play/Pausa: presione este botón para iniciar o pausar la reproducción. En el modo de radio FM,
presione este botón para escanear de forma automática las estaciones. Presiónelo de nuevo para
detener la búsqueda.
• Utilice los bolsones Volumen + y Volumen - para aumentar y disminuir el volumen.
• Botones Numéricos (0-9): utilice estos botones para ir directamente a una pista. En el modo de
radio, presione para ir a una estación radial. Después de presionar el número esperé 2 segundos y
la unidad irá a esta selección.
PANEL DE CONTROL
Ranura de Tarjeta TF/Micro SD: inserte una tarjeta en esta ranura. El sistema reproducirá de forma
automática las pistas. También puede presionar el botón MODO y seleccionar la opción TF en la
pantalla LED. El soporte máximo es de 16G.
Ranura USB: inserte una memoria USB en esta ranura. El sistema reproducirá las pistas de forma
automática. También puede presionar el botón MODO y seleccionar la opción USB en la pantalla LED.
El soporte máximo es de 16G.
Modo: presione el botón Modo para seleccionar la fuente de audio deseada. Cada vez que presione el
botón varía de la siguiente manera: Blueconnect, Auxiliar, FM, USB, Micro SD.
Anterior: durante la reproducción, presione este botón de manera corta para seleccionar la pista
anterior. En el modo de radio presione este botón de manera corta para ir a la estación radial anterior.
Play: utilice este botón durante la reproducción para iniciarla o pausarla. En el modo de radio,
presiónelo para comenzar la búsqueda de estaciones radiales. El sistema buscará las estaciones FM
desde la frecuencia más baja hasta la más alta y guardará las estaciones radiales de mayor potencia de
forma secuencial en los números de estaciones. Presione este botón nuevamente para detener la
búsqueda.
Siguiente: durante la reproducción, presione este botón de manera corta para seleccionar la pista
siguiente. En el modo de radio presione este botón de manera corta para ir a la estación radial
siguiente.
Ecualización: seleccione entre 4 modos: Jazz, Rock, Pop, Classic.
Page 4

P-3
Entrada Auxiliar: utilice esta entrada para conectar una fuente de audio externa.
Mic-In: aquí puede conectar un micrófono estéreo de 3.5 milímetros (también puede utilizar un
micrófono de 6.5 milímetros por medio de un adaptador).
Led Rojo: indica que la batería se está cargando.
Interruptor de Encendido: este es el botón maestro para encender y apagar la unidad.
Conector DC-12V: este es el conector del adaptador de corriente.
Volumen: gire para aumentar o disminuir el volumen.
Volumen de Micrófono: gire para aumentar o disminuir el volumen del micrófono.
Volumen de Eco: gire para aumentar o disminuir el volumen del eco del micrófono.
Graves: ajuste los sonidos graves.
Agudos: ajuste los sonidos agudos.
Repetición Sencilla: atajo para seleccionar la opción de repetición sencilla.
Jazz, Rock, Pop, Classic: atajo para seleccionar las opciones de ecualización.
Grabar: primero se debe colocar una memoria flash externa como una USB o tarjeta TF/Micro SD.
Presione este botón para activar la función de grabación, presiónelo de nuevo para comenzar a grabar
voz en el dispositivo que ha conectado. Para terminar de grabar, presione de nuevo el botón. El archivo
quedará grabado en el dispositivo. Si no coloque ningún dispositivo, no es posible grabar. Durante el
periodo de grabación no presione ningún otro botón.
Batería: el icono de batería en la pantalla LED indica que el parlante tiene suficiente batería. Cuando
comience a parpadear indica que la batería está baja. El tiempo de carga es de 5 a 6 horas.
OPERACIÓN DE BLUE-CONNECT
Esta función le permite conectar dispositivos externos de forma inalámbrica para que el parlante
reproduzca el audio.
1. Encienda el parlante; la función Blue-Connect se activa de forma automática en pocos segundos.
2. Cuando vea que la pantalla muestra la palabra “BLUE”, quiere decir que el dispositivo Blue-Connect
del parlante está esperando ser conectado a un dispositivo externo.
3. Utilice su dispositivo externo (teléfono móvil, tableta, etc.) para buscar una conexión Blue-Connect.
Seleccione la de esta unidad BB-5570USBTB y haga clic para realizar la conexión.
4. Si la conexión falla, apague el parlante e intente de nuevo en un momento.
5. Cuando la conexión sea exitosa puede reproducir su música en el dispositivo y escucharla en el
Page 5

P-4
parlante.
6. La versión Android menor a 2.0 necesita una contraseña como por ejemplo “0000”, “1234” o “8888”.
ESPECIFICACIONES
Frecuencia de Radio 87.5Hz- 108Hz
Potencia de Salida de Audio 12W
Frecuencia 100Hz-18KHz
Relación Señal a Ruido ≥75dB
Suministro de Energía DC 12V
Batería Incorporada Lion 12V 2000mAh
Dimensiones 330x195x540mm
Adaptador AC AC100V-240V 50/60Hz
DIAGRAMA DE CIRCUITOS
• Las personas y/o Marcas registradas en este manual de instrucciones no están afiliadas a Premier Electric Japan Corp. y aparecen en
este Manual con propósitos ilustrativos únicamente.
• El robot Android™ se reproduce o modifica a partir del trabajo creado y compartido por Google y es usado de acuerdo a los términos
descritos en la licencia de reconocimiento 3.0 de bienes comunes creativos.
• Android™ es una Marca Registrada de Google Inc.
Page 6

Page 7
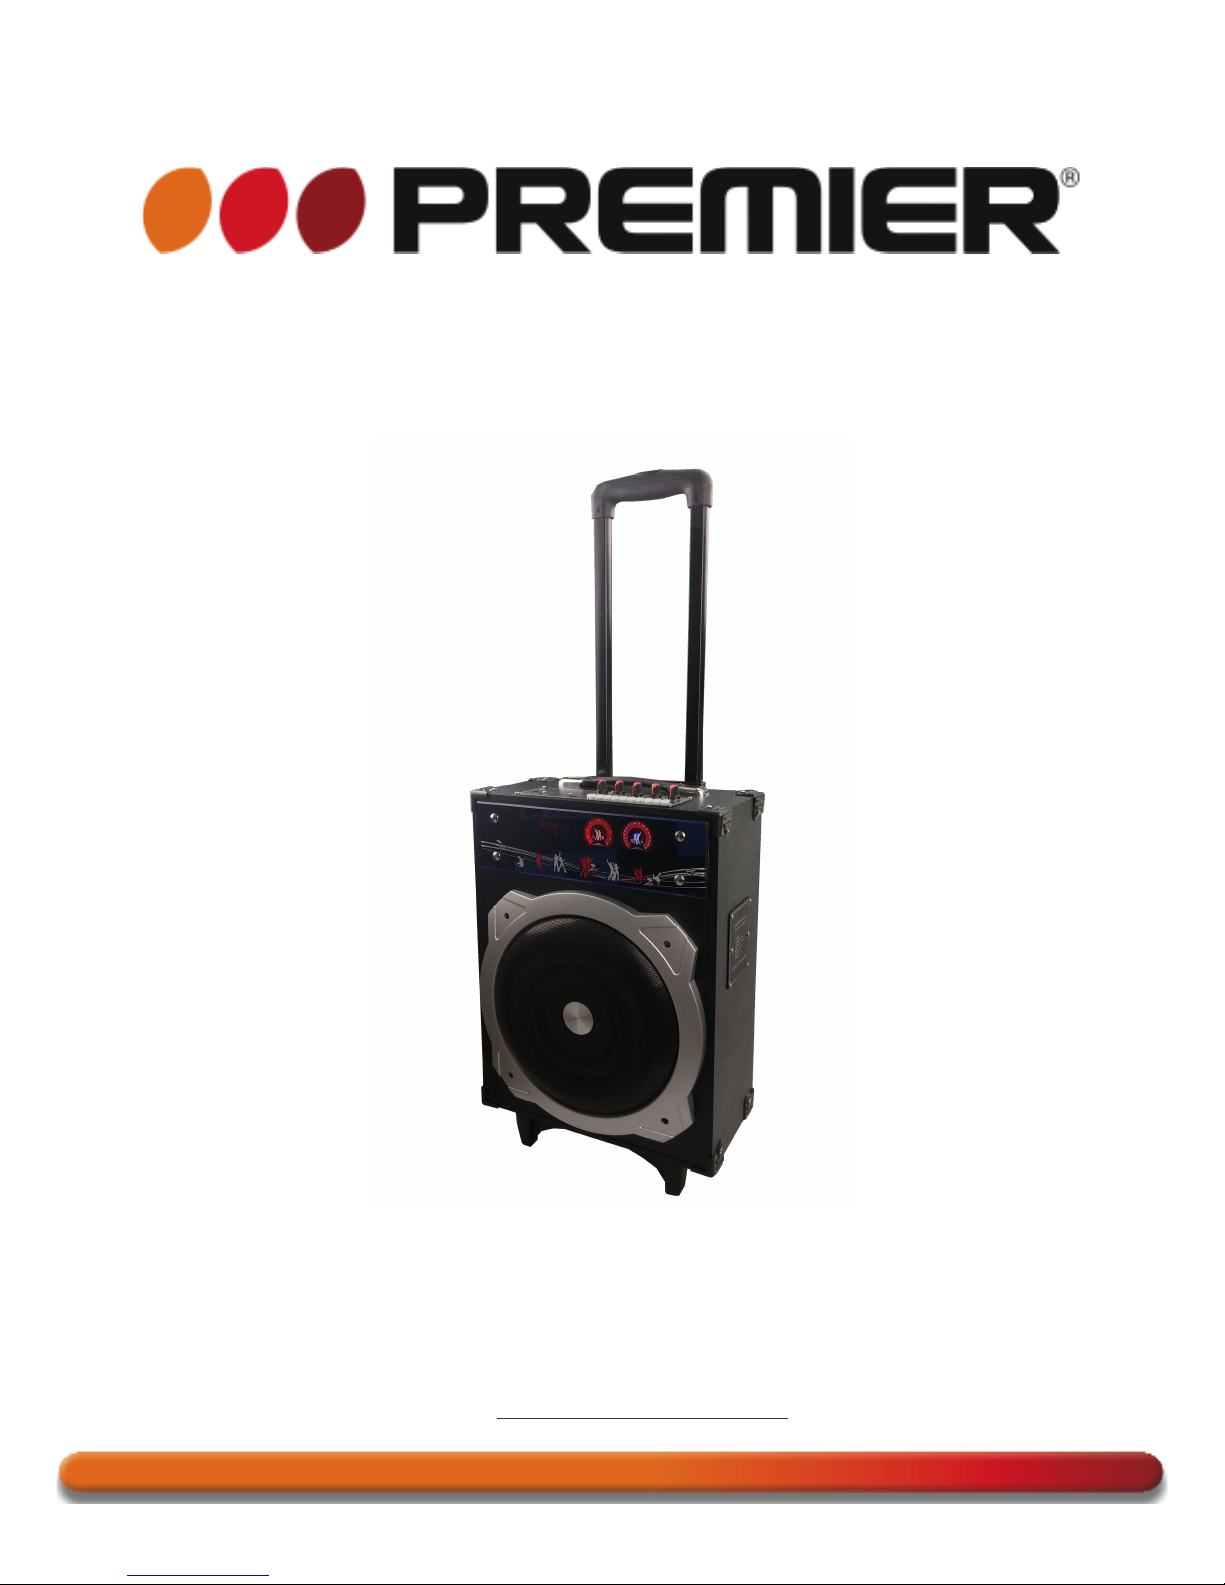
INSTRUCTION MANUAL
RECHARGEABLE MULTIMEDIA SPEAKER
BB-5570USBTB
DEAR CUSTOMER
In order to achieve the best performance of your product, please read this instruction manual carefully
before using, and keep it for future reference.
If you need extra support, please write to [email protected]
Page 8
P-1
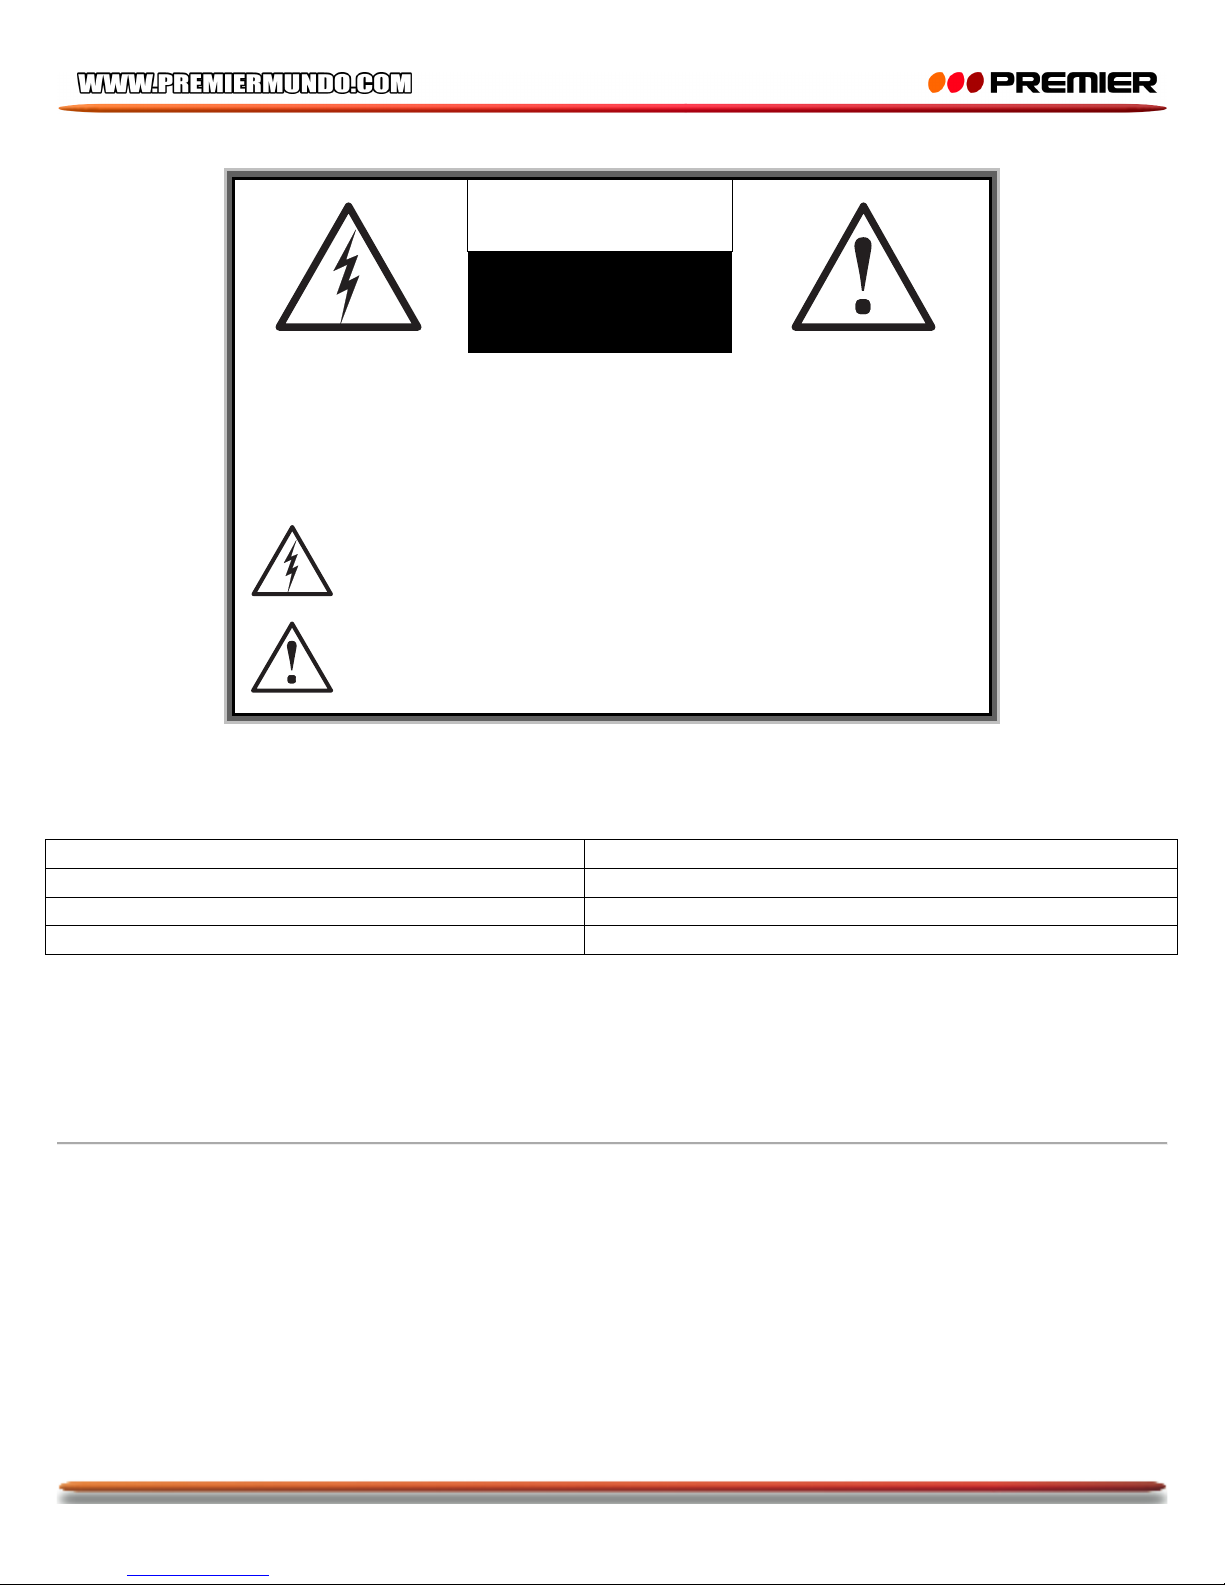
CAUTION
RISK OF ELECTRIC
SHOCK, DO NOT
OPEN
Caution: To reduce the risk of electric shock do not open
this device, there are not serviceable parts for customers.
Please refer any maintenance or repair to qualified
personnel.
This sign means the existence of dangerous voltage at
the inside of the unit, which states a risk of electric shock.
This sign means that there are important instructions of
operation and handling in the manual that comes with this
device.
PREMIER CUSTOMER SERVICE
Venezuela:
0800 – ELECTRIC (353-2874)
Panama:
507 300-5185
Website
www.premiermundo.com
E-mail:
NOTE
This unit may be submitted to changes in specifications, characteristics and/or operation without prior
notice to the user, in order to continue improving and developing its technology.
PORTABLE MULTI-MEDIA SPEAKER SYSTEM
-- Please read this manual carefully before starting to use the unit. -
Thank you for purchase PREMIER product. Your new multi-media music player can support different types of
flash memory. It can read USB Flash Drive and TF/MicroSD Flash Memory Cards. It is also a FM radio with
STATION SEEK and AUTO MEMORY STATION functions. Your unit is also incorporated BLUE-CONNECT
device act as an external amplified speaker for your other Blue-Connect music playback devices such as personal
computer, MP3/MP4 player, mobile phones and etc..
Page 9
P-2
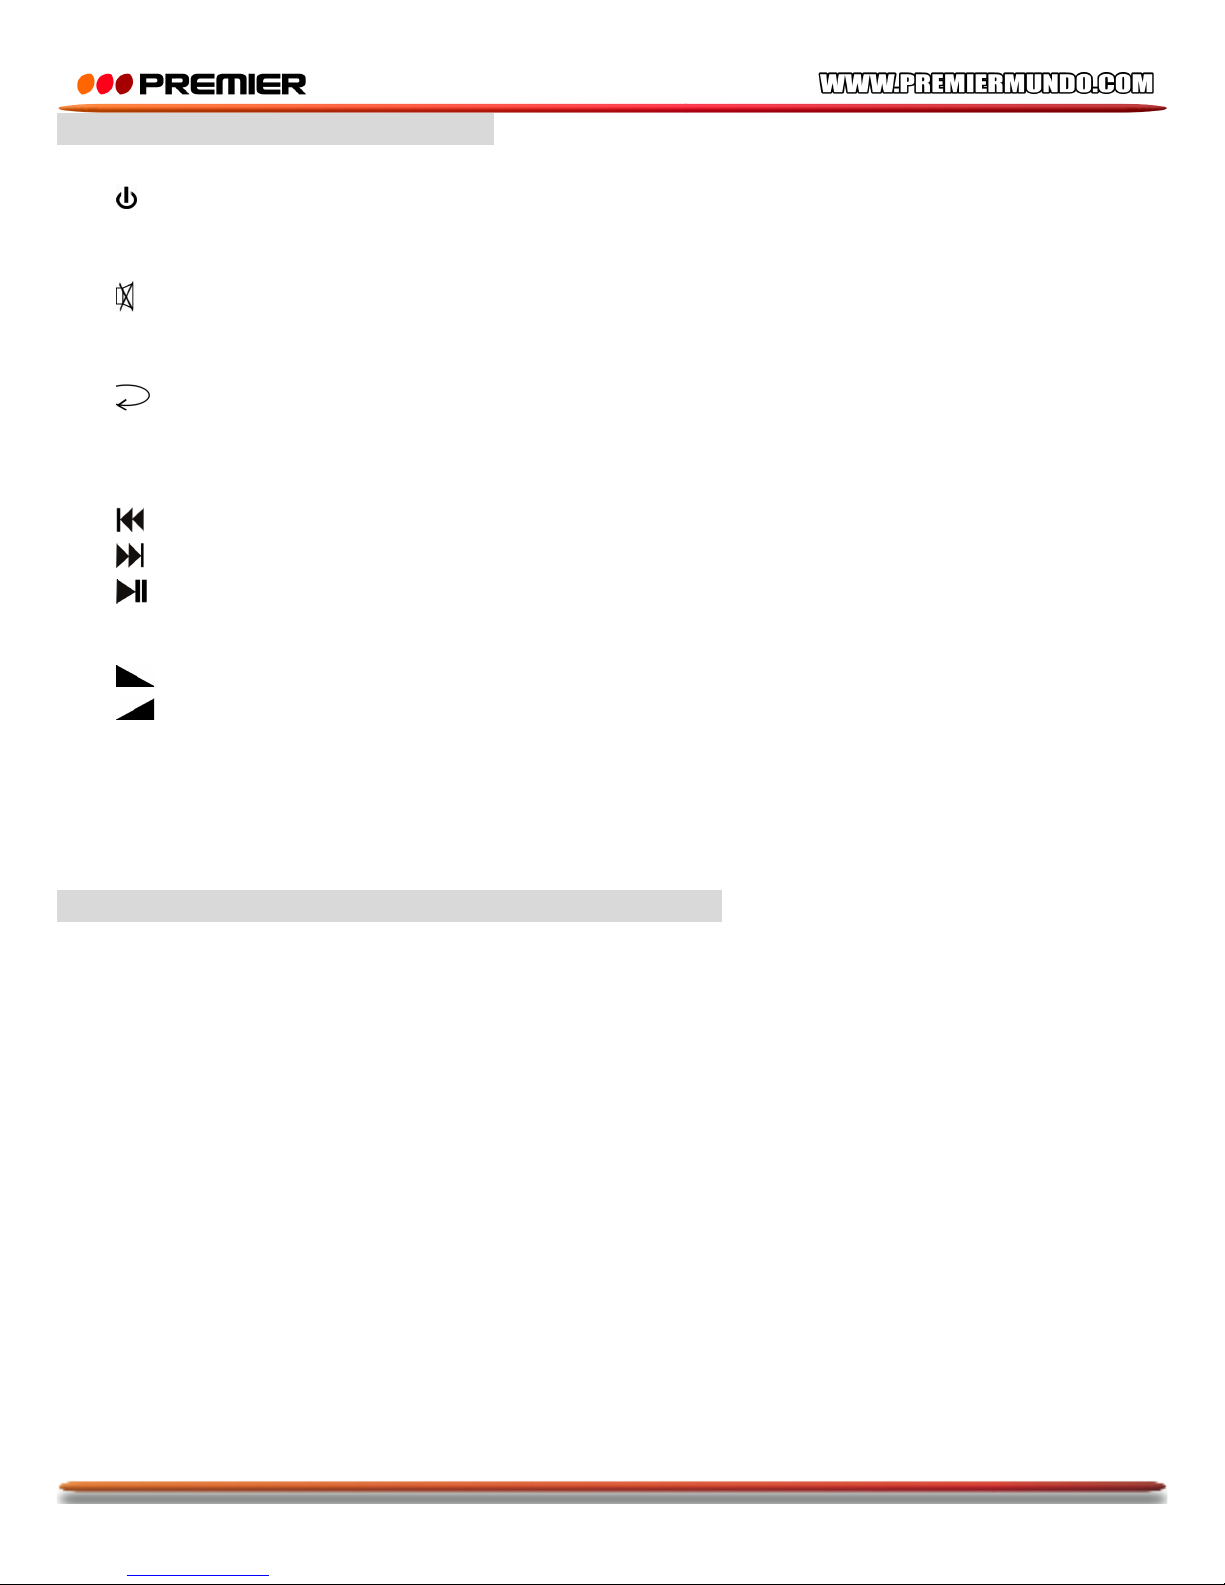
REMOTE CONTROL FUNCTIONS
1. : To turn the unit on for music playback or standby mode
2. STOP: When the unit is operating USB/Micro SD playback mode, press this button to permanently stop
playing the source file.
3. : Pressing this button to mute the unit’s speaker output at anytime. Press again to resume speaker
output.
4. MODE: Change the playback source mode of BLUE CONNECT/AUX/FM/USB/ Micro SD
5. : When playback from the USB/Micro SD source, pressing this button to set repeat playback setting
(Single or All track repeat).
6. EQ: Under USB/Micro SD source playback mode, press this button to select preset audio mode to suit your
listening pleasure.
7. : Previous song for USB/Micro SD playback. Previous channel for radio operation
8. : Next song for USB/Micro SD playback. Next channel for radio operation
9. : During USB/Micro SD playback mode, press this button to pause the playback. Press again to resume
playback. During FM radio mode, press it to start auto-scan stations. Then press it again to stop the autoscan.
10. : Volume decrease.
11. : Volume increase.
12. The number keys 0 – 9: During USB/Micro SD playback mode, press the number combination to
designate that song number to start playback. During Radio Channel or Radio Frequency mode, press the
number combination to select the Channel number to play. (Note: When done pressing the number
combination, just wait 2 seconds and the system will automatically confirm your input).
CONTROLS ON LED DISPLAY AND TOP KEY PAD
1. TF/Micro SD CARD Slot: Insert the TF card into the TF card slot, system will automatically playback
song on the memory card inserted. Or, you can press the MODE button until it shows TF mark on the LED
display to play songs from the already inserted memory card.(Maximum support up to 16G)
2. USB Slot: Insert the USB Flash Drive into the USB slot, syste9m will automatically playback songs on the
USB Flash. Or you can press the MODE button until it show USB mark on the LED display to play songs
from the already inserted USB Flash. (Maximum support up to 16G)
3. MODE : Press the MODE key until your desired playback source is selected. The cycling of mode
selection is: Blue-Connect/AUX IN /FM/USB/Micro SD
4. PREV: During USB/Micro SD playback, short press this button to select previous song, During Radio
Channel mode, short press to move to previous pre-memorized station channel number.
5. PLAY: During USB/Micro SD playback, press this button to pause the playback. Press again to resume
playing and vice versa. During Radio mode, press this button to initiate memory station search. System
will scan from lowest FM frequency to highest FM frequency and store all station signals in sequence of
channel number. Pressing this button to stop searching during the auto-scan.
Page 10

P-3
6. NEXT : During USB/Micro SD playback, short press this button to select next song, During Radio Channel
mode, short press to move to next pre-memorized station channel number, long press to increase volume.
7. EQ: : Select EQ modes:JAZZ/ROCK/POP/CLASSIC,four kinds of music EQ type.
8. AUX IN : This is for connection of external audio input source.
9. MIC-IN: This socket is for 3.5mm stereo micphone.(also support 6.5 mm Micphone socket by a adapter
plug)
10. Red LED: This indicates when battery is charging.
11. POWER Switch(ON/OFF): This is the master power switch for the device.
12. DC-12V Socket: This is for the 12 Volt DC input power source both for playback and/or charging.
13. VOLUME: Turn to increase or decrease of master speaker volume.
14. MIC VOL: Turn to increase or decrease of the Micphone’s volume.
15. MIC ECHO: Turn to increase or decrease of the ECHO’ volume of the Micphone.
16. BASS: Turn to increase or decrease of the Bass volume.
17. TREBLE: Turn to increase or decrease of the treble volume.
18. SINGLE REPEAT: Shortcut key for the single song repeat playing mode.
19. JAZZ/ROCK/POP/CLAS: Shortcut key for EQ mode of JAZZ/,ROCK/ POP/,CLAS/
20. RECORD: Firstly you need to plug in a external flash memory like USB OR Micro SD/TF card, Press this
button to enter into the record function, press this key again, you can record the voice file into the external
flash memory which you insert lately. When you want to finish your record, press RECORD again,the file
will be kept in the external flash memory and play it automatically. If you don’t insert external flash
memory, the record function can’t be played. During the record mode, please do not press any other keys
before the system record and store successfully in case of system mistakes. If you operate it wrong like
this, please restart the speaker system.
21. : This battery logo on the LED display indicates the speaker is enough in battery.When it is flashing, It
indicates the speaker battery is low. It is a normal situation when the speaker playing is been cut down or
restart. Charging time takes 5-6 hours.
BLUE-CONNECT INTRODUCTION
1. The Blue-connect module is built in the PCB of the speaker system which could connect with other Blueconnect device for audio decoding. Operation steps:
I. Turn on the speaker, it automatically works in Blue-connect mode within several seconds.
II. When you see the LED display “BLUE” , it means the Blue-connect device of the speaker is waiting for
connection with other Bluetooth device.
III. Use your mobile phone/Notebook/Tablet PC/MID etc Bluetooth device searching, you will find the speaker’s
Blue-connect device mode”BB-5570USBTB” in your Bluetooth device. Click connect and wait for it shows the
device in successful connection.
IV. IV. If connection failed, please try to turn off the speaker system and restart the speaker meanwhile reset
your under matching Blue-connect device for repeating the operation of connection until it matches successfully.
Page 11

P-4
V. Then you can choose the music playing from your Bluetooth device and operate it by remote control as well as
the buttons on the panel.
V I. The android version under 2.0 may need to try pass word code ”0000”or”1234”or”8888” for connection
approval.
SPECIFICATION:
FM radio frequency:87.5HZ-108HZ
Audio Output Power: 12W
Frequency: 100HZ---18KHZ
S/N: ≥75db
Power supply: DC 12V
Built-in Lion battery: 12V 2000MAH
Dimension: W330 x D195x H540mm
AC adapter: AC100V-240V 50/60Hz
CIRCUIT DIAGRAM
Provide later
 Loading...