

Page 1
User Manual
PowerWalker PDU RC-16A
Power Distribution Unit
Version: 1.0
Page 2

Table Of Contents
1. Introduction .................................................................................................................... 1
1-1 Package Contents .................................................................................................... 1
1-2 Safety ..................................................................................................................... 1
1-3 Disposing of PDU .................................................................................................... 1
1-4 Function ................................................................................................................. 1
1-5 Overview ................................................................................................................ 2
2. Installation ...................................................................................................................... 3
2-1 Rack Mounting ........................................................................................................ 3
2-2 Connections ............................................................................................................ 3
3 Operation & Display .......................................................................................................... 4
3-1 Panel Overview ....................................................................................................... 4
3-2 Operation ............................................................................................................... 4
4. Technical Specification ................................................................................................... 10
Page 3

1. Introduction
1-1 Package Contents
PDU x 1
User Manual x 1
USB cable x 1
Input IEC-SCHUCKO 16A cable
1-2 Safety
The PDU must be connected to earth while in use.
Do not use extension cords or adapters with this PDU.
Ensure the power cord and sockets are in good condition.
To reduce the risk of fire or electrical shock, PDU installation has to be in a
temperature and humidity controlled indoor environment. Ambient temperature
must not exceed 50°C. The PDU is not intended for outdoor use.
1-3 Disposing of PDU
The PDU contains internal components that are considered toxic or hazardous waste such
as electronic circuit boards. For proper disposal, contact your local recycling/reuse or
hazardous waste center.
1-4 Function
The PDU is designed to distribute AC power from a single source to 8 outputs with
advanced load monitoring and local or remote ON/OFF switching control of individual
outlets.
1
Page 4
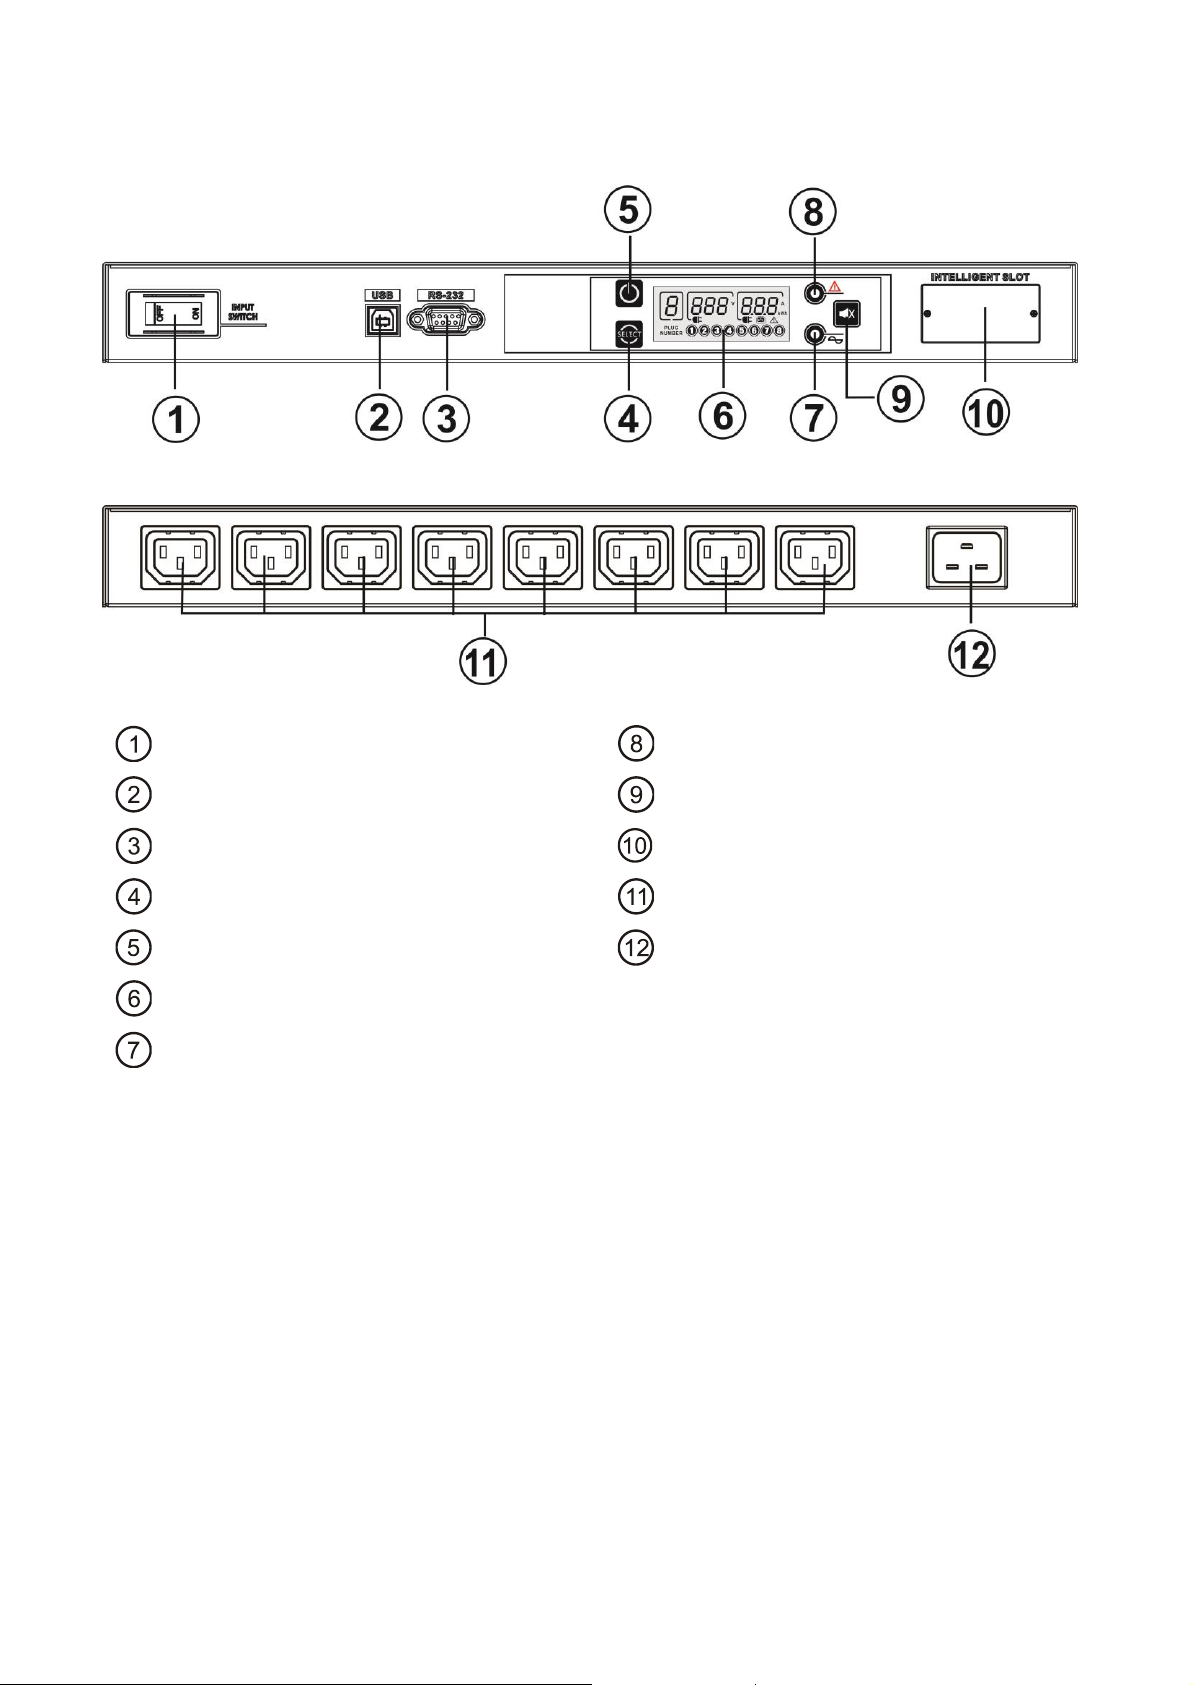
Input switch
Fault indicator
USB communication port
MUTE/FUNCTION button: to silence the
buzzer
RS232 communication port
Expansion slot for communication boards
SELECT button: to toggle the different
status screens in LCD display
Output IEC 10A sockets
ON/OFF button: to turn on or off the
outputs
Input 16A plug
LCD display
Mains indicator
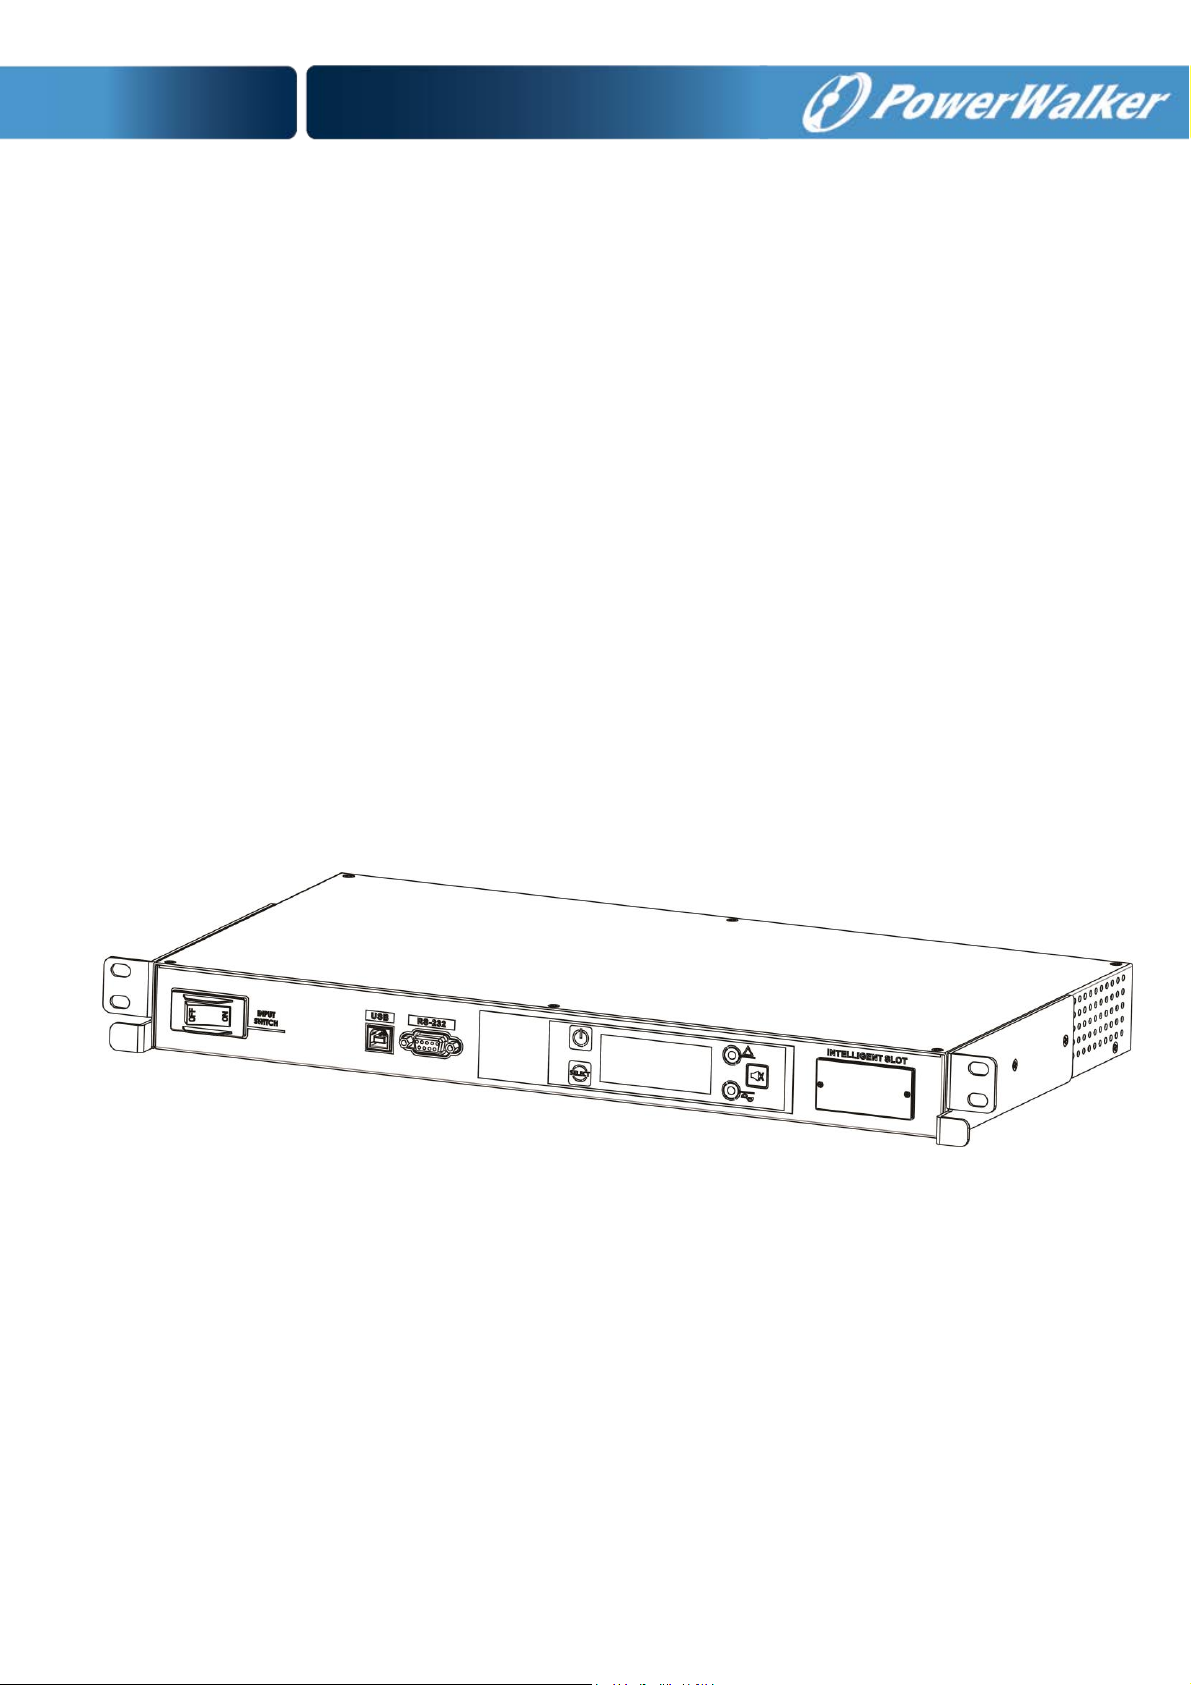
1-5 Overview
FRONT VIEW
REAR VIEW
2
Page 5

2. Installation
2-1 Rack Mounting
Following figure shows how to install the PDU module in a 19-inch bay (with a depth of
600mm) at the desired height in the cabinet uprights. Secure the device adequately to
cabinet with four screws.
2-2 Connections
For connecting the PDU, plug the input to the mains or to the UPS depending on user’s
requirements. Plug the equipment to the outputs.
3
Page 6

3 Operation & Display
3-1 Panel Overview
1. On/Off button
2. Select button
3. LCD display: for detailed LCD operation, please check section 3-2.
4. Power indicator (Yellow)
5. Fault indicator (Red)
6. Mute/Function button
On the LCD display, it will show the following information:
Input voltage
Input current
Output current for each output socket
Output watt for each output socket
Output watt-hour for each output socket
Numerical pug icon to represent each output socket
icon on = output on
icon off = output off
icon blinking = output overload (alarm overload or output shutdown due to
overload)
Fault code (please check section 3-2-4 for detailed codes)
3-2 Operation
The LCD display allows you to view the status of each output (ON / OFF), input voltage, input
current, the current on each output and any alarm codes present.
Eight digital numbers displayed on the bottom of LCD to represent the eight output sockets.
If the numerical icon is on, the represented output socket is powered on. If the numerical
icon is off, the represented output socket is powered off. If the numerical icon is blinking, the
represented output socket is overload.
4
Page 7

Information
LCD Display
Input
Voltage
Input Current
Input
Voltage
Output 1 Current
Input
Voltage
Output 2 Current
Input
Voltage
Output 3 Current
Input
Voltage
Output 4 Current
Input
Voltage
Output 5 Current
3-2-1 SELECT Button
The SELECT button allows you to scroll through different status screen. The LCD displayed
information will be switched in turns by pressing SELECT button. The displayed information
is switched as below order: Total input voltage/input current, input voltage/output current
for each active numerical plug and fault codes.
5
Page 8

Input
Voltage
Output 6 Current
Input
Voltage
Output 7 Current
Input
Voltage
Output 8 Current
Input
Voltage
Alarm code F05: overload alarm
on output 5. Current available
outputs are plug 1, 5 and 8.
Fault codes will be displayed in
turns automatically if more than
two faults or lock alarms occur.
(Refer 3-2-4. “Alarm code” for the
details)
Back to
the top
3-2-2 ON/OFF Button
The ON/OFF button allows you to switch on or off output sockets one by one.
Turn on selected output socket
To switch on a numerical output socket, you have to switch to specific plug number shown
on left corner by keep pressing SELET button. Then, press ON/OFF button (1 to 2 sec) until
the represented number is displayed on the bottom of LCD screen.
Turn off selected output socket
To switch off a numerical output socket, you have to switch to specific plug number shown
on left corner by keep pressing SELET button. Then, press ON/OFF button (1 to 2 sec) until
the represented number is faded on the bottom of LCD screen.
The ON/OFF button is no function while it’s shown input current or the Alarm code in LCD
display.
6
Page 9

Information
LCD Display
Input Voltage
Output 1 Current
Input Voltage
Output 1 Wattage
Input Voltage
Output 1 Wattage-Hour
Back to
Output 1
Current screen
3-2-3 Mute/Function Button
Two functions by pressing Mute/Function button.
Mute function by pressing and hold the button for at least 3 seconds.
Function button by quick press the button
Mute Operation
When the buzzer is sounding due to alarms, the buzzer can be mute by pressing this
button. After buzzer is mute, if warning situation remains, it’s possible to press this button
to have buzzer sound again. If one or more alarms occur after buzzer has been mute, the
buzzer will sound again.
Function Operation
It’s to switch displayed information on specific output. The displayed information is output
current, output wattage and output wattage-hour in order. You may switch to specific
output by pressing “SELECT” button. When requested plug number is shown on left digital
area, quick press “FUNCTION” button to switch displayed information.
7
Page 10

CODE
DESCRIPTION
Fault LED
MAINS
LED
Buzzer
A01
Low input voltage
ON
Blinking
0.5s ON / 1.0s
OFF
A02
High input voltage
ON
Blinking
0.5s ON / 1.0s
OFF
S01
Immediate shutdown on
Output 1
Blinking
OFF
0.5s ON / 0.5s
OFF
S02
Immediate shutdown on
Output 2
Blinking
OFF
0.5s ON / 0.5s
OFF
S03
Immediate shutdown on
Output 3
Blinking
OFF
0.5s ON / 0.5s
OFF
S04
Immediate shutdown on
Output 4
Blinking
OFF
0.5s ON / 0.5s
OFF
S05
Immediate shutdown on
Output 5
Blinking
OFF
0.5s ON / 0.5s
OFF
S06
Immediate shutdown on
Output 6
Blinking
OFF
0.5s ON / 0.5s
OFF
S07
Immediate shutdown on
Output 7
Blinking
OFF
0.5s ON / 0.5s
OFF
S08
Immediate shutdown on
Output 8
Blinking
OFF
0.5s ON / 0.5s
OFF
F01
Overload alarm on Output 1
ON
OFF
0.5s ON / 1.0s
OFF
F02
Overload alarm on Output 2
ON
OFF
0.5s ON / 1.0s
OFF
F03
Overload alarm on Output 3
ON
OFF
0.5s ON / 1.0s
OFF
F04
Overload alarm on Output 4
ON
OFF
0.5s ON / 1.0s
OFF
F05
Overload alarm on Output 5
ON
OFF
0.5s ON / 1.0s
OFF
F06
Overload alarm on Output 6
ON
OFF
0.5s ON / 1.0s
OFF
F07
Overload alarm on Output 7
ON
OFF
0.5s ON / 1.0s
OFF
F08
Overload alarm on Output 8
ON
OFF
0.5s ON / 1.0s
OFF
F09
Low input current
ON
OFF
0.5s ON / 1.0s
OFF
3-2-4 Alarm Code/LED/Buzzer
8
Page 11

F10
High input current
ON
OFF
0.5s ON / 1.0s
OFF
F11
Power Fail on Auxiliary 1
ON
OFF
ON
F12
Power Fail on Auxiliary 2
ON
OFF
ON
L01
Lock for overload on Output 1
ON
OFF
ON
L02
Lock for overload on Output 2
ON
OFF
ON
L03
Lock for overload on Output 3
ON
OFF
ON
L04
Lock for overload on Output 4
ON
OFF
ON
L05
Lock for overload on Output 5
ON
OFF
ON
L06
Lock for overload on Output 6
ON
OFF
ON
L07
Lock for overload on Output 7
ON
OFF
ON
L08
Lock for overload on Output 8
ON
OFF
ON
L13
High input voltage
ON
OFF
ON
NOTE: The output lock due to overload is permanent and only can be reset by switching
on the locked output again. Please simply press the ON/OFF button to turn on the output.
9
Page 12

Input
Input Plug
IEC C20 16A 250V
Cord Entry
Rear feed
Maximum Input Current
16A
Rated Input Current
16A
Nominal Input Voltage
220V/230V/240V
Rated Input Voltage
184 – 300V
Input Frequency
50Hz/60Hz
Power Capacity
3.68KVA at 230V
Overload Protection
16A Breaker
Output
Nominal Output Voltage
220V/230V/240V
Rated Output Voltage
184 – 300V
Output Connections
(8) IEC C13
Output Current
Accuracy
+/- 0.1A
Physical
Dimensions (D x W x H)
(mm)
250 x 430 x 44
Color
Black
Weight (Kg)
3.5
Environmental
Operation Environment
0 – 50 ℃
Operation Relative
Humidity
0 – 90% No condensing
Altitude
<1000m
Conformance
EMC
EN 55022 Class B
EN 61000-3-2
EN 61000-3-3
EN 55024
Safety
EN60950-1
4. Technical Specification
10
 Loading...