

Page 1

POWAIR0020 EN
1 PACKAGE CONTENT LIST ............................................................................2
2 SAFETY INSTRUCTIONS ...............................................................................2
3 USE ..................................................................................................................3
3.1 Wash gun ........................................................................................................3
3.2 Spray gun........................................................................................................3
3.3 Blow gun .........................................................................................................4
3.4 Inflation gun ....................................................................................................4
4 MAINTENANCE ...............................................................................................4
4.1 Spray gun........................................................................................................4
4.2 Washing gun ...................................................................................................5
5 TECHNICAL DATA .........................................................................................5
6 TROUBLE SHOOTING SPRAY GUN..............................................................5
7 ENVIRONMENT ...............................................................................................6
8 DECLARATION OF CONFORMITY ................................................................7
Copyright © 2015 VARO P a g e | 1 www.varo.com
Page 2
5 PCS AIR TOOL KIT
Fig 1
Fig 2
Fig 3
POWAIR0020
Warning! For your own safety, read this manual and general safety
instructions carefully before using the appliance.
1 PACKAGE CONTENT LIST
Remove all packaging materials.
Remove remaining packing and package inserts (if included).
Check that the package contents are complete.
Check the appliance, the power cord, the power plug and all accessories for
transportation damage.
Keep the packing materials as long as possible till the end of the warranty period.
Dispose it into your local waste disposal system afterwards.
WARNING: Packaging materials are not toys! Children must not play with
plastic bags! Danger of suffocation!
1 x wash gun
1 x blow gun
1 x inflation gun
1 x spray gun
1 x spiral hose
1 x manual
If any parts are missing or damaged, please contact your dealer.
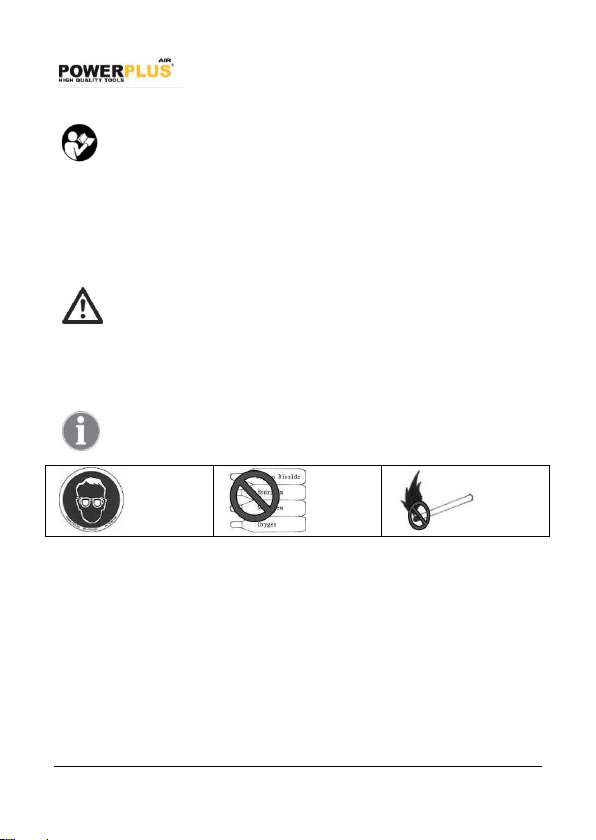
2 SAFETY INSTRUCTIONS
Toxic vapors produced by spraying certain materials can create intoxication and
serious damage to health. Always wear protective eyewear, gloves and respirator to
prevent the toxic vapor hazard, solvent and pointing paint coming into contact with
your eyes or skin (fig. 1).
Never use oxygen, combustible or any other bottle gas as a power source or would
cause explosion and serious personal injury (fig. 2).
Fluid and solvent can be highly flammable or combustible. Use in well-ventilated
spray booth and avoid any ignition sources, such as smoking, open flames, etc. (fig.
3).
Disconnect tool from air supply hose before doing tool maintenance and during non-
operation, for emergency stop and prevention of unintended operation, a ball valve
near the gun to air supply is recommend.
Never use homogenized hydrocarbon solvent, which can chemically react with
aluminum and zinc parts.
Never point gun at you and others at any time.
POWAIR0020 EN
Copyright © 2015 VARO P a g e | 2 www.varo.com
Page 3
Before operating the tool, make sure all the screws & caps are securely tightened to
Use
Method of use
Recommended
Pressure
Water cleaner
Connect a normal water hose with the fitting
indicated with letter A in the drawing and the
compressed air supply to fitting C. Press the
trigger and direct the jet over the surface to be
washed.
Maximum
Watering
plants
Fill cup B with the product desired and screw it to
fitting A. Connect the compressed air supply to
fitting C. Press the trigger and direct the jet over
the surface to be watered, painted or washed.
1-2 bar
Wall paint
spraying
2-3 bar
Tough
washing
5-6 bar
prevent leaking.
Before painting, make inspection for free movement of trigger and nozzle to insure
tool can operate well.
Never modify this tool for any applications. Only use parts, nozzles and accessories
recommended by manufactures.
3 USE
3.1 Wash gun
Warning: Avoid the use of highly inflammable solvents. Do not use to
spray petrol. Non flammable commercial degreasers and detergents
should be used. Never use corrosive detergent.
3.2 Spray gun
Attention! When using the tool, always ensure that there are no naked
flames or flammable vapours within the work area. Always wear a
protective mask and always disconnect the tool when it is not in use.
POWAIR0020 EN
Copyright © 2015 VARO P a g e | 3 www.varo.com
Page 4

POWAIR0020 EN
Use
Method of use
Recommended
Pressure
Painting
Connect the compressed air supply to fitting C. Check if
the spray gun is actually working efficiently before you fill
the container (spray air through the tool). Mix the paint in
a separate container and then pour it into container B, up
to roughly 2/3 of its total capacity. Stand roughly 20-30
cm away from the surface to be painted, press the trigger
and direct the jet over the surface. Move the spray gun in
parallel strokes compared to the surface to be painted,
keeping it at a right angle. You can adjust the flow of
liquid by adjusting knob A and the amplitude of the jet by
adjusting knob F.
Some helpful tips: make sure that the surface to be
painted is perfectly clean and dry. To ensure an even
finish, start the stroke before you actually press the
trigger and continue the stroke after the trigger has been
released. Never stop on one point while the trigger is
pressed. Always thoroughly clean container B and the
tool at the end of the job using special solvents.
1,5 – 3,5 bar
(depending on
paint density)
Use
Method of use
Recommended
Pressure
Blowing
Connect the compressed air supply to fitting C. Press the
trigger and direct the jet over the surface to be blown.
Adjust the
pressure
according to
need
Use
Method of use
Recommended
Pressure
Inflation
Connect the compressed air supply to fitting C. Connect
the inflation fitting D to the valve of the wheel and check
the pressure on gauge E. Press the trigger to inflate and
keep checking the pressure on the gauge: if the pressure
is too high, push button F to restore the correct pressure.
4 bar
3.3 Blow gun
WARNING! Wear eye protection! Air blast can cause debris and dust to be
blown back towards you.
3.4 Inflation gun
4 MAINTENANCE
4.1 Spray gun
Pour remaining paint into another container and then clean paint passage and air
cap. Spray a small amount of thinner to clean passage. Incomplete cleaning will
result the spray pattern to be un-sharp and small particles may be in the product
sprayed. Clean fully and promptly two-component paint after using.
Copyright © 2015 VARO P a g e | 4 www.varo.com
Page 5

Clean paint passages fully before disassembly.
Paint spray gun
Wash & spray gun
Tyre pressure and
filling gauge
Air consumption
85-142l/min
57-170l/min
142-283l/min
Air pressure
4 bar
4 bar
8 bar
Symptom
Problem
Solution
Fluttering or spitting
Material in container
is litter
Add material into
container
Worn Needle packing
set
Lubricate or replace
Needle packing
Fluid nozzle loose or
worn
Tighten or replace fluid
nozzle
Pattern is arc
Worn or loose fluid
nozzle
Tighten or replace fluid
nozzle
Material build up on
air cap
Remove obstructions
from holes but don't use
metal objects to clean it
Pattern is not evenly spread
Material build-up on
air cap
Clean or replace air cap
Fluid nozzle dirty or
worn
Clean or replace fluid
nozzle
The centre of pattern too narrow
Material too thin or not
enough
Regulate material
viscosity
Remove fluid nozzle after removing fluid needle set or wile keeping fluid needle
pulled, in order to protect seat.
CAUTION: Never use a wire or other hard thing to dig nozzle, fluid needle,
this will cause damage. Never immerse spray gun completely in thinner or
solvent. When reassembly, always clean parts to prevent the sticking of
dust.
4.2 Washing gun
Pour remaining detergent into another container and clean detergent passage and
fluid nozzle with thinner.
Using the soft clothes with some thinner clean the washing gun body and the surface
of container.
CAUTION: Never use corrosive detergent or homogenized hydrocarbon
solvent washing machinery parts or clean washing gun, which can
chemically react with aluminum and iron parts.
5 TECHNICAL DATA
6 TROUBLE SHOOTING SPRAY GUN
POWAIR0020 EN
Copyright © 2015 VARO P a g e | 5 www.varo.com
Page 6

POWAIR0020 EN
Symptom
Problem
Solution
Atomization air
pressure too high
Reduce air pressure
Pattern width of fan is not sharp
enough
Material too thick
Regulate material
viscosity
Atomization air
pressure too low
Increase air pressure
7 ENVIRONMENT
Should your appliance need replacement after extended use, do not dispose of it with the
household refuse, but in an environmentally safe way.
Copyright © 2015 VARO P a g e | 6 www.varo.com
Page 7

8 DECLARATION OF CONFORMITY
Air gun
Inflation gun
Paint gun
Washing gun
EN 1953: 2013
EN ISO 4414: 2010
EN 1953: 2013
EN 1953: 2013
POWAIR0020 EN
VARO N.V. - Joseph Van Instraat 9 - BE2500 Lier - BELGIUM, declares that,
product: 5 pcs air tool kit
trade mark: POWERplus
model: POWAIR0020
is in conformity with the essential requirements and other relevant provisions of the
applicable European Directives, based on the application of European harmonized
standards. Any unauthorized modification of the apparatus voids this declaration.
European Directives (including, if applicable, their amendments up to the date of
signature);
2006/42/EC
European harmonized standards (including, if applicable, their amendments up to the date
of signature);
Keeper of the Technical Documentation : Philippe Vankerkhove, VARO – Vic. Van
Rompuy N.V.
The undersigned acts on behalf of the company CEO,
Hugo Cuypers
Certification Manager
09/07/2014
Copyright © 2015 VARO P a g e | 7 www.varo.com
 Loading...