

Page 1
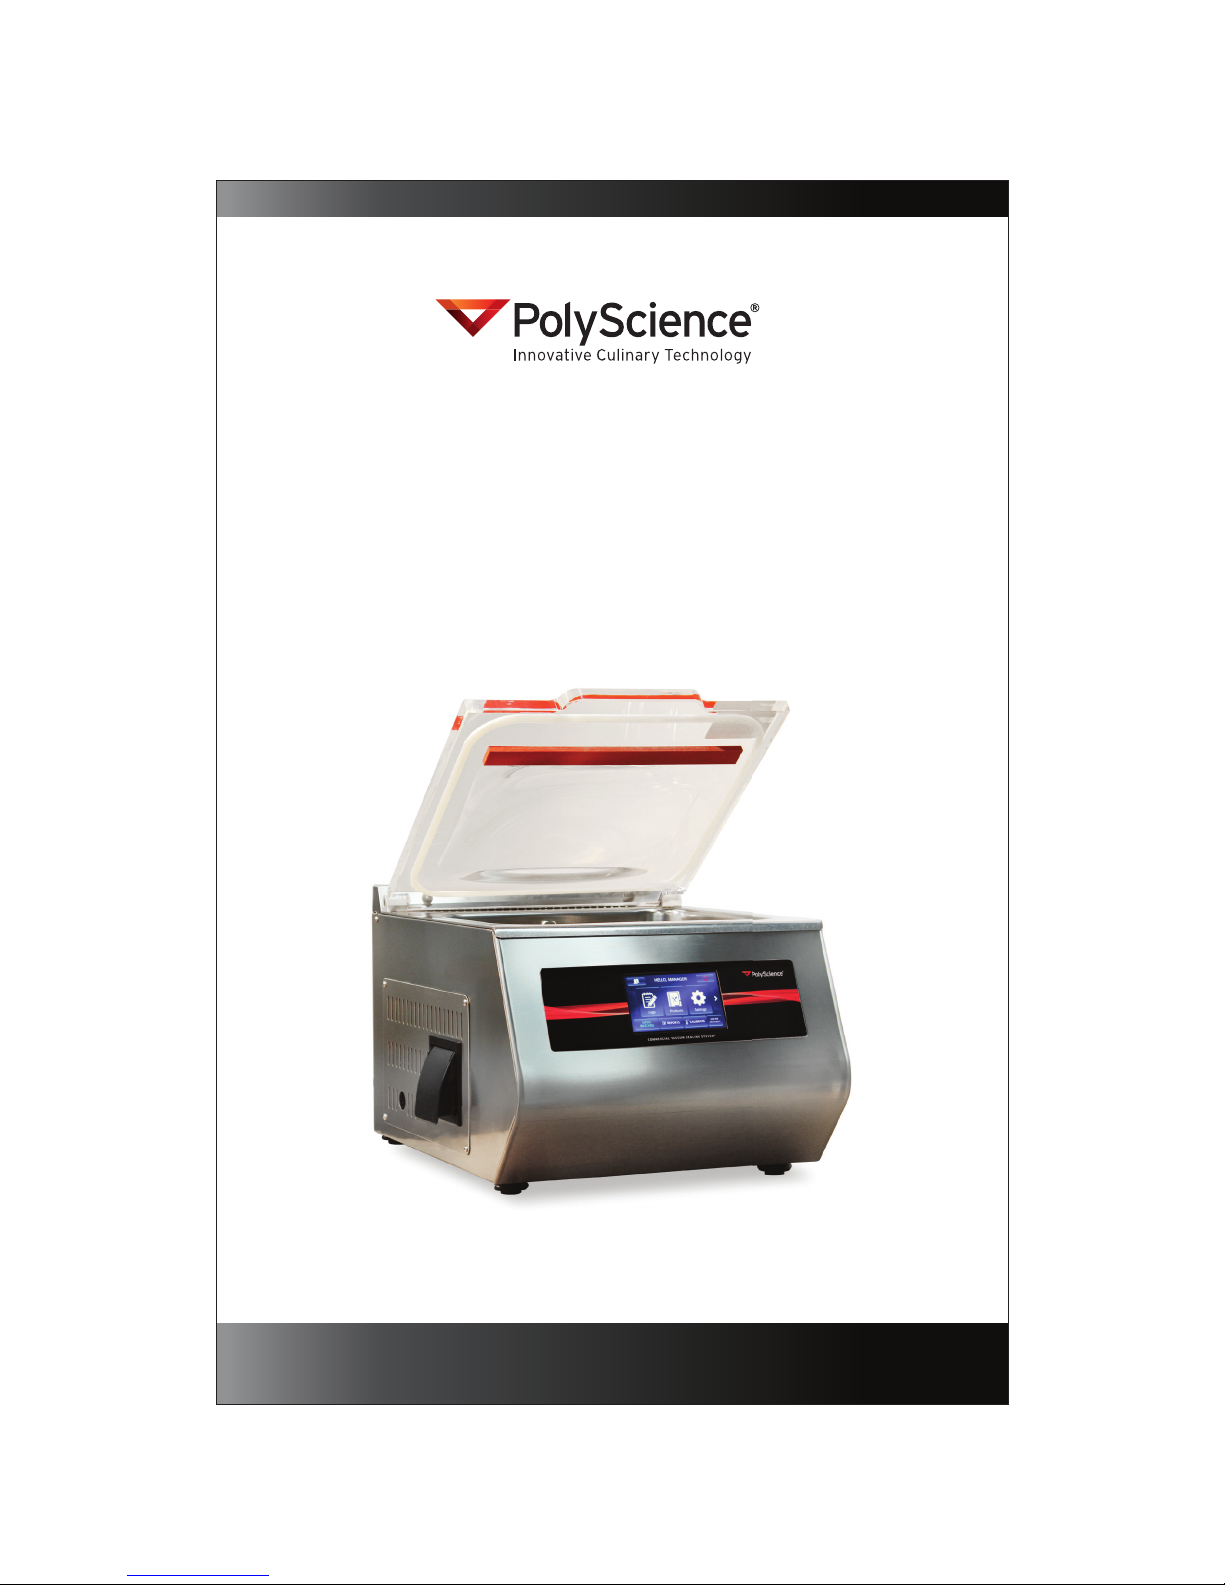
400 Series Chamber Vacuum Sealer
Quick Start Guide
Page 2
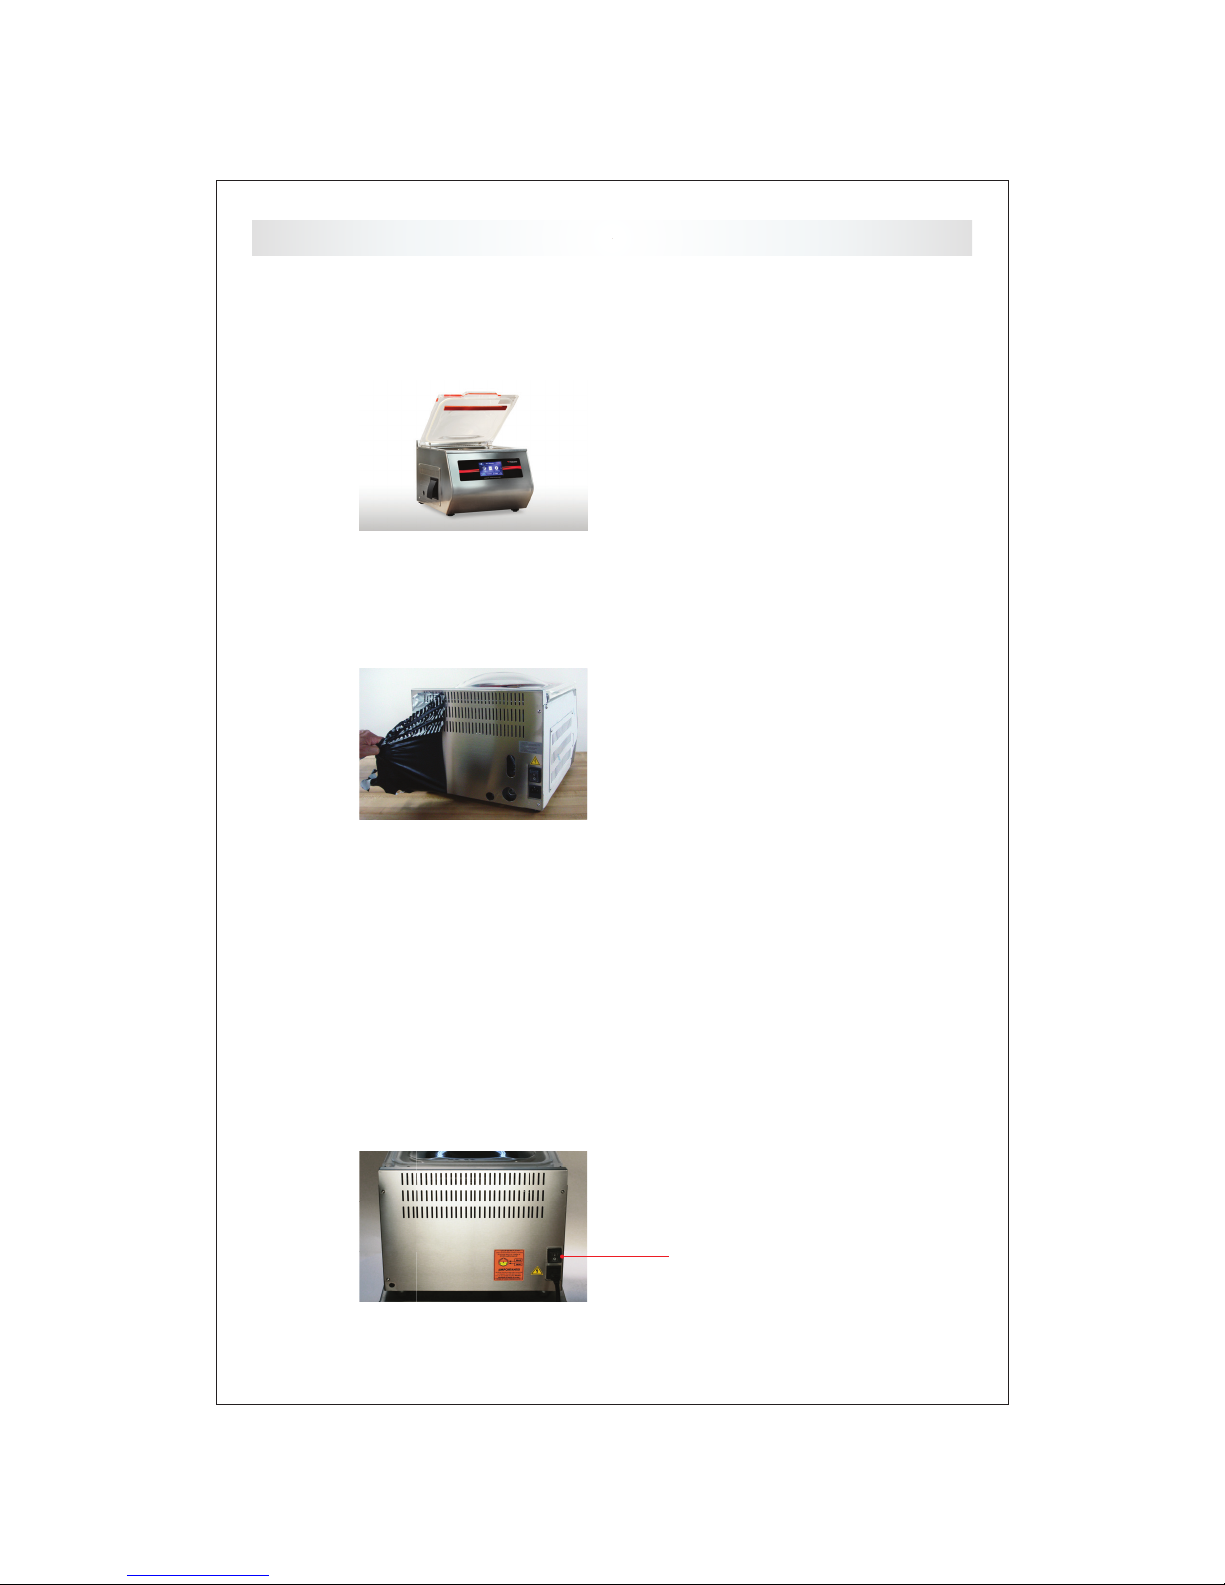
Setting Up
1 Machine Placement
Caution: Machine is heavy, do not lift alone!
2 Protective Skin Covering
Place machine on a secure
level table and adujst the leveling
feet if needed.
Remove white protective
covering exposing
304 stainless steel.
3 AC Power
For 120V models supply 120V/20A circuit. All others consult an electrician.
Caution: Do not use extension cords or surge protectors.
Do not share the line with motors or compressors.
4 Power Switches & Resets
400 Series (back)
Main Power Switch
- 2 -
Page 3
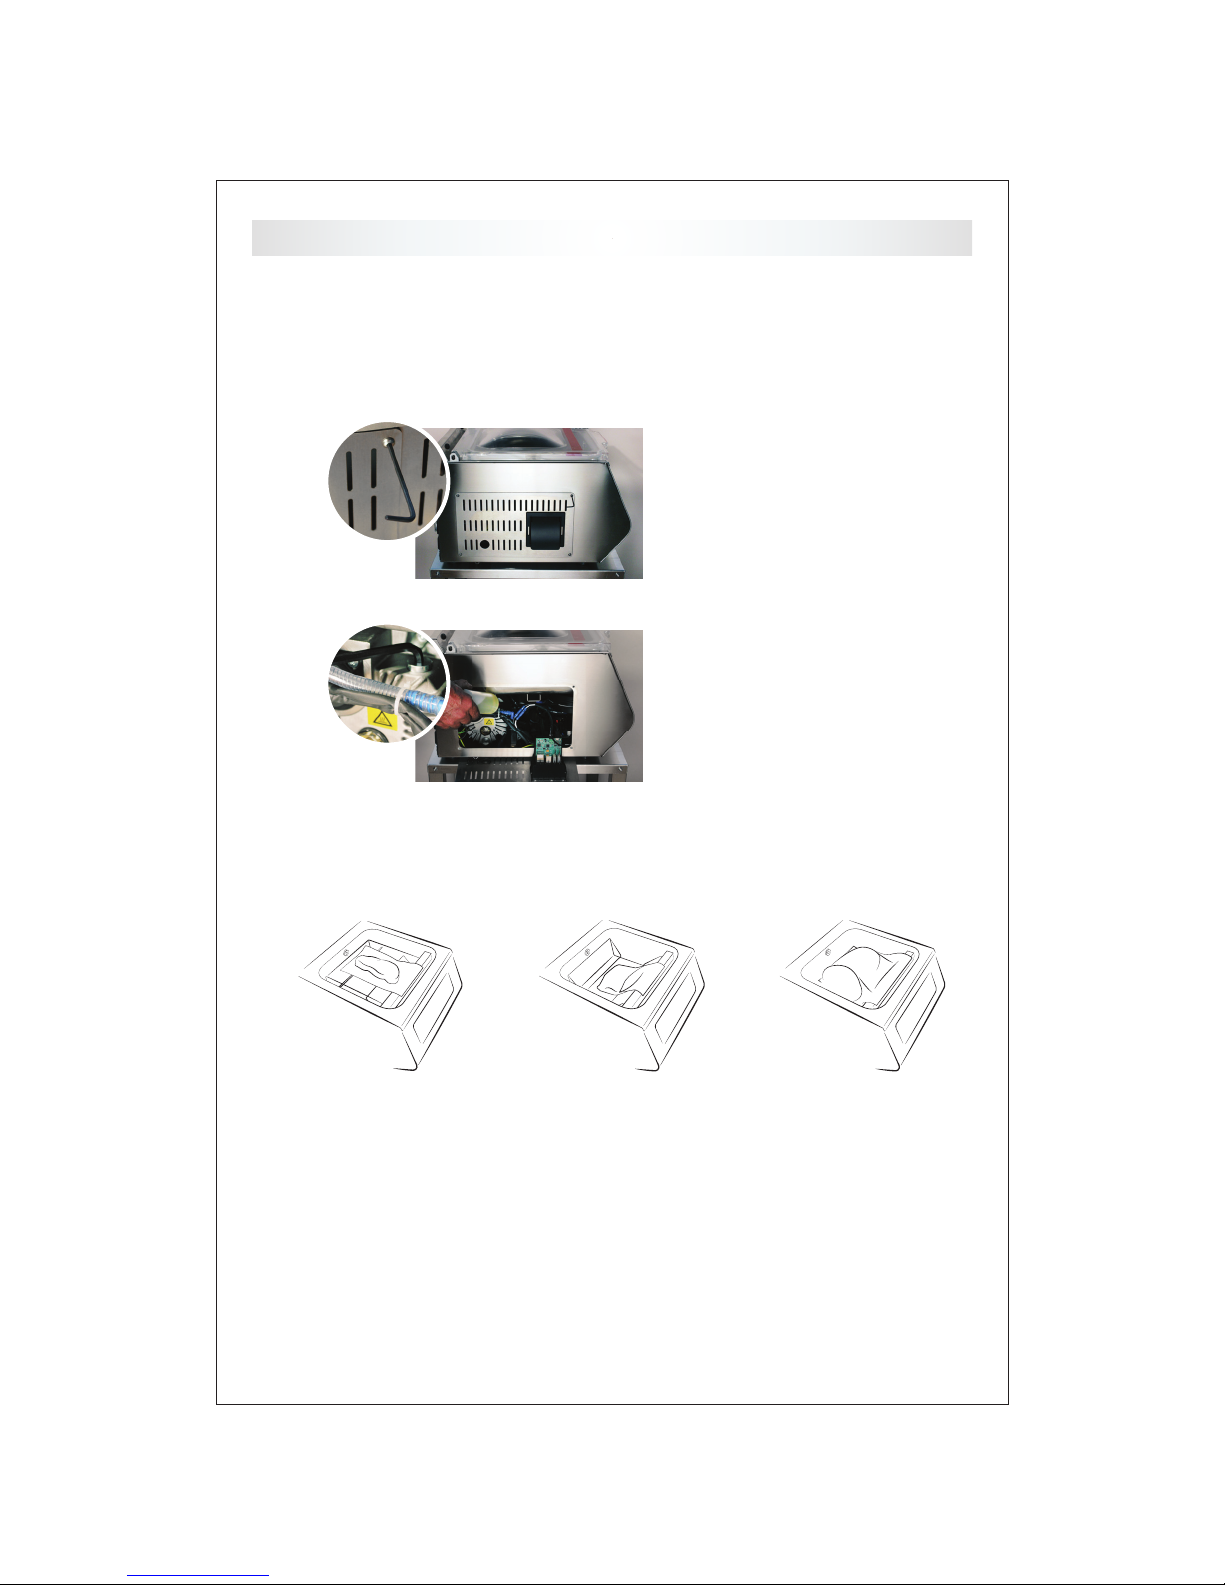
Setting Up
5 Adding Oil
Caution: Add oil before starting machine.
Mind the oil fi ll line, see label instructions on machine.
400 Series
Use 2.5mm hex wrench
supplied and remove cover,
location may vary.
Use wrench supplied
to remove top oil plug and
add oil, location may vary.
6 Flippin' Tray
POSITION 1
Pint - ideal for
steaks & llets
Quart - Angled for
marinades & soups
POSITION 2
POSITION 3
Gallon - Bulk food,
rib roast, etc.
7 Tips
Never tilt or lay vacuum machine on its side.
Pump oil may move into the lter & sensor creating numerous issues.
Change oil frequently, especially when vacuum sealing liquids.
Food products release moisture which over time will contaminate the oil.
Maintain a low sealing time.
A low sealing time will extend the life of the Te on tape, seal wire and cushion.
- 3 -
Page 4
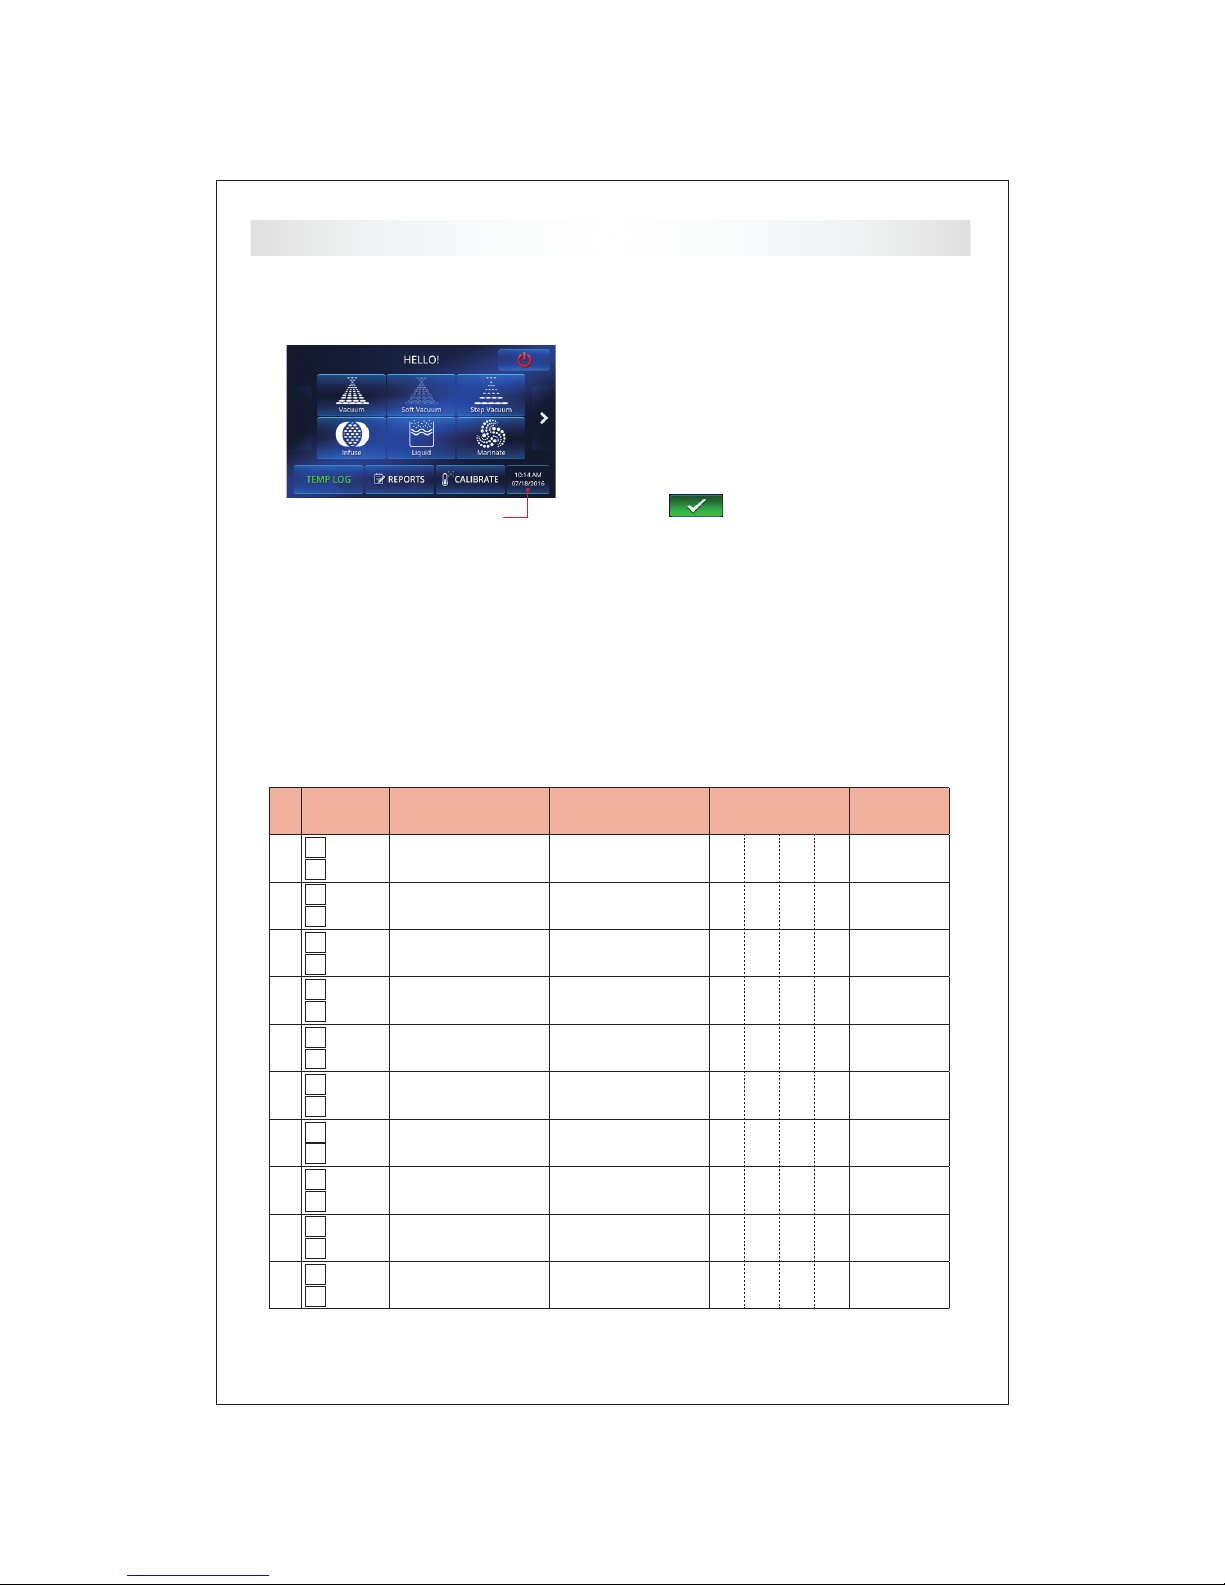
1 Date & Time
Powering Up
Home Screen
When powering up the machine for the rst time,
please check the date & time. If it needs to be
changed, navigate to the Date & Time settings:
Home > Settings > Date & Time
Once you have set the date/time, touch the green
Check the date & time
check mark and the machine will restart.
2 Users & Passcodes
When setting up users, you can choose between Operator and Manager user types. An operator can
start programs and download reports. A manager has full access to all settings, including adding/
deleting products, users, logs, and reports.
Before setting up users on your machine, we recommend to write them down rst:
User Type First Name Last Name or Initials 4-Digit PIN Today’s Date
Manager
1
Operator
Manager
2
Operator
Manager
3
Operator
Manager
4
Operator
Manager
5
Operator
Manager
6
Operator
Manager
7
Operator
Manager
8
Operator
Manager
9
Operator
Manager
10
Operator
MM/DD/YY
- 4 -
Page 5

2 Users & Passcodes
Powering Up
To set up users on the machien go to
Home > Settings > Users and touch the Add User
button .
Once you are done adding users, you have to
activate the PIN prompt - go to Home > Settings >
Screens and turn “On” Passcodes. Type in your PIN
and it will take you back to the Home screen.
After restarting the machine, you will notice the
Logout button on the Home screen. Touch
it to switch between users.
OPERATOR
Edit / Delete a User
Log in as a Manager, go to Home > Settings > Users
and touch the user name you want to edit/delete.
To delete, touch the Delete button in the
top left corner. To edit, toggle through the screens
by touching the Next button .
MANAGER
- 5 -
Page 6

Getting Started
1 Presets
Your 400 Series machine comes with 6 most commonly used Presets to get you started. The preset
buttons are listed on the Home screen. Below is a description of their vacuum settings and how they
are being used.
VACUUM
Vacuum seal in a bag/pouch for
chilled storage or low temperature
cooking. The preset removes
99.9% of the atmosphere from
the chamber.
INFUSE
Infuse avors in a hotel pan or
Vac-Box to create dramatic avor
& aroma to drinks. The preset
preserves avor, color & fruit
crispness. Enhance the avor
of Spa Water, create Sangria in
minutes.
SOFT VACUUM
S
oft Vacuum seals sausage and
patties in a bag/pouch for chilled
storage or low temperature cooking. The preset removes 97% of
the atmosphere then returning
the air slowly preventing damage.
Step Vacuum seals sh llets, and
hams in a bag/pouch for chilled
storage or low temperature cooking.
The preset removes atmosphere in
increments, preventing boiling
which may harm the product.
LIQUID
Liquid seals in a bag/pouch for
chilled storage, retherming or
low temperature cooking. The
preset allows the user to vacuum
seal at temperatures below
150ºF (65ºC).
Note: food safety logging is being skipped for Presets
Marinate in minutes not hours
to create that special avor. The
preset opens and closes the pro-
tein bers allowing liquid marinade
to penetrate. Use a hotel pan or
Vac-Box to instantly marinate.
After touching the desired Preset button, place your
food product in the bag, lay the open side over the
sealing bar (see Flippin’ Tray on page 3), close the lid
and touch the green start button to start the vacuuming
process.
STEP VACUUM
MARINATE
Repeat with all products from the same batch. When
you are done, touch the Home button to get
back to the home screen.
- 6 -
Page 7

Getting Started
2 Product Groups/Logs
Grouping food products organizes and speeds up the product look up process (PLU) as well as aids
in HACCP planning. Select up to 6 groups that best de ne the food products you plan to place under
vacuum. Each group stores up to 99+ unique food products, their vacuum settings and all information
related to that unique product.
On the Home screen you can display either Presets or Groups. To show the Groups, go to the Home
screen, and scroll to the right side and touch the Presets button - it will turn into Groups.
Now you can see 6 groups on your Home screen:
Factory pre-selected groups
DELI MEAT
FISH
VEGETABLES
1. To change a group, go to Home >
Logs and touch the group name you
want to change.
Each group has pre-set food safety questions. You will be asked these questions prior to vacuum
packaging a batch of the product. You can turn on/off as well as change the wording of each ques-
tion. Your answers are being logged and saved to a food safety report le (more details on page 9).
SMOKED
POULTRY
INFUSED WATER
MEAT
PORK
CUT FRUIT
MARINATED
BEEF
WHOLE FRUIT
All available groups
SEASONED
SAUCE - SOUP
INFUSION
2. Touch the Edit button in
the top right corner, and select a
different group.
AGED
COOK-CHILL
LOW TEMP COOK
SAUSAGE
RETHERM
OTHER
GROUND
CHEESE
VAC-BOX
- 7 -
Page 8

Getting Started
3 Save New Product
To add a new product you must be logged in as a Manager user.
Go to Home > Products and touch the Add Product
button in the top right corner of the screen.
Choose a Product Number (up to 5 digits long).
Tip: Keep products from the same group within the same range,
for example: Fresh Meat 100-199, Poultry 200-299, etc.
Select a Group/Log for your product.
Air Out
Select how much air you want to take out - you can choose
between mbar and %. Set a Hold time to keep your product at the
set vacuum before releasing the air back into the chamber.
Pulse9™
Pulse lets you run up to 9 cycles in a
row. This feature gives you superior
results for Infusion and Marination.
Air Return de nes how much air to let
back in before the next Pulse begins.
VACUUM SETTINGS
Turn on/off each individual Pulse
Navigate between the Pulses
Seal
We recommend to use Bar Up = 0.2s, Seal = 1.4s, Cure = 0.2s.
If you are using thicker/tinner bags than the common 3mil bags,
you might have to increase/decrese the Seal slightly.
SofAir
We recommend to use Air Return = 100%, Pause = OFF.
If you are packaging sausges, burger patties, or bone-in
products, please read SofAir on page 9.
Type in a Product Name and touch the green checkmark
to save the product. It is now saved in the selected group.
- 8 -
Page 9

Getting Started
4 Edit/Delete a Product
Log in as a Manager user, go to Home > Products and touch
the Edit button - it will turn green color. Now touch
the product name you want to edit/delete.
To delete, touch the Delete button in the top left
corner. To edit toggle through the product by touching the
Next button .
Food Safety
1 Food Safety Log (Questions)
You can set speci c food safety log questions for each
group. Go to Home > Logs and touch the log you want to
manage the questions for.
A log cosists of 3 categories:
BQs = Before Questions - asked before packaging
AQs = After Questions - asked after packaging
Msg = Messages - CCPs listed on the nal report le
2 Save/Delete Reports
Note: Your USB ash drive must be
formatted in FAT32 le system and
the volume name must be one single
word. For detailed instructions on how
to format your USB ash drive, go to
www.minipack.us/usb-format.pdf
Touch the on/off button next to each question to turn it on
or off.
Note: the machine is already pre-programmed with the
most common questions for each group. You can edit the
questions as well as turn them on/off.
Plug in your USB ash drive into one of the two USB ports
on the side of the machine, and go to: Home > Reports.
Select which reports you want to save: Food Safety or
Probes. Touch the Save to USB button to save the
report as a PDF le.
To delete a report from the machine, login as a Manager
user and go to: Home > Reports and touch the Delete
button next to the report's name.
Operator users cannot delete reports.
- 9 -
Page 10

Settings
Settings on the y by touching the icons at the bottom
1 Freestyle Mode
This mode is useful for experimenting or trying to nd the
right vacuum settings before saving it as a product.
To access Freestyle Mode login as a Manager user and
go to Home > Freestyle. You can change all Vacuum
.
To reset the settings back to factory default, touch the
Refresh button .
Note: food safety logging is being skipped in Freestyle
2 AirOut - Hold vs. Plus
When AirOut = 98.9% or lower, you can de ne a Hold time.
The Hold timer will start once the AirOut value has been
reached.
When AirOut = 99%, you can de ne a Plus time. Plus will
keep the vacuum pump running for the set time to achieve
the maximal vacuum possible, having the tiniest air pockets
being pulled out of your product.
3 SofAir
4 Default Seal
Use the SofAir settings when vacuum packaging formed
products, beef patties, product with bones, shell sh in the
shell, and sausages.
We recommend the settings Air Return = 10%, and Pause =
1.0s, however you may adjust these settings to t your needs.
This setting will let the air return to the chamber in 10% steps
preventing ruptured sausage casings, squished product, and
holes in the bag from bones.
To change the seal time for the Presets and the default
seal time in the Freestyle Mode (when touching the Refresh
button), go to Home > Settings > General and change the seal
time under Default Seal. Restart the machine to take effect.
We recommend 1.4 seconds for the 400 Series.
- 10 -
Page 11

HACCP Portal Registration
HACCP Portal provides you with an easy way
to create a thorough HACCP plan for
Reduced Oxygen Packaging (ROP) and
Sous Vide Cooking.
To get started with your HACCP plan,
HACCP Portal is included with
your 400 Series and your machine’s
serial number is your free ticket:
www.haccp-portal.com/400series
visit the website below.
Page 12

1 Temperature Probe
2 Label Printer
Accessories
Sous Vide Probe, K-Type (3”, dull tip)
#ST200045
Product Probe, K-Type (4”, sharp tip)
#ST200040
Direct Thermal
Label Printer (USB)
#ST200009
3 Keyboard
Water-Resistant Silicone
Keyboard (USB)
#ST200012
4 Inkjet Report Printer
Canon Pixma MG2550 (USB)
#ST200015
5 USB Flash Drive
Pre-formatted (4GB)
#ST200062
6 Cart
2x3” Labels - Case
(425 labels/roll, 12 rolls/case)
#ST200060
7 Leg Extensions
To order accessories call: +1-714-283-4200
Stainless Steel
#ST200025
Stainless Steel
#ST200020
Page 13

Important Product Information
One-Year Limited Warranty
*This warranty ONLY applies to the Original
Purchaser and Owner of the new equipment and
ONLY applies to manufacturer’s defects.
This warranty will ONLY be honored if minipack
america, inc. determines by EVALUATION that
damage is not due to Non-Warranty Items listed
below.
WARRANTY
Machines manufactured by minipack are warranted
to be free of defects in parts and craftsmanship
under normal use and with recommended service.
The warranty period for non-wearable parts is (1)
year from the date of installation. minipack america,
inc.’s exclusive obligation under this warranty is
limited to repairing or, at its option, replacing any
minipack part that is determined by minipack
america, inc. to be defective.
NON-WARRANTY
• Wearable parts such as Teon tape, sealing wires,
rubber components, lters, oil, etc.
• Damage from freight, installation, improper
electrical connection, moisture damage, accident,
neglect, misuse, improper maintenance, alteration,
modication, or repair by anyone other than a minipack america, inc. authorized re-seller.
• In the event of highly corrosive or high moisture
applications, special protective coating or stainless
steel construction might be needed.
authorized distributors/dealers), which are inconsistent with the terms herein shall not constitute a
term of the minipack-torre and minipack america,
inc express warranty, and shall not be binding to
minipack-torre or minipack america, inc.
EXCLUSION
THE LIMITED WARRANTY SET FORTH ABOVE IS THE
SOLE AND ENTIRE WARRANTY PERTAINING TO THE
PRODUCT, AND IS IN LIEU OF AND EXCLUDES ALL
OTHER WARRANTIES OF ANY NATURE WHATSOEVER, WHETHER EXPRESSED, IMPLIED OR ARISING BY
OPERATION OF LAW, INCLUDING, BUT NOT LIMITED
TO ANY IMPLIED WARRANTIES OF MERCHANTABILITY OR FITNESS FOR PARTICULAR PURPOSE. THIS
WARRANTY DOES NOT COVER OR PROVIDE FOR
THE REIMBURSEMENT OR PAYMENT OF INCIDENTAL OR CONSEQUENTIAL DAMAGES OF ANY TYPE,
MANNER, OR DEGREE, AND ANY LIABILITY BY
MINIPACK-TORRE OR MINIPACK AMERICA, INC FOR
SUCH INCIDENTAL OR CONSEQUENTIAL DAMAGES
HEREBY DISCLAIMED.
Some states do not allow this exclusion or limitation
of warranties and/or damages, so the above limitations and/or exclusions might not be applicable to
you. This warranty gives you specic legal rights, and
you might also have other rights that vary from state
to state.
SERVICE WITHIN WARRANTY PERIOD
• For Repair or Service please contact the entity
from whom you purchased the machine from.
Component subsystems manufactured by minipack
carry the warranty as stated herein. The warranty
does not apply to subsystem component parts which
are not manufactured by minipack. Subsystem component parts not manufactured by minipack, shall
be subject to any warranty of their manufacturer.
minipack-torre and minipack america, inc. shall not
be liable if minipack-torre equipment or components
are used with accessory equipment not manufactured by minipack.
Representations and/or warranties, by whomever
made (even if made by minipack america, inc.
Sanitation
Approved
• The Original Purchaser must contact minipack
america, inc. for an RMA Request Form to request
the return or repair of the machine or part. The
Original Purchaser or Owner of the equipment is
responsible for all shipping charges, including outbound and inbound freight charges. In the case that
our minipack america, inc. evaluation determines
there is a manufacturer’s defect, no shipping charges
will apply and the outbound freight charges initially
paid by the customer, will be reimbursed by minipack
america, inc. Freight reimbursement applies only to
standard shipping charges.
Electrical
Approved
- 13 -
 Loading...