

Page 1

Installing a
Collaboration
System on the
Premier Cart
1
Page 2

Copyright © 2000-2002: Polycom, Inc.
Polycom, Inc., 4750 Willow Road, Pleasanton, CA 94588
www.polycom.com
Polycom and the Polycom logo are registered trademarks of Polycom, Inc.
Velcro is a registered trademark of Velcro USA, Inc.
Bose is a registered trademark of Bose Corporation.
The information contained in this document is subject to change without notice. Polycom assumes no
responsibility for technical or editorial errors or omissions that may appear in this document or for the use of
this material. Nor does Polycom make any commitment to update the information contained in this
document. This document contains proprietary information which is protected by copyright. All rights
reserved. No part of this document may be photocopied or reproduced in any form without the prior written
consent of Polycom, Inc.
Edition: 3725-50455-001/A
Do you have any suggestions or comments on the documentation you
received? If so, please send them b y e-mail to iDesign@polycom.com.
2
Page 3
Before You Start
Make sure you read these important warnings before you start
unpacking your cart.
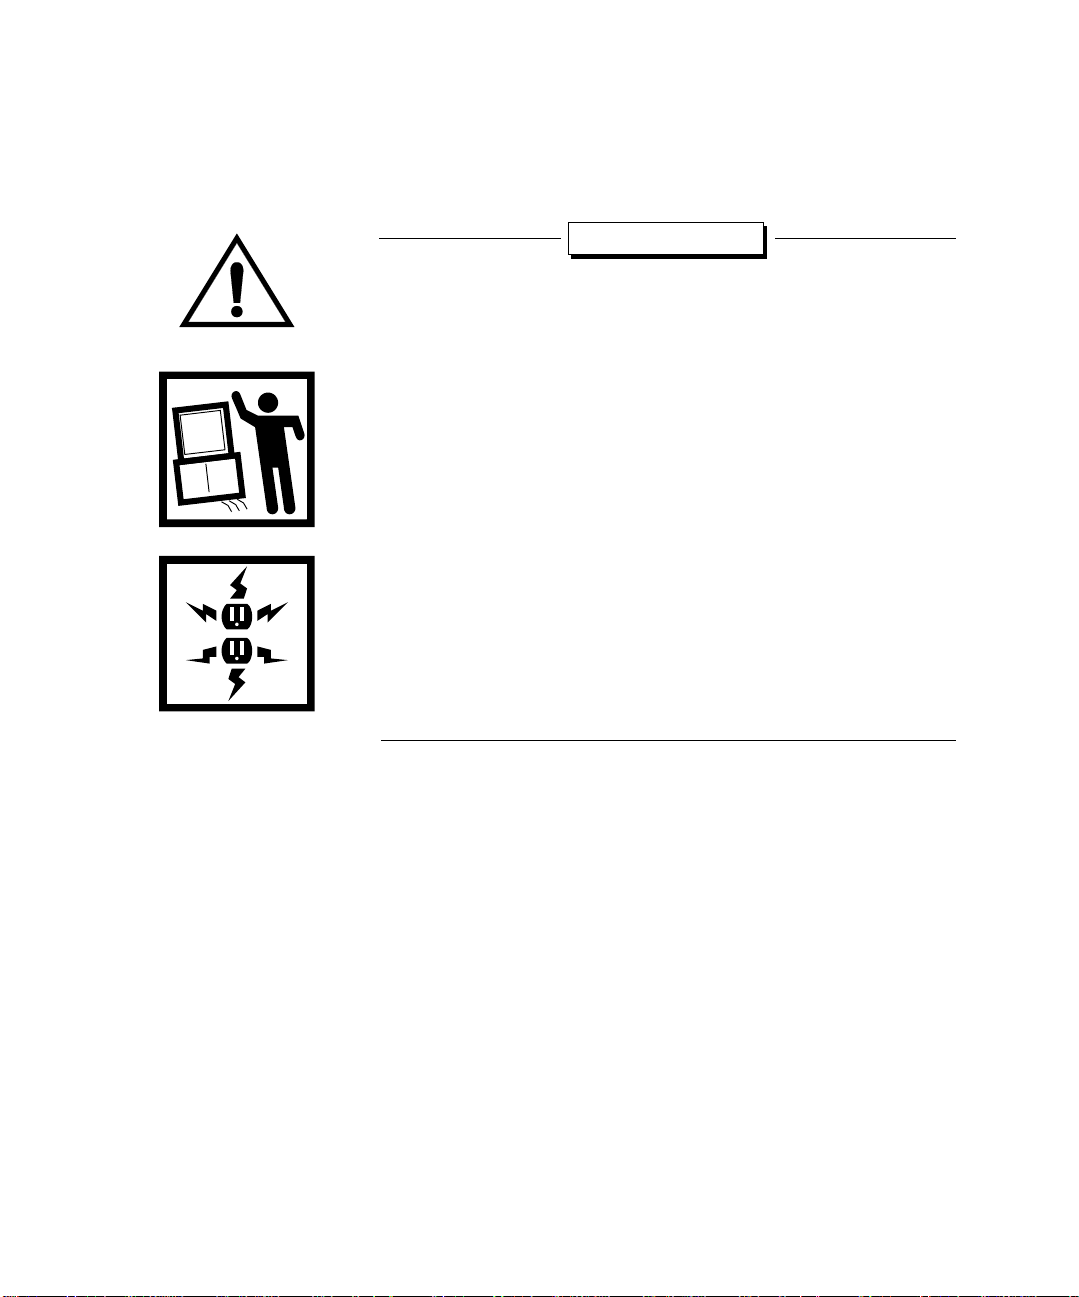
Warnings
❑Heavy lifting required - To reduce the chance of personal
injury, you need at least two people to perform the l ifting
required.
❑Install monitor as shown - Large video
monitors are very
heavy. Make sure that you mount the monitor as instructed.
❑Avoid tipping - The Premier Cart
has been tested, and IEC 950
and UL-approved, for Polycom-approved 27- and 32-inch
monitors (29- and 34-inch monitors for Europe). If you use
other monitors, you must ensure that the Premier Cart cannot
tip.
❑Monitor Size - Do not install a monitor larger than 32-inch (34-
inch in Europe) on the Premier Cart, or it may tip over.
❑Power cables and polarity - Use power cables and adapters
supplied by Polycom. Others may not have the correct polarity
or power ratings and may cause damage.
3
Page 4

4
Page 5

Installing a
Collaboration System
on the Premier Cart
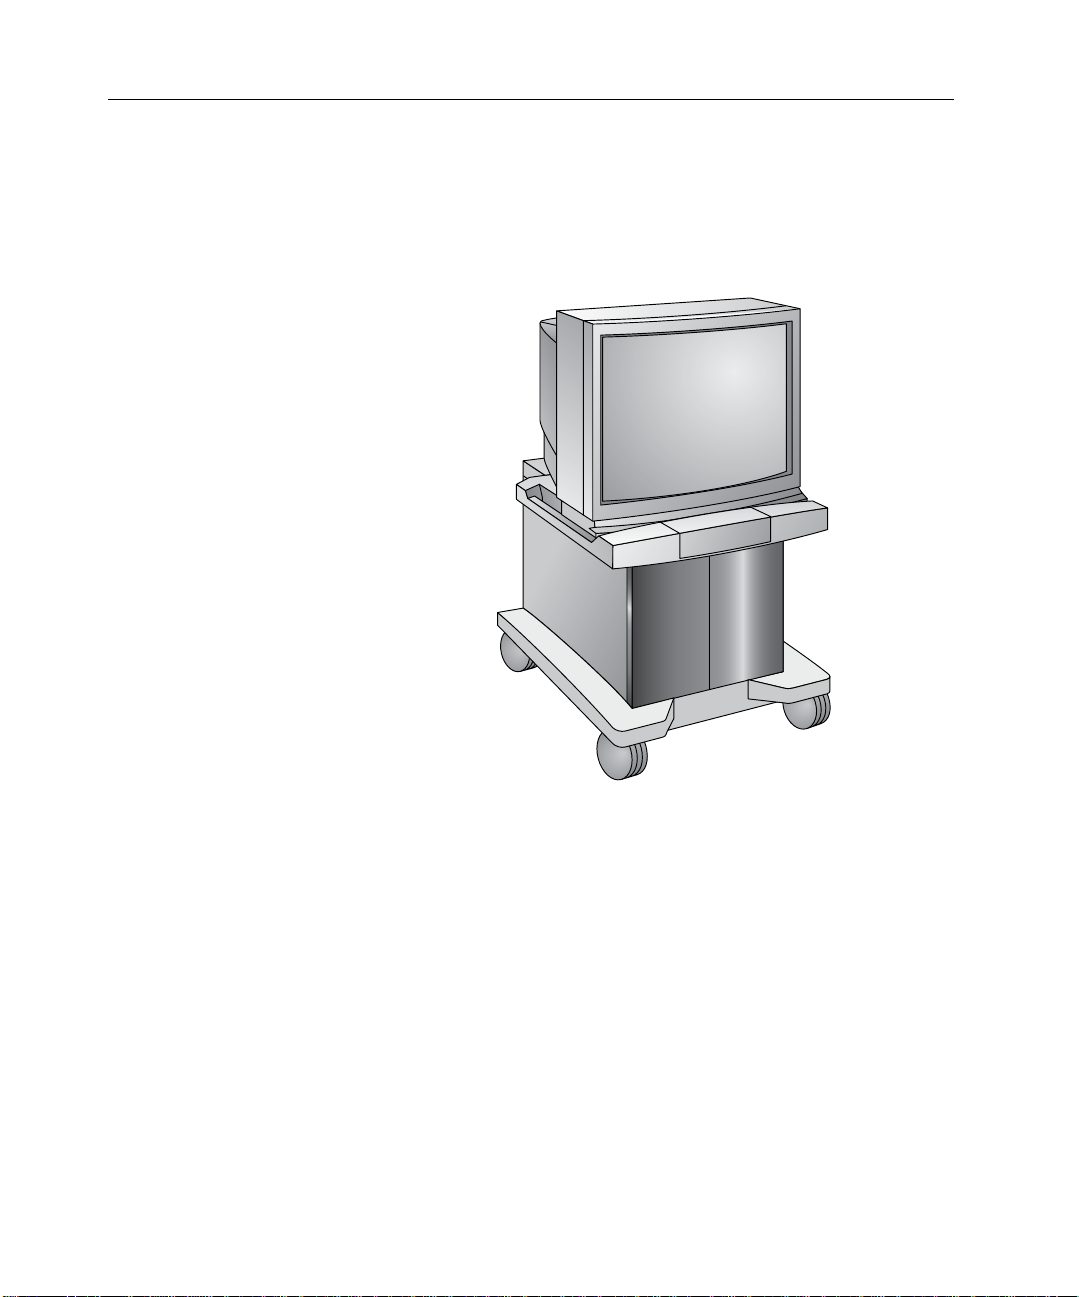
About this Booklet
This booklet provides instructions for installing an iPower 900
Series Collaboration System on a Premier Cart. You install the
computer box on the bottom shelf and up to a 32-inch monitor (34inch monitor for Europe) on top of the cart. The cart also contains a
shelf for a VCR or other optional equipment.
If your iPower 900 Series Collaboration System is a dual-monitor
system, see the iPower 900 Series Collaboration System Administrator’s
Guide for complete information about installing the system on the
cart when you have two monitors.
This booklet contains the following information:
❑Removing the Premier Cart from the pallet ( page 7)
❑Installing the computer box (page 9)
❑Installing the monitor (page 9)
❑Connecting the cables (page 15)
❑Moving the Premier Cart (page 20)
❑Service and Support (page 20)
5
Page 6
INSTALLING A COLLABORATION SYSTEM ON THE PREMIER CART
To set up the Premier Cart, you will need:
❑Phillips screwdriver
❑1/2-inch socket wrench
❑Pencil
6
Page 7

Removing the Premier Cart from the Pallet
a
b
Removing the
Premier Cart
from the Pallet
Attaching the Ramps
While the Premier Cart is still on the pallet, remove the plastic wrap
surrounding it. Be careful not to scratch the cart.
The two wooden ramps are shipped with bolts already installed.
To attach the ramps to the pallet:
1. Slide the two wooden ramps, with bolts attached, out from
under the Premier Cart.
2. Turn the ramps over so that the bolts are on the bottom.
3. Align the bolts with the holes on the edge of the pallet, and
insert the bolts into the holes.
Make sure the ramps can’t slip off the pallet.
a
b
7
Page 8

INSTALLING A COLLABORATION SYSTEM ON THE PREMIER CART
a
b
c
Removing the Shipping Brackets
To remove the shipping brackets:
1. Use a 1/2-inch socket wrench to unbolt the orange shipping
brackets that secure both sides of the Premier Cart to the pallet.
2. Pull the shipping brackets up and then away from the Premier Cart
to disengage the bracket tabs from the system’ s shipping slots .
Rolling the Premier Cart Off the Pallet and Engaging Its Brakes
To remove the Premier Cart from the pallet:
1. If the brakes located on the front wheels of the cart are locked, lift
them up to unlock them.
2. Carefully roll the Premier Cart toward the ramps.
3. Slowly roll the cart off the pallet .
4. To keep the Premier Cart from moving, push down on the brakes.
c
b
a
8
Page 9

Installing the Computer Box
a
Installing the
Computer Box
The computer box is shipped in its own carton. Once you unpack the
computer box, you can install it in the Premier Cart.
To install the computer box on the bottom shelf:
1. Open the rear door of the Premier Cart.
2. Place the computer box on the bottom shelf with the rear of the
box facing the back of the cart.
a
o
8
A
8
1
4
1
2
7
VGA
VCR
4
A/V
ISDN
WAN
LAN
Installing the Monitor
This section describes how to install the monitor on your Premier
Cart. To install the monitor, you need back brackets and Velcro
®
straps, which secure the monitor to the Premier Cart. These are
shipped with your cart.
You also need a front bracket, which is shipped in its own box with
the collaboration system. The front bracket you receive is the
appropriate size for your monitor.
Note: These steps are for installing the 27-inch (29-inch in
Europe) or 32-inch (34-inch in Europe) monitor that
comes standard with the Premier Cart.
9
Page 10

INSTALLING A COLLABORATION SYSTEM ON THE PREMIER CART
a
b
Installing the Front Bracket on the Monitor
To install the front bracket on the cart:
1. Place the bracket on the Premier Cart so that the clamps on the
bracket align with the cutouts on the top of the cart .
2. Pull the bracket forward until the hole f or the screw on the brac ket
aligns with the hole in the cart .
3. Use a Phillips screwdriver and the screw provided to secure the
bracket to the top of the Premier Cart.
b
a
a
Installing the Back Brackets f or the 27-inch (29-inch in Europe)
Monitor
Before you begin, note that you must follow these instructions
exactly to ensure that the monitor is installed safely.
Warning
If the brackets are not correctly installed, the straps won’t
hold the monitor securely in place. The monitor could work
free of the front bracket, and tip.
10
Page 11

Installing the Monitor
To install the back brackets for the 27-inch (29-inch in Europe)
monitor:
1. Determine which size monitor you have.
If you have a 32-inch (34-inch in Europe) monitor, go to the
“Installing the Back Brackets for the 32-inch (34-inch in Eur ope)
Monitor” section on page 12.
2. Position the V elcro straps on top of the cart, as shown, with the
loop side of the Velcro facing up.
a
You don’t need to separate the loop side from the hook side.
3. Place the brackets on top of the straps, aligning the holes in the
brackets with the holes in the Velcro straps and the holes in the
grooves on the cart. Make sure that the loose ends of the straps
extend beyond the rear of the Premier Cart.
b
The two holes in the brackets must be aligned with the 5th and
7th holes counting from the back of the cart (the brackets will
cover the 6th hole).
4. Insert the screws through the brackets and straps and into the
Premier Cart. Tighten the screws.
To continue the installation of your monitor, go to page 13,
“Positioning the Monitor on the Premier Cart.”
b
a
11
Page 12

INSTALLING A COLLABORATION SYSTEM ON THE PREMIER CART
Installing the Back Brackets f or the 32-inch (34-inch in Europe)
Monitor
Before you begin, note that you must follow these instructions
exactly to ensure that the monitor is installed safely.
If the brackets are not correctly installed, the straps won’t
hold the monitor securely in place. The monitor could work
free of the front bracket, and tip.
To install the back brackets for the 32-inch (34-inch in Europe)
monitor:
Warning
1. Position the V elcro straps on top of the cart, as shown, with the
loop side of the Velcro facing up.
a
You don’t need to separate the loop side from the hook side.
2. Place the brackets on top of the straps, aligning the holes in the
brackets with the holes in the Velcro straps and the holes in the
grooves on the cart. Make sure that the loose ends of the straps
extend beyond the rear of the Premier Cart.
b
The two holes in the brackets must be aligned with the 3rd and
5th holes counting from the back of the cart (the brackets will
cover the 4th hole).
3. Insert the screws through the brackets and straps and into the
Premier Cart. Tighten the screws.
b
a
12
Page 13

Positioning the Monitor on the Premier Cart
When you have completed the installation of the brackets on your
Premier Cart, you are ready to install the monitor.
Note: Do not install a monitor larger than 32-inches (34-inches
in Europe) on the Premier Cart. Also, because large
monitors are very heavy , be sure to mount the monitor as
instructed.
To install the monitor:
1. Push down on the brakes located on the front wheels of the
Premier Cart to prevent the cart from moving.
2. Gently position the monitor on the Premier Cart.
3. Carefully move the monitor forward into the bracket on the fr ont of
the cart until it is secure.
Installing the Monitor
13
Page 14

INSTALLING A COLLABORATION SYSTEM ON THE PREMIER CART
a
b
Sticking the Velcro Straps onto the Monitor
The Velcro straps help secure your monitor to the cart.
To stick the Velcro straps onto the monitor:
1. Make sure that the hook and loop sides of the Velcro are stuck
together and are aligned at the top of the strap.
2. Pull up on one of the Velcro
the strap fits securely over the bottom corner of the monitor.
3. With a pencil, mark the back of your monitor to indicate the top
position of the strap.
4. Remove the backing from the hook side of the V elcro
exposes the adhesive that will attach the strap to the monitor.
5. Stick the strap vertically to the back of the monitor using the
pencil mark as a guide.
6. Repeat steps 1 through 5 to attach the second strap.
straps until it is taut. Make sure that
strap. This
14
a
b
Page 15

Connecting the Cables
a
b
Connecting the
Cables
Connecting the Audio Cables
Now that the monitor is attached to the cart, you must place the
camera on the monitor and connect it. See the document that you
received with your camera for instructions on how to attach the
camera to the monitor.
Once you have set up your camera, refer to this section for
information on connecting audio and power cables to the Premier
Cart.
Note: If your collaboration system was shipped with two
monitors, see the iPower 900 Series Collaboration System
Administrator’s Guide for instructions on installing cables
with dual-monitors systems.
The Premier Cart contains a Bose® speaker with a pre-installed
audio power cable.
To connect the audio cables when you have an iPower 80 camera:
1. At the back of the collaboration system, plug the orange end of the
audio output cable into the orange LINE OUT connector on
the computer box.
The audio output cable came packaged with the iPower 970 or
iPower 960 Collaboration System.
2. Plug the white end of the audio output cable into the single end of
the black Y-adapter cable .
The black Y-adapter cable came packaged with the iPower 80
camera.
15
Page 16

INSTALLING A COLLABORATION SYSTEM ON THE PREMIER CART
c
d
e
3. Plug another end of the black Y-adapter cable into the audio cable
from the Bose speaker .
The audio cable from the Bose speaker is located on the inside of
the Premier Cart.
4. Plug the remaining end of the black Y-adapter cable into the end
of the audio cable that has the ferrite bead .
The audio cable with the ferrite bead came packaged with the
iPower 80 camera.
5. Plug the other end of the audio cable into the white audio input
connector on the back of the iPower 80 camera.
e
c
o
8
1
A
o
8
1
A
8
8
4
2
1
7
4
4
ISDN
WAN
LAN
VCR
A/V
VGA
2
7
4
a
ISDN
WAN
A/V
b
16
d
Page 17

Connecting the Cables
a
b
To connect the audio cables when you have an iPower 70 camera:
1. At the back of the collaboration system, plug the orange end of the
audio output cable into the orange LINE OUT connector on
the computer box.
The audio output cable came packaged with the iPower 970 or
iPower 960 Collaboration System.
2. Plug the white end of the audio output cable into the audio cable
from the Bose speaker .
The audio cable from the Bose speaker is located on the inside of
the Premier Cart.
o
8
1
A
o
8
1
A
8
8
4
2
1
7
4
4
ISDN
WAN
LAN
VCR
A/V
VGA
2
7
4
ISDN
WAN
A/V
a
b
17
Page 18

INSTALLING A COLLABORATION SYSTEM ON THE PREMIER CART
a
b
c
Connecting the Monitor’s Power Cable
The monitor’s power cable connects to the Premier Cart with a
power adapter cable. This power adapter cable is shipped with the
cart.
To plug in the monitor’s power cable:
1. Plug the power cable into the power connector on the back of the
monitor .
2. Run the power cable from the monitor down through the center
channel on the rear of the cart.
3. Plug the power cable into the power adapter cable that was
shipped with your cart.
4. Plug the power adapter cable into the power strip inside the
Premier Cart.
a
c
b
o
8
1
A
8
4
2
1
7
4
ISDN
WAN
LAN
VCR
A/V
VGA
18
Page 19

Connecting the Computer Box Power Cable
abc
d
To connect the computer box power cable:
1. Plug the power cable that was shipped with your cart into the
power receptacle on the computer box.
2. Plug the other end of the power cable into the power strip inside
the Premier Cart.
You use the power cable that was supplied with the Country Kit to
connect the power strip on the Premier Cart to a wall outlet.
To connect the power strip to a wall outlet:
1. Plug the power cable that was shipped with your Country Kit
into the power strip.
2. Plug the other end of the Country Kit power cable into a wall outlet
.
Connecting the Cables
d
b
c
o
8
1
A
8
4
2
1
7
4
ISDN
WAN
LAN
VCR
A/V
VGA
a
19
Page 20

INSTALLING A COLLABORATION SYSTEM ON THE PREMIER CART
Moving the Premier Cart
When you move the Premier Cart:
❑Unplug all cables from wall outlets and network connectors
before you roll the cart.
❑Do not push the Premier Cart on any incline that i s greater than
10 degrees.
❑Push the cart from its side using the indented handles
provided for your convenience.
The Premier Cart can fit through a doorway that is at least 28 inches
(71 centimeters) wide if you push it from its side.
Service and Support
20
For support or service, please contact your Polycom service
provider or call Polycom Technical Support. You can find phone
numbers for T echnical Support in your area at the Polycom web site,
www.polycom.com.
 Loading...