

PNI Corporation V550, V600 User guide
Operation Manual
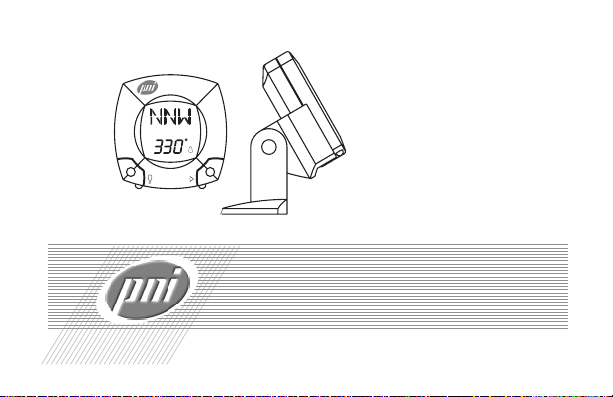
V550/V600 DIGITALVehicleCompass

TABLE OF CONTENTS
CONGRATULATIONS............................................................................................... 1
Compass Features .........................................................................................1-2
DISPLAY AND BUTTONS...................................................................................... 3-5
STEP I - INSTALLING (REPLACING) THE BATTERIES ..........................................6
STEP 2- MOUNTING THE COMPASS ..................................................................7-8
Mounting Guidelines.......................................................................................... 7
Mounting the Compass................................................................................... 7-8
STEP 3 - CALIBRATING THE COMPASS ...........................................................9-11
When to Calibrate.............................................................................................. 9
Calibration Guidelines ....................................................................................... 9
Calibrating Model V550 ................................................................................9-10
Calibrating Model V600 ..............................................................................10-12
Car Mode Calibration (V600 only) ......................................................10-11

TABLE OF CONTENTS
Hand Mode Calibration (V600 only) ...................................................11-12
SETTING AND USING THE COMPASS FEATURES ........................................13-15
Clock Feature ..................................................................................................13
Bearing Point Feature...................................................................................... 14
Trip Timer Feature ........................................................................................... 14
Alarm Clock Feature........................................................................................ 15
BACKLIGHT INFORMATION AND PROGRAMMING ............................................ 16
Backlight Auto Shut-off .................................................................................... 16
Changing the Auto Shut-off Value.................................................................... 16
FREQUENTLY ASKED QUESTIONS ................................................................ 17-20
SERVICE AND REPLACEMENT....................................................................... 21-22
WARRANTY INFORMATION............................................................................. 23-24

CONGRATULATIONS!
You have acquired one of the most
sophisticated compasses available for use
in a vehicle. This unit incorporates patented magnetic sensor technology that
was developed for the United States Military to give you the most accurate electronic compass headings.
Compass Features:
• Works in Any Vehicle: accurate in
cars, trucks, SUVs, or RVs.
• Removable Compass Unit: easily
slides off from its holding bracket to
be used outside the vehicle as an alarm
clock or to prevent theft.
• Adjustable Holding Bracket: easily
mounts to any windshield with heavyduty suction cups (included).
• Handheld Mode (Model V600 only):
The V600 model can also be used as
a handheld compass in a horizontal
position without the need to recalibrate
everytime the compass is removed
from the vehicle.
• Easy to Read Display: compass heading is displayed with 16 cardinal points
(N, NNE, etc.) and 1° numeric digits.
• Electronic Calibration: just press a
button and perform two circles. Cal-
1

COMPASS FEATURES
ibration doesn’t have to be repeated
until the batteries are removed or the
compass is mounted elsewhere.
• Bright Backlight: illuminates the LCD
for easy viewing day or night.
• Digital Clock: displays in 12-hour or
24-hour time format.
• Alarm Clock: compass can be used as
an alarm clock.
• Trip Timer: includes a timer that counts
up in hours, minutes and seconds.
• Bearing Point: stores and displays one
bearing point into memory.
• “Smart” Auto Shut-Off: shuts off auto-
matically (to clock mode) to save battery power when no magnetic eld
change is detected for approximately
10 minutes.
• Magnetic Distortion Message: alerts
you when magnetic interference from
outside sources is affecting the accuracy of the compass.
• Low Power Requirements: operates on
2 AAA batteries (included) for over
200 hours, depending on backlight
usage.
• Wide Temperature Range: -14°F to
140°F operating temperature; -40°F to
160°F storage temperature.
2

DISPLAY AND BUTTONS
Cardinal Point
Heading
[1] LCD Display
Showing:
a. Compass
Heading
Mode
b. Clock
PM
Mode or
Off Mode
[3] LIGHT
Button
DISTORTION
[4] Distortion
Message
Numeric
Heading
[5] Alarm
Bell
Icon
[2] ADVANCE
Button
3
c. Bearing
Mode
d. Timer
Mode
AM
e. Alarm
Mode

DISPLAY AND BUTTONS
[1] LCD Display: The compass has
various LCD display modes:
a. Compass Heading Mode - displays
heading information in cardinal points
(N, NNE, NE, etc.) and numeric digits
(325°, 326°, etc.).
b. Clock Mode - used to set and display
the clock in a 12-hour or 24-hour
format. Clock mode is also equivalent to shut-off mode.
c. Bearing Mode - used to store and
display bearing point information.
d. Timer Mode - used to set and start
trip timer feature.
e. Alarm Mode - used to set and view
alarm clock settings.
[2] ADVANCE Button:
Used to turn the unit on, to step through
the various compass modes, to toggle
between various options in programming
mode, and to begin and end calibration.
[3] LIGHT Button:
Used to turn the backlight on or off,
to enter backlight programming, and to
select an option or value in programming mode.
4

DISPLAYS AND BUTTONS
[4]
“DISTORTION”
The compass detects when outside magnetic interference is compromising compass accuracy by displaying the word
“DISTORTION”
occurs when there has been a signicant
change in the surrounding magnetic
elds, such as when you are driving
underneath an overpass or over a bridge.
[5] Alarm Bell Icon:
Indicates if the alarm feature is enabled
(icon showing) or disabled (icon not
showing).
Message:
on the LCD. Distortion
Note:
The V600 model also displays a “
“
HAnd
” message for the rst 10 seconds of
Compass Heading Mode. This indicates
which calibration settings the compass is
using: car mode or hand mode (i.e vertical or horizontal position). These messages do not appear with model V550.
Important Note:
When in “off mode”, your compass displays the clock, not a blank screen. This
is normal and consumes minimal battery
power. To turn the power back on, press
any button.
5
CAr
” or

STEP 1 - INSTALLING (REPLACING) THE BATTERIES
The compass uses two “AAA” size batteries.
Installing the Batteries:
1. Remove the compass from its bracket.
2. Slide open the battery cover on the
back of the compass housing.
3. Install the two batteries, noting the
polarity as shown inside the battery
compartment. Replace the battery
cover. The compass will go through a
self-test pattern until the clock starts.
Notes:
• If nothing happens, or if the display
becomes “stuck” with characters,
remove the batteries, wait approximately 1 minute, and then reinsert the
batteries.
• Every time the batteries are removed
or replaced, you must calibrate the
compass and reset all features (clock,
alarm, bearing point, etc.).
• The compass has an auto-shut off feature. When no magnetic eld change
is detected for 10 minutes, the compass automatically switches to clock
mode (off mode). To turn the power
back on, press any button.
6
 Loading...