

Page 1

Patent Pending
© PLX Devices Inc. 2009 All Rights Reserved
Page 2
1 Background
1.1 Patents
PLX Devices Inc. has patents pending on Kiwi’s architecture, algorithms and intellectual
properties.
1.2 Warnings
Do not operate this product under direct sunlight or in high temperatures. Damage and
malfunction may occur.
To prevent fire or shock hazard, do not expose this product to rain or moisture.
Do not operate this product while driving. This may interfere with driving operations, resulting in
an accident or even death.
Do not drive with this product if you have not securely tied the OBD cable away from your vehicle
controls such as your gas pedal and/or brake pedal. This may interfere with the operation of your
vehicle resulting in injury or death.
Do not use this product and its accessories in any way other than specified by PLX Devices Inc.
PLX Devices Inc. is not liable for accidents or damage caused by misuse of this product.
Do not tamper, disassemble, or modify this product. This may cause an accident, fire, electric
shock, or product malfunction.
1.3 Key Features
1. Plug and play to 1996 vehicles and later
2. Engine code check and reset
3. 4 Digit LED Display
4. 2 Button interface
5. Portable
1.4 Package Contents
1. Kiwi MPG main unit
2. User Guide
3. Velcro Tape
4. 2 zip ties
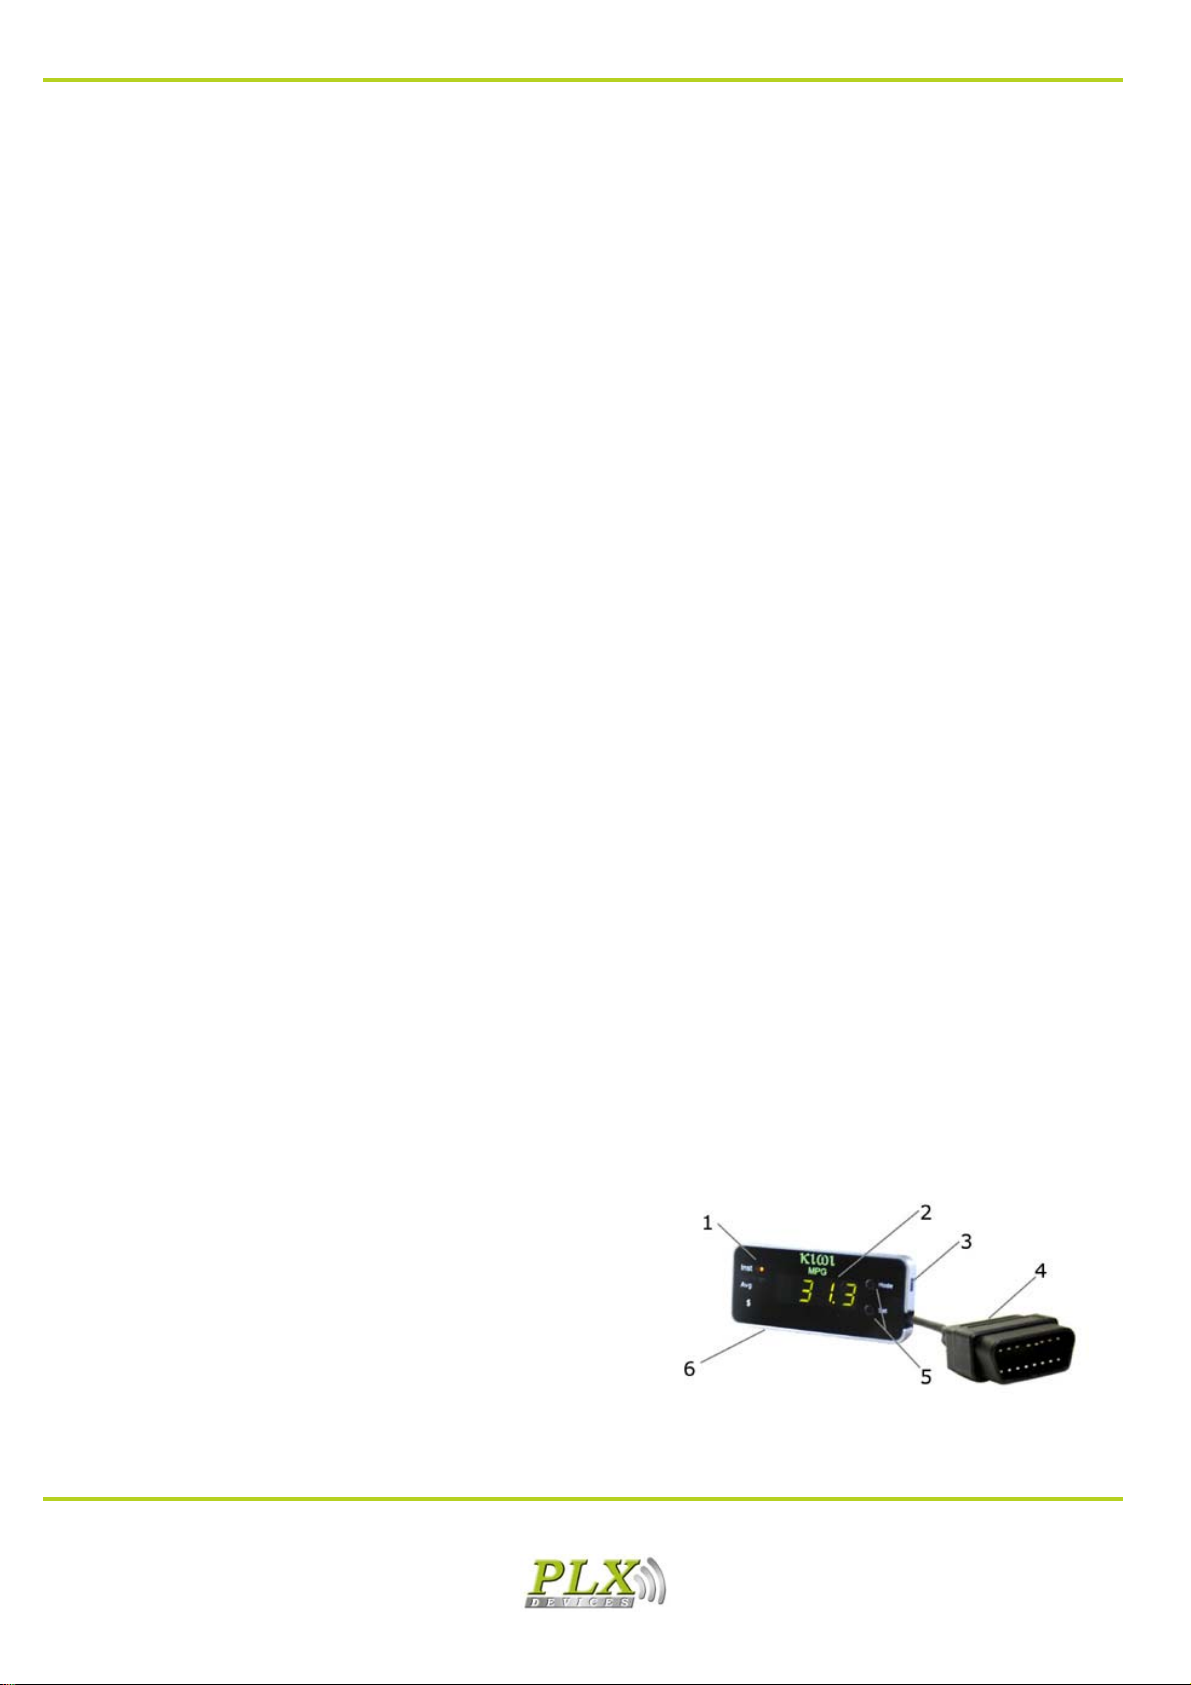
2 Overview
1. LED mode indicator lights
2. 4 digit LED Display
3. Power switch
4. 6ft OBDII cable and plug
5. 2 Button interface
6. Small form factor (1 x 2.5 x 0.5 inches)
www.plxkiwi.com
(408)745-7591
2
Page 3
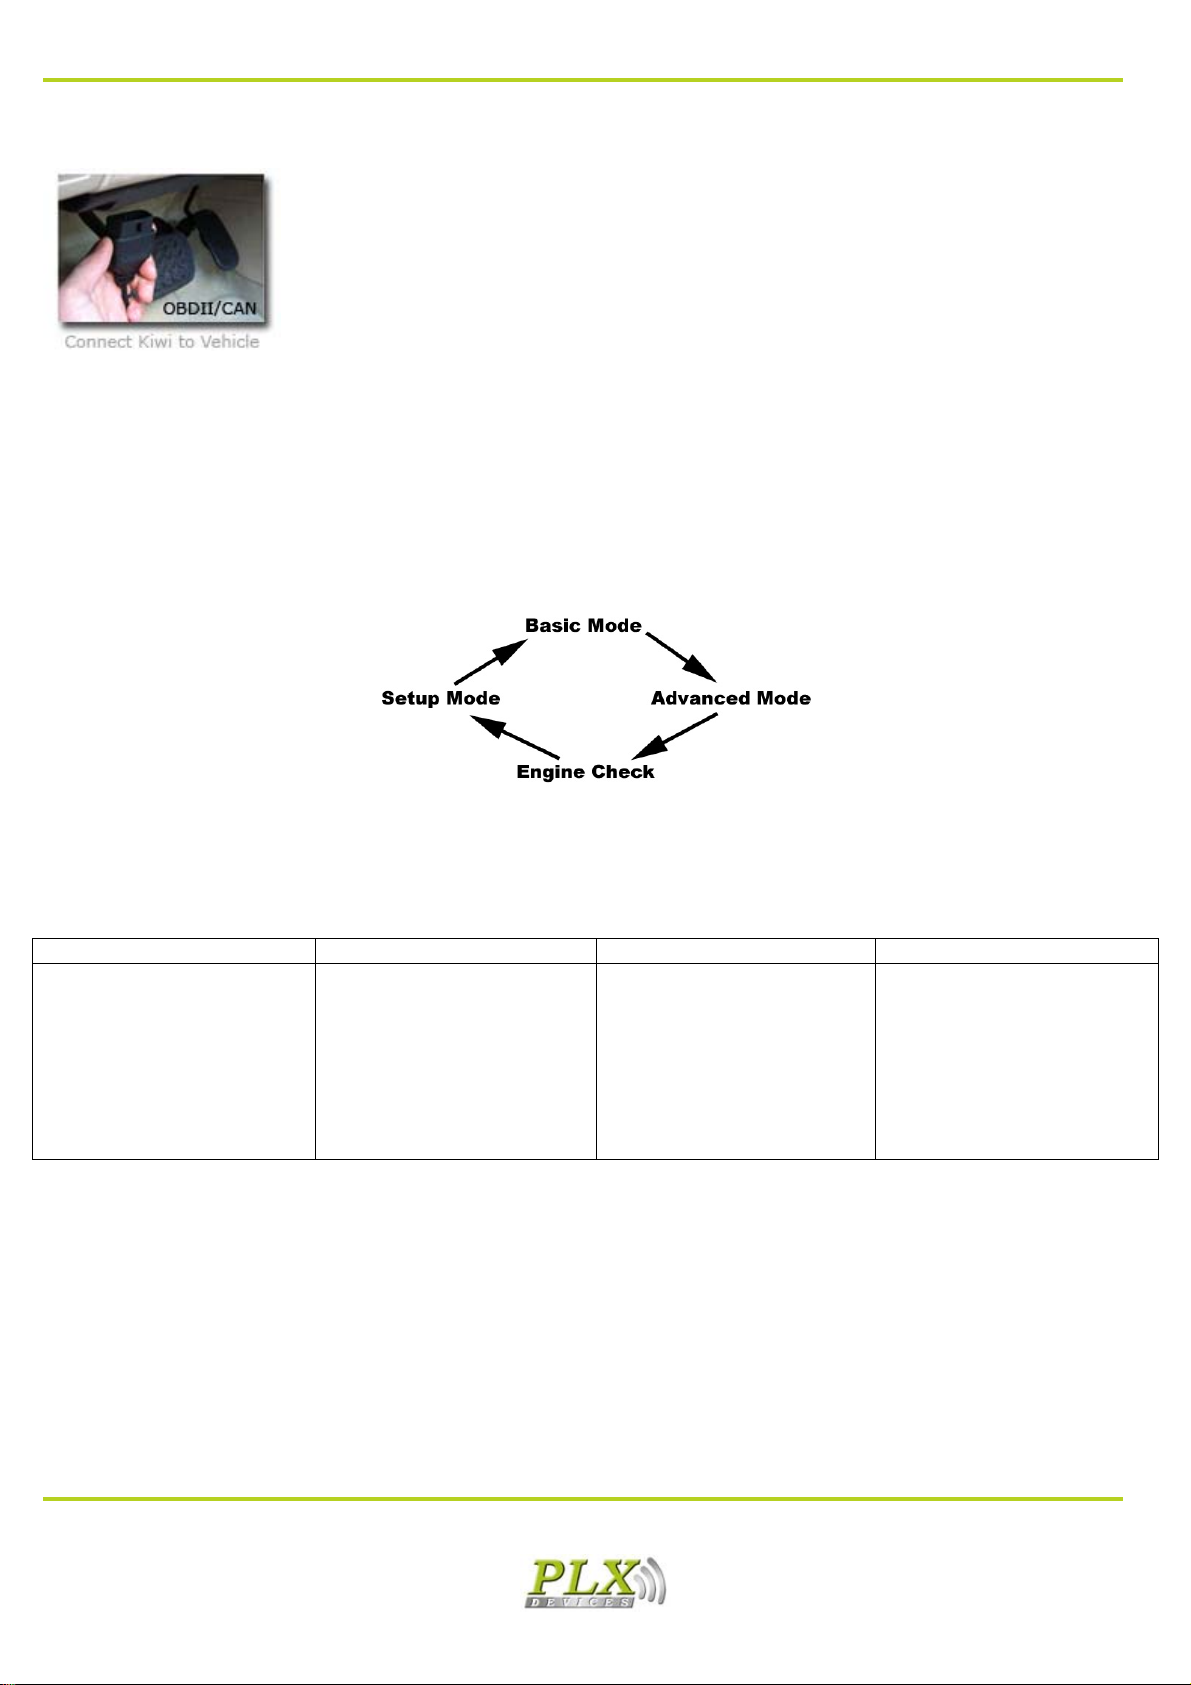
2.1 Installation
START YOUR ENGINE BEFORE CONNECTING FOR THE FIRST TIME. Locate the OBDII
connector and simply plug Kiwi MPG in. This connector is often located on the driver’s side near or
under the steering column. Flip the power switch to the “up” position to turn the unit on.
2.2 Navigating
Navigating the Kiwi MPG is performed by pressing the ‘Mode’ and the ‘Set’ button.
The Mode Button:
(Press and hold for 3 Seconds)
By pressing and releasing quickly the mode button toggles you through the following features,
depending on what mode you’re in:
(Press and Release)
Basic Mode Advanced Mode Engine Check Mode Setup Mode
Fuel Used
Instantaneous MPG
Trip MPG
Trip Dollars
Fuel Remaining
Distance Traveled
Distance To Empty
RPM
Vehicle Speed
Throttle Position
Coolant Temp
Read Code
Reset Code
Set Dollars/Gallon
Set MPG Cal
Set Tank Size
Set Units
Setup Fuel Type
The Set Button:
Press and hold the set button for 3 seconds to reset your trip computer. The Kiwi MPG has two
independent trip computers, the Basic Mode and the Advanced Mode. They can each be reset
independently. The set button is also used, in the setup mode to make changes to your settings.
3 Basic Mode
*When performing a reset in this mode, only Trip MPG and Trip Dollars are reset to zero. Advanced
mode values are unaffected.
www.plxkiwi.com
(408)745-7591
3
Page 4
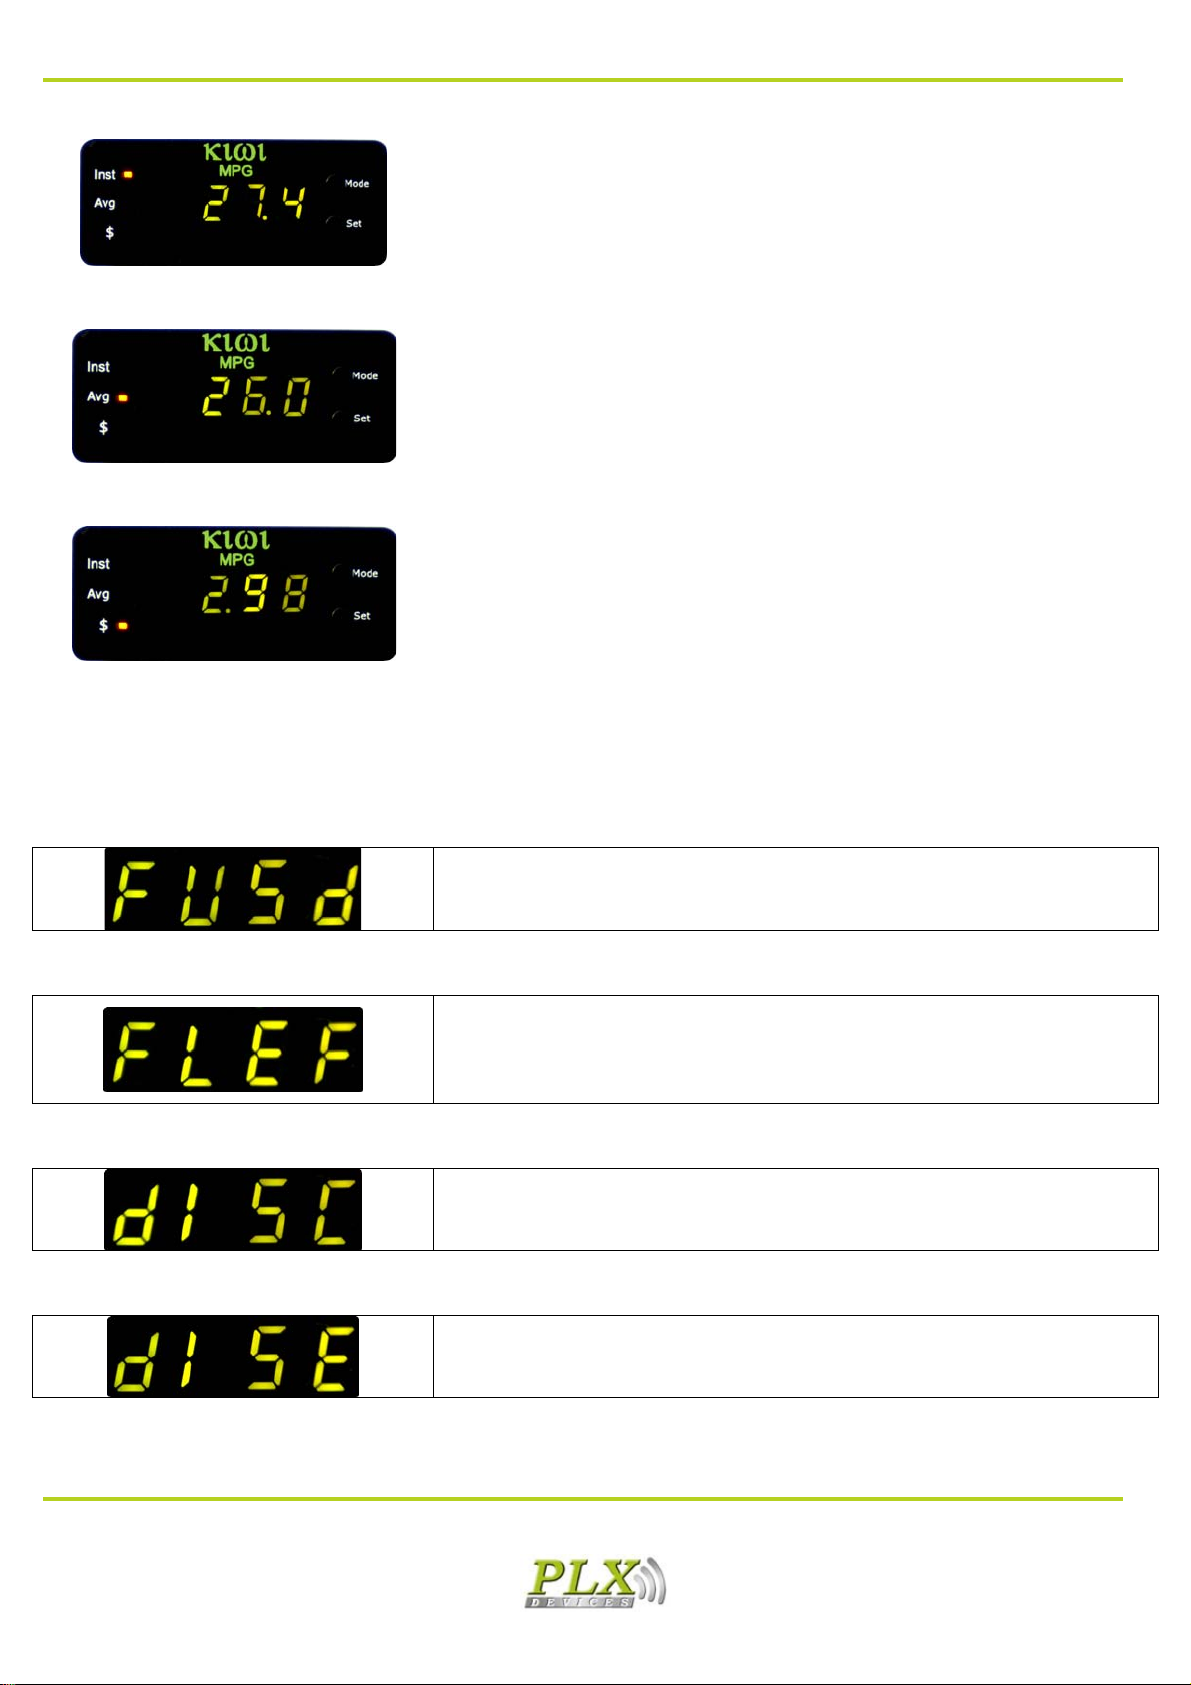
3.1 Instantaneous MPG
3.2 Trip MPG
3.3 Trip Dollars
Instantaneous MPG is displayed constantly in this mode.
(Supported Units: MPG, Km/L, L-100Km).
Average MPG is accumulated and displayed over multiple trips
in this mode. You may reset your trip at any time. (Supported
Units: MPG, Km/L, L-100Km).
Your total dollars of gas is accumulated over multiple trips.
You may reset this to zero at any time. (All worldwide
currencies supported).
4 Advanced Mode
*When performing a reset in this mode, only Fuel Used, Fuel Remaining, Distance Traveled, and
Distance to Empty are reset to zero. Basic mode values are unaffected.
4.1 Fuel Used
Fuel Used is displayed in this mode. This can be reset to zero
4.2 Fuel Remaining
4.3 Distance Traveled
at any time. (Supported Units: Gallons, Liters).
Fuel Remaining is displayed in this mode. Fuel remaining is
calculated based on a pre determined tank size. The defaults
tank size is 16 Gallons. The size of your tank can be adjusted
from the setup menu. (Supported Units: Gallons, Liters).
Distance Traveled is displayed in this mode. This can be reset
to zero at any time. (Supported Units: Miles, Kilometers)
4.4 Distance to Empty
Distance to empty is displayed in this mode. This is calculated
from your fuel remaining and your average MPG. (Supported
Units: Miles, Kilometers)
4
www.plxkiwi.com
(408)745-7591
Page 5
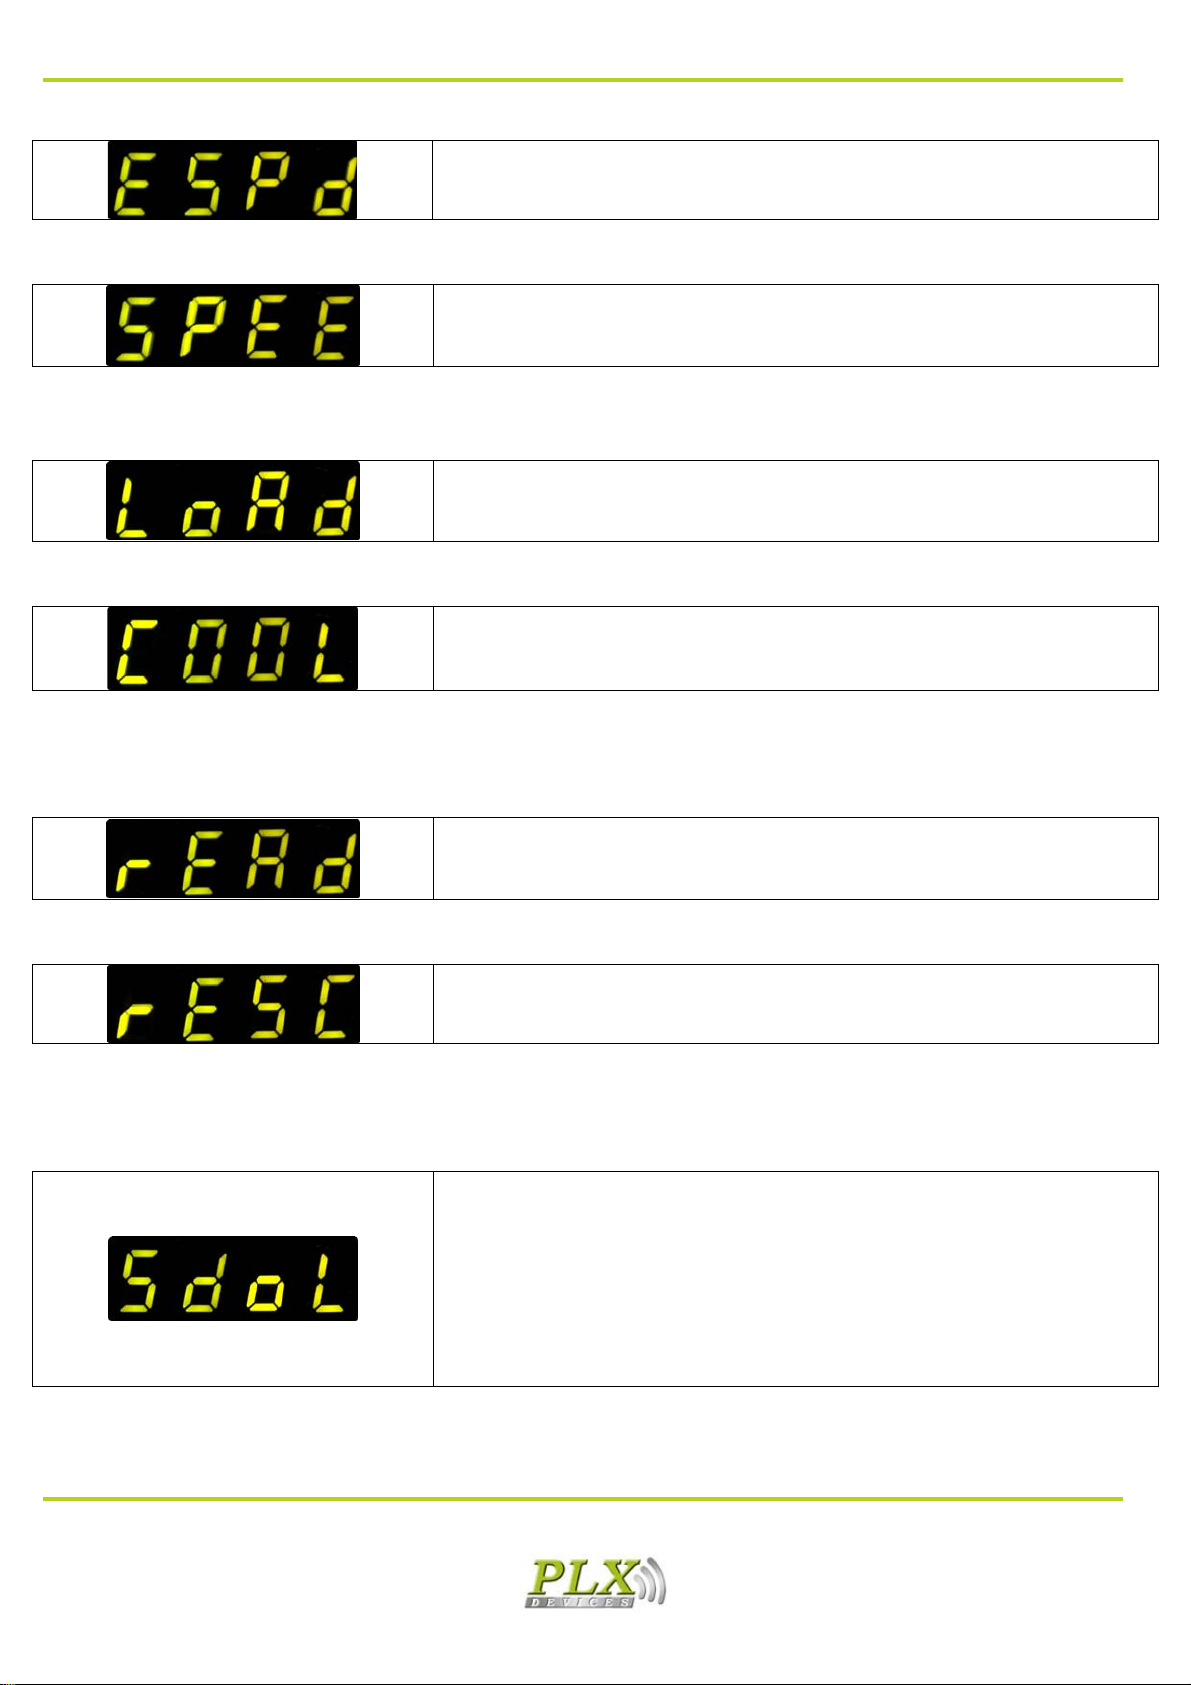
4.5 RPM
4.6 Vehicle Speed
4.7 Throttle Position
4.8 Coolant Temperature
This mode shows your engine’s speed or (tachometer
revolutions/minute).
This mode shows your vehicles’ speed. (Supported Units: MPH,
kmh)
This mode shows your throttle position or position of your gas
pedal. This is great for determining how much “load” is exerted
on your engine.
This mode shows your engine’s coolant temperature.
(Supported Units: Fahrenheit, Celsius)
5 Engine Check
5.1 Read Code
5.2 Reset Code
6 Setup Mode
6.1 Set Dollars/Gallon
Press the ‘Set’ button in this mode will read off your error
codes in a procession. The number of error codes detected will
display first followed by a list of the error codes one at a time.
Press the ‘Set’ button in this mode to clear your engine check
light.
This mode allows you to change the price of fuel. Press the set
button to enter you into the set mode. When you’re in this
mode, press the mode button to change the digit position.
Press the set button to increment the number. To exit, press
the mode button until none of the digits are blinking. If your
units (see section 6.4) is set to 0, the price reflects dollars per
gallon. If your units (see section 6.4) is set to 1 or 2, the price
reflects dollars per liter.
www.plxkiwi.com
(408)745-7591
5
Page 6
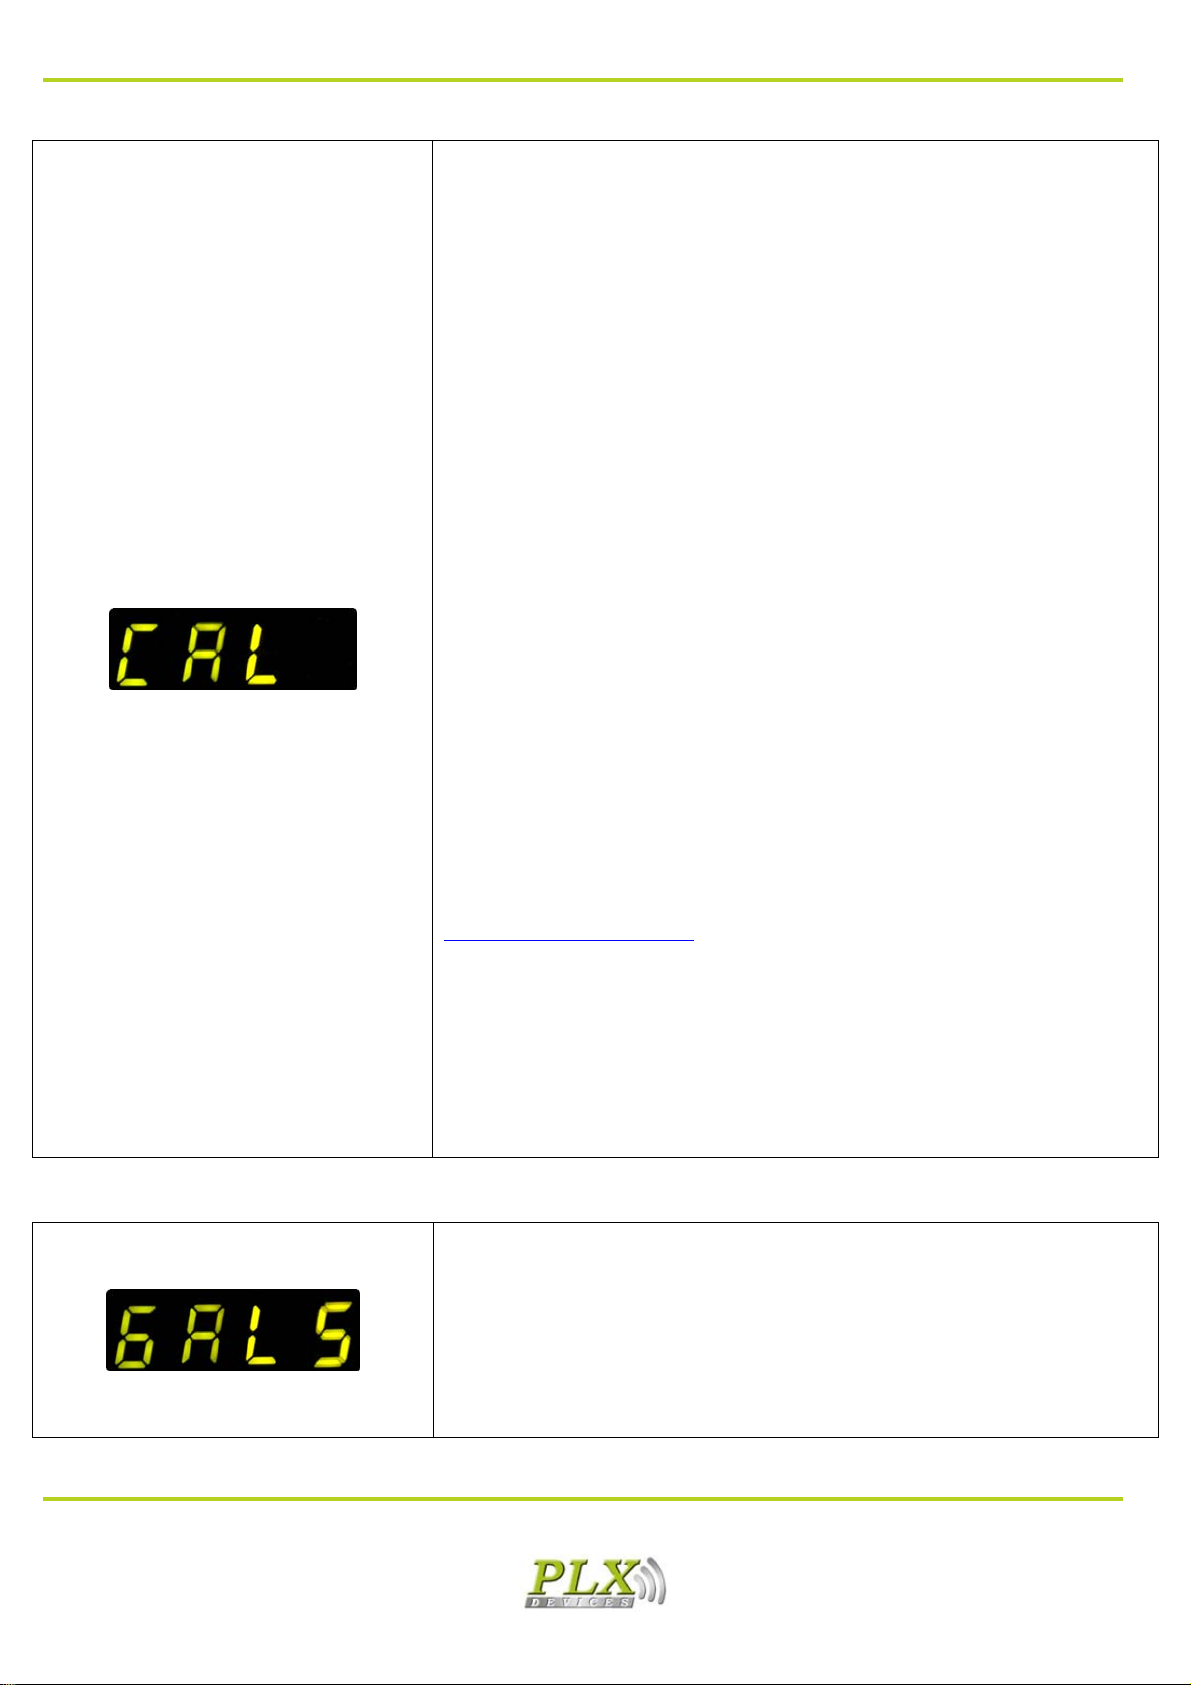
6.2 MPG Calibration
This mode allows you to calibrate the fuel efficiency reading. It
is recommended that you leave this at the default value of
1.00. However, if you’re MPG readings are inaccurate due to
the type of vehicle you have, you can manually correct for this
by adjusting the MPG Cal. Press the set button to enter you
into the set mode. When you’re in this mode, press the mode
button to change the digit position. Press the set button to
increment the number. To exit, press the mode button until
none of the digits are blinking.
Special Considerations and Background Information:
Kiwi MPG derives its fuel efficiency from your vehicle’s factory
sensors. There are two types of sensor that can be equipped in
your vehicle. A manifold absolute pressure sensor (MAP),
and/or a mass air flow sensor (MAF). If your vehicle is
equipped with a Mass Air Flow sensor, your unit will display
“CALF” when entering into this mode. If your vehicle is
equipped with a manifold absolute pressure sensor (MAP),
your unit will display “CALP” when entering into this mode. In
most vehicles equipped with a MAF sensor, calibration is often
not necessary and it is recommended that you leave this
setting default at 1.00. For vehicles equipped with a MAP
sensor, calibration is often necessary to you to achieve the
best accuracy.
Calibration Techniques:
Look up your vehicle’s EPA’s HWY fuel efficiency rating. If you
can’t find your original paperwork that came with your vehicle,
you can also browse through the government database at
www.fueleconomy.gov. Once you’ve determined your HWY
reading. Find a level paved road and drive 50MPH. Keep a
steady speed and have a passenger adjust your MPG’s
instantaneous reading to match your EPA reading by adjusting
the MPG Cal parameter. Be sure to drive both direction on the
road to counterbalance the slope of the road and any wind
conditions to achieve the most accurate results. Keep your foot
on the gas as steady as possible to avoid any jerks and pulses
to achieve the most accurate reading.
6.3 Tank Size
This mode allows you to set the gallon size (or liter size). Press
the set button to enter you into the set mode. When you’re in
this mode, press the mode button to change the digit position.
Press the set button to increment the number. To exit, press
the mode button until none of the digits are blinking. If your
units (see section 6.4) is set to 0, the reading reflects gallons.
If your units (see section 6.4) is set to 1 or 2, the reading
reflects liters.
6
www.plxkiwi.com
(408)745-7591
Page 7
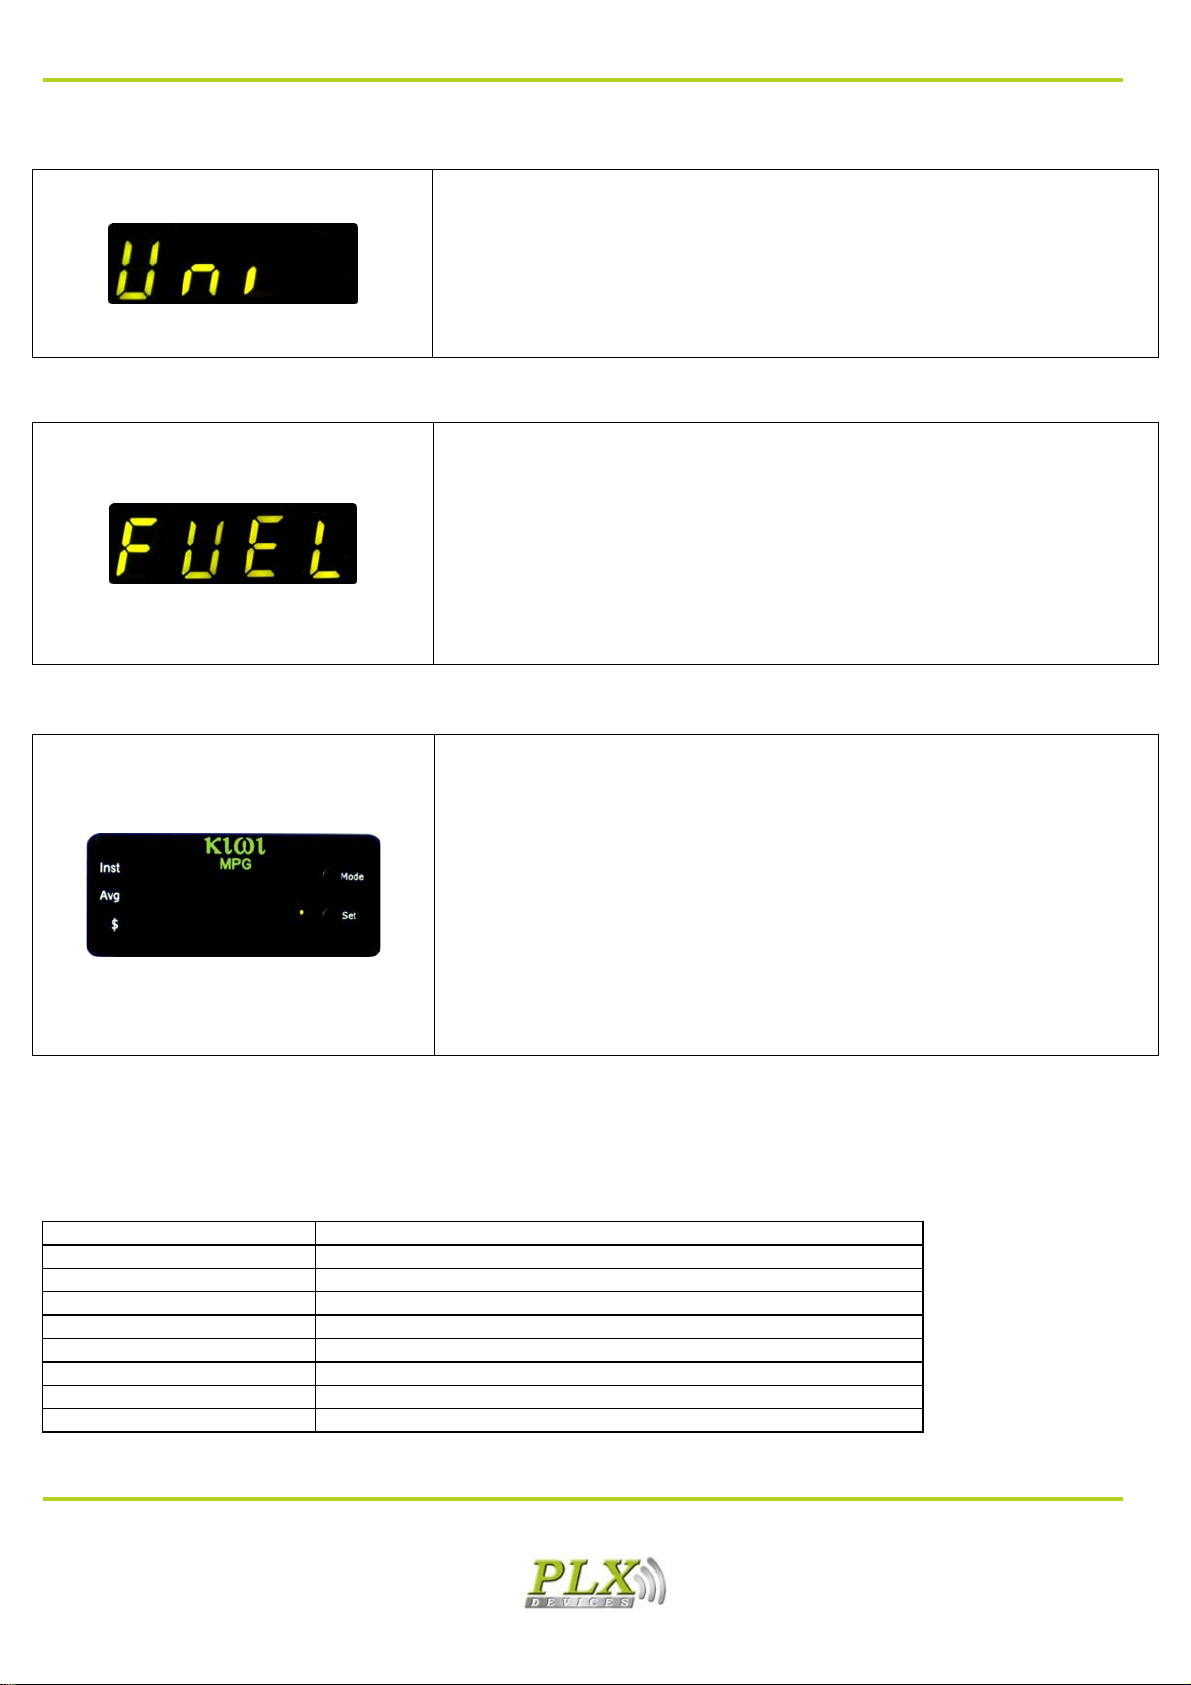
6.4 Set Units
6.5 Setup Fuel Type
This mode allows you to set the unit of measurement.
0 - Mode 1 (Gallons, Miles, MPG, Dollars, MPH, Fahrenheit)
*default
1 - Mode 2 (Liters, Kilometers, Km/L, Dollars, kmh, Celsius)
2 - Mode 3 (Liters, Kilometers, L-100Km, Dollars, kmh,
Celsius)
This mode allows you to set the fuel type.
0 - Gasoline (14.7) *default
1 - Diesel (14.6)
2 - E85 (9.86)
3 – Ethanol (9.0)
4 – Methanol (6.4)
5 – CNG (17.2)
6 – LPG (15.5)
7 Standby
When your vehicle is turned off, the Kiwi MPG automatically
saves your trip information and goes into a standby mode
leaving one blinking light on. When your vehicle is started up,
the Kiwi MPG automatically starts and resumes in the menu
where it left off.
*In some vehicles, due to ECU incompatibility, the automatic
standby detection may not work correctly. If the unit does not
automatically go into standby, press and hold BOTH buttons
for 3 seconds to save your trip information. If the unit does
not resume from standby after the vehicle has started, turn
the power switch off and then back on to reconnect.
8 Restore to Factory Defaults
To restore your unit back to factory default settings, press and hold both buttons during power on.
9 Technical Specifications
Physical Dimensions 1 x 2.5 x 0.5 inches
Compatible Fuels Gasoline, Diesel, Ethanol, E85, CNG, Methanol, LPG
Power Consumption < 1 Watt
OBDII/CAN Protocols ISO-9141, VPW, PWM, KWP 2000, 11Bit CAN, 29Bit CAN
Compatible Vehicles 1996 and later Vehicles
Operation Temperature -40 - 105 Deg C
Operating Voltage 10V-18V
Human Interface 2 Button
Enclosure Automotive Grade Plastic
www.plxkiwi.com
(408)745-7591
7
Page 8

TERMS OF USE - PLX Devices Inc. does not guarantee product functionality with ALL vehicles. I mplementation and integration of the PLX products with
any other device(s) must be done at your own risk. Improper installation and usage may lead to engine damage. Mount and install PLX products in a
location where it does not obstruct the driver’s view and/or ability or safely control the vehicle.
LIMITED WARRANTY - PLX Devices Inc. warrants this product to be free from defects for 1 year from the date of purchase. If applicable, Oxygen sensors
and other non-serviceable items are excluded from stated warranty. Serviceable goods must be determined by PLX Devices to be defective before any
warranty or replacement is issued. PLX Devices’ obligation under warranty shall b e limited to repairing or replacing, under the discretion of PLX Devices,
any part proven defective. This warranty is limited to the repair or replacement of parts in the manufactured good and the necessary labor done to affect
its repair or replacement.
SERVICE UNDER WARRANTY - In the unlikely event that your PLX Devices hardware should fail during the warranty period, a Return Material
Authorization number (RMA) must be first retrieved from PLX Devices Cu stomer Support. Support can be contacted through email:
[email protected] or by phone: 408-745-7591. All serviceable goods must be packaged securely with proof of purchase, RMA number, with all
shipping charges prepaid and shipped to PLX Devices Inc. Goods returned under warranty must be received by PLX Devices Inc. wit hin ten (10) business
days after the RMA number has been issued. Goods rece ived after this period is subject to fees for th e service of repair or replacement. All repaired or
replaced items shall be warranted for the remainder of the original product warranty.
RETURNS AND RESTOCKING FEE - A 15% r estocking fee will apply to applicable PLX Devices products for refund. All returns are to be packed in original
condition including packaging, documentation, manuals, and accessories. Returns that do not include all the accessories and components may be returned
to the customer or charged on a per item basis. The customer ass umes responsibility for product until receipt at PLX Devices Inc., shipping via an insurable
carrier is recommended. Any unauthorized shipping charges will be billed to the customer or shipment will be refused.
DISCLAIMER - PLX Devices Inc. shall not be liable for direct, special, incidental, or conse q u ential damages re s ulting from any leg a l theory including, but
not limited to, lost profits, downtime, goodwill, damage, injury to persons, or replacement of equipment and prop erty due to improper installation,
integration and/or misuse of any PLX Devices Inc.’s product(s). This warranty applies to the original purchaser of product and is non-transferable. All
implied warranties shall be limited in duration to the said 1 year warranty period .
8
www.plxkiwi.com
(408)745-7591
 Loading...