

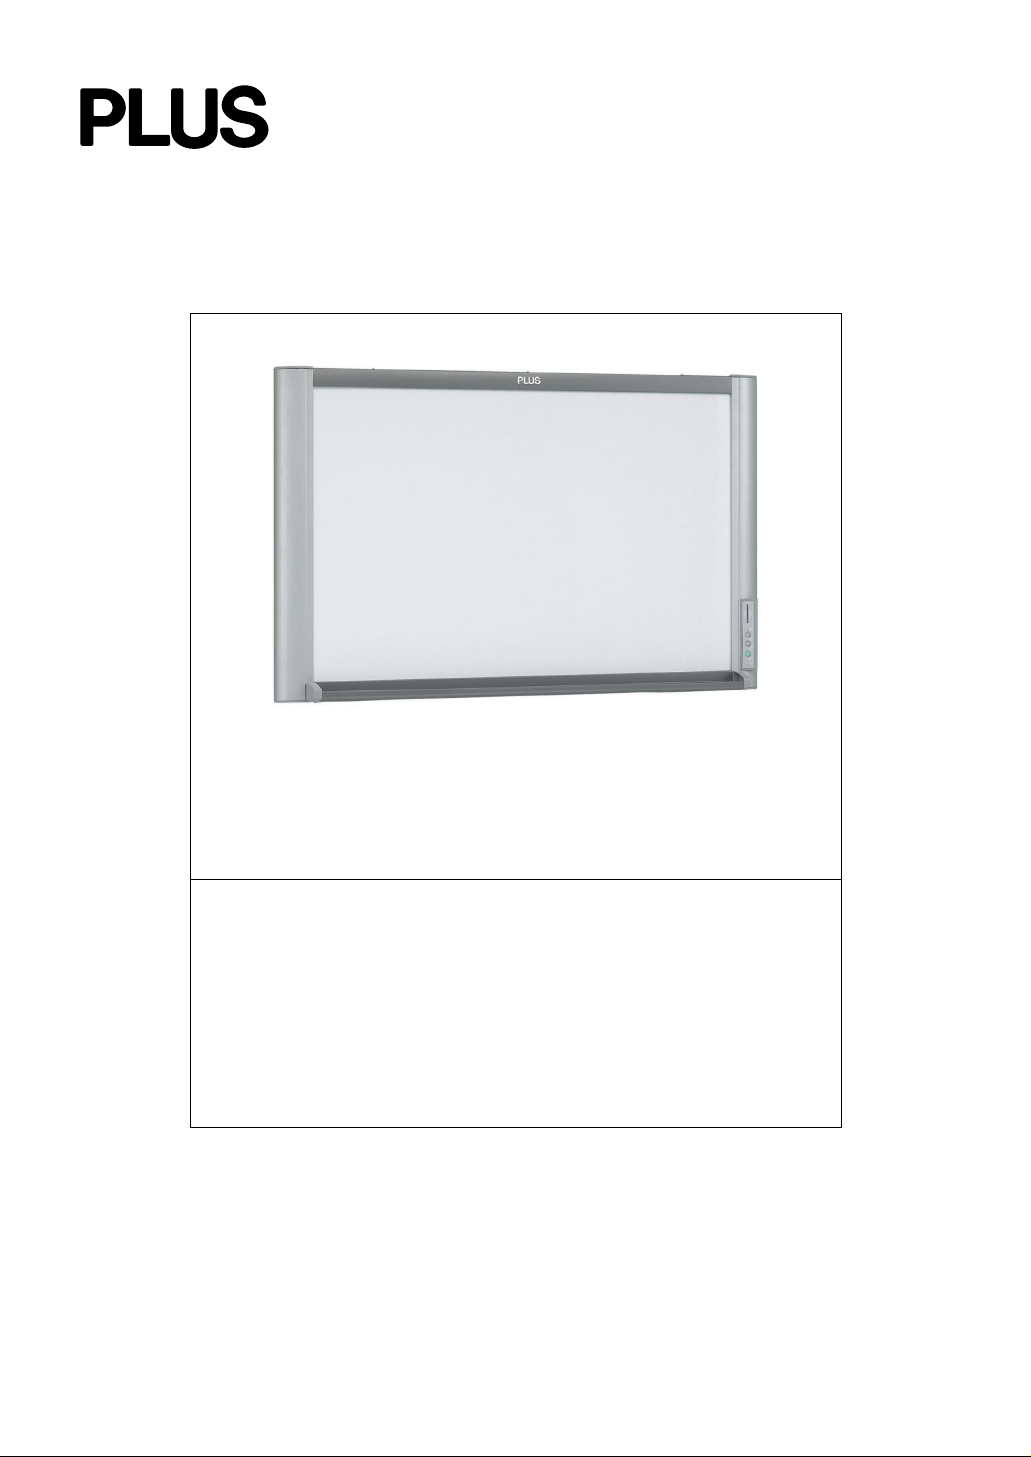
Copyboard
M-
5
Basic Operation
Quick Reference Guide
These operations are required when storing the drawings
on the copyboards’s sheet in the memory and when
moving the sheet surface using buttons.
This quick reference guide is written for computers running
Windows Me/2000/XP. For all other windows operating
systems please refer to the M-5 Copyboard manual.
1
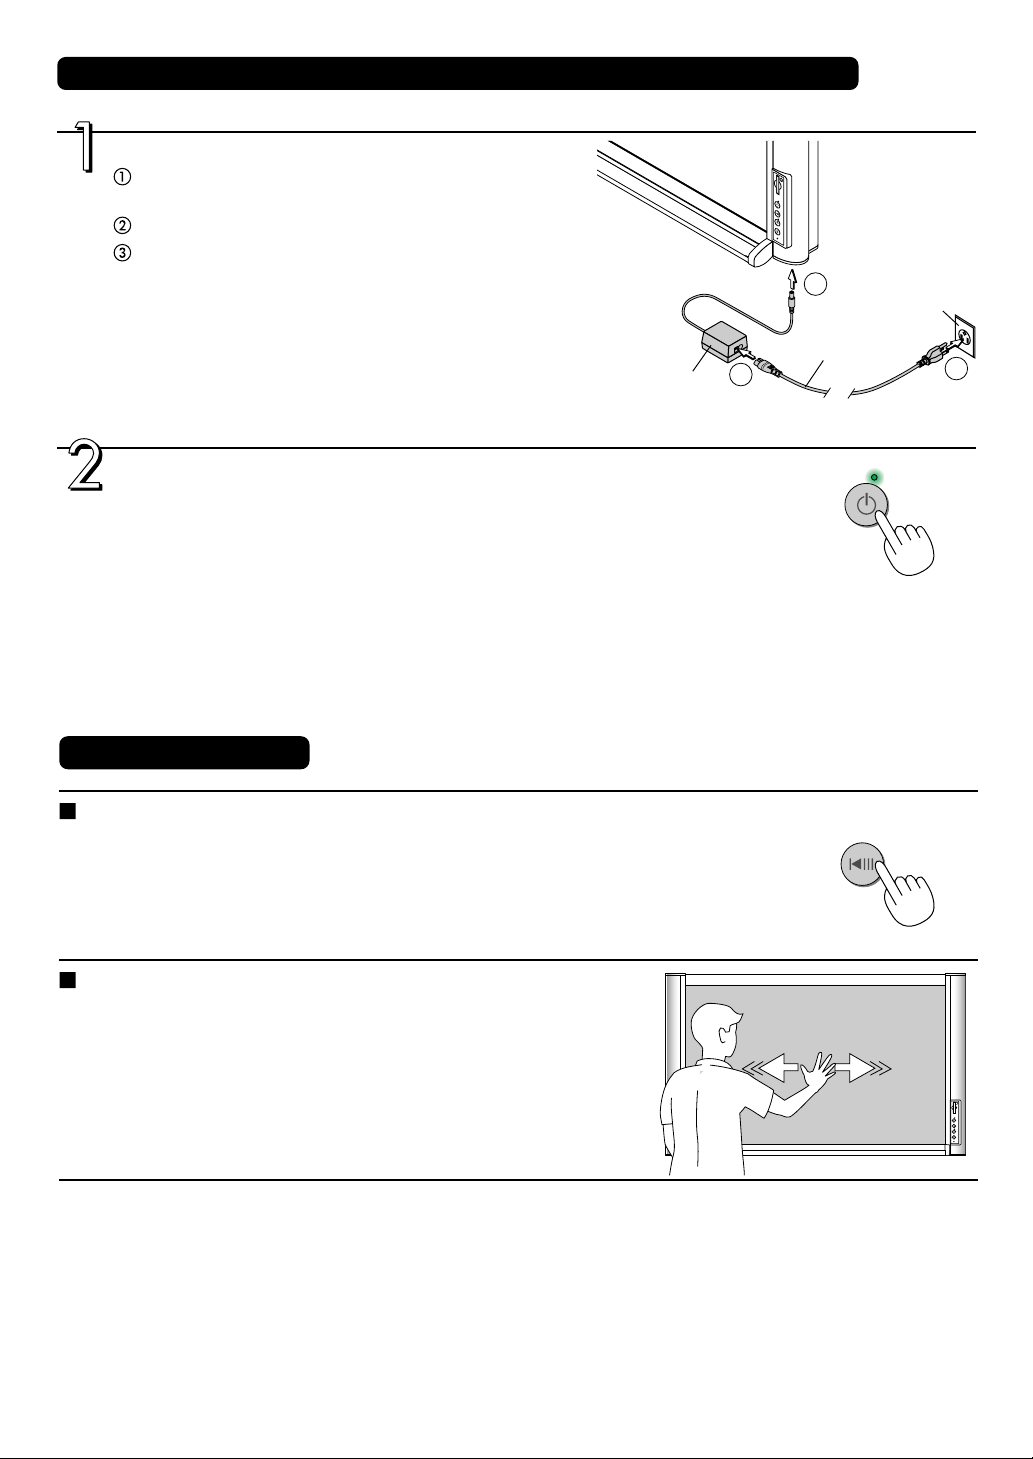
Connecting the AC power adapter and turning the power on and off
Connect the AC power adapter.
Connect the AC power adapter to the copyboard’s DC
power jack.
Connect the AC power cord to the AC power adapter.
Plug the AC power cord into a AC power outlet in a wall.
The
explanations below assume this condition.
AC power adapter
2
1
AC power cord
Insert plugs securely
AC power outlet
3
Press the POWER button to turn on the power.
The POWER indicator blinks for approximately 20 seconds, then
stops blinking, remaining lit. The copyboard is now ready to scan
images (the fluorescent lamp is lit).
Drawings on the copyboard’s sheet can now be stored in the
memory.
Scrolling the Sheet
Scrolling the sheet automatically
Press the FEED/STOP button.
The sheet scrolls one sheet’s worth to the left (or upwards).
• To stop in the middle, press the FEED/STOP button again.
Scrolling the sheet manually
The sheet can be scrolled even if the copyboard’s power is turned off.
Move the sheet using your palm. The sheet moves either right or left
(up or down *1). Place your palm at the center in the vertical (or horizontal *1) direction and move the sheet gently.
(*1When the copyboard is installed in the vertical position.)
R
E
W
O
P
R
A
E
L
C
D
P
E
O
E
T
F
S
/
: Moving the sheet too abruptly may damage the copyboard’s
Note
drive mechanism.
1

Saving the Image on the Sheet
Images drawn on the sheet can be stored either in the built-in memory or on a CF memory card.
This is a black and white copyboard. Images drawn in color are stored in black and white.
Saving sheet images in the built-in memory
Preparations:
Press the FEED/STOP button to move the sheet image you want to
save to the front.
Press the MEMORY button to store that image in the memory.
• The sheet scrolls one page’s worth to the left (or upwards), scanning starts,
and the image is stored in the built-in memory.
• The MEMORY indicator blinks slowly while the image is being stored in the
memory.
Saving sheet images on a CF memory card
Preparations: Check that the POWER indicator is lit. If it is off, press the POWER button.
Check that the POWER indicator is lit. If it is off, press the POWER button.
D
P
E
O
E
T
F
S
/
Y
R
O
M
E
M
Insert the CF memory card into the copyboard’s card slot.
Press the FEED/ STOP button to move the sheet image you want
to save to the front.
Press the MEMORY button to store that image in the memory.
• The sheet scrolls one page’s worth to the left (or upwards), scanning starts,
then the image is stored on the CF memory card.
• The MEMORY indicator blinks slowly while the image is being stored in the
memory.
Removing the CF memory card
Check that the MEMORY indicator has stopped blinking and turned off, then pull
the CF memory card out.
Y
R
O
M
E
M
P
D
O
E
T
E
S
/
F
R
D
P
E
O
E
T
F
S
/
R
E
W
O
P
Y
R
O
M
E
M
Y
R
O
M
ME
P
D
O
E
T
E
S
/
F
R
E
W
O
P
R
A
E
L
C
2

Clearing the built-in Memory
Use this procedure to clear all the image files in the built-in memory.
Press the CLEAR button and hold it in for more 3 seconds.
Once the CLEAR button has been held in for more 3 seconds, the MEMORY
indicator blinks slowly and file clearing starts.
Storing/Deleting Directly with USB Connections (from built-in memory or CF memory card)
Connect the USB cable.
Use the included USB cable to connect the
copyboard’s USB connector to the computer’s
USB port.
To store image files from a CF memory card, insert the
CF memory card into the copyboard’s card slot.
Y
R
O
M
E
M
P
D
O
E
T
E
S
/
F
R
E
W
O
P
R
A
E
L
C
N
O
I
T
I
S
OP
R
A
E
L
C
Open “My Computer” of the computer.
Right-click the “My Computer” icon, then leftclick “Explorer” from the menu.
• “My Computer” can also be opened by clicking on its icon.
Two additional removable memory devices appear in “My Computer”.
Select and open “Removable Disc [F]” (the drive character depends on the computer system).
For the CF memory card, select and open “Removable Disc
[G]” (the drive number depends on the computer system) from
among the removable memory devices.
continued on next page
3

Store the copyboard’s image folder onto the computer.
The folder name for the copyboard’s image files is “PVM”.
Select the PVM folder, specify the destination folder to copy it at
“Edit” → “Copy to folder” in Explorer, then click “OK”. This is just
one example of how to copy the folder.
Disconnect the USB cable.
The disconnecting procedure depends on the computer’s operating system. For details, refer to the computer’s operating
instructions or help files.
Using a PC Card Adapter or Memory Card Reader/Writer (USB type)
Prepare the optional or commercially available memory card reader/writer or PC card adapter (for CF memory cards).
Using a PC card adapter
Insert the CF memory card into the PC card adapter.
In se
rt the PC card adapter into the
computer’s card slot.
Open “My Computer” of the computer.
“My Computer” can also be opened by clicking on its icon.
From among the removable memory devices shown in “My
Computer”, select and open “Removable Disc [F]” (the drive
character (“F” in this example) depends on the computer system).
4

Using a memory card reader/writer (USB type)
Insert the CF memory card into the CF memory card
slot on the memory card reader/writer.
Connect the memory card reader/writer to the
computer’s USB port.
Open “My Computer” of the computer.
“My Computer” can also be opened by clicking on its icon.
From among the removable memory devices shown in “My
Computer”, select the drive corresponding to the CF memory
card.
The drive character depends on the computer system and the
number of slots in the memory card reader/writer. If you do not
know, search for the removable drive on which the PVM folder
is stored.
Deleting files
If the built-in memory or CF memory card gets full, some image files must be deleted.
(The built-in memory can be cleared completely using the
CLEAR button on the copyboard’s control panel.)
(1)Select the drive for the built-in memory or the CF memory
card (steps to above).
(2)At step
want to delete, then select open “File” menu in Explorer and
click “Delete”.
To delete all the image files at once, delete the PVM folder.
, open the PVM folder, select the image files you
5
 Loading...