

Plinius Tautoro Owners manual

T A U T O R O P R E A M P L I F I E R
I N S T R U C T I O N M A N U A L

CONTENTS
Introduction 2
Design Philosophy 3
Unpacking 4
Placement & Ventilation 4
Precautions 5
Preamplifier Features – Front Panel 6
Preamplifier Features – Rear Panel 7
Preamplifier Features – Remote 10
Installation and Operation 13
Tautoro Features 16
Specifications 19
Index 20
All operational, technical and descriptive material in this publication
is subject to change at any time without notice. For further product
information or queries, please contact your PLINIUS dealer.
PLINIUS products are designed and manufactured by
Plinius Audio Limited, New Zealand.
www.pliniusaudio.com
1

INTRODUCTION
CONGRATULATIONS on your decision to become the proud owner of this
PLINIUS Tautoro Preamplifier.
This manual has been prepared to help you understand the operation of your
preamplifier, and to provide information about its design and the variety of ways it may
be used.
We have designed and manufactured this preamplifier to reproduce your favourite
music faithfully and accurately. With a little care and a full understanding of the
operating recommendations in this manual, your PLINIUS Tautoro Preamplifier will
provide years of high-quality, trouble-free performance.
SERIAL NUMBER
FINAL TEST CERTIFIED BY
IMPORTANT: PLEASE TAKE THE TIME TO READ THIS MANUAL
THOROUGHLY BEFORE USING YOUR PREAMPLIFIER.
2

DESIGN PHILOSOPHY
From a distance you can see that the design of the Plinius products is more than
an applied styling exercise to the front panel. We have started from the ground up
to produce a casing for our electronics that is unrivalled in its physical strength and
visual simplicity.
Wherever possible we have reduced the number of parts needed and then invested
massively in refining and producing the remaining parts to the highest quality
achievable with state of the art computer controlled machines allied with expert
craftsman. Examples of this approach include the hydraulically formed corners on
the amplifiers giving much greater strength and the one piece housing for the remote
control that looks, feels and genuinely is robust.
As with music that you are not familiar with, truly innovative new designs can take time
to understand and enjoy. How often have you heard music that you were first unsure
of, that over repeated listening, has become a firm favourite.
Our designs are fundamentally different to many other companies, and we hope that
you will take the time to explore their unique character and qualities because we have
not made them different simply to be different. We genuinely believe that their visual
and tactile qualities do improve the experience of listening to music and that is our
design goal!
Ross Stevens
DESIGN DIRECTOR.
3
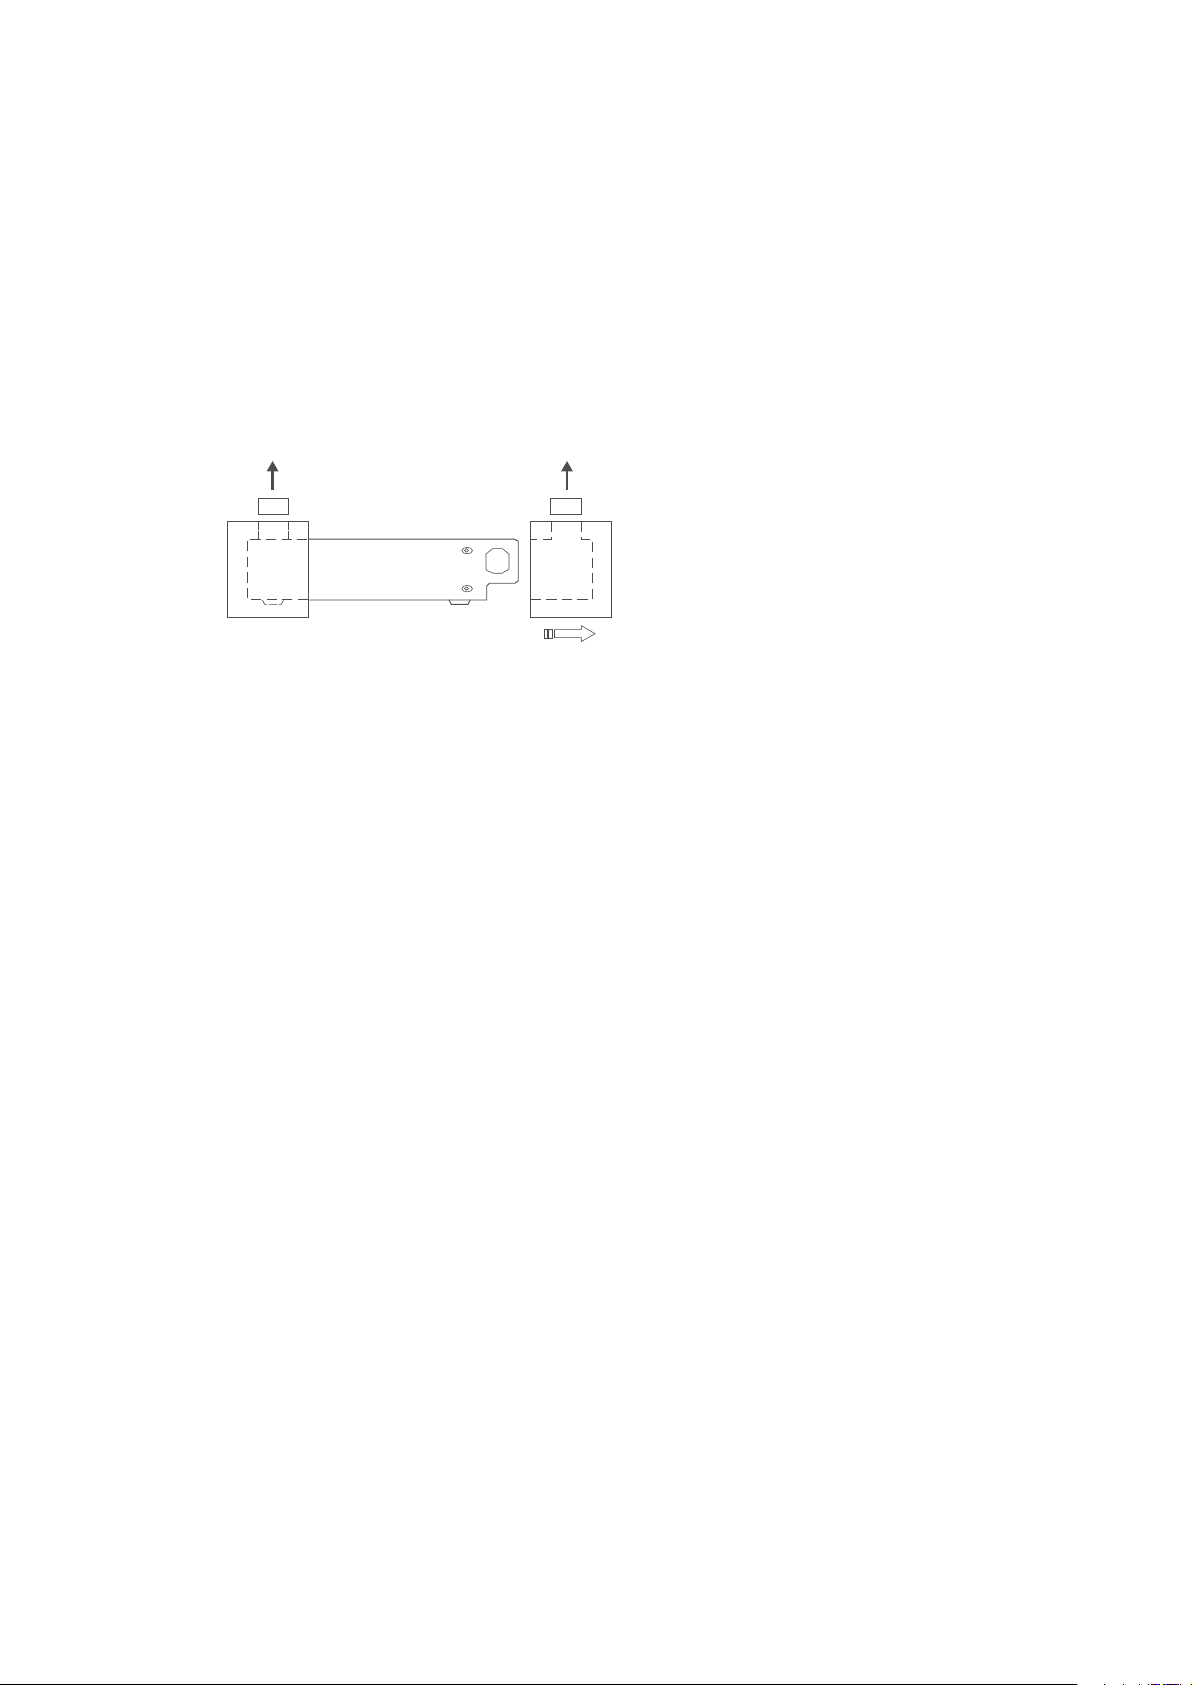
UNPACKING
Open the box from the top and remove the accessories from the foam end caps.
You may now proceed to lift the unit from the box, Once the unit is removed you
can proceed with the removal of the foam end caps. These caps are designed to fit
on the front and back of the unit for maximum protection. Retain the packaging for
future transportation of the Tautoro.
PLACEMENT & VENTILATION
Your PLINIUS Tautoro may operate at a moderately high temperature, especially during
extended listening sessions. The ideal location is upon a rigid stand, away from direct
contact with any temperature sensitive materials, furniture or deep pile carpets. Ventilation
through and around the amplifier should also be kept unimpeded. Please ensure that the
heat vents (slots in the base and lid) are not covered or restricted in any way.
The PLINIUS Tautoro design incorporates a very high level of mechanical decoupling of the
input and output. It can however still be influenced by acoustical feedback in the operating
environment. The use of acoustic cones or a suitably spiked amplifier stand or table may
further enhance the performance of this preamplifier. Consult your Plinius dealer for further
advice if required.
4

PRECAUTIONS
PLEASE TAKE SPECIAL NOTE OF THE FOLLOWING PRECAUTIONS BEFORE
OPERATING YOUR NEW PREAMPLIFIER.
This preamplifier operates at hazardous voltage levels. We recommend that any
work requiring removal of the lid be referred to a suitably qualified and experienced
service technician.
DO NOT attempt to connect any input of this preamplifier to its own outputs.
DO NOT ear th any output terminal or connect any of these terminals together
without following the instructions in this manual or seeking qualified assistance.
DO NOT place this preamplifier in any position where liquids or any foreign material
may accidentally enter it.
DO NOT connect any voltage source, short circuit, earth/ground or appliance (other
than suitable audio power amplifiers) to the preamplifier output terminals.
DO NOT connect any voltage source, short circuit, earth/ground or appliance (other
than suitable audio source components) to the preamplifier input terminals.
5

PREAMPLIFIER FEATURES
– FRONT PANEL
ABOVE: Tautoro front panel layout
DISPLAY LED
An LED on the front panel indicates that the power is on. When first switched on, the unit
will go into standby and the display LED will vary in brightness. When the unit is taken out
of standby and is ready for use, the LED will remain lit. Whenever mute or a remote volume
button is pressed, the LED will dim.
SOURCE SELECTION BUTTONS
The buttons on the front panel allow selection of any of the five different inputs available on
the rear panel. This selection is fed to the outputs of the preamplifier.
SOURCE DISPLAY LEDS
These small white LEDs communicate the current source selection.
NOTE: the Phono/Line 1 input displays the current installed option relating to this input. If you
have a Tautoro with a phono option installed, the phono LED will light to indicate this. If the
phono option is not installed, the Line 1 LED will light.
PHASE DISPLAY LED
This small white LED is ON when the phase of the input signal to the preamplifier is
inverted 180 degrees. This option is selected using the remote control.
6
 Loading...