

Page 1
PARTS & ACCESSORIES
Cable to Quick
Disconnect (QD)
P/N 26716-01
Connects amplifier to
headset. Replace when
worn (10 ft.).
Extension Cable
P/N 40703-01
For extra long reach
and mobility–connects in seconds to
Quick Disconnect modules
(10 ft.).
Information on Accessories
Call Plantronics or visit our website at www.plantronics.com
FCC Requirements—Part 68
This equipment complies with Part 68 of the FCC rules.
On the baseline underside is a label that contains, among
other information, the FCC registration number and ringer
equivalence number (REN) for this equipment. If requested,
this information must be provided to the telephone company.
The telephone company may make changes in its facilities,
equipment, operation or procedures that could affect the
operation of the equipment. If this happens, the telephone
company should provide you advance notice in order for you
to make the necessary modifications to maintain uninterrupted
services.
If you experience problems with your headset, please refer
to the warranty section for information on warranty and
replacement service. If the problem is causing harm to the
telephone network, the telephone company may request
that you remove the equipment until the problem is resolved.
In extreme cases, the telephone company may be forced to
disconnect your service before notifying you of the problem.
Plantronics Technical Assistance Center
The Plantronics Technical Assistance Center (TAC) is ready to
assist you! Dial (800) 544-4660 x5538 Sunday 5 p.m. through
Friday, 5 p.m. Pacific Standard Time or visit the Support section
of our website at www.plantronics.com.
For accessibility information also call the Technical Assistance
Center (TAC).
FCC REGISTRATION & INFORMATION
MAINTENANCE/TROUBLESHOOTING
Maintenance for Optimum Performance
■
Replace voice tube every 6-9 months (voice tube models only).
■
Replace ear cushion every six months.
■
Clean cable with a damp cloth once a month. (Do not use
solvents or wet cloth.)
Troubleshooting
Callers cannot hear me
■
For voice tube models determine if the voice tube is positioned improperly.
Try various other positions.
■
To determine if the voice tube is clogged, remove the voice tube and see if
the caller can hear you. If the caller can hear you the voice tube is clogged.
For a temporary solution to a clogged voice tube, gently rinse
warm water through the voice tube for a minute then manually swing or
shake it dry. Make sure the voice tube is completely dry before reattaching.
Plantronics recommends replacing the voice tube every 6-9 months.
■
For noise-canceling models make sure the microphone boom is facing
your mouth and positioned properly.
■
Verify that the transmit volume control of the amplifier is set properly.
I cannot hear callers
■
Verify that the Quick Disconnect is connected.
■
Make sure the headset is positioned properly.
■
Make sure the modular amplifier, if used, is installed correctly.
■
Turn up the volume control on the amplifier, if used.
■
Change the amplifier's configuration switch to a different position.
Fit is uncomfortable
■
For over-the-ear configurations, determine if the earloop
is properly positioned on your ear.
For over-the-head configurations, make sure the headband length is
correct so the stabilizer bars rest gently just above the ear.
■
Try all possible adjustments for the headset receiver in all the
configurations. See Section 4, Adjust the Headset on the inside
of this brochure for more information.
LIMITED WARRANTY
Voice
Tube
P/N 29960-01 P/N 29960-50
The voice tube should be replaced
every six to nine months.
Plantronics Inc. 345 Encinal Street, Santa Cruz, CA 95060
(800) 544-4660 www.plantronics.com
© 2001-2002 Plantronics, Inc. All rights reserved. Plantronics, the logo design,
Plantronics and the logo design combined, DuoPro, Quick Disconnect, the
voice tube clear color trade dress and shape trade dress are trademarks or
registered trademarks of Plantronics, Inc.
Patents: U.S. D455,732 and D457,155; Australia 146644 and146645; UK
2104918 and 2104921
Printed in USA. 60908-01 (08-02)
Earloop
P/N 60965-01
Attaches to headset and used to
keep the headset stabilized and
comfortable for over-the-ear use.
Headband
P/N 60966-01
Attaches to headset
and used to keep the headset
stabilized and comfortable for
over-the-head use.
Ear Cushion Foam Pad
P/N 60967-01
Covers, protects, and makes
the headset comfortable against
the ear. Replace every six months.
What does this warranty cover?
This warranty covers any defects in workmanship or materials
in this product purchased in the U.S. or Canada. For warranty
information in other countries, contact your local distributor.
How long does the coverage last?
This warranty runs for two years from the date of purchase.
What will Plantronics do?
If the product is found defective, we will exchange it at no charge.
How do you get service?
To obtain service in the U.S. contact Plantronics at (800) 544-4660
and in Canada call (800) 540-8363.
How do state laws apply?
This warranty gives you specific legal rights, and you may also
have other rights, which vary from state to state.
What does this warranty NOT cover?
Damage caused by, or performance problems resulting
from, using this product with a non-Plantronics amplifier
and/or connector cable, accident, abuse, misuse, or an act
of God (such as a flood) are not covered. Implied warranties,
including those of merchantability, fitness for a particular
purpose and non-infringement shall (a) have no duration
greater than two years from the date of purchase,
(b) terminate automatically at the end of that period,
and (c) to the extent permitted by law, be excluded.
Consequential and incidental damages, including without
limitation, loss of property and those arising from breach of
any express or implied warranty, are not the responsibility
of Plantronics, and to the extent permitted by law, are
excluded. Some states do not allow exclusion or limitation
of incidental or consequential damages, so the above
exclusion may not apply to you.
Clothing Clip
P/N 43220-01
Attaches to headset cable to keep
headset stabilized and comfortably
in place.
For Polaris models, Cable to QD
P/N 27190-01
Connects directly to headset port of
compatible headset ready telephones
(10 ft.).
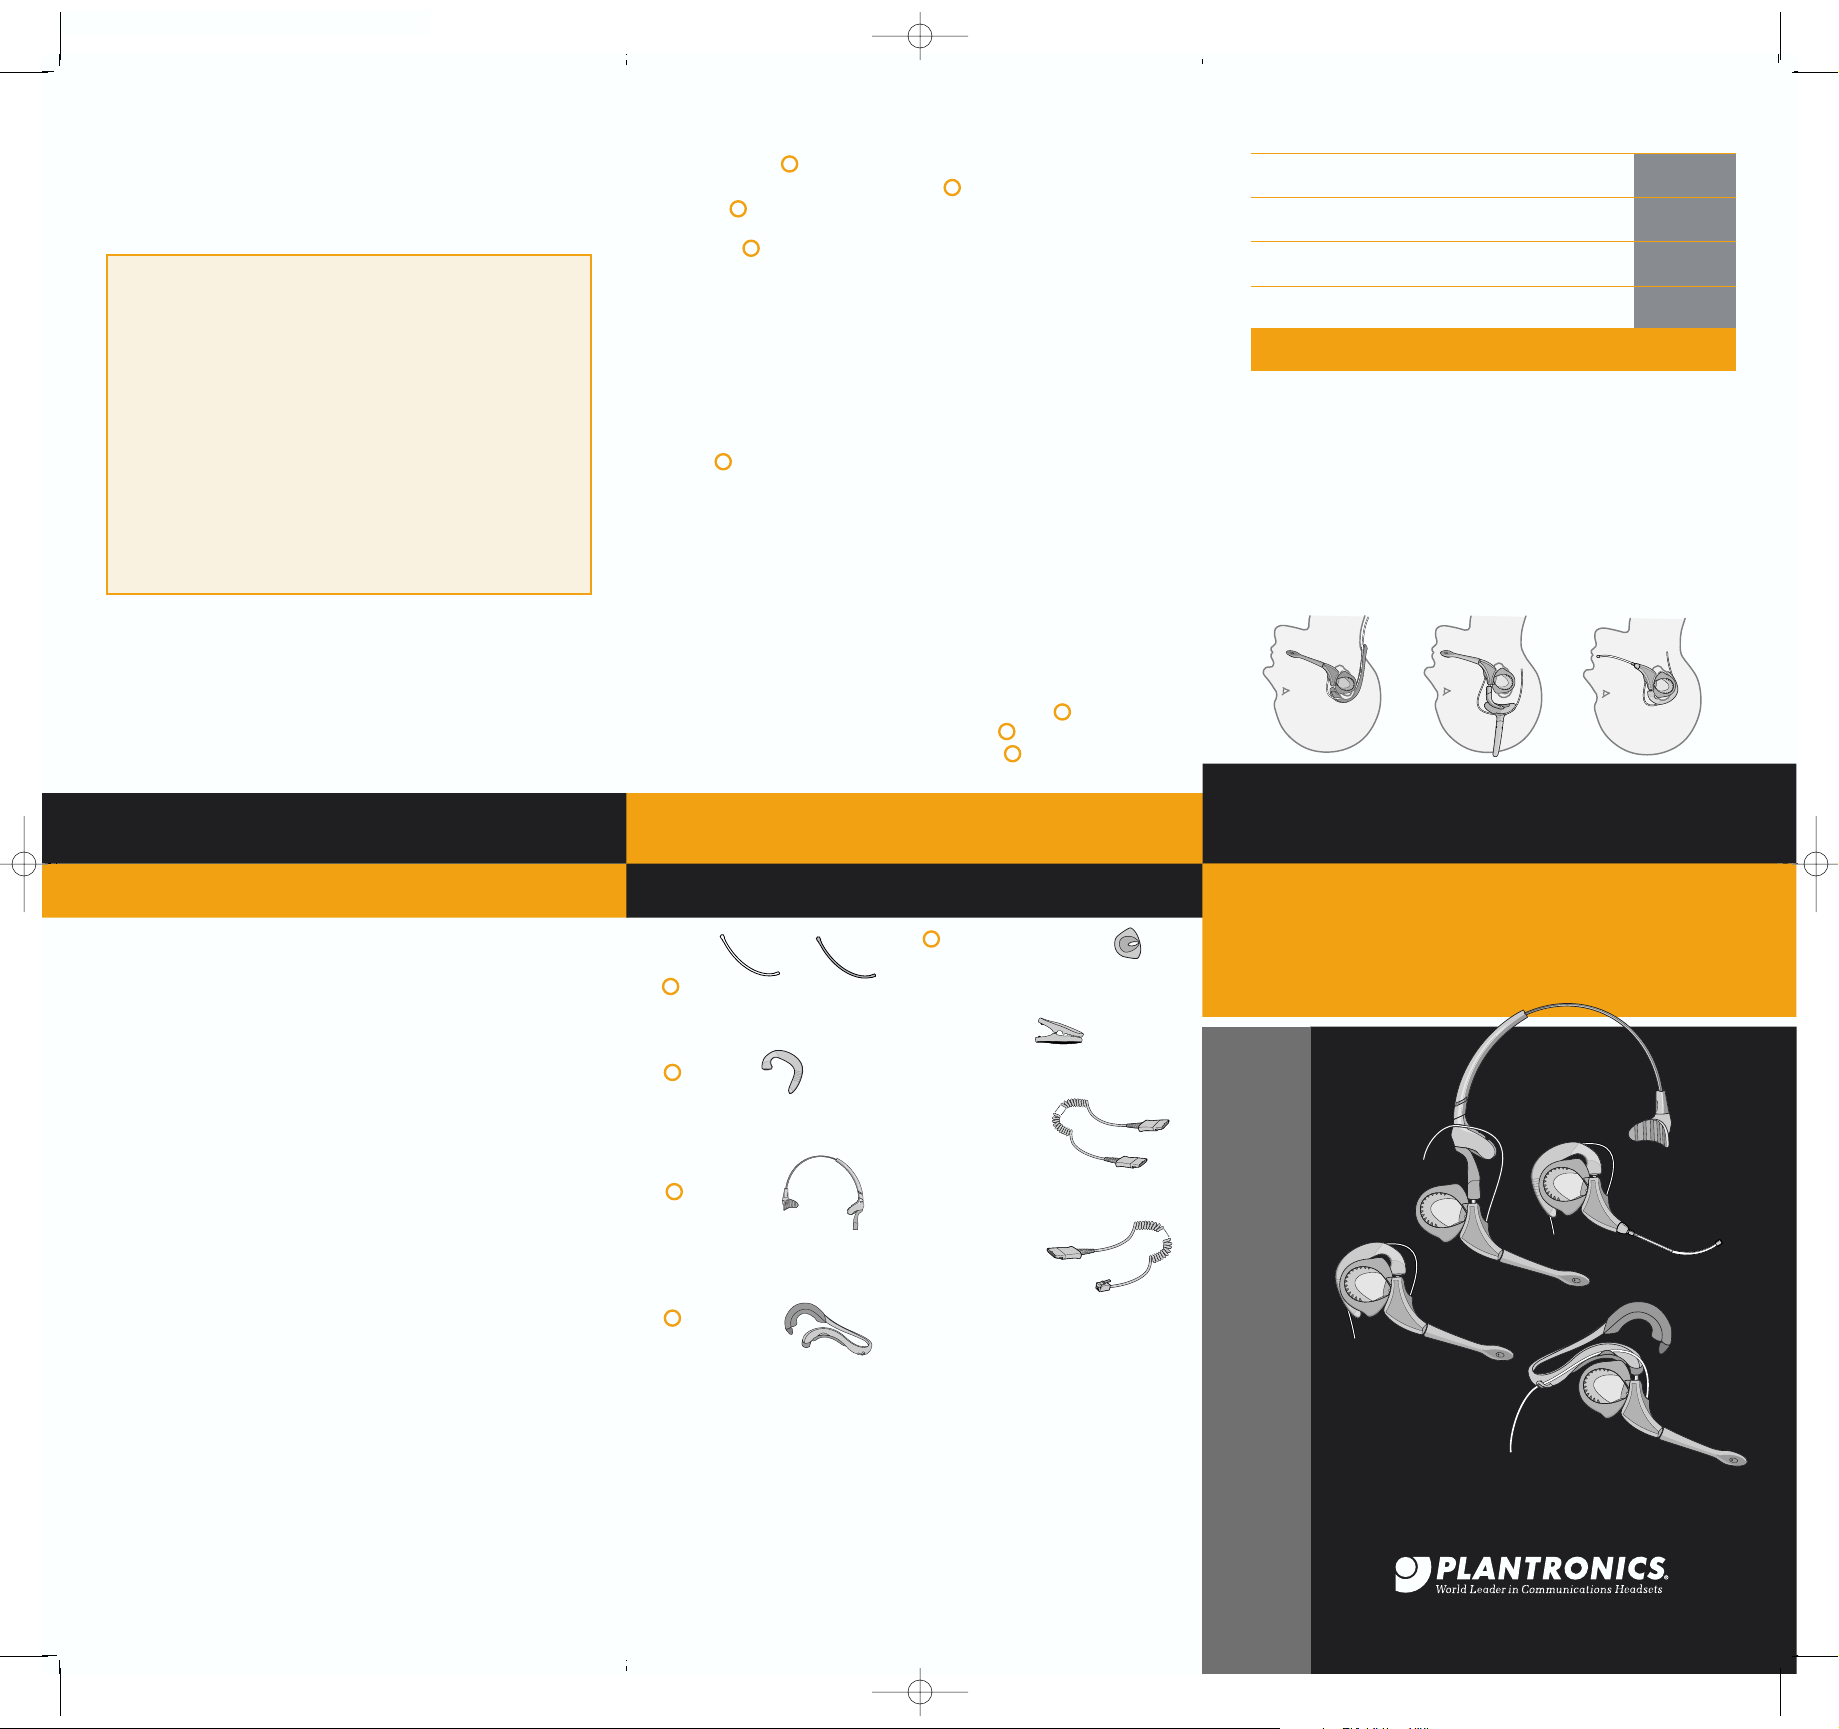
H161N
Over-the-Head
(OTH) Configuration
H181N
Behind-the-Head
(BTH) Configuration
H151
Over-the-Ear
(OTE) Configuration
Clear
Peaceful
Purple
Thank you for selecting the DuoPro headset in one or more
of its three possible wearing configurations. It is designed to be used
with Plantronics amplifiers that have Quick Disconnect
™
or compatible
headset ready telephones and consoles.
Open this user guide to the Quick Start instructions to set up your
headset and ready it for use. Later you can use the Maintenance and
Troubleshooting section for further guidance and assistance. No tools
are required to change wearing configurations.
Headset
Type
Voice
Tube
H151
H151N
P151
P151N
H161
H161N
P161
P161N
H171
H171N
P171
P171N
H181
H181N
P181
P181N
Noise-
Canceling
Polaris*
Voice Tube
Polaris*
Noise-Canceling
Over-the-Ear
(OTE)
Headset
Over-the-Head
(OTH)
Headset
Convertible
(OTE & OTH)
Headset
Behind-the-Head
(BTH)
Headset
* Polaris models connect directly to most headset ready telephones.
Neckband
P/N 62800-01
Attaches to headset
and used to keep the headset
stabilized and comfortable for
behind-the-head use.
4
2
11
7
14
H151
H151N
P151
P151N
H161
H161N
P161
P161N
H171
H171N
P171
P171N
H181
H181N
P181
P181N
Quick Start User Guide
DUOPRO
®
Family of Headsets
to the
DuoPro Family
of Headsets
WELC OME
4
7
9
5
2
11
12
1
H151 Final 9/19/02 9:32 AM Page 1
Page 2
PARTS & ACCESSORIES
Cable to Quick
Disconnect (QD)
P/N 26716-01
Connects amplifier to
headset. Replace when
worn (10 ft.).
Extension Cable
P/N 40703-01
For extra long reach
and mobility–connects in seconds to
Quick Disconnect modules
(10 ft.).
Information on Accessories
Call Plantronics or visit our website at www.plantronics.com
FCC Requirements—Part 68
This equipment complies with Part 68 of the FCC rules.
On the baseline underside is a label that contains, among
other information, the FCC registration number and ringer
equivalence number (REN) for this equipment. If requested,
this information must be provided to the telephone company.
The telephone company may make changes in its facilities,
equipment, operation or procedures that could affect the
operation of the equipment. If this happens, the telephone
company should provide you advance notice in order for you
to make the necessary modifications to maintain uninterrupted
services.
If you experience problems with your headset, please refer
to the warranty section for information on warranty and
replacement service. If the problem is causing harm to the
telephone network, the telephone company may request
that you remove the equipment until the problem is resolved.
In extreme cases, the telephone company may be forced to
disconnect your service before notifying you of the problem.
Plantronics Technical Assistance Center
The Plantronics Technical Assistance Center (TAC) is ready to
assist you! Dial (800) 544-4660 x5538 Sunday 5 p.m. through
Friday, 5 p.m. Pacific Standard Time or visit the Support section
of our website at www.plantronics.com.
For accessibility information also call the Technical Assistance
Center (TAC).
FCC REGISTRATION & INFORMATION
MAINTENANCE/TROUBLESHOOTING
Maintenance for Optimum Performance
■
Replace voice tube every 6-9 months (voice tube models only).
■
Replace ear cushion every six months.
■
Clean cable with a damp cloth once a month. (Do not use
solvents or wet cloth.)
Troubleshooting
Callers cannot hear me
■
For voice tube models determine if the voice tube is positioned improperly.
Try various other positions.
■
To determine if the voice tube is clogged, remove the voice tube and see if
the caller can hear you. If the caller can hear you the voice tube is clogged.
For a temporary solution to a clogged voice tube, gently rinse
warm water through the voice tube for a minute then manually swing or
shake it dry. Make sure the voice tube is completely dry before reattaching.
Plantronics recommends replacing the voice tube every 6-9 months.
■
For noise-canceling models make sure the microphone boom is facing
your mouth and positioned properly.
■
Verify that the transmit volume control of the amplifier is set properly.
I cannot hear callers
■
Verify that the Quick Disconnect is connected.
■
Make sure the headset is positioned properly.
■
Make sure the modular amplifier, if used, is installed correctly.
■
Turn up the volume control on the amplifier, if used.
■
Change the amplifier's configuration switch to a different position.
Fit is uncomfortable
■
For over-the-ear configurations, determine if the earloop
is properly positioned on your ear.
For over-the-head configurations, make sure the headband length is
correct so the stabilizer bars rest gently just above the ear.
■
Try all possible adjustments for the headset receiver in all the
configurations. See Section 4, Adjust the Headset on the inside
of this brochure for more information.
LIMITED WARRANTY
Voice
Tube
P/N 29960-01 P/N 29960-50
The voice tube should be replaced
every six to nine months.
Plantronics Inc. 345 Encinal Street, Santa Cruz, CA 95060
(800) 544-4660 www.plantronics.com
© 2001-2002 Plantronics, Inc. All rights reserved. Plantronics, the logo design,
Plantronics and the logo design combined, DuoPro, Quick Disconnect, the
voice tube clear color trade dress and shape trade dress are trademarks or
registered trademarks of Plantronics, Inc.
Patents: U.S. D455,732 and D457,155; Australia 146644 and146645; UK
2104918 and 2104921
Printed in USA. 60908-01 (08-02)
Earloop
P/N 60965-01
Attaches to headset and used to
keep the headset stabilized and
comfortable for over-the-ear use.
Headband
P/N 60966-01
Attaches to headset
and used to keep the headset
stabilized and comfortable for
over-the-head use.
Ear Cushion Foam Pad
P/N 60967-01
Covers, protects, and makes
the headset comfortable against
the ear. Replace every six months.
What does this warranty cover?
This warranty covers any defects in workmanship or materials
in this product purchased in the U.S. or Canada. For warranty
information in other countries, contact your local distributor.
How long does the coverage last?
This warranty runs for two years from the date of purchase.
What will Plantronics do?
If the product is found defective, we will exchange it at no charge.
How do you get service?
To obtain service in the U.S. contact Plantronics at (800) 544-4660
and in Canada call (800) 540-8363.
How do state laws apply?
This warranty gives you specific legal rights, and you may also
have other rights, which vary from state to state.
What does this warranty NOT cover?
Damage caused by, or performance problems resulting
from, using this product with a non-Plantronics amplifier
and/or connector cable, accident, abuse, misuse, or an act
of God (such as a flood) are not covered. Implied warranties,
including those of merchantability, fitness for a particular
purpose and non-infringement shall (a) have no duration
greater than two years from the date of purchase,
(b) terminate automatically at the end of that period,
and (c) to the extent permitted by law, be excluded.
Consequential and incidental damages, including without
limitation, loss of property and those arising from breach of
any express or implied warranty, are not the responsibility
of Plantronics, and to the extent permitted by law, are
excluded. Some states do not allow exclusion or limitation
of incidental or consequential damages, so the above
exclusion may not apply to you.
Clothing Clip
P/N 43220-01
Attaches to headset cable to keep
headset stabilized and comfortably
in place.
For Polaris models, Cable to QD
P/N 27190-01
Connects directly to headset port of
compatible headset ready telephones
(10 ft.).
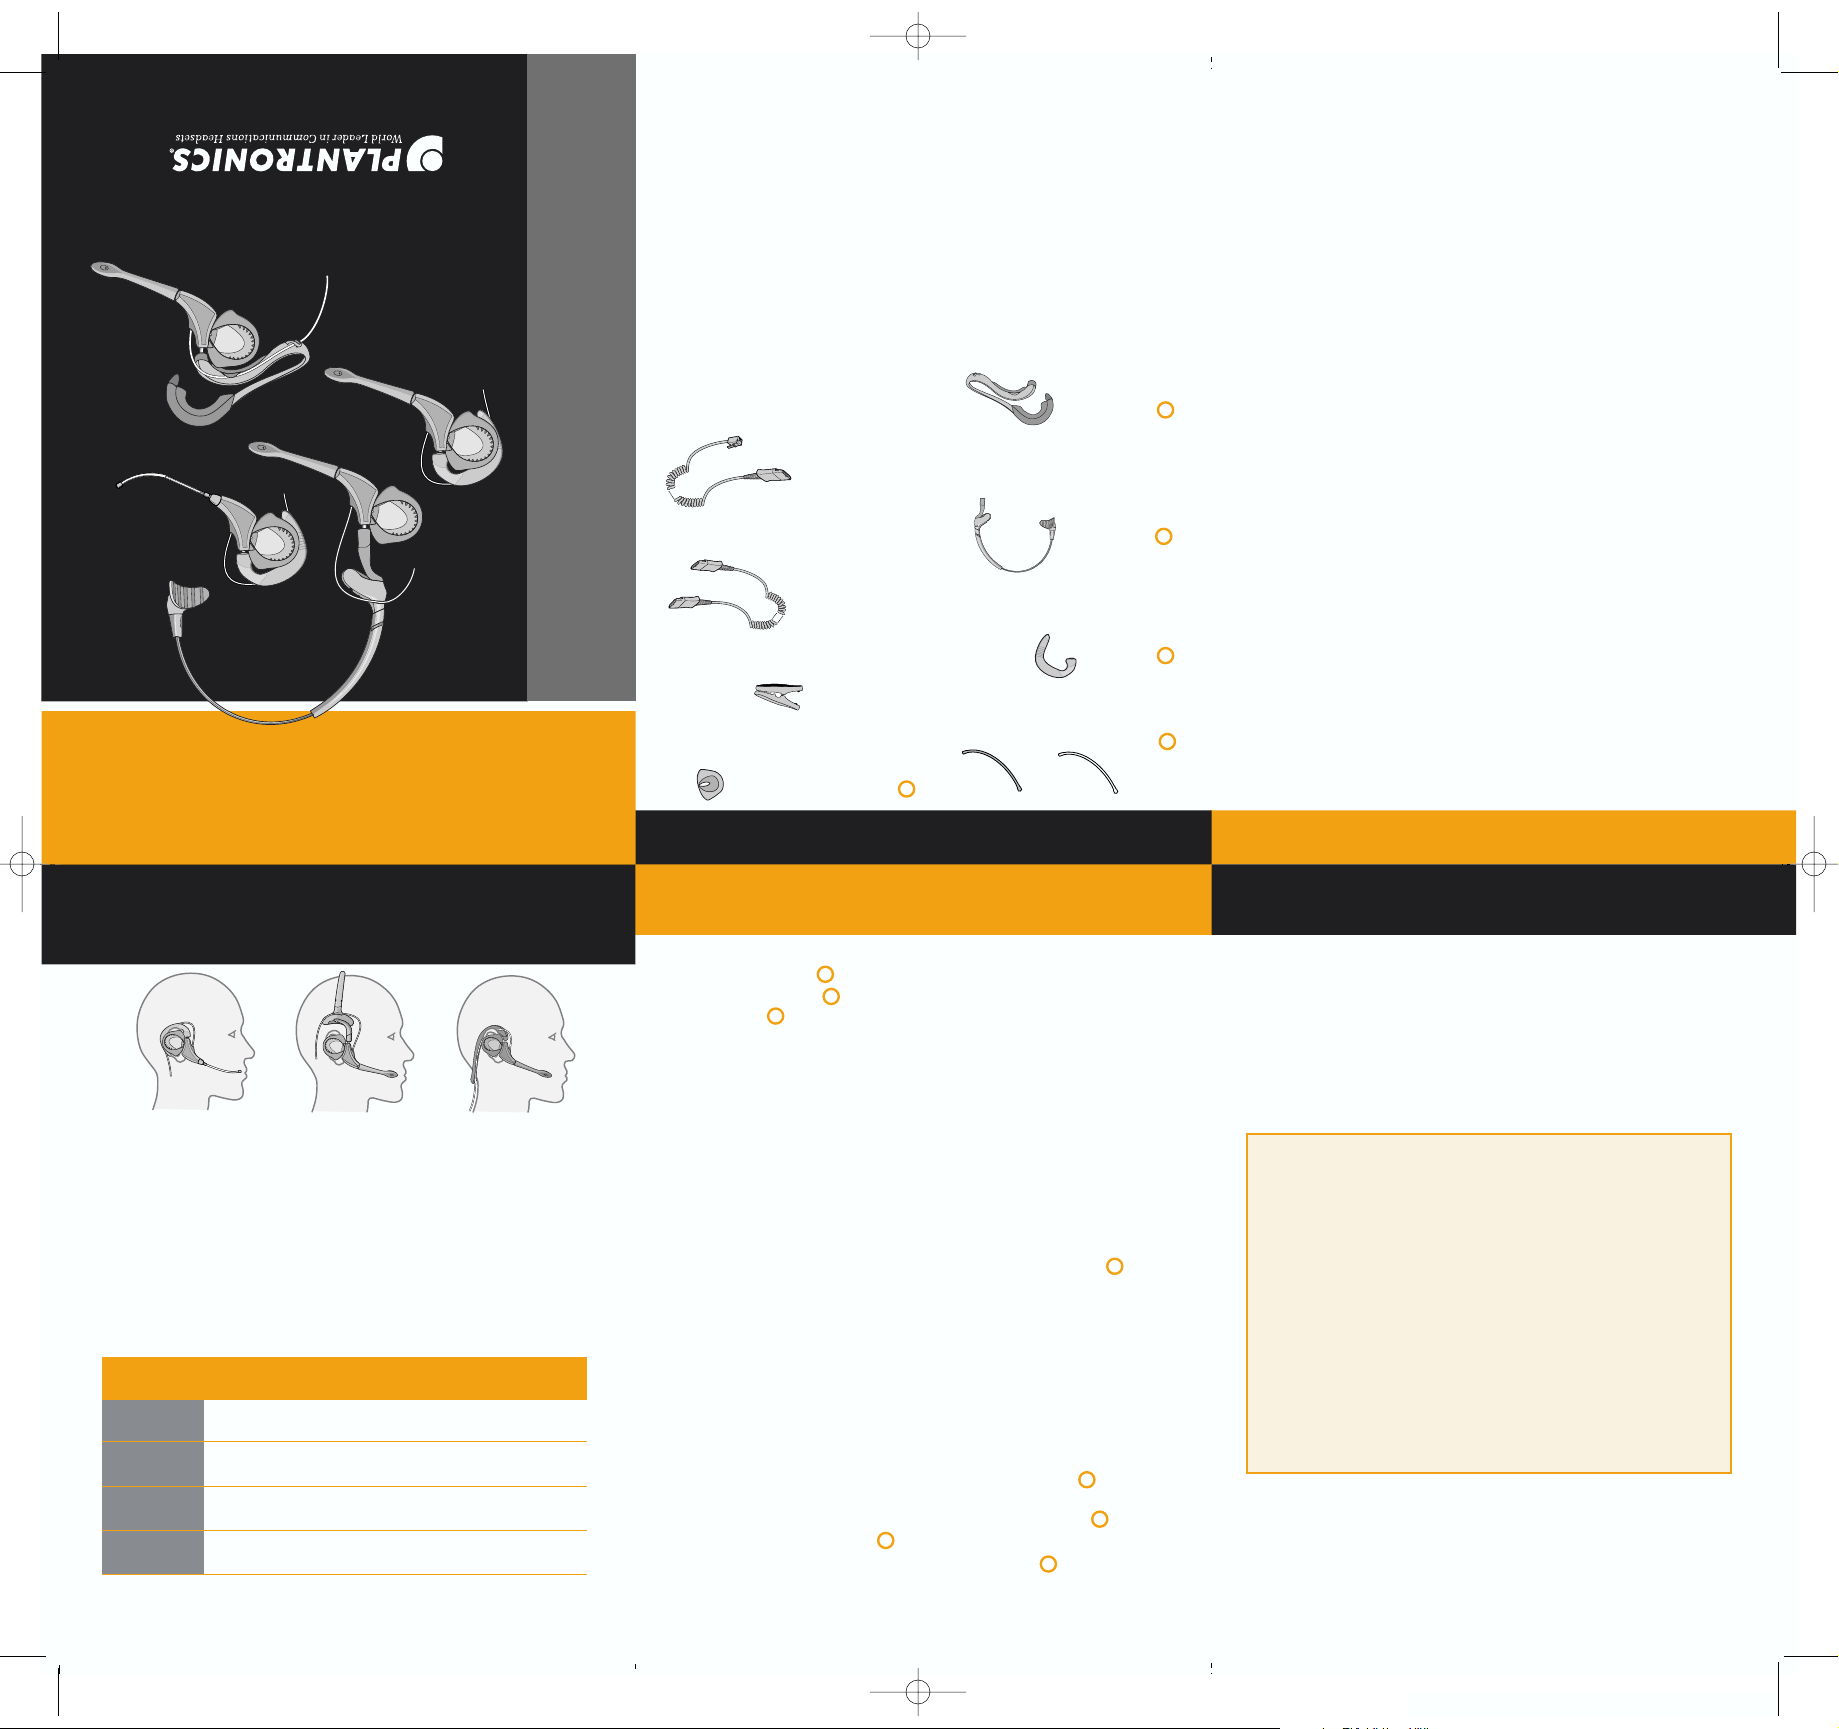
H161N
Over-the-Head
(OTH) Configuration
H181N
Behind-the-Head
(BTH) Configuration
H151
Over-the-Ear
(OTE) Configuration
Clear
Peaceful
Purple
Thank you for selecting the DuoPro headset in one or more
of its three possible wearing configurations. It is designed to be used
with Plantronics amplifiers that have Quick Disconnect
™
or compatible
headset ready telephones and consoles.
Open this user guide to the Quick Start instructions to set up your
headset and ready it for use. Later you can use the Maintenance and
Troubleshooting section for further guidance and assistance. No tools
are required to change wearing configurations.
Headset
Type
Voice
Tube
H151
H151N
P151
P151N
H161
H161N
P161
P161N
H171
H171N
P171
P171N
H181
H181N
P181
P181N
Noise-
Canceling
Polaris*
Voice Tube
Polaris*
Noise-Canceling
Over-the-Ear
(OTE)
Headset
Over-the-Head
(OTH)
Headset
Convertible
(OTE & OTH)
Headset
Behind-the-Head
(BTH)
Headset
* Polaris models connect directly to most headset ready telephones.
Neckband
P/N 62800-01
Attaches to headset
and used to keep the headset
stabilized and comfortable for
behind-the-head use.
4
2
11
7
14
H151
H151N
P151
P151N
H161
H161N
P161
P161N
H171
H171N
P171
P171N
H181
H181N
P181
P181N
Quick Start User Guide
DUOPRO
®
Family of Headsets
to the
DuoPro Family
of Headsets
WELC OME
4
7
9
5
2
11
12
1
H151 Final 9/19/02 9:32 AM Page 1
Page 3

3
5
2
1
Identify the Components
Configure the Headset
DUOPRO
®
FAMILY OF HEADSETS
Adjust the Headset
Earloop for
Over-the-Ear
Configuration
tail adjusts (in and
out and side to side)
for stabilization and fit
Voice Tube
(removable)
Examine the Additional Features
Stabilizer
Bars
Clothing Clip
The clothing clip keeps
the headset properly
seated and free from
the cord’s weight.
Attach the clothing clip
at a comfortable level.
Quick Disconnect
™
Connector
This feature allows you to
place a call on hold and
move away from the phone
without removing the
headset.
When you separate the
Quick Disconnect, you
place an ongoing
conversation on hold.
Before using your headset,
join the Quick Disconnect to the mating connector of
the modular adapter cable.
To put your call on hold, grasp Quick Disconnect, as
shown, and pull straight apart. To resume your
conversation, reconnect the pieces.
4
Headband for
Over-the-Head
Configuration
adjustable
Headset
Receiver
outside
view setup
for right
ear use
Cable
Retainer
Pivot Pin Holder reverses
direction for left ear use
Convert Headset
for Left Ear Use
Cable
to the Quick
Disconnect™
connector
Over-the-Ear Headset
4.1
To put on the headset, move
earloop away from headset
receiver and place earloop over
your ear .
4.2
Adjust the flexible earloop (up and
down and side to side) for stabilization
and fit as shown.
Over-the-Head Headset
4.3
Adjust headband length so
stabilizer bars rest above your ears.
If necessary , to incr ease or decrease
tension on your head, bend the metal
part of headband inward or outward
for desired comfort.
Behind-the-Head Headset
Place the assembled neckband so the
headset receiver (See 3.8-3.10) is over
the ear .
4.6
Adjust for comfort.
All Configurations
4.4
Push headset receiver close to
your ear until it feels comfortable and
you can hear sound from the
telephone clearly.
4.5
The end of the microphone boom
or voice tube should be placed a
distance of two fingers from the
corner of your mouth.
Assemble the Over-the-Head
Headset for right ear use
3.2
3.3
3.4
3.5
3.7
3.1
3.6
4.1
4.3
4.4
4.5
Cable
Retainer
see blow-up 3.5
Pivot Pin
Holder
Headset
Receiver
inside view
Ear Cushion
Foam Pad
1
7
Pivot Pin
6
9
Noise-Canceling (N)
Microphone Boom
(not removable)
5
Assemble the Over-the-Ear
Headset for right ear use
For all configurations:
3.1 Begin by disconnecting the headset
from its current right ear configuration.
3.2 Rotate the headset receiver clockwise
flipping it to the opposite direction.
The headset rotates only in one direction.
For noise-canceling N-models:
3.3 Pull out the microphone boom
and rotate clockwise to face the
opposite direction.
For voice tube models:
Rotate the voice tube in the opposite direction.
For Over-the-Ear configurations:
3.4 Position the earloop on opposite
side of headset receiver to fit on left ear.
3.5 Form a small loop in the cable for
positioning
flexibility then snap the cable
into the cable
retainer .
For Over-the-Head configurations:
3.6 Rotate the pivot pin holder as shown.
3.7 Form a small loop in the cable for
positioning flexibility then snap the
cable into the cable
retainer .
For Behind-the-Head configurations:
3.8 Pull off the removable tip fr om
the left side and push it into right side.
3.9 Push the pivot pin into the pivot pin
holder .
3.10 Form a small loop in the cable for
positioning
flexibility , snap the cable into the
cable
retainers .
or
1
3
2
4
8
13
12
10
11
1
5
4
8
9
3
13
9
10
15
6
17
9
16
5
2
1
11
1
5
4
4.2
3
Use these steps to get set up quickly:
See Maintenance and Troubleshooting section on the other side.
3.7
3.5
Assemble the Behind-the-Head
Headset for right ear use
3.10
3.8
3.9
3.10
Removable Tip
Pivot Pin Holder
15
16
17
Neckband for
Behind-the-Head
Configuration
14
4.6
Cable Retainers
4.6
Adjust
for comfort.
*
*
*
*
Note: May need
to apply pressure when
changing configurations.
H151 Final 9/19/02 9:32 AM Page 2
 Loading...