

Page 1
Powerline Communication
Powerline USB Adapter
PL-102U
USER’S MANUAL
Page 2

Copyright
Copyright (C) 2003 PLANET Technology Corp. All rights reserved.
The products and programs described in this User’s Manual are licensed products of PLANET
Technology, This User’s Manual contains proprietary information protected by copyright, and this User’s
Manual and all accompanying hardware, software, and documentation are copyrighted.
No part of this User’s Manual may be copied, photocopied, reproduced, translated, or reduced to any
electronic medium or machine-readable form by any means by electronic or mechanical. Including
photocopying, recording, or information storage and retrieval systems, for any purpose other than the
purchaser's personal use, and without the prior express written permission of PLANET Technology.
Disclaimer
PLANET Technology does not warrant that the hardware will work properly in all environments and
applications, and makes no warranty and representation, either implied or expressed, with respect to the
quality, performance, merchantability, or fitness for a particular purpose.
PLANET has made every effort to ensure that this User’s Manual is accurate; PLANET disclaims liability
for any inaccuracies or omissions that may have occurred.
Information in this User’s Manual is subject to change without notice and does not represent a
commitment on the part of PLANET. PLANET assumes no responsibility for any inaccuracies that may be
contained in this User’s Manual. PLANET makes no commitment to update or keep current the
information in this User’s Manual, and reserves the right to make improvements to this User’s Manual
and/or to the products described in this User’s Manual, at any time without notice.
If you find information in this manual that is incorrect, misleading, or incomplete, we would appreciate
your comments and suggestions.
CE mark Warning
The is a class B device, In a domestic environment, this product may cause radio interference, in which
case the user may be required to take adequate measures.
Trademarks
The PLANET logo is a trademark of PLANET Technology. This documentation may refer to numerous
hardware and software products by their trade names. In most, if not all cases, these designations are
claimed as trademarks or registered trademarks by their respective companies.
Revision
User’s Manual for Powerline Communication product
Model: PL-102U
Rev: 1.0 (Apr. 2003)
Part No. 2080-000004-000
Page 3

Table of Content
Chapter 1 Introduction..................................................................................1
1.1 Powerline USB Adapter – PL-102U....................................................1
1.1.1 Features...................................................................................2
1.1.2 Package Contents....................................................................2
1.1.3 Hardware Description...............................................................2
1.1.4 Specification.............................................................................3
1.1.5 System Requirements..............................................................4
Chapter 2 Planning your Powerline Network................................................5
Chapter 3 Powerline USB Adapter Installation..............................................6
3.1 Connecting USB to Powerline Network Adapter.................................6
3.2 Powerline USB Adapter Installation....................................................6
Chapter 4 Encrypting Your Powerline Network.............................................9
4.1 PowerPacket Configuration Utility Installation....................................9
4.2 PowerPacket Configuration Utility Usage.........................................12
4.2.1 Device Screen........................................................................13
4.2.2 Network Screen.....................................................................14
4.2.3 Security Screen......................................................................15
4.2.4 Advanced Screen...................................................................16
4.2.5 About Screen.........................................................................18
Chapter 5 Troubleshooting.........................................................................19
Page 4

Chapter 1 Introduction
Powerline communication is revolution in home and small office networking, greatly simplifying
the task of installing a high-speed local area network. With PLANET’s powerline
communication products, you can utilize existing AC power outlets and wires to connect your
computers, servers and other devices safely, securely and at true LAN speeds of up to 14
Mega bits per second. No complex and expensive specialized wiring usually associated with
LAN’s is required, or management, security and interference problems associated with
802.11x wireless technologies – just convenient, reliable, secure and simple networking where
you need it most. PLANET’s Powerline products allow you to place a computer anywhere in
your home or small office with flawless, uninterrupted high-speed network connection, simply
by plugging your computer’s USB interface into PL-102U equipped power outlet – and you’re
almost guaranteed to have one of these wherever you need it.
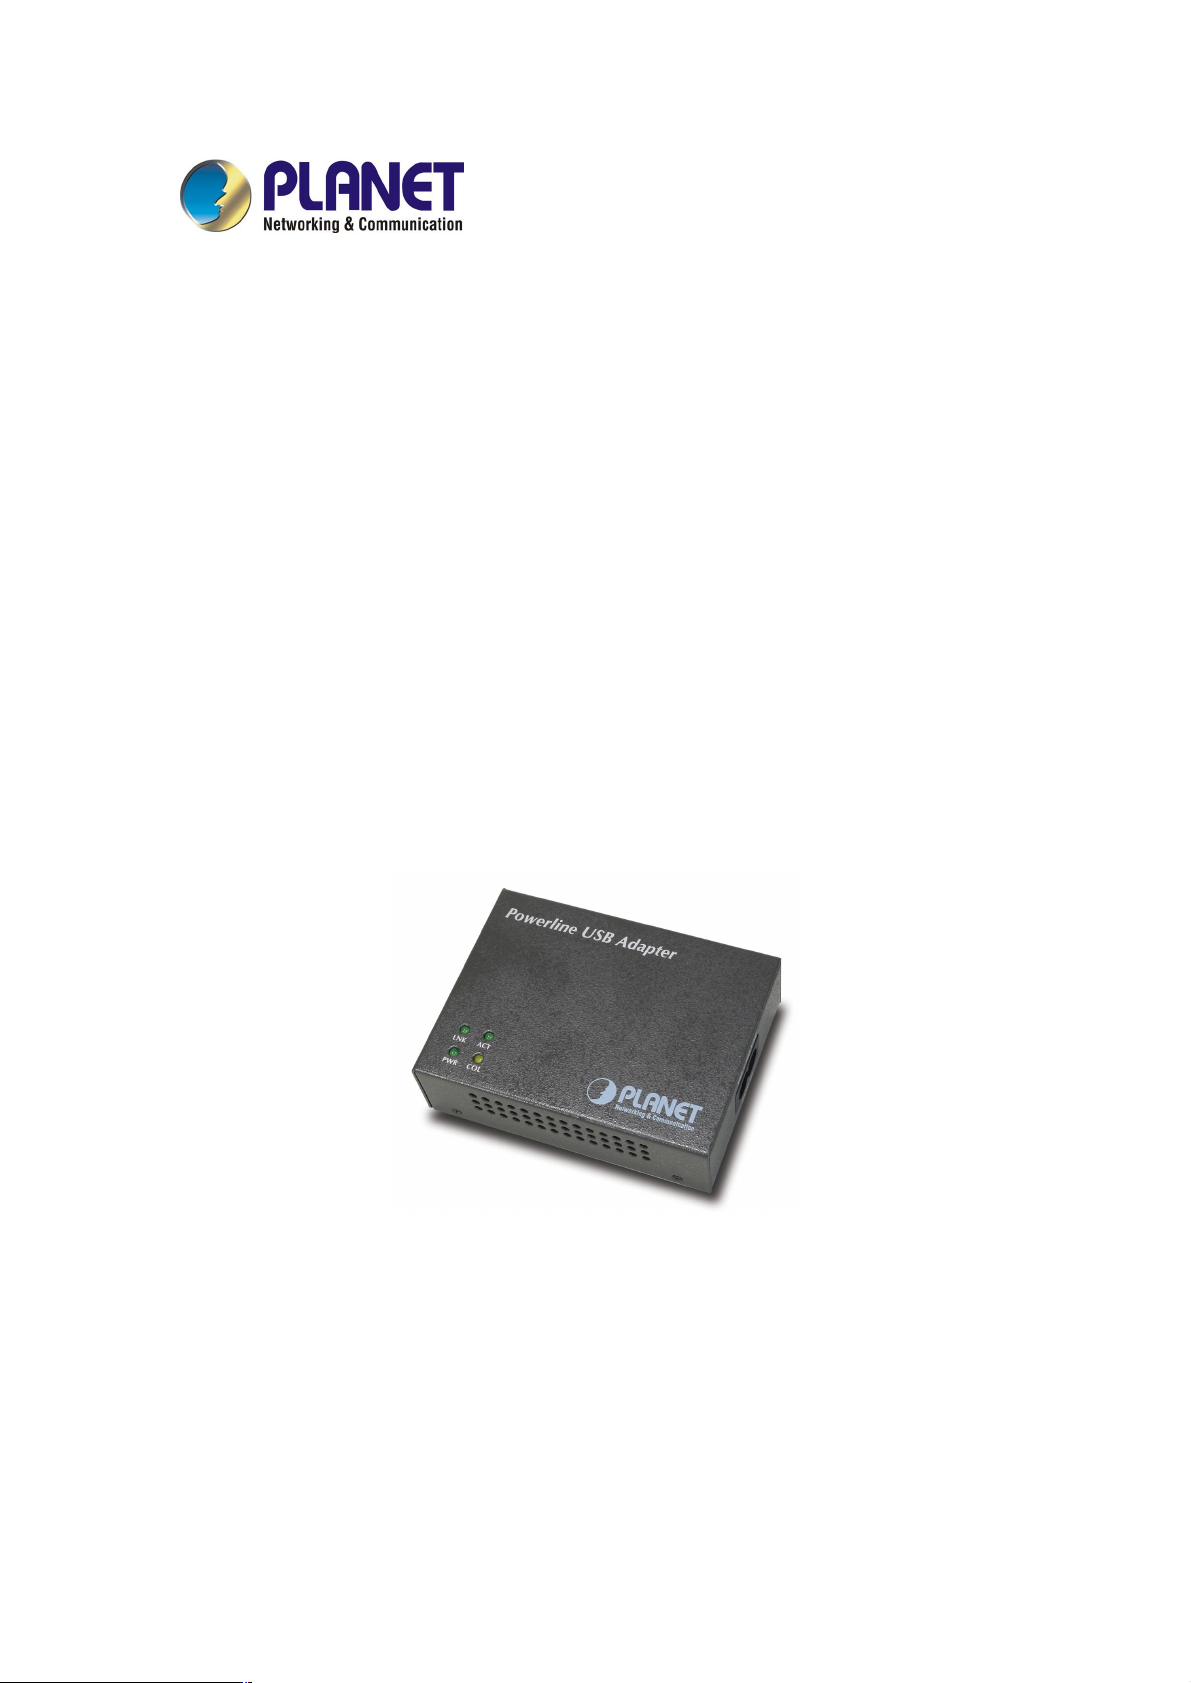
PL-102U is an Powerline USB adapter with an USB type B connector for directly connecting to
computer’s USB port. It provides a power socket for connecting to wall outlet.
Security of PLANET’s Powerline communication technology is assured by the use of 56-bit
DES encryption – the same system used to protect banking systems all over the world, and is
interference free, avoiding the problems of wireless systems.
1.1 Powerline USB Adapter – PL-102U
The newest and fastest way to network your PCs is through powerline networking, which
allows you to turn the powerlines in your home into your network cable. The easiest way to
integrate any PC or laptop into such a powerline network is with PLANET Powerline USB
Adapter. Use your existing USB port with your existing powerlines. The Plug-and-Play USB
Adapter connects directly to virtually any USB-ready PC ─ just plug it in and you are ready to
share data, printers, or high-speed Internet access over your existing powerline network. For
desktop installation, you do not have to open your PC case. With user-friendly software, it is
simple to set up.
Not only is PL-102U easy to install and use, but it also powerful. You can send and receive
data at speeds of up to 12Mbps. Plug it into the USB port; set it up, and you are ready to go.
So for full desktop and notebook PC flexibility and powerline convenience, the PL-102U
provides the perfect solution.
1
Page 5
1.1.1 Features
♦ Internal power supply with one power line networking interface
♦ Complies with HomePlug Powerline Alliance Specification 1.0
♦ Up to 14Mbps bandwidth on powerline interface
♦ Support CSMA/CA protocol on powerline interface
♦ 56-bit data encryption to ensure data security and reliability
♦ Easy to use Windows-based security key configuration utility
♦ Significant LED indicators
♦ Up to 90 meters between two powerline nodes
♦ Able to communicate between different electrical phases
♦ Compact size
♦ Compatible with Windows 98, ME, 2000 and XP
1.1.2 Package Contents
Check the contents of your package for following parts:
n One Powerline USB adapter
n One Power Cord
n One USB cable
n One Manual and Utility CD-ROM
n One Quick Installation Guide
If any of these pieces are missing or damaged, please contact your dealer immediately, if
possible, retain the carton including the original packing material, and use them against to
repack the product in case there is a need to return it to us for repair.
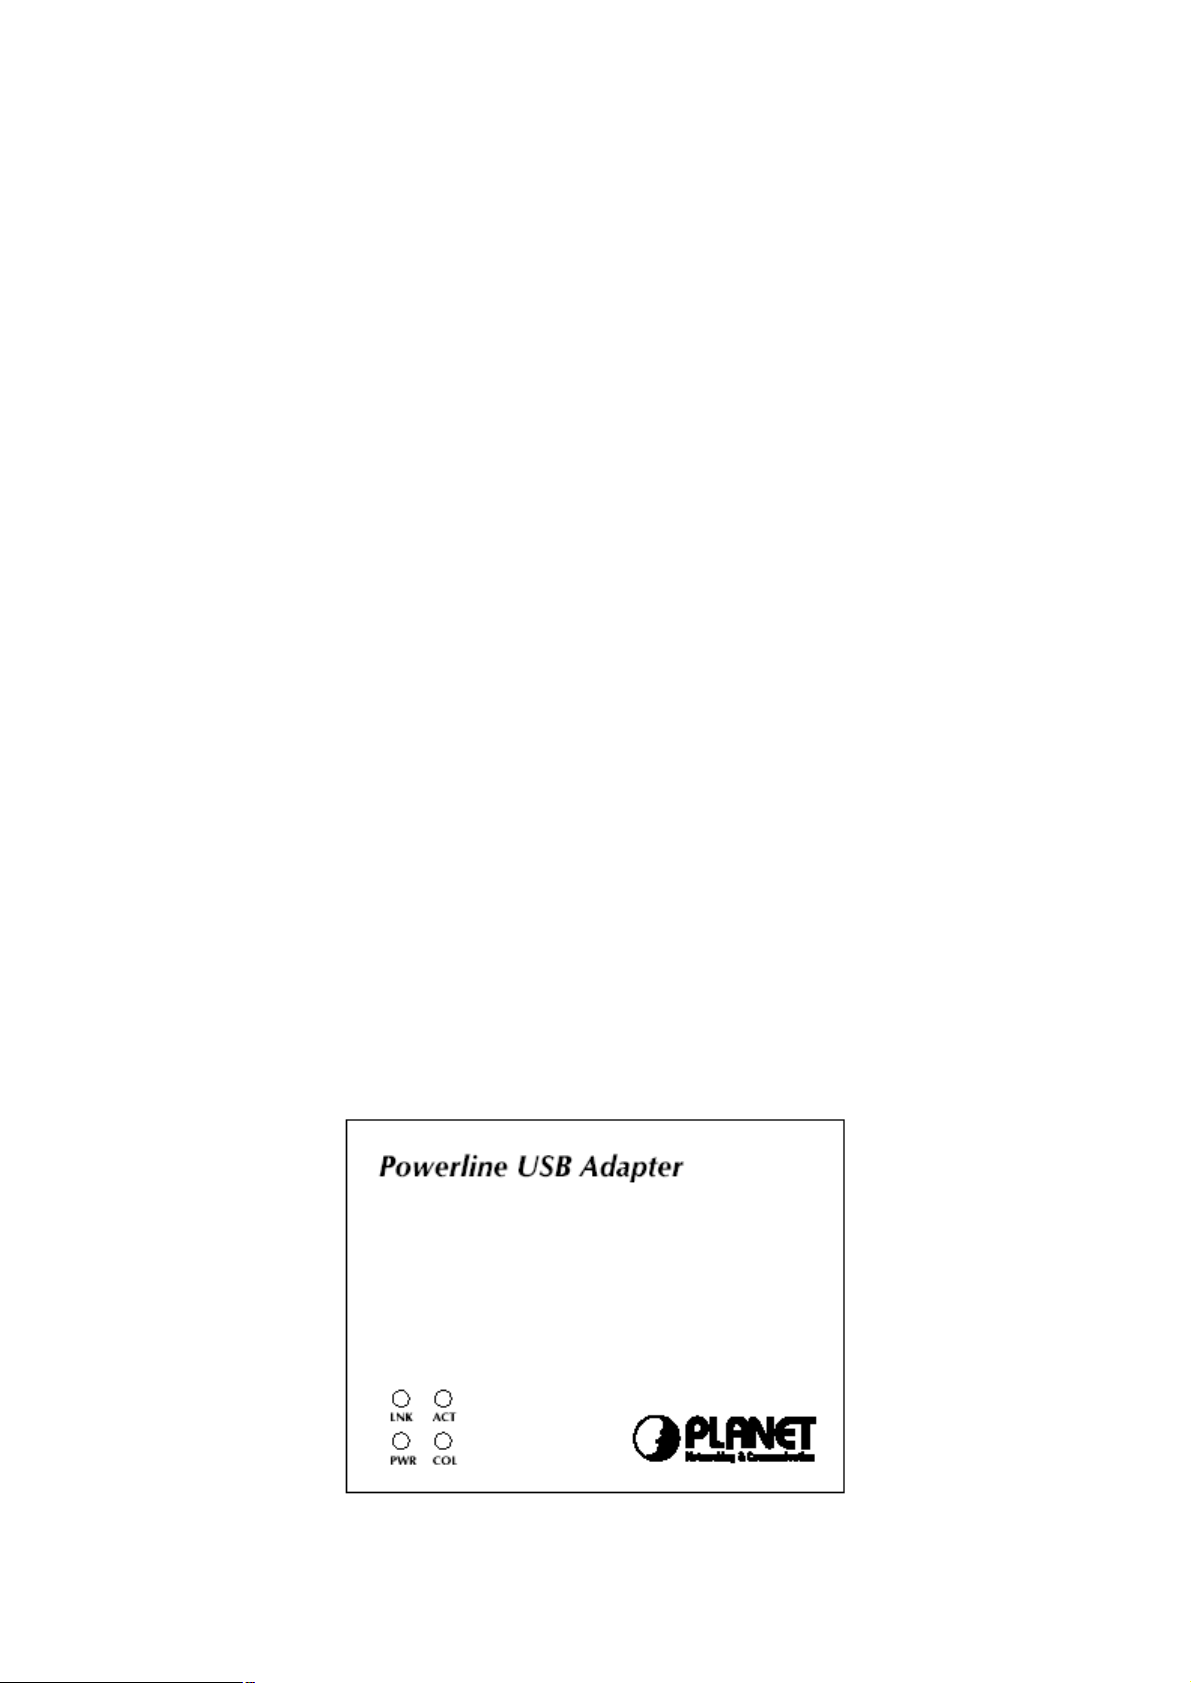
1.1.3 Hardware Description PL-102U top panel
2
Page 6
LEDs status
LED Color Description
PWR Green Steady on indicates PL-102U is connected to a computer.
LNK Green
COL Orange Blinking indicates there existing collision in powerline network.
ACT Green Blinking indicates there existing powerline network traffic.
Steady on indicates PL-102U has detected other Powerline devices in
range.
PL-102U front panel
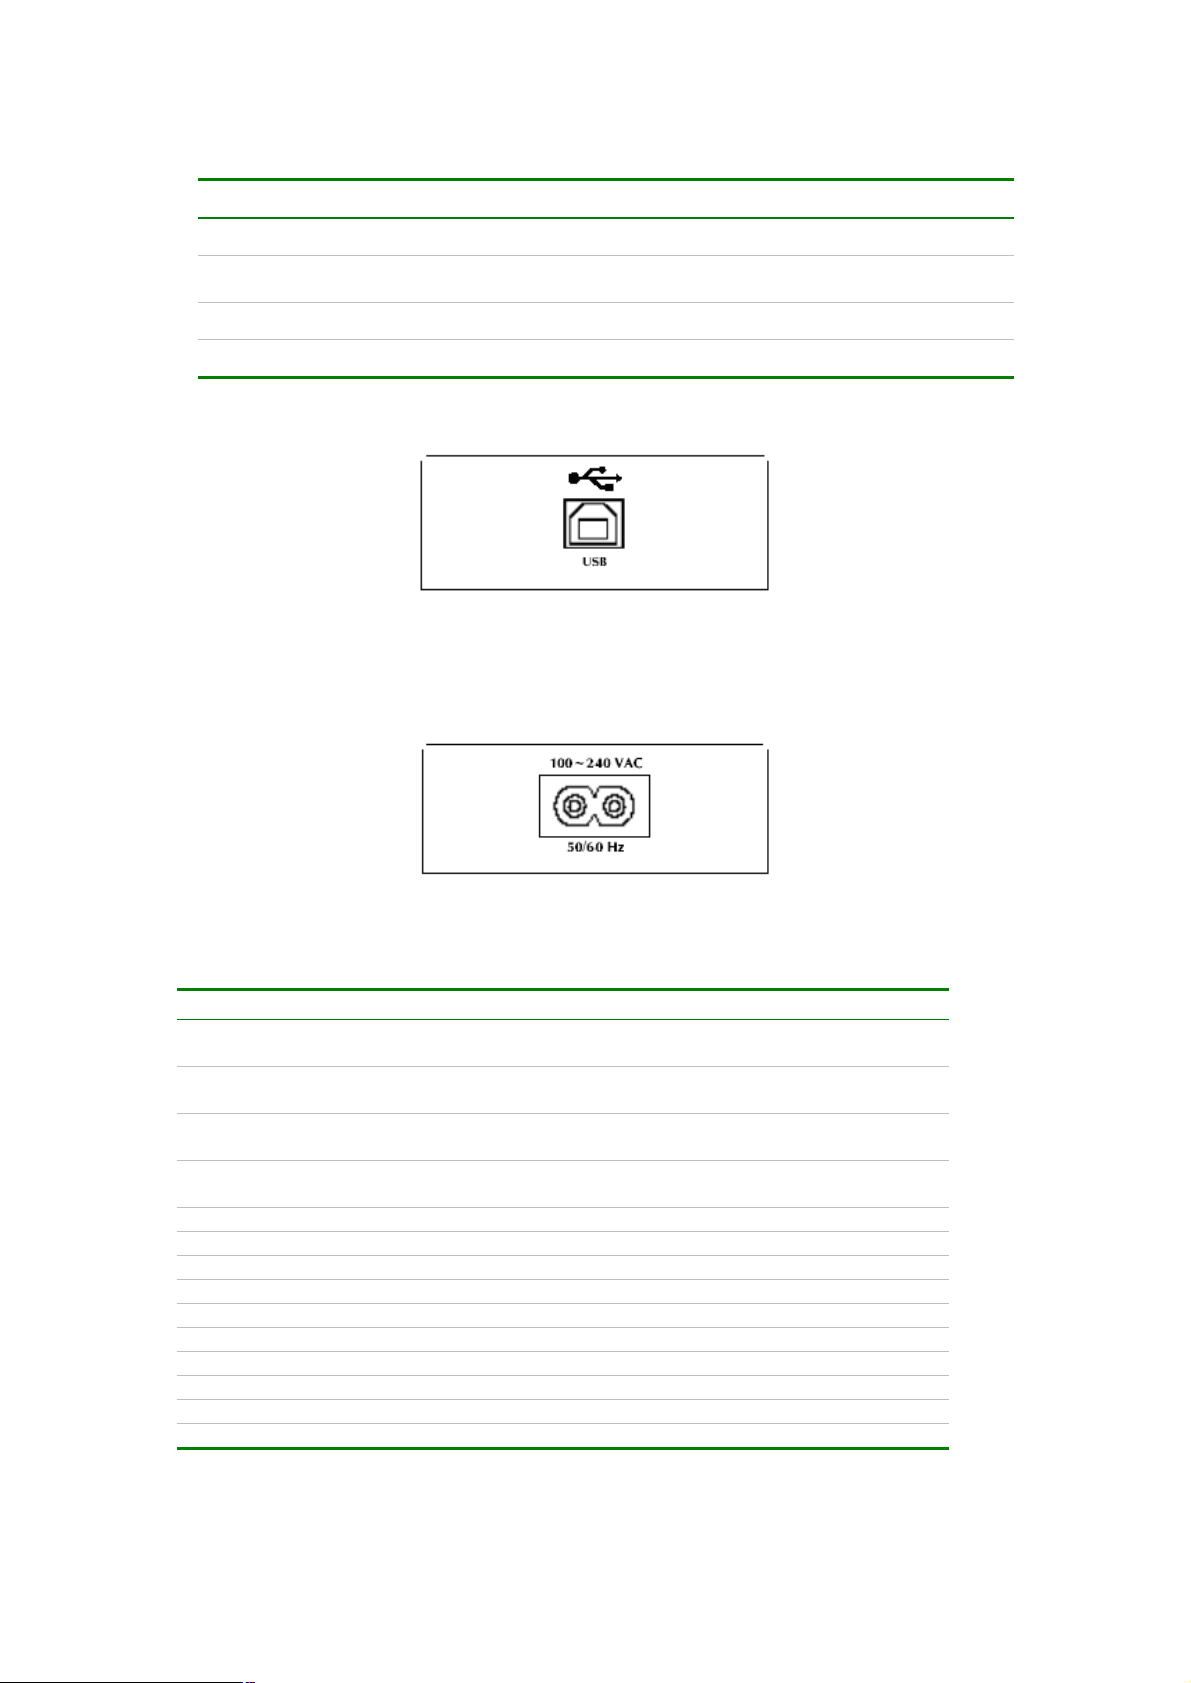
USB port
The USB port is where you will connect your USB cable. To work with USB ports, your
computer must be running Windows98, ME, 2000 and XP.
PL-102U rear panel
One 2-pin power inlet for both powerline network and power supply
1.1.4 Specification
Model PL-102U
Standards HomePlug 1.0
USB 1.1
Ports One Powerline Port
One USB Type B Connector
Cabling Type Powerline: Power Cord
USB: USB cable
Speed Powerline: 14Mbps (actual throughput is about 6Mbps)
USB : 12 Mbps
Powerline Frequency Band 4.3MHz to 20.9MHz
Encryption 56-bit DES with Key configuration software
LEDs PWR, LNK, ACT, COL
Dimension 93 x 70 x 25 mm
Certifications FCC Class B, CE
Operating Temp. 0 ~ 50 degree C
Storage Temp. -20 ~ 70 degree C
Operating Humidity 10~90% non-condensing
Storage Humidity 5~95% non-condensing
OS support Windows 98, 2000, Me and XP
3
Page 7

1.1.5 System Requirements
§ Pentium-class 90 MHz or higher
§ Minimum 32 MB RAM
§ USB-ready PC
§ Windows 98, ME, 2000 and XP
§ CD-ROM Drive (for installing Encryption Utility)
4
Page 8

Chapter 2 Planning your Powerline Network
With PLANET PowerLine products, a network can be created using home powerlines.
Computers can be networked over powerlines using a USB Adapter or an Ethernet converter.
Use PL-102U for a USB-enabled computer or use PL-401E for an Ethernet-enabled computer.
The PL-401E is also ideal for any user who already has a router and wants to share
high-speed Internet access across the powerline network. Connect PL-401E to the router after
you have configured it using the Security Configuration Utility. Connect a straight-through UTP
Category 5 cable to the uplink port of the router, or connect crossover UTP Category 5 cable to
a LAN port on the router.
5
Page 9

Chapter 3 Powerline USB Adapter Installation
3.1 Connecting USB to Powerline Network Adapter
1. Plug the other end of the USB cable into the computer’s USB port.
2. Plug the USB cable into the USB port on PL-102U.
3. Plug the power cord into the powerline port on PL-102U.
4. Plug the other end of the power cord into a power outlet.
w Use only the supplied power cord to connect PL-102U
to the power outlet.
w Windows 95 and NT do not support the USB adapter.
3.2 Powerline USB Adapter Installation
The installation procedure for the network driver will vary depending on which operating
system you are using on your computer. The following procedure is for installation under
Windows 2000. Installation on other operation system is similar.
1. Windows will automatically detect the presence of the USB Adapter hardware in your
computer once you have completed the hardware installation. Click the Next button.
2. Select “Search for the suitable driver for my device. (recommended)” and click the Next
button.
6
Page 10

3. Windows will look for new drivers and ask you which locations you want to search. Select
Specify a location. Click the Next button to continue.
4. Enter the path as E:\Driver\PL-102U (if “E” is the letter of your CD-ROM drive). Click the
Next button to continue.
5. Windows will show the information of the driver it found. Click the Next button to continue.
7
Page 11

NOTE: Windows 2000 and XP will inform you that there is no digital signature found. Click the
Yes button to continue the installation.
5. Click the Finish button to complete the installation.
8
Page 12

Chapter 4 Encrypting Your Powerline Network
4.1 PowerPacket Configuration Utility Installation
1. Insert the CD-ROM into the CD-ROM drive to initiate the autorun program. Once completed,
a menu screen will appear as follows:
2. To install the utility, click on the "PowerPacket Configuration Utility" hyperlink to activate
the installation procedure for the application program.
If the above screen is not shown, you can start the installation as follows.
• Click on Start Menu/ Run.
• Enter “E:\Utility\PL-102U\setup.exe” in the appeared box, where “E” is the letter of your
CD-ROM drive.
Click on “OK” button.
3. On the Welcome screen, click the Next button.
9
Page 13

10
4. When the License Agreement screen is displayed, read the License Agreement, then click
the radio button to the left of “I accept the terms in the license agreement” and click the
Next button.
5. On the Customer Information screen, enter the required information and select whom this
application is installed for. Then click the Next button.
6. The InstallShield Wizard shows your current settings in next screen. If you need to review
or change any settings, click the Back button. Click the Cancel button to exit the Wizard.
Otherwise, click the Install button.
Page 14

7. The InstallShield Wizard would ask you to plug your PL-102U to PC to complete the
installation. After ensuring PL-102U is well connected, click the OK button
8. When finished, click Finish to end the Installation Wizard.
11
Page 15

12
9. Remember to restart your computer to have the new configuration take effect.
4.2 PowerPacket Configuration Utility Usage
After successfully installing the utility, your computer desktop will display this icon, ,
PowerPacket Configuration Utility. Double-click the icon to activate the utility.
Note: Make sure your TCP/IP protocol is set up appropriately on your computer before
running PowerPacket configuration utility.
Page 16

13
4.2.1 Device Screen
When initiating the program, it will analyze your powerline network. Once the analysis is done,
the Device screen will be shown as above. In the text list box, it reports all PowerPacket™
devices found that are locally connected to the computer where the utility is running. In most
cases, one device only is listed. In case you have more, click on one of them and hit Connect.
Make sure that the State box indicates that your PC is connected to the same device. Now you
are ready to manage the powerline network connected to this device, ensure its privacy and
measure its data rate performance. Press Refresh button to refresh the search of the
powerline devices connected to your computer.
The progress bar will change into a status bar indicating the network average data rate. The
color of the bar reflects the average performance of the powerline network :
Green : Excellent performance
Yellow : Fair performance
Red : Poor performance
Page 17

14
4.2.2 Network Screen
The Network screen provides detailed information about your powerline network. The text list
box shows all PowerPacket™ devices found on your powerline network identified by their
MAC addresses. The second column indicates their data rate measurements in Mbps. Press
Scan Powerline Network button to refresh the listed information.
In case a PowerPacket™ device in your network is not listed in the screen above, make sure
that its network password has not been made private previously with a different password than
your current private network password. You can always reset a PowerPacket™ network
password to the universal one by running the PowerPacket™ Configuration Utility on the PC
attached to this device and use “HomePlug” as the network password.
Page 18

15
4.2.3 Security Screen
All PL-102U are shipped using “HomePlug” as a network password. The Security screen
allows you to change this network password and set your own private password and apply it to
PL-102U connected to the computer where the utility is running. Click Restore Default button
to restore the original network password “HomePlug” and apply it locally. Click Set Local
button to change the network password locally.
Note: Your private network password must have between 4 and 24 characters. The password
is case sensitive. The password can include any letters of the alphabet, numbers or
punctuation marks. Remember this password as it will be needed when adding other devices
to the network later.
Page 19

16
4.2.4 Advanced Screen
The Advanced screen allows you to set up a network password remotely on other PL-102U
through the powerline. Type your private network password into the Network Password text
box. The device password of a PL-102U is adding 0000 to its MAC address. For example, the
device password of a PL-102U with MAC 00304F25A509 is 0000-0030-4F25-A509. The other
device on the network with PowerPacket™ capabilities will have a different device password
printed on either the case itself or in the documentation. Find the passwords for all devices you
want to manage and type them one by one into the Device Password text box and click Add.
This will add the passwords to Remote Passwords text list box and set them to the currently
defined Network Password.
Note: The device must be present on the powerline in order for the password to be confirmed
and added to the Remote Passwords list.
The Status indicates whether each device is successfully set to the Network Password. “OK”
indicates success while “Fail” indicates a failure. Click Set All to apply your private network
password to all devices that are listed in the Remote Passwords text list box and to your local
device connected to the computer where the utility is running as well. Select a password and
Page 20

17
click Remove to remove it from the list.
Page 21

18
4.2.5 About Screen
The About screen shows the software version.
Page 22

19
Chapter 5 Troubleshooting
w I can not connect to other computers on my powerline network or to the Internet.
A: Make sure the IP address and TCP/IP protocol are set up correctly for all the powerline
networked computers.
w Do the PL-102U device cause interference with other home networking or products?
A: No. PL-102U can co-exist with phone line and wireless networking technologies. PL-102U
operates in a different frequency band than powerline control and co-exist with
technologies such as X-10, CEBus and LONworks.
w How do the PL-102U devices handle signal interference between two adjacent homes? How
is eavesdropping prevented?
A: PL-102U is using 56-bit DES security encryption to ensure network separation between
homes. You can use PowerPacket configuration utility to enable and configure the security
encryption on local or remote PL-102U in range.
w How does PL-102U handle node address on the network?
A: PL-102U adheres to standard Ethernet addressing protocols using destination and source
MAC address.
 Loading...