

Pitney Bowes Small Office Series Mailstation 2, Mailstation 2 Quick Install Manual
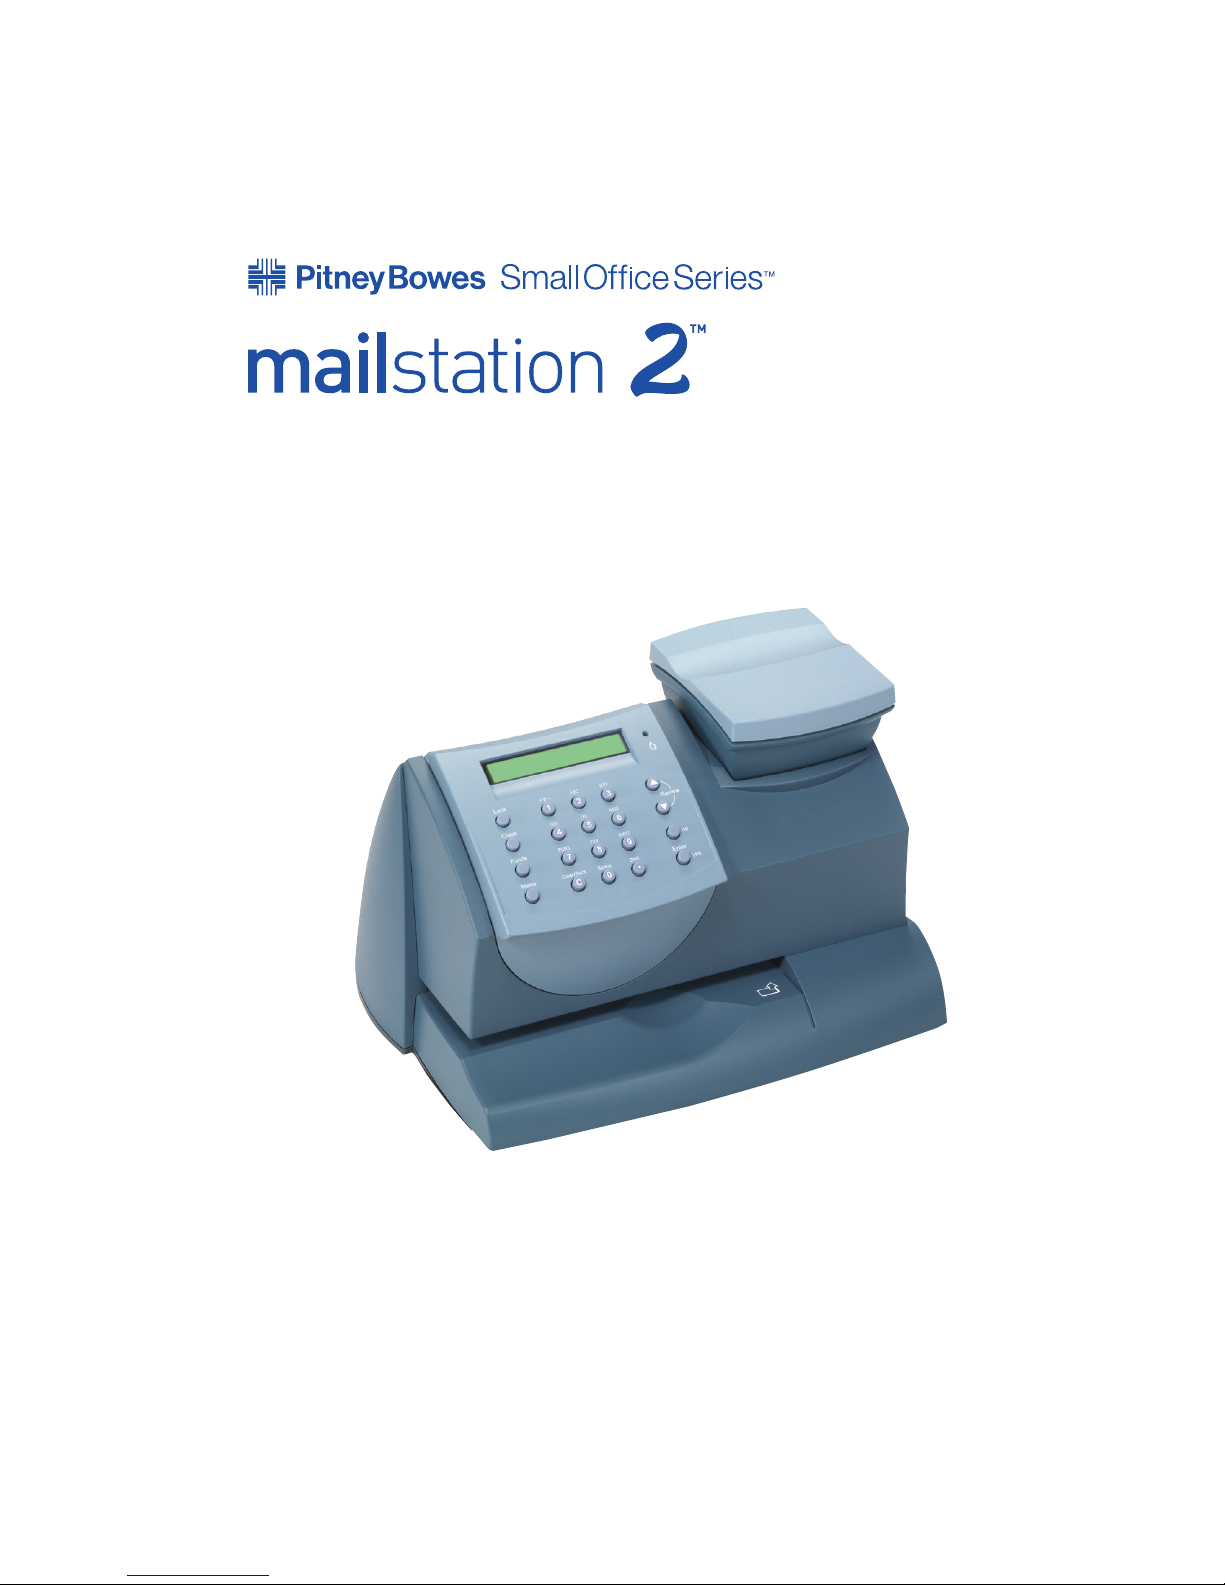
Digital Postage Meter
Compteur postal numérique
Quick Install Guide
Guide d’installation rapide
Canadian English Version
Version canadienne française
/MC
Scale
Lock
Class
Funds
Menu
*#_
GHI
PQRS
Back
ABC
JKL
TUV
Space
DEF
MNO
WXYZ
Shift
.
Review
no
yes
Enter
Digital Postage Meter
Operating Guide
Lock
Class
Funds
Menu
*#_
GHI
PQRS
Back
ABC
JKL
TUV
Space
DEF
MNO
WXYZ
Shift
.
Review
no
yes
Enter
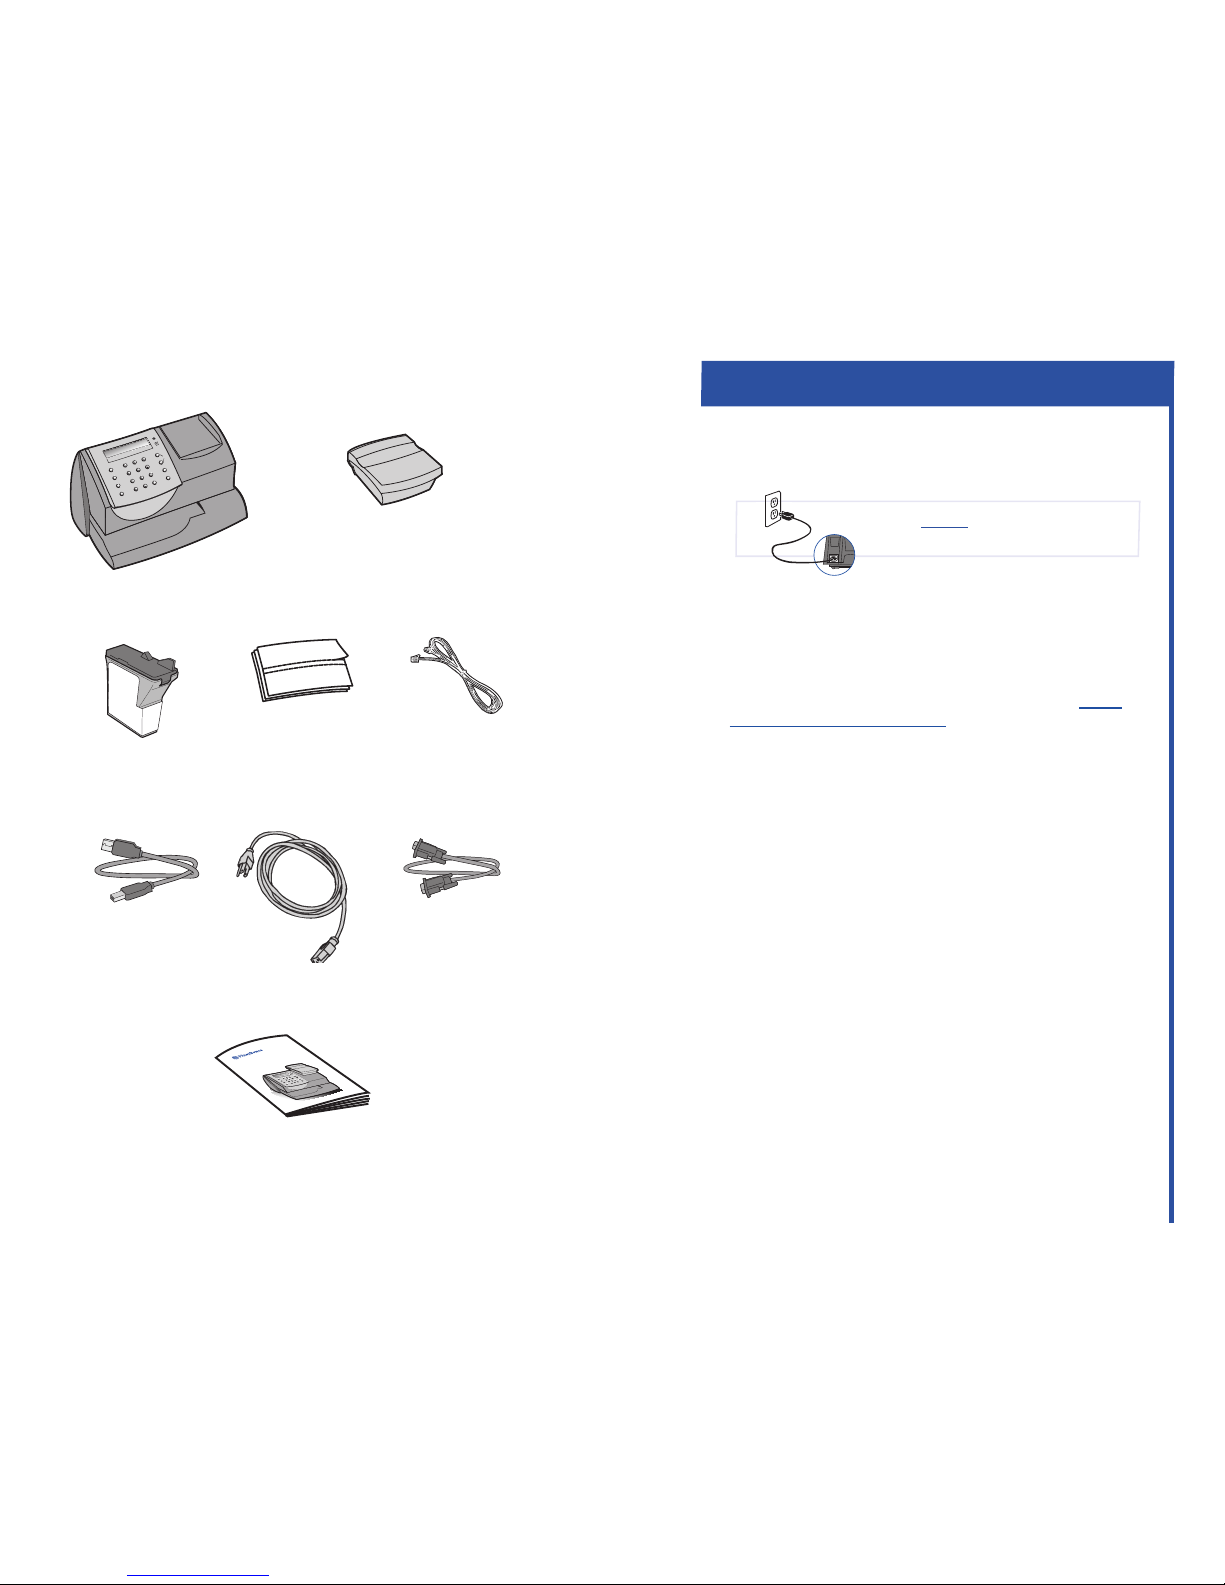
Quick Install Guide
Sample Pack of
Tape Sheets
Phone Cord
Power Cord
Pitney Bowes
Ink Cartridge
Reorder #797-M
mailstation 2™
Contents
Reorder #612-9
USB Cord
NOTE:
THE METER IS SHIPPED WITHOUT POSTAGE.
You transfer funds to the meter as part of the setup process
Select a Connection Method
Set-up: Using PC
1
You must connect to the Pitney Bowes Data Centre to add
postage funds, download software updates, and perform
Canada Post required inspections.
If you have Internet access, we recommend you install the
PC Meter Connect™ Desktop Application online at http://
www.pitneybowes.ca/support. This software provides
the quickest data transfers. After you have installed the PC
Meter Connect Desktop application, follow the PC onscreen
instructions which guide you through the complete system
setup. You need not refer to this Guide again.
NOTE: Administrative privileges may be required before you
can install the software on your system.
If you do not have Internet access, or choose not to use
the PC Meter Connect Desktop application, simply continue
with Step 2 in this Quick Install Guide. You will not need to
download the PC Meter Connect Desktop Application.
✗
1
Please do not apply power to your
mailstation 2™ until instructed to.
Scale Extension
Cable (Optional)
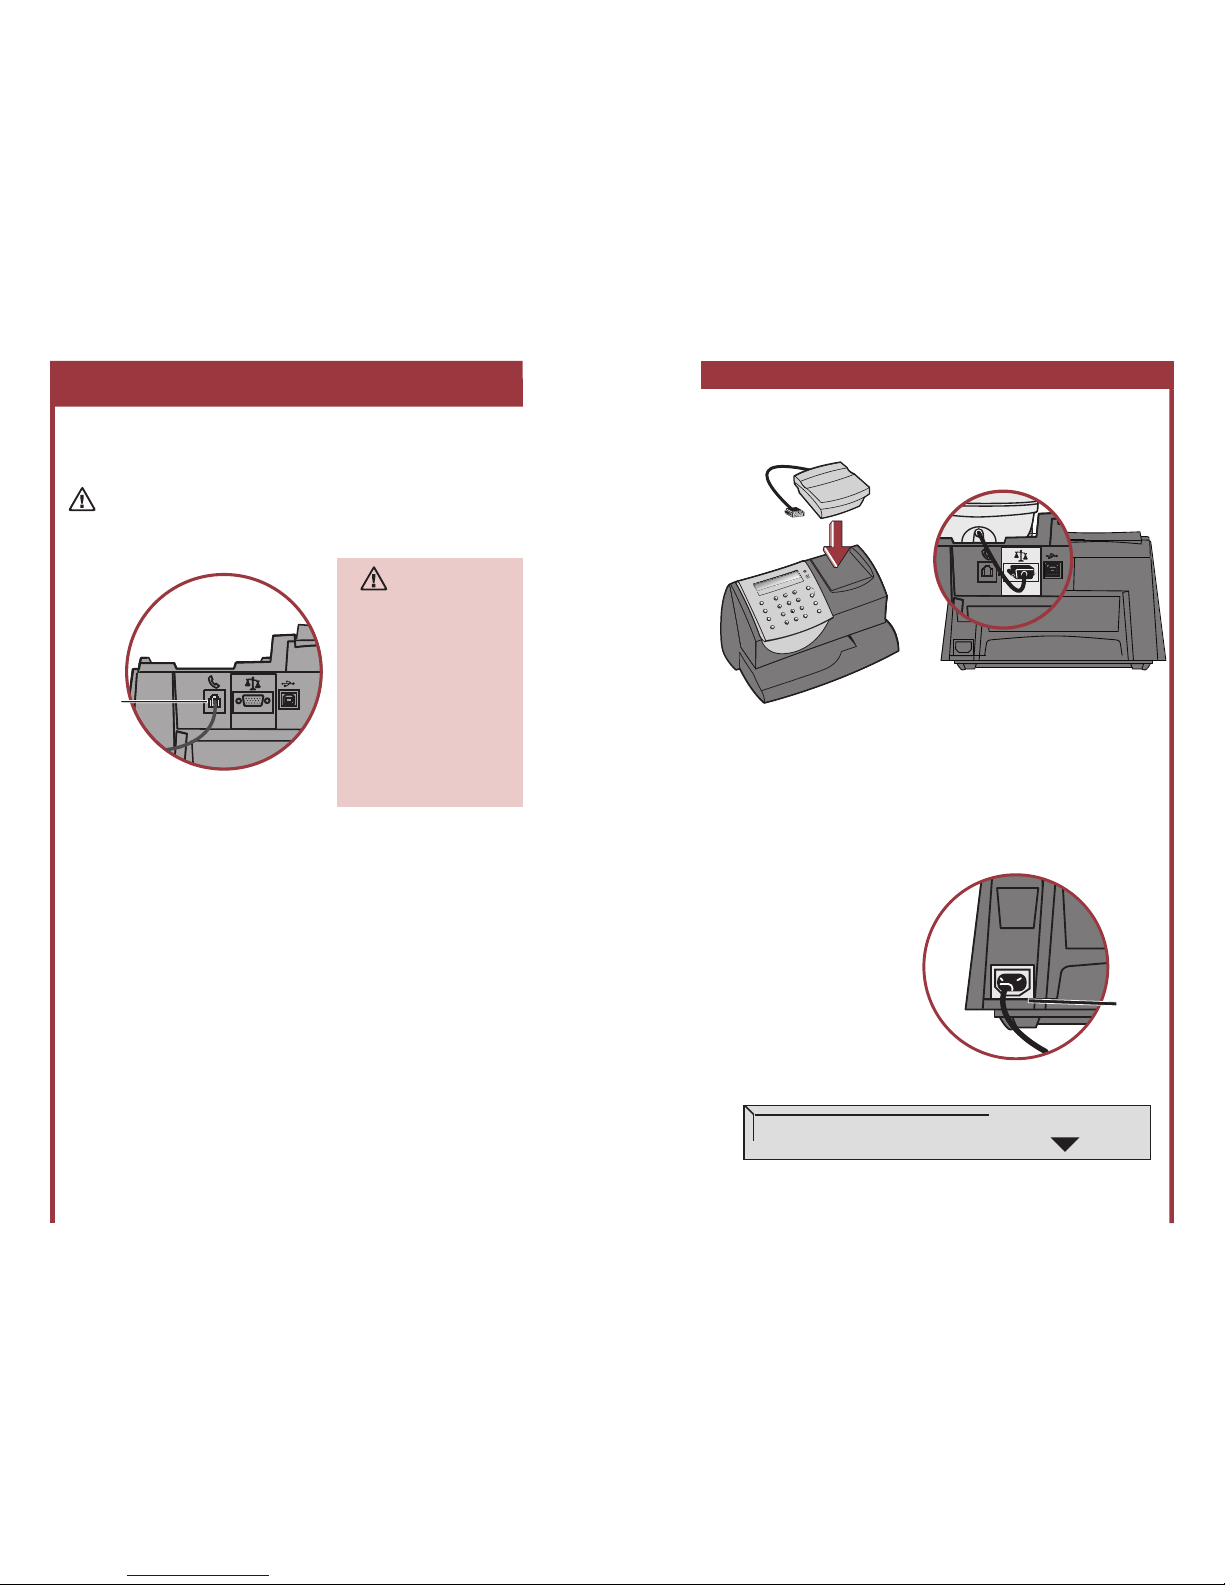
The mailstation 2™ requires an analog phone during the
installation process. Connect the phone cord to the
mailstation 2™ and the other end to an analog phone line.
The following are usually analog lines:
• Fax lines
• Lines used by modems or credit card readers
• Residential phone lines
If you are using a DSL line you should use a DSL lter
obtained from your DSL provider.
NOTE: For printing postage, the mailstation 2™ does not
have to be connected to a phone line. However, if you add
funds frequently, we recommend you keep it connected to
an analog phone line.
ATTENTION
Some commercial phone
systems use digital lines
that may damage the
mailstation 2™. Like the
mailstation 2™, most fax
machines, credit card
readers and modems also
require analog lines. The
mailstation 2™ can share
a line with these devices.
When in doubt, ask the
person responsible for
your phone systems.
2
Connect Phone Cord
Phone
Alternative Method: Using an Analog Phone Line
3
Please do not apply power to
your mailstation 2™ until Step 3
2
Alternative Set-up: Using an Analog Phone Line
3
Install Scale
Position the scale on top of the meter as shown.
Connect the scale cable to the scale connector on the back of the
mailstation 2™ at the scale icon.
Tighten the screws to ensure a secure connection.
If you want to place the scale in a different location, an optional
four-foot scale cable (#978-6) can be purchased by contacting
Pitney Bowes.
Plug the power cord into
the unit as shown and into
a convenient outlet that is
not controlled by a switch
or power strip. There is no
on/off switch on your meter.
Press the number 1 key to select English.
Press the number 2 key to select French.
4
Connect Power
Lock
Class
Funds
Menu
*#_
GHI
PQRS
Back
ABC
JKL
TUV
Space
DEF
MNO
WXYZ
Shift
.
Review
no
yes
Enter
Power
5
Select Language
Select Language
1. English
Alternative Set-up: Using an Analog Phone Line
4
Alternative Set-up: Using an Analog Phone Line
5
6
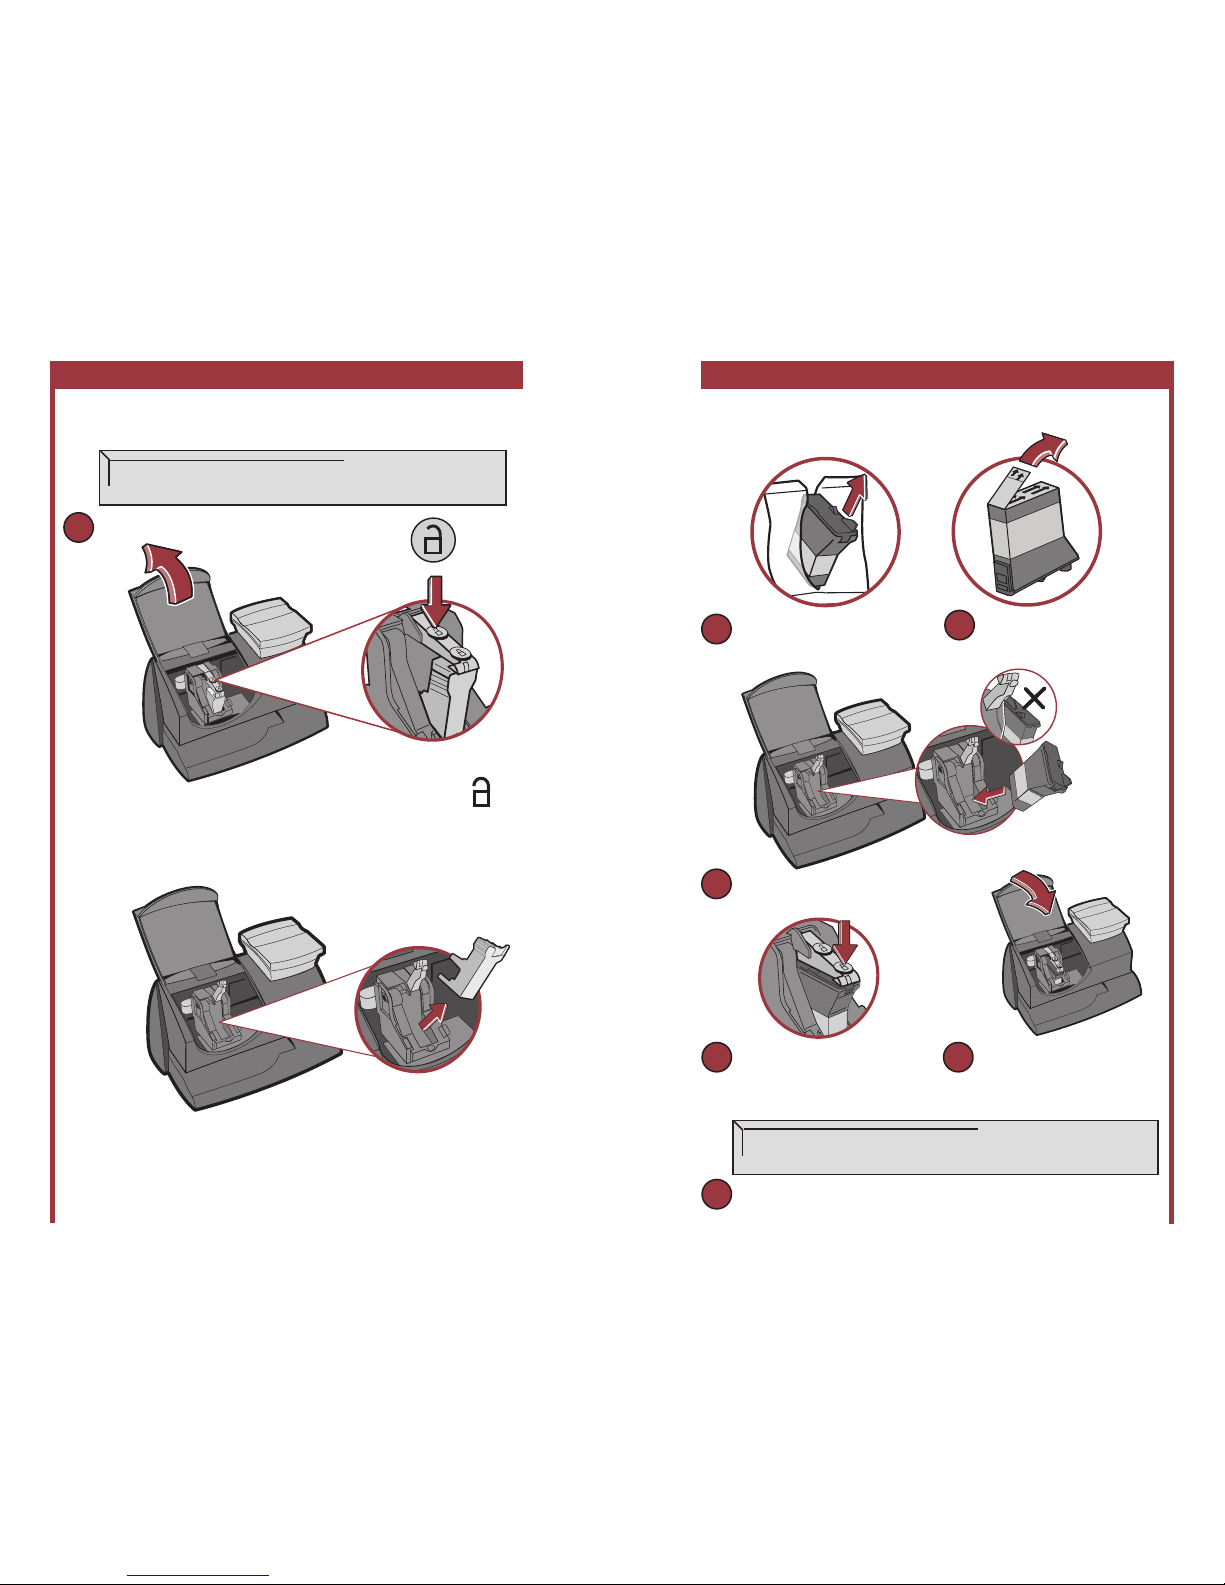
Install Pitney Bowes Ink Cartridge
Add ink cartridge.
Continue - Press Enter.
2. Lift the cover.
NOTE: If the carriage
is not visible close the
cover and press Enter.
4. Remove and discard the yellow insert.
3. Press unlock symbol to
open cartridge cover.
A
1. Press the Enter key on the control panel.
Remove new Pitney Bowes
cartridge from plastic bag.
B
Remove silver foil strip
from bottom of ink cartridge.
C
D
Install new Pitney Bowes
cartridge into machine.
6
Press Pitney Bowes ink
cartridge cover near the front
edge to lock the cartridge in
place.
E
Close Cover. Press Enter.
Press Enter. Please wait about 2 minutes.
G
F
IMPORTANT - Is Ink
Cartridge installed?
Install Pitney Bowes Ink Cartridge
(continued)
 Loading...