

Page 1
MOBILE ROBOTS
Pioneer
PTZ Robotic Camera
with Pioneer Server Operating System Software
Page 2

ii
Copyright 1999, ActivMedia, Inc. All rights reserved.
Under international copyright laws, this manual or any portion of it may not be copied or in any way
duplicated without the expressed written consent of ActivMedia, Inc.
The software on disk and which accompany the robot or are available for network download by Pioneer
Mobile Robot customers, are solely owned and copyrighted by Kurt Konolige, Videre Designs, SRI
International, Inc. or ActivMedia Robotics, Inc. Pioneer developers and users are authorized by revocable
license to develop and operate custom software for personal research, and educational use only. Duplication,
distribution, reverse-engineering, or commercial application of the Pioneer software and hardware without
the expressed written consent of Kurt Konolige, Videre Designs, SRI International, or ActivMedia Robotics
is explicitly forbidden.
The various names and logos for products used in this manual are often registered trademarks or
trademarks of their respective companies. Mention of any third-party hardware or software constitutes
neither an endorsement nor a recommendation.
PTZ Manual version 2, January, 1999
Page 3

iii
Contents
Page
Introduction...........................................................................................................1
PTZ Components................................................................................................................................... 1
PTZ Accessories ....................................................................................................................................1
Where to get PTZ System Software......................................................................................................2
Related Resources..................................................................................................................................2
Hardware Installation............................................................................................3
Mounting the Camera...........................................................................................................................3
Power/Signal Cables and Connectors ...................................................................................................3
Came with Robot................................................................................................................................. 3
FTVS/Video Side Panel....................................................................................................................... 4
Serial Communications .........................................................................................................................4
Testing the Connections ........................................................................................................................4
PTZ System Software ...........................................................................................5
PTZ P2OS Commands ..........................................................................................................................5
Client Software Installation...................................................................................................................5
WIN32 Systems................................................................................................................................... 5
Linux/Unix Systems ............................................................................................................................5
PTZ with Saphira.................................................................................................................................. 6
PTZ with Colbert ..................................................................................................................................6
Appendix A............................................................................................................8
Warranty & Liabilities ...........................................................................................9
Page 4

iv
Page 5
1
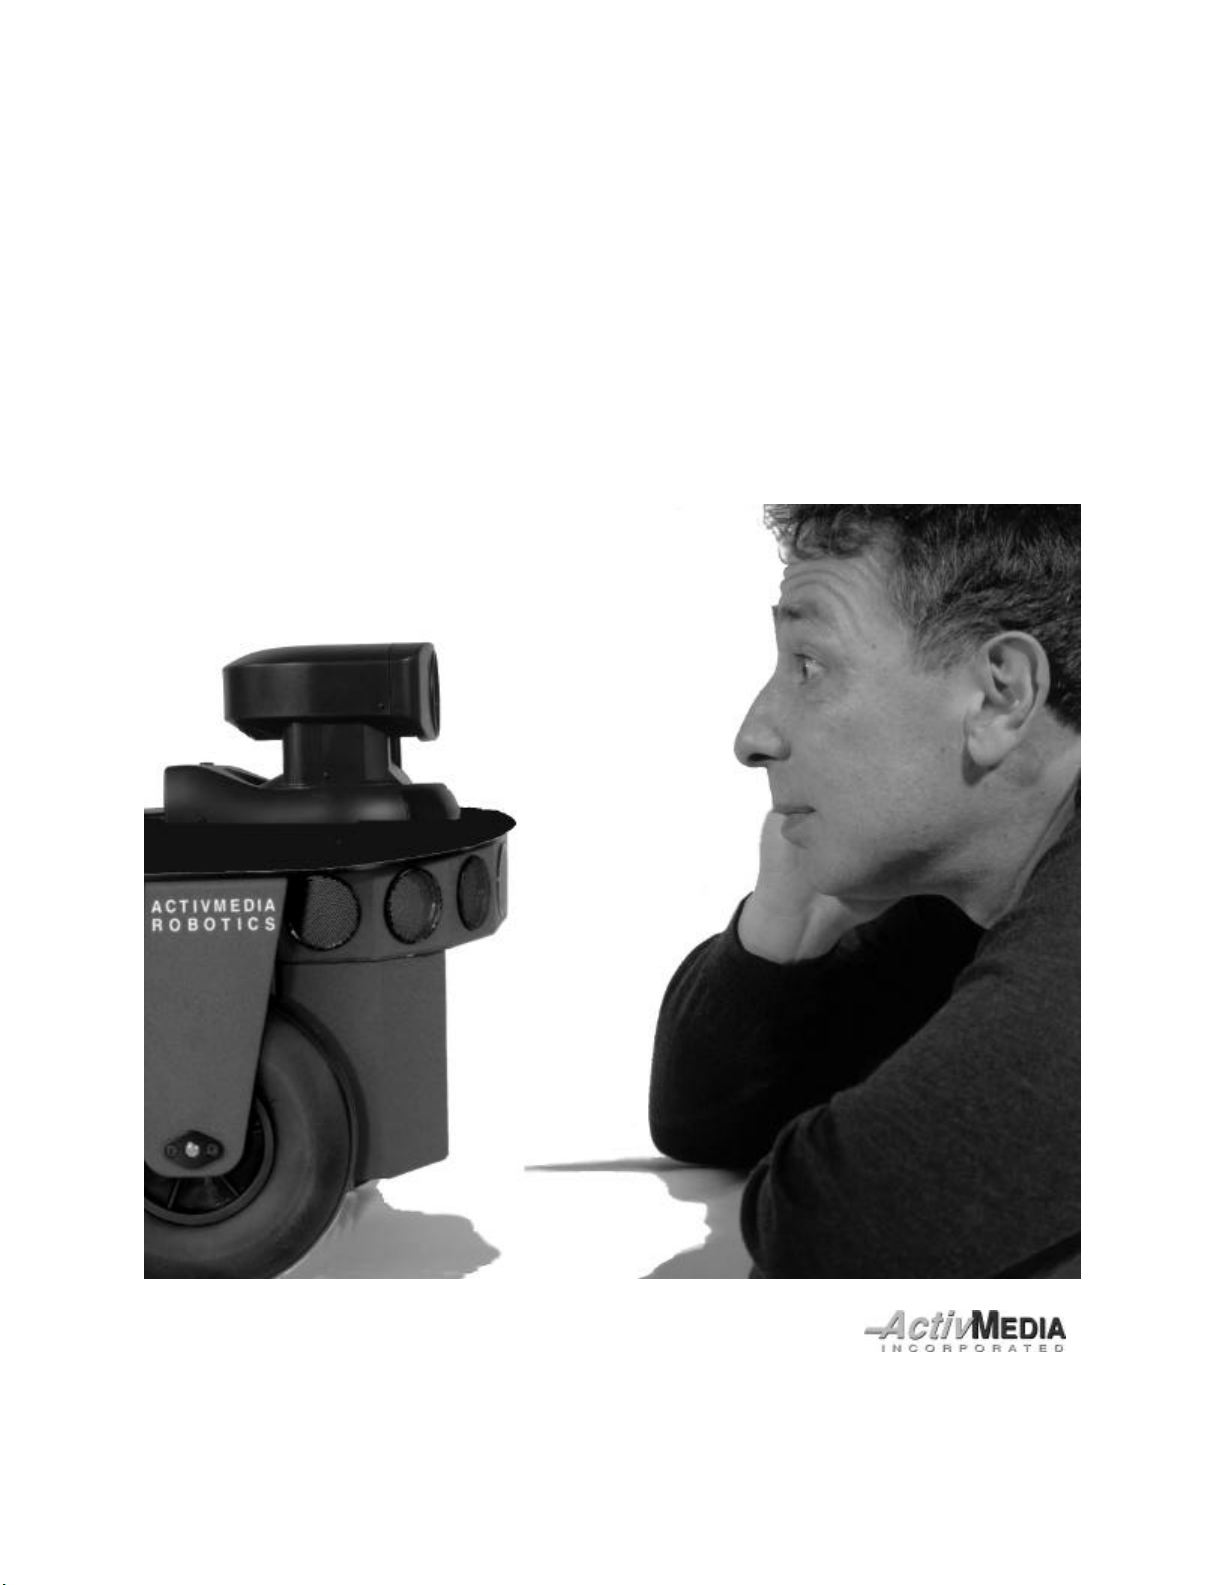
Introduction
The Pioneer Pan-Tilt-Zoom PTZ Robotic Camera
System is a fully integrated accessory for Pioneer
Mobile Robots. Developed by Kurt Konolige, Ph.D., of
Videre Designs, the system consists of a Sony D30/31
pan-tilt-zoom color camera and PTZ System software
for integration of the robotic camera with the Pioneer 2
Operating System (P2OS) and with client control
applications, including Saphira.
We install the PTZ Robotic Camera System on a new
robot, and you can easily add the system to your own
Pioneer 2 Mobile Robot. The PTZ Camera supplies
standard NTSC or PAL video, so it can be used for a
variety of applications, from simple video surveillance
to state-of-the-art vision sensing. The PTZ System
software is a C-language library for use with all
distributed Pioneer software and your own client
applications, and comes with source code for custom
modifications.
PTZ Components
The following items come with your PTZ Robotic Camera System. If you ordered the PTZ with your
Pioneer 2 Robot, some items may already be attached to your Robot:
ü Sony D30 (NTSC) or D31 (PAL) Pan-Tilt-Zoom Camera
ü Remote Control Handset
ü VISCA Control Cable
ü Power Cable
ü RCA Video Cable
ü Mounting Screws
ü Disk with WIN32 PTZ System Software
ü Camera Manuals
PTZ Accessories
The PTZ Robotic Camera attaches and extends the capabilities of a variety of video and vision systems
and applications. For instance, the PTZ system is approved for use with Newton Lab's Fast-Track Vision
System (PTZ-Fast Track Vision System). And, either capture and digitize the video signal with an onboard
frame grabber in your Pioneer 2 EBX computer (PTZ Custom Vision), or send it offboard with an
audio/video (A/V) radio system to a frame grabber in a basestation for real-time video surveillance (PTZ
Surveillance System) and for you own vision research. For more information about these and other options,
browse our website (http://wwww.activmedia.com/robots) and/or contact us directly
(sales@activmedia.com).
ü Fast-Track Vision System
ü A/V Pro Radios
ü PCI-based High-Performance Frame Grabber
ü PC-104+ PCI Frame Grabber
Page 6

2
Where to get PTZ System Software
The Windows95/NT version of the PTZ System Software comes on disk with every Pioneer, included in
the Saphira distribution software. Updates and other platform-based versions are available online from the
ActivMedia Robotics Internet website. The compressed archives contain the shared executables and
accessory files you need to operate the PTZ System and integrate it with your own C-language programs.
Note that the PTZ system software works with Saphira version 5.3 or later. Collect all software online from:
http://robots.activmedia.com
Be sure to choose the software version that matches your computer’s operating environment;
ptzsys.EXE for Windows95/NT computers or ptzsys_linux.tgz for Linux OS, for example.
Related Resources
The PTZ Robotic Camera for Pioneer depends on a working knowledge of your Pioneer Mobile Robot
and the Pioneer 2 Operating System software (P2OS). Consult your Pioneer 2 Operation Manual for details.
Obtain copies of the latest Pioneer manuals (this document, too) from our Internet website:
http://robots.activmedia.com/docs
We announce Pioneer software-related updates and new versions, as well as share ideas and code, through
two main email-based newsgroups:
pioneer-users@activmedia.com
saphira-users@activmedia.com
To join—and please do join—simply send an email message (substitute saphira-users for pioneer-
users to access that separate group):
To: pioneer-users-request@activmedia.com
From: <your return email address goes here>
Subject: <choose one command>
help (returns instructions)
lists (returns list of newsgroups)
subscribe
unsubscribe
Our SmartList-based listserver will respond automatically. Once subscribed, send your email comments,
suggestions, and questions intended for the worldwide community of Pioneer users:
To: pioneer-users@activmedia.com
From: <your return email address goes here>
Subject: <something of interest to all members of pioneer-users>
Access to the pioneer-users newslist is limited to subscribers, so your address is safe from spam.
However, the list currently is unmoderated, so please confine your comments and inquiries to that concerning
Pioneer operation and programming.
If something seems (or clearly is) broken with the software, your Pioneer robot, and/or PTZ System, send
an email message
To: pioneer-support@activmedia.com
and a team of experts will leap to the rescue.
Page 7

3
Hardware Installation
The PTZ Robotic Camera System requires some assembly, even if you had ordered it with a new
Pioneer 2 Mobile Robot.
Mounting the Camera
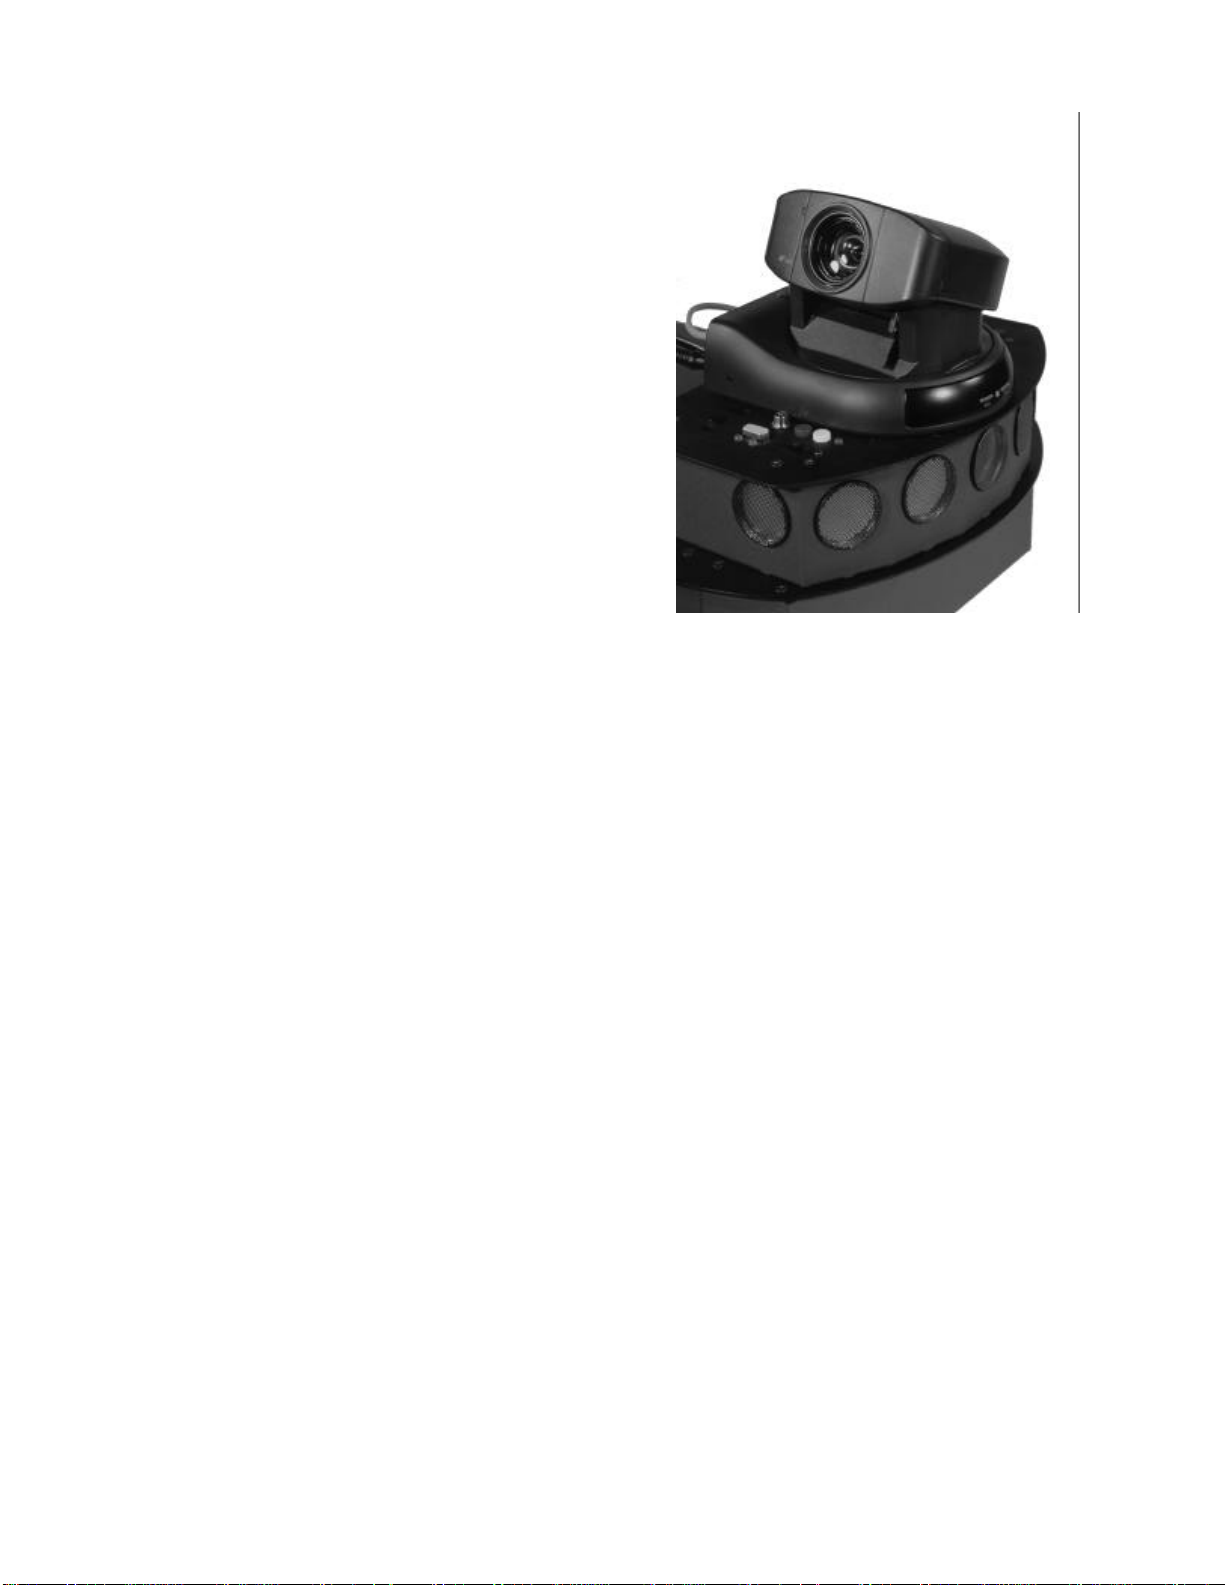
The PTZ camera comes detached from the robot for safe shipment. We recommend mounting the camera
to the front of the robot, centered on top of the Console (Figure 2-1). We have prepared the Pioneer 2
Console with mounting holes, and include the mounting screws with the PTZ camera installation kit. But do
not feel obliged to mount it there—the camera may be mounted to any convenient location on the robot.
Figure 2-1. PTZ Robotic Camera mounting plate and position
To mount the camera, use the hex wrenches that came with your Pioneer. If need be, remove the two
front-most screws that hold the front sonar array to the Console Plate. Then line up the three screw holes on
the mounting plate on the bottom of the PTZ camera with those two frontmost screw holes and with the one
screw hole just in front of the access plug in the middle of the Top Plate. Insert the screws that came with the
PTZ Camera and fasten tightly.
Power/Signal Cables and Connectors
Came with Robot
If your PTZ camera came with your new Pioneer 2—with or without the optional Surveillance Video or
Fast Track Vision System—the signal, power, and VISCA control cabling, and optional Video/FTVS Side
Panel already should be attached. They need only to be plugged in.
Cabling for the installed PTZ camera should be hanging loosely out of the access plug in the center of the
robot's Top Plate. Insert the yellow-tipped power plug into the camera's DC IN socket; the RCA-style plug
into the yellow VIDEO OUT socket; and the 8-pin mini-DIN plug into the VISCA IN socket. All done.
Page 8

4
FTVS/Video Side Panel
If you purchased your PTZ Camera sometime after you had received your robot, and depending on the
optional video or vision package, you may have to install the FTVS/Video Side Panel (Figure 2-2).
Figure 2-2. FTVS/Video Side Panel
Using the hex wrenches that came with your robot, remove the blank side panel from the left side of your
Pioneer 2 (four screws; save them). Also, with strong fingertips or aided by a flat-bladed screwdriver, pry up
and remove the access plug from the center of the Pioneer 2 Top Plate (Figure 2-1).
Carefully feed all the FTVS/Video Side Panel cabling through the panel hole and up through access portal
that you just unplugged. Screw mount the new side panel and attach the cables as described in the section
above.
Serial Communications
External control of the PTZ Robotic Camera occurs through its serial VISCA port. We provide cabling
and software support so that when connected to the auxiliary (AUX) serial communication port on the
microcontroller, you may send control commands along Pioneer 2's normal serial control channel (HOST)
through P2OS, thereby enabling client-side camera control. Currently, communications along that channel is
only one-way.
You may also connect the PTZ Robotic Camera to another serial port for external control by the onboard
computer or laptop, for instance.
Testing the Connections
Switch on the PTZ Robotic Camera, as well as the MAIN POWER of the Pioneer 2 Mobile Robot. The
camera should run through a pan and tilt initialization cycle while the robot starts its systems.
With a separate cable, plug into the RCA Video signal connector 1 or 2 on the side panel and the other
end into a NTSC or PAL (respective of the camera) monitor. You should see a full-color image. Use the
hand-held controller that comes with the camera to test the pan, tilt, and zoom features.
The ptzsys software comes with a ptzdemo.act Colbert activity. It needs to be installed with a version of
Saphira 6.1e or later (see following sections of this manual). When executed, it exercises the camera via a
shared Saphira library.
Page 9

5
PTZ System Software
The PTZ Robotic Camera comes with software support for controlling the pan, tilt, and zoom features of
the camera through the Pioneer 2 Operating System (P2OS). In addition, we provide C-language-based
libraries and source code for integration of the PTZ System with your Pioneer client applications.
PTZ P2OS Commands
Integrated control of the PTZ Robotic Camera happens through a single P2OS command with a string
argument containing camera commands. P2OS automatically packages the argument and shunts it through
the AUX serial port on the Pioneer 2 microcontroller to the VISCA Input port of the camera. Currently,
communications is one-waycommand-onlythere is no way to verify camera position or to take
advantage of the camera's built-in tracking algorithms through P2OS.
The P2OS command number is 42 followed by a string argument which comprises the camera control
command. A complete list of Sony VISCA control commands for the PTZ Robotic Camera (D30/31) can be
found through:
http://www.sony.co.jp/soj/BizPartners/ISP/dtp
See the Pioneer 2 Operation Manual for P2OS command formats.
Client Software Installation
The PTZ client-side software (ptzsys) works with the Saphira robotics applications development
environment, version 6.1e or later. Consult the included header and source files for guidelines on integration
of the embedded P2OS commands with your own programs.
WIN32 Systems
Download from the online website or locate on the included 3.5-inch diskette the ptzsys.EXE file to
your boot Windows95 or NT disk. Double-click the program icon to execute the self-extracting archive of
PTZ System programs and files. Choose the top-level directory where you have previously installed Saphira;
C:\Saphira\ver61, for example.
These are the WIN32 files when extracted relative to the Saphira top-level path ($SAPHIRA):
$SAPHIRA\path Description
colbert\ptzsys.dll
\ptzdemo.act
devices\ptzsys\ptzsys.c
\ptzsys.mak
Saphira/Colbert shared library
Colbert activity demo
Shared library source file
DLL makefile (MS VC++4.x)
Linux/Unix Systems
Download from the online website the ptzsys_system.tgz file that matches your computer. Copy the tar
and compressed archive file the top-level directory where you have previously installed Saphira;
/usr/local/Saphira/ver61, for example. Then uncompress and untar the files. For example,
% uncompress ptzsys_sunos.tgz
% tar -xvf ptzsys.tar
or simply
% tar -zxvf ptzsys.tgz
Page 10

6
These are the Linux/Unix files when extracted relative to the Saphira top-level path ($SAPHIRA):
$SAPHIRA/path Description
colbert/ptzsys.so
/ptzdemo.act
devices/ptzsys/ptzdoc.c
/makefile
Shared object library for Saphira/Colbert
Colbert demo of PTZ software
Shared library source file
Library makefile
PTZ with Saphira
The Saphira C-language-based application development environment automatically manages Pioneer
communications and P2OS command packets. The PTZ System software includes Saphira functions and
related arguments to create Saphira-mediated client applications for control of the PTZ Robotic Camera
(Table 3-1). Inspect the $(SAPHIRA)/devices/ptzsys/ptzsys.c source file for details.
Table of Saphira PTZ System Functions
void sfPTZCamInit(void)
void sfPTZCamPan(int deg)
void sfPTZCamTilt(int deg)
void sfPTZCamPanTilt(int pan, int tilt)
void sfPTZCamZoom(int val)
Initialize the camera and reset to center
Pan to an absolute position +-95 degrees
Tilt to an absolute position +-20 degrees
Pan and tilt to an absolute position
Zoom to 0 (longest) - 1023 (closest)
PTZ with Colbert
To use the PTZ System software with your Saphira clients and interactively through the Colbert
command window, load the shared PTZ System object library into the Colbert interpreter that comes with
Saphira versions 6.1 and later. With Linux/Unix systems, the shared library is called ptzsys.so; it's called
ptzsys.dll for use with Windows95/98 and WindowsNT. They are kept in the $(SAPHIRA)/colbert
directory of Saphira.
To use the Saphira commands listed in the Table above from the Colbert command line or from within a
Saphira client program, first start up the Saphira client. Then, either draw down the Saphira File menu and
select to load the shared library, or give the Colbert direct command:
> load ptzsys.dll
or
> load ptzsys.so
The following is ptzdemo.act example Colbert program that exercises the PTZ camera. To run it, simply
load it from the Saphira colbert/ directory. It automatically loads the ptzsys.so (or .dll) library of commands
and starts itself.
/* First load the basic PTZ functions */
load ptzsys;
act PTZDemo()
{
if (!sfIsConnected){ /* Are we connected? */
sfMessage("Connect with Pioneer. I'll do the rest...");
waitfor(sfIsConnected);
}
sfMessage("Starting up the camera ...");
sfPTZCamInit();
wait 20;
sfMessage("Pan clockwise ...");
sfPTZCamPan(95);
wait 20;
sfMessage("Pan counter-clockwise ...");
Page 11

7
sfPTZCamPan(-95);
wait 20;
sfMessage("Tilt up ...");
sfPTZCamTilt(20);
wait 20;
sfMessage("Tilt down ...");
sfPTZCamTilt(-20);
wait 20;
sfMessage("Reset and zoom in ...");
sfPTZCamPanTilt(0,0);
wait 10;
sfPTZCamZoom(1023);
wait 20;
sfMessage("Zoom out ...");
sfPTZCamZoom(0);
wait 20;
sfMessage("Bye!");
}
/* Here's where ptzdemo begins... */
start PTZDemo; /* Run the demo */
Page 12

8
Appendix A
Sony D30/31 Camera Specifications
Image Sensor 1/3" IT CCD
Effective Pixels 768(H) x 494(V) NTSC; 752(H) x 585(V) PAL
Horizontal Resolution 460 TV lines NTSC; 450 TV lines PAL
Vertical Resolution 350 TV lines NTSC; 400 TV lines PAL
Lens 12X Zoom, f=5.4 - 64.8 mm; F=1.8 - 2.7
Angle of View (H) 48.8 degrees (wide angle) - 4.3 degrees (telephoto)
Angle of View (V) 37.6 degrees (wide angle) - 3.3 degrees (telephoto)
Minimum illumination 7 lux / F1.8
Pan Angle +-100 degrees; max 80 degrees / second
Tilt Angle +-25 degrees; max 50 degrees / second
Weight 1,200 g
Page 13

9
Warranty & Liabilities
Your Pioneer is fully warranted against defective parts or assembly for one year, and the PTZ System for
90 days after it is shipped to you from the factory. This warranty explicitly does not include damage from
shipping or from abuse or inappropriate operation, such as if the robot is allowed to tumble or fall off a ledge,
or if it is overloaded with heavy objects.
The developers, marketers, and manufacturers of Pioneer shall bear no liabilities for operation and use of
the robot or any accompanying software and accessories except that covered by the warranty and period. The
developers, marketers, or manufacturers shall not be held responsible for any injury to persons or property
involving the Pioneer Mobile Robot in any way. They shall bear no responsibilities or liabilities for any
operation or application of the robot, or for support of any of those activities. And under no circumstances
will the developers, marketers, or manufacturers of Pioneer take responsibility for support of any special or
custom modification to Pioneer or its software.
Page 14

44 Concord Street
Peterborough, NH 03458
(603) 924-9100
(603) 924-2184 fax
http://www.activmedia.com/robots
 Loading...