

Page 1

PIONEER CORPORATION 4-1, Meguro 1-Chome, Meguro-ku, Tokyo 153-8654, Japan
PIONEER ELECTRONICS (USA) INC. P.O.Box 1760, Long Beach, CA 90801-1760 U.S.A.
PIONEER EUROPE NV Haven 1087 Keetberglaan 1, 9120 Melsele, Belgium
PIONEER ELECTRONICS ASIACENTRE PTE.LTD. 253 Alexandra Road, #04-01, Singapore 159936
C PIONEER CORPORATION 2002
K-ZZB. MAY 2002 Printed in Japan
ORDER NO.
CRT2865
AV REMOTE CONTROL
CD-R10 UC, EW
CD-R10/UC
SAFETY INFORMATION
CAUTION
This service manual is intended for qualified service technicians; it is not meant for the casual do-it-yourselfer.
Qualified technicians have the necessary test equipment and tools, and have been trained to properly and safely repair
complex products such as those covered by this manual.
Improperly performed repairs can adversely affect the safety and reliability of the product and may void the warranty.
If you are not qualified to perform the repair of this product properly and safely, you should not risk trying to do so
and refer the repair to a qualified service technician.
W
ARNING
This product contains lead in solder and certain electrical parts contain chemicals which are known to the state of
California to cause cancer, birth defects or other reproductive harm.
Health & Safety Code Section 25249.6 - Proposition 65
Page 2
1
2
3
1
234
12
34
F
E
D
C
B
A
CD-R10/UC
EXPLODED VIEWS AND PARTS LIST
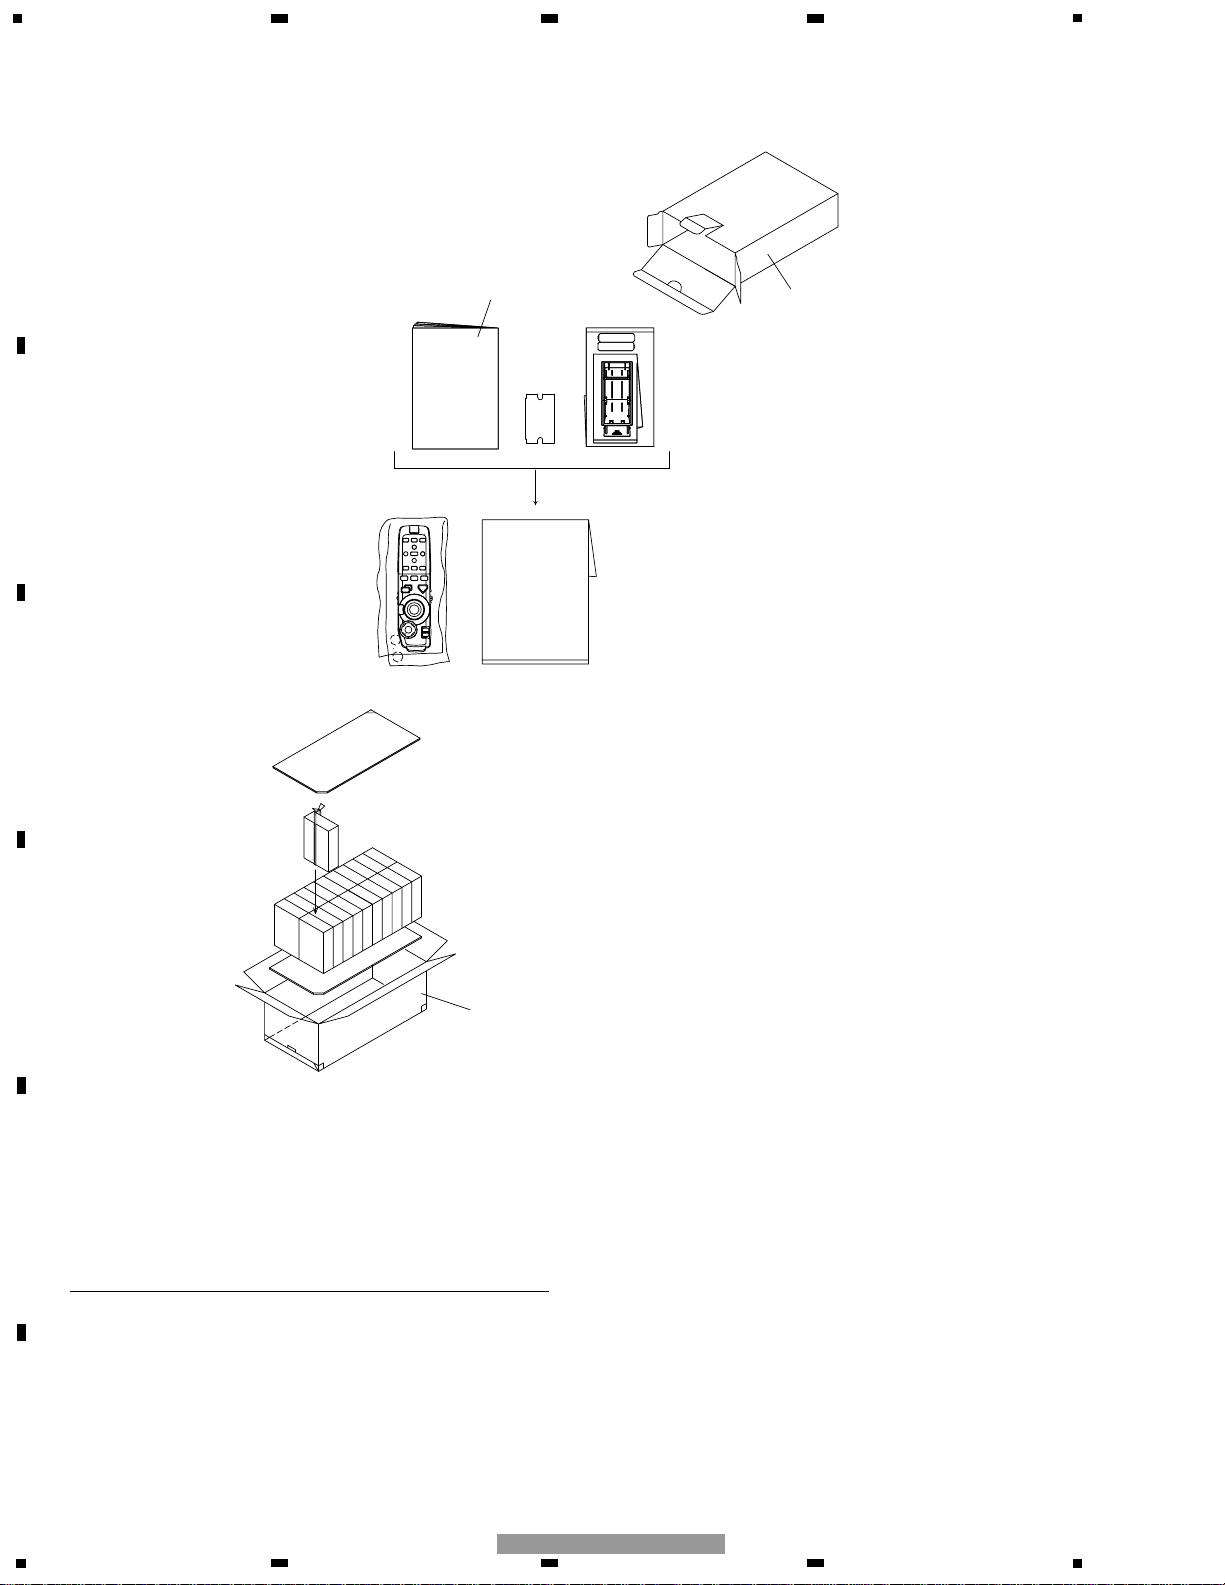
PACKING
1 Carton (CD-R10/UC) CZH5149
Carton (CD-R10/EW) CZH5148
2 Owner's Manual CZR3089
(English, French, Spanish,
German, Dutch, Italian)
3 Contain Box (CD-R10/UC) CZH5151
Contain Box (CD-R10/EW)CZH5150
Mark No. Description Part No.
- PACKING SECTION PARTS LIST
NOTE:
- Parts marked by “*” are generally unavailable because they are not in our Master Spare Parts List.
- Screws adjacent to ∇ mark on the product are used for disassembly.
- For the applying amount of lubricants or glue, follow the instructions in this manual.
( In the case of no amount instructions, apply as you think it appropriate.)
Page 3

3
5
6
7
8
F
E
D
C
B
A
5
6
7
8
CD-R10/UC
EXTERIOR
1 3D View Stick CZA5082
2 Cover (CD-R10/UC) CZN5437
Cover (CD-R10/EW) CZN5436
3 Scroll Stick CZA5047
Mark No. Description Part No.
- EXTERIOR SECTION PARTS LIST
Page 4

4
1
234
12
34
F
E
D
C
B
A
CD-R10/UC
2
6
0
5
7
9
@
!
3
4
8
1
&*(
⁄
¤
›
‹
)
#
$
%
^
6
Fig. 1
Fig. 2
Fig. 3
OPERATIONS AND SPECIFICATIONS
Page 5

5
5
6
7
8
F
E
D
C
B
A
5
6
7
8
CD-R10/UC
Specifications
Power source ............................................................. 3 V DC
(Alkaline battery: UM-4, LR03 1.5 V) (2 pcs.)
Dimensions (W × H ×D) .......................... 38 ×146 × 30 mm
(1-1/2 × 5-3/4 ×1/8 in.)
Weight .............................................. 80 g (including battery)
(0.2 lbs)
Wavelength .................................................. 940 nm ±50 nm
Output ................ typ; 12 mw/sr per Infrared (2 LEDs used)
Note:
• Specifications and the design are subject to possible modification without notice
due to improvements.
About Operation mode switch (Fig. 3)
Using the Remote Control, you can switch to operate either the Navigation System,
the DVD/CD, or Pioneer Head Unit (including AV master unit and AV receiver). If
switching the operation mode, the function of each button on the Remote Control is
also switched. For details concerning function changes for each button, refer to the
pertinent Keyfinder for your settings.
When the Operation Mode switch is ...
“NAVI” “AUDIO” “DVD”
Setting A
Keyfinder 1 Keyfinder 2 Keyfinder 2
Setting B
Setting C
Keyfinder 1 Keyfinder 3 Keyfinder 2
Setting D
NAVIGATION Operation (Keyfinder 1) (Fig. 1, Fig. 2)
1Transmitter
Signals of the Remote Control are transmitted from here.
2NEXT/PREV control
You use the scale control to enlarge or reduce the displayed map. When you move
the scale control downwards, the scale of the displayed map is enlarged and a more
detailed map is displayed. Conversely, moving it upwards reduces the displayed
map, and a wider area is displayed. In menus, when a list is longer than one screen,
this control is used for indicating the next screen or previous screen.
3Control stick and PLAY/PAUSE button (TALK button)
You use the TALK button to start voice recognition, allowing you to command the
Navigation System by speech. When a voice command is given, you can cycle
through possible matches by clicking down this button.
4Joystick/OK button
Use the joystick to select items in the display and to scroll the map. The joystick is
also the OK button; simply press it to select a location on the map or an option displayed on the screen.
Used as the joystick:
Directions of movements indicated by arrows are possible.
Used as the OK button:
Press straight down.
5BACK button
While using a menu, pressing this button cancels the present operation and returns
you to the previously displayed menu or list.
6Operation mode switch
Changes the remote control’s mode.
7VOL dial
When you turn the dial downwards, the volume decreases. Turning it upwards
increases the volume.
When the Dipswitch 4 is OFF, the volume of the voice guidance of the Navigation
System is adjusted.
When the Dipswitch 4 is ON, the volume of Pioneer Head Unit is adjusted. If the
dial is pressed, the volume is reduced to around 1/10th of the volume (ATT function). When pressed again, the volume returns to its previous level.
8MENU (NAVI) button
You press this button to view the map or return to guidance. Also, when the map is
scrolled, pressing this button returns to the display of the map of your surroundings.
9TOP MENU (MENU) button
Pressing this button displays a menu of options.
07 (DETOUR) button
Press this button to restart route calculation, such as calculating a detour. If this button is pressed for more than two seconds, you can see the information (passing roads
and driving distance, and so on) of the route down which you are currently being
guided.
!e (CANCEL ROUTE) button
Press this button to cancel the route guidance. When pressed for more than two seconds, the next via point is recognised as already being passed, and a new route calculation starts.
@E (GUIDE) button
Press this button if you want to hear the voice guidance again. If this button is
pressed for more than two seconds, you can listen to traffic information on your
route (where available).
#Numeric keypad
You use this pad for entering characters or numbers.
$AUDIO [¶] button
Not used.
%SUB.T (DELETE) button
Press to delete the character you just entered. If you press this button for more than
two seconds, all the characters entered will be deleted.
^ANGLE (OK) button
This works in the same way as “OK” on the text palette.
&PGM (DVD POWER) button
Function is preset for each source as shown below. Sources not shown below do not
feature this function. (Depending on the component, you can change the
Preprogram. For details, refer to the Head Unit’s instructions.)
Not effective with NAVIGATION built-in sources.
CD (one disc only), Multi-CD player, DVD player (one disc only), Multi-DVD player: PAUSE
TUNER: BSM (Press for 2 seconds or more)
TV: BSSM (Press for 2 seconds or more)
External unit: FUNC1
*V (V.SEL) button
Switches the display to the desired indications. Use to switch between Navigation
map displays and audio component displays.
(SRC (SOURCE) button
Switches between sources and switches power ON/OFF.
(Depending on the connected units, operation may differ slightly. Refer to
“Switching Sources” in the connected unit’s instructions.)
)Cross Key 2, 3, 5, ∞ buttons
Use to skip CD tracks, perform preset tuning with the tuner, and select items indicated in the display.
⁄AUDIO (A.MENU) button
Displays audio menus.
Setting C: Not used.
¤FUNC/BACK button
Setting A: Returns you to the previous display.
Settings B and D: Display function menus.
Setting C: Not used.
‹DISP button
If, for example, you use this product with a Multi-CD player, when playing a CD
TEXT disc you can enjoy display of the CD title and other information.
›BAND/ESC button
This functions as the BAND button when using different sources. It also cancels the
menu you are viewing, and returns you to the original display.
Page 6

1
234
12
34
F
E
D
C
B
A
CD-R10/UC
DVD Operation (Keyfinder 2) (Fig. 1, Fig. 2)
1Transmitter
(Same procedure as Keyfinder 1)
2NEXT/PREV control
Use the NEXT/PREV control to move forwards or backwards one chapter (or track).
Use it also for switching the default setting screen.
3Control stick and PLAY/PAUSE button
If you push the control stick up, playback starts. Push the control stick to the left
during playback for fast reverse, and push to the right for fast forward. If there is a
Navigation unit connected, pressing the control stick activates voice operation.
During voice operation, push the control stick down to stop voice operation.
4Joystick/OK button
Use this for selecting items on a menu screen or to confirm a selection.
5BACK button
Use this button to move back to a previous screen in a default setting screen.
6Operation mode switch
(Same procedure as Keyfinder 1)
7VOL dial
(Same procedure as Keyfinder 1)
8MENU button
When the DVD is played, the route menu stored on the DVD is shown. When the
DVD is stopped, the default setting screen appears.
9TOP MENU button
The main menu stored in DVD is displayed.
07 button
This is used to stop playing.
!e button (XDV-P9, XDV-P9
II only)
During DVD-video playback, press this for frame-by-frame reverse.
@E button
During DVD-video playback, press this for frame-by-frame ahead.
#Numeric keypad
Use this keypad for entering numbers such as chapter numbers. This is used when
canceling numbers entered such as chapter numbers.
$AUDIO [¶] button
This button is used to select the sound track.
%SUB.T (DELETE) button
This button is used for switching the subtitles on or off.
^ANGLE (OK) button
This button is used for changing the angle.
&PGM (DVD POWER) button
Switches DVD player power ON/OFF. (Except Navigation with built-in DVD player.)
*V (V.SEL) button
(Same procedure as Keyfinder 1)
(SRC (SOURCE) button
(Same procedure as Keyfinder 1)
)Cross Key 2, 3, 5, ∞ buttons
When the Setting is B, or the Settings are C and D and switch 3 is OFF:
These are used when selecting items such as skipping a track of a CD, return to a
previous track, fast-forward or fast-rewind.
When the Setting is A, or the Settings are C and D and switch 3 is ON:
(Same procedure as Keyfinder 1)
⁄AUDIO (A.MENU) button
Display audio menus. You can display the CD Function menu only when the
Operation mode switch is set to “DVD” and you are using the Navigation unit’s
built-in DVD player.
¤FUNC/BACK button
Setting A: Returns you to the previous display.
Settings B and D: Display function menus.*
3
Setting C: Not used.*
3
*3Return you to the previous indications in the CD Function menu only when the
Operation mode switch is set to “DVD” and you are using the Navigation unit’s
built-in DVD player.
‹DISP button
Display an Information Display. Press once more to change the Information Display.
›BAND/ESC button
This functions as the BAND button when using different sources. It also cancels the
menu you are viewing, and returns you to the original display.*
4
*4Returns you to the previous indications in the CD Function menu only when the
Operation Mode switch is set to “DVD” and you are using the Navigation unit’s
built-in DVD player.
AV Master Unit Operation (Keyfinder 3) (Fig. 1, Fig. 2)
When the Dipswitch is set to C or D, and the Operation Mode switch is set to
“AUDIO” again, functions change as shown below, and you can completely control
an AV master unit by remote control.
1Transmitter
(Same procedure as Keyfinder 1)
2NEXT/PREV control
(Same procedure as Keyfinder 2)
3Control stick and PLAY/PAUSE button
(Same procedure as Keyfinder 2)
4Joystick/OK button
(Same procedure as Keyfinder 1)
5BACK (RETURN) button
With the AVM-P9000R, AVM-P8000R:
Use to exit from the Function Menus of different sources and Audio Menus.
With the AVM-P7000R:
Not used.
6Operation mode switch
(Same procedure as Keyfinder 1)
7VOL dial
Enables AV master unit volume adjustment.
8MENU button
Not used.
9TOP MENU button
Display the AV master unit’s main menu icon.
07 (TA) button
Each time you press the TA button, the A function switches ON/OFF.
!e (PTY) button
Setting C*
5
: Switches PTY Search Plate display ON/OFF.
Setting D*
5
: Switches to the PTY Search setting mode.
*
5
West European models only. This function is not featured in North American
models.
@E (RT) button
Setting C*
6
: Switches Radio Text display ON/OFF.
Setting D*
6
: Switches to the Radio Text mode.
*
6
North American models only. This function is not featured in West European
models.
#Numeric keypad
Use the 1–6 buttons for Preset tuning and Disc Number Search.
$AUDIO [¶] button
Not used.
%SUB.T (DELETE) button
Not used.
^ANGLE (OK) button
Not used.
&PGM (DVD POWER) button
(Same procedure as Keyfinder 1)
*V (V.SEL) button
(Same procedure as Keyfinder 1)
(SRC (SOURCE) button
(Same procedure as Keyfinder 1)
)Cross Key 2, 3, 5, ∞ buttons
Use to skip CD tracks and to perform preset tuning with the tuner. (Except
Navigation with built-in DVD player.)
⁄AUDIO (A.MENU) button
With the AVM-P9000R, AVM-P8000R:
Not used.
With the AVM-P7000R:
Display the audio menus.
¤FUNC/BACK button
With the AVM-P9000R, AVM-P8000R:
Not used.
With the AVM-P7000R:
Display the function menus.
‹DISP button
With the AVM-P7000R:
If, for example, you use with a Multi-CD player, when playing a CD TEXT disc you
can enjoy display of the CD title and other information.
With the AVM-P9000R, AVM-P8000R:
Switches to an Information Display. Pressing once more changes the Information
Display.
›BAND/ESC button
This functions as the BAND button when using different sources.
 Loading...