

VOIP841 FIRMWARE UPGRADE PROCEDURE
The last available version on Philips web site is:
V1.0.4.80
1°) Installation for upgrade:
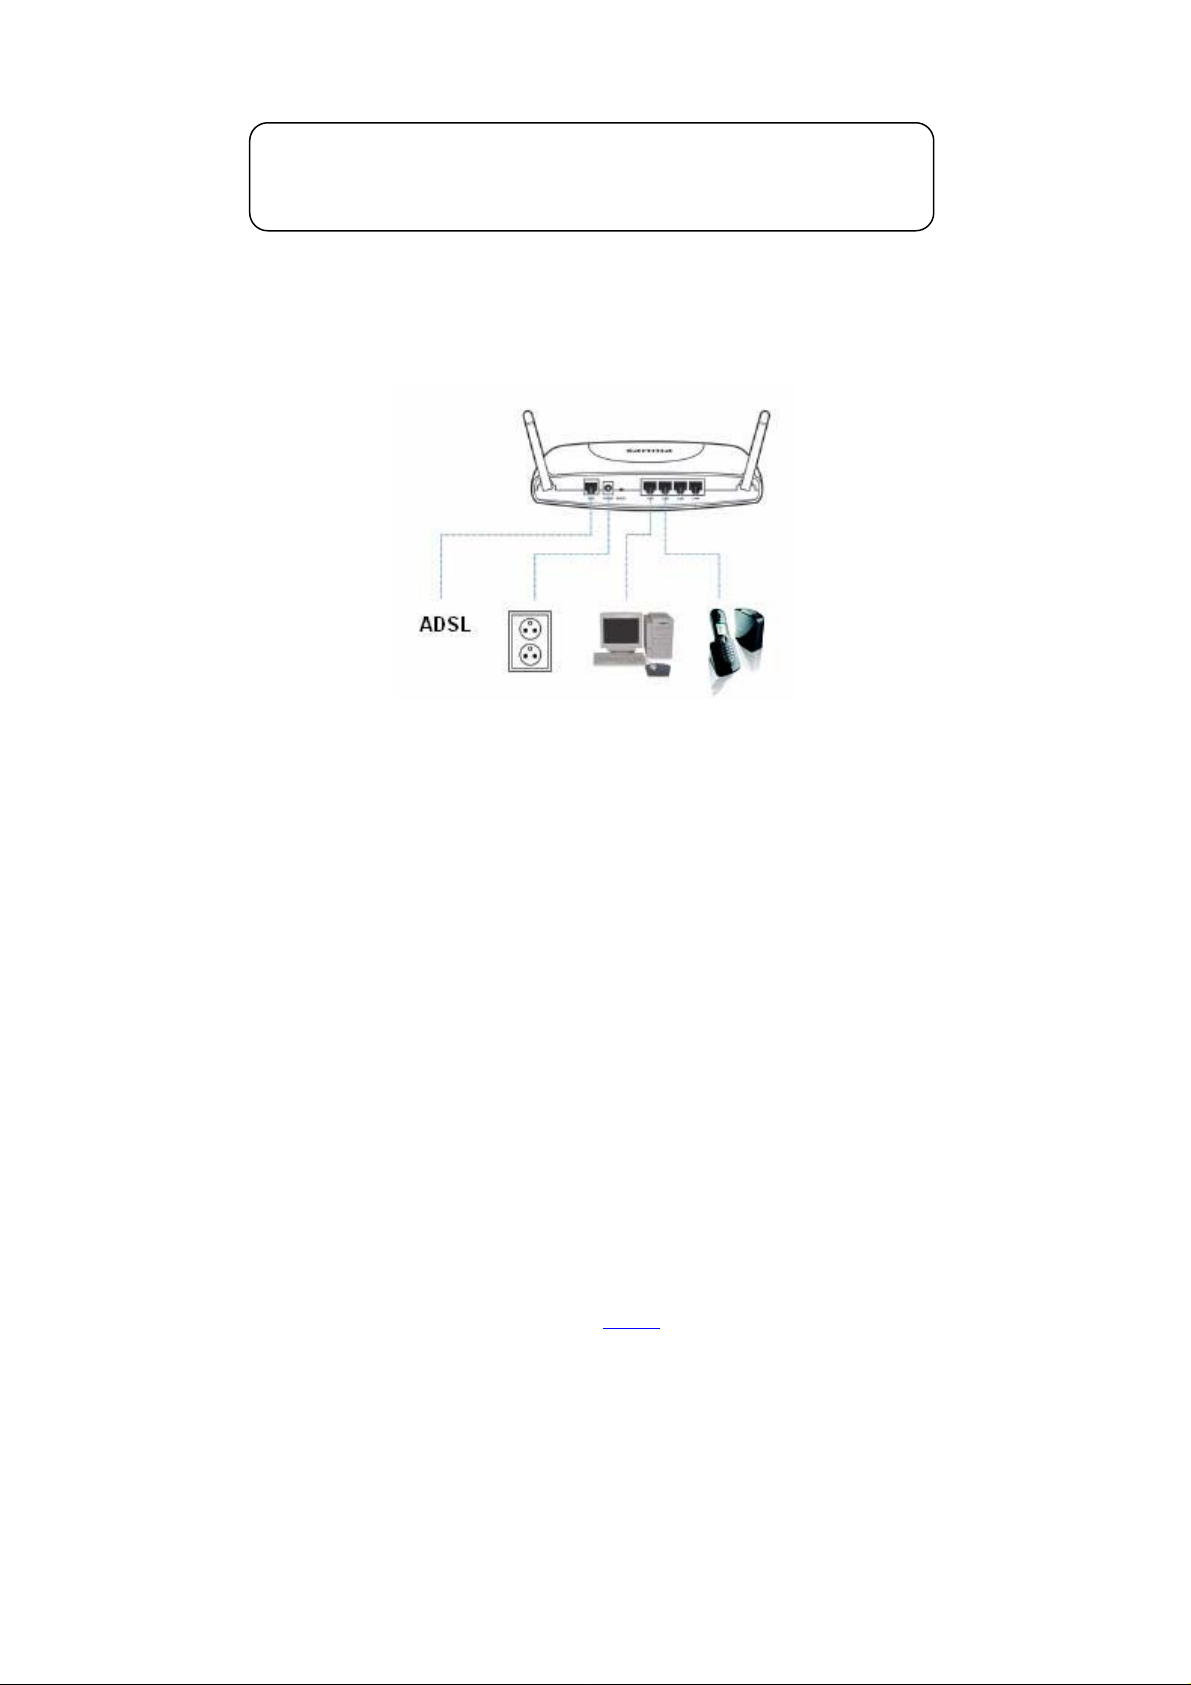
- The Philips VOIP841 must be plug on a router where a PC is already plugged.
- Here under a sample of installation:
- Make sure the Skype application is not active or running on the PC while using the
phone. The Skype PC application might use the same ports as the VOIP841 Phone
does and may conflict with each other.
- With some Router, it can be useful to disable firewall router feature during the
update.
2°) Read my actual VOIP841 version:
- Select on the handset “Menu/Settings/Information” and valid by “Select”.
- The handset display several information among which the Firmware version.
Sample: “Firmware Ver.:1.0.4.10”
3°) Read my actual VOIP841 IP:
- Select on the handset “Menu/Settings/Information” and valid by “Select”.
- The handset display several information among which the IP address.
Sample: “IP address: 192.168.2.3”
4°) Save the last firmware file available on Philips web site:
- Click on the below link, to download the last available Firmware version:
LINK
- Save the downloaded ZIP file under your computer, and then unzip it.
Warning:
Should you encounter any difficulty to open this link, please check your current version of
*
Adobe Acrobat Reader. For an optimal use, we recommend to run the document under
version 7.0 minimum.
If you cannot, or if you do not wish to upgrade your Adobe Acrobat Reader version, please
type in the complete link in your Internet Explorer, to open the document.
5°) Upgrade my VOIP841 Phone:
- Open your web browser (Internet explorer for example) and type in the address bar
the IP address read on §3.
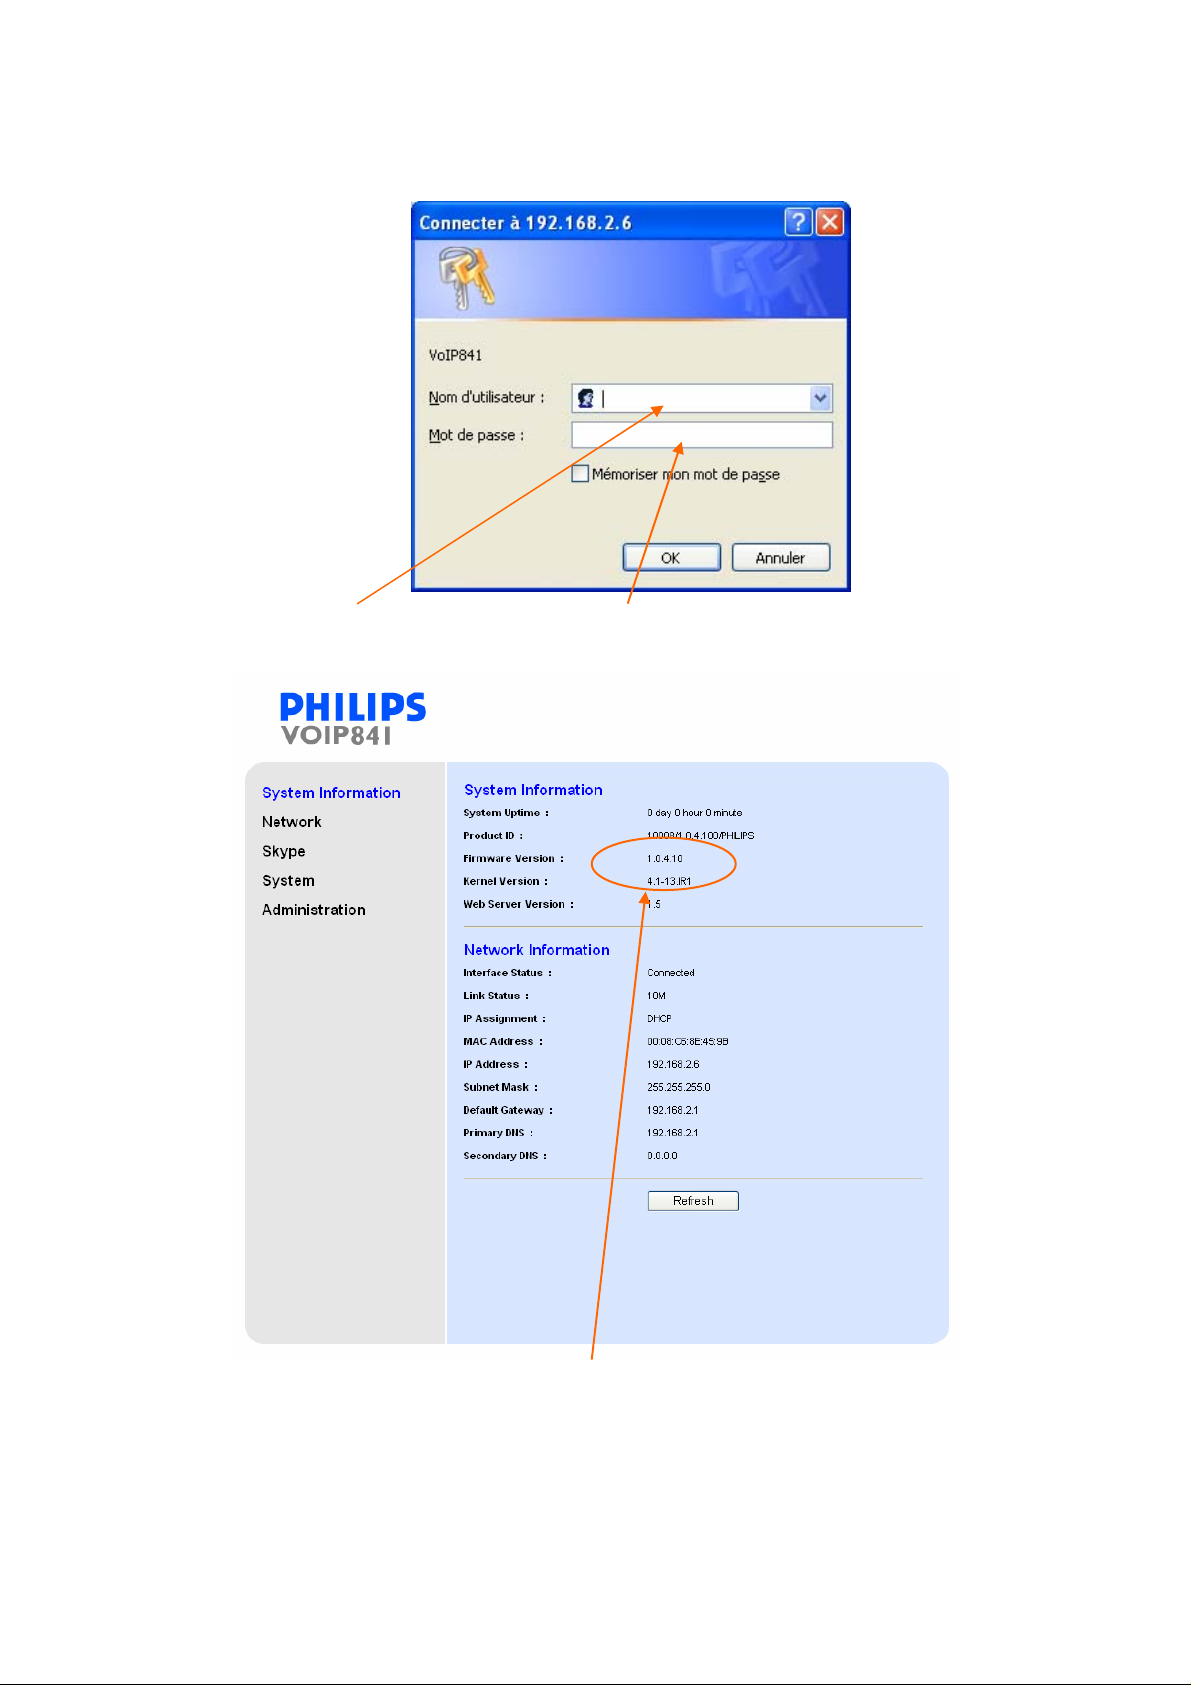
- The following screen should be displayed:
- Enter “philips” as user name and “voip841” as password and validate with OK.
- The following window will be displayed:
- You can also check the current Firmware version on this screen.
- Click on “System” in the menu on the left.
- The following window is displayed:
 Loading...