

Page 1
Life Fitness Models 9000HR, 8500, and T9i Treadmills
r
How To... Replace the DC Controller Assembly
Tools Required: Phillips screwdriver, wire cutters
1. Turn the unit power OFF at the ON/OFF switch, and then
unplug the line cord at the wall outlet.
2. Remove the four Phillips SCREWS securing the MOTOR
COVER to the FRAME. Lift off the motor cover and set it
aside.
3. Remove CABLE TIES along the CROSS FRAME.
4. Remove the four SCREWS from the front of the unit and
lift out the DC CONTROLLER to access the wiring.
5. To ensure correct wiring locations, mark all wiring
connectors on the DC CONTROLLER before removal.
Once all wires are tagged and identified, disconnect
connectors at the back of the DC CONTROLLER.
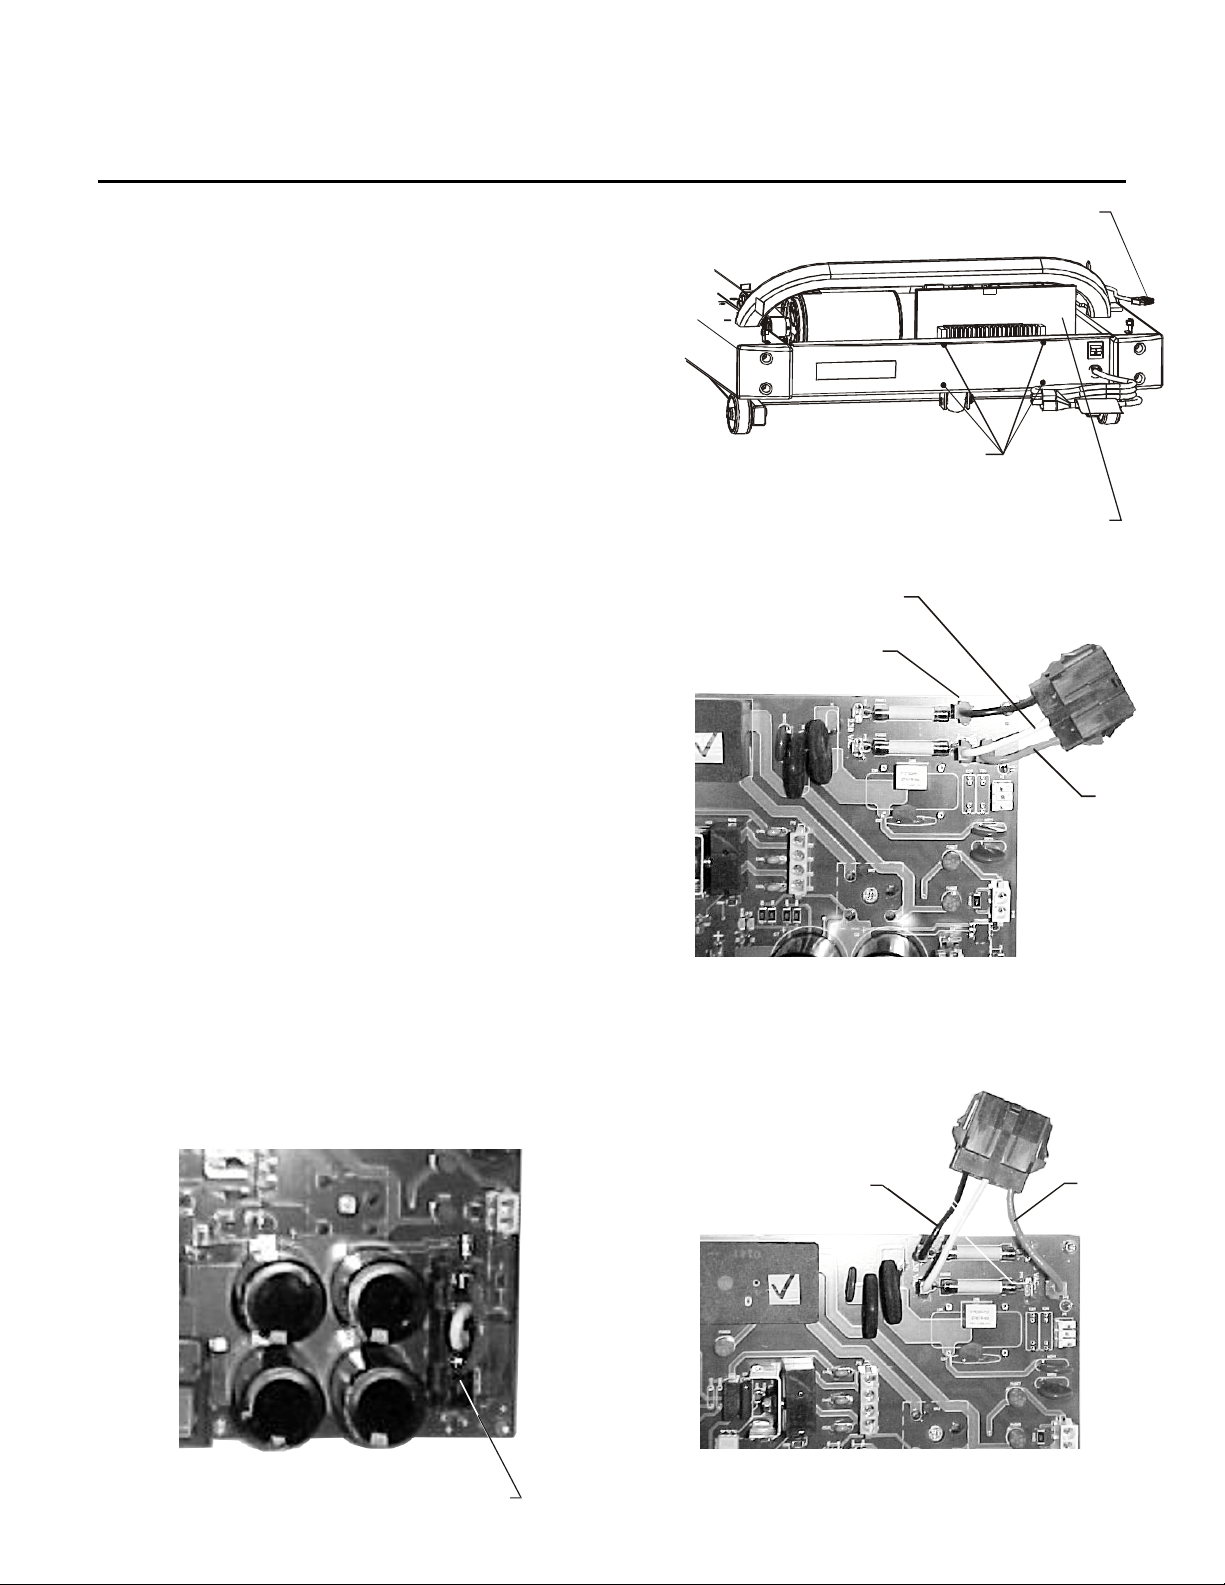
6. Install the provided 120V or 230V POWER / LINE FILTER
CABLE as shown in FIGURES A and B.
7. Install the provided VOLTAGE JUMPER as shown in
FIGURE C.
Note: The New DC Controller will be equipped with a
Cable / Connector instead of a surface mount connector
(P1) found on the previous version. This connector
attaches to the 3-pin connector coming from the treadmills
line filter.
Main Cable
DC Controller
Mounting Screws(4)
DC Controller
White
Black
Green
8. Install the DC Controller Board in reverse order of
removal.
FIGURE A - 100+ Volt Configuration
White
Black
Green
FIGURE C - Voltage Jumpe
FIGURE B - 220+ Volt Configuration
M051-00K60-A017
 Loading...