

Philips SA9200/05, SA9100/05, GoGear SA9100, GoGear SA9200 User Manual
User manual
SA9100
SA9200
Philips GoGear audio player

Need help?
Please visit
www.philips.com/support
where you can access to a full set of supporting materials
such as user manual, flash tutorial, the latest software
upgrades and answers to frequently asked questions.
Or call our Customer Care Helpline,
0906 1010 017 (£0.15/min)
where our professional support team will be pleased to assist
you in solving any issues you may have with your player.
ii

Country Helpdesk Tariff / min Keep ready
Austria
Belgium
Czech Republic
Denmark
Finland
France
Germany
Greek
Hungary
Ireland
Italy
Luxemburg
Netherlands
Norway
Poland
Portugal
Russia
Slovakia
Spain
Sweden
Switzerland
UK
0820 901115
070 253 010
800142100
3525 8761
09 2290 1908
08 9165 0006
0180 5 007 532
0 0800 3122 1223
06 80 018544
01 601 1161
199 404 042
26 84 30 00
0900 0400 063
2270 8250
022 3491504
2 1359 1440
(495) 961-1111
8 800 200-0880
0800004551
902 888 785
08 632 0016
02 2310 2116
0906 1010 017
€0.20
€0.17
Místní tarif
Lokal tarif
Paikallinen hinta
€0.23
€0,12
1 a a
Helyi tarifa
Local tariff
€0.25
Tarification locale
€0.20
Lokal tariff
Cena połączenia
lokalnego
Preço local
по России звонок
бесплатный
Miestna tarifa
€0,15
Lokal kostnad
Ortstarif
£0.15
Das Kaufdatum. Modellnummer und Serial nummer
La date d’achat la référence et le numéro de série du produit
Datum zakoupení, číslo modelu a sériové číslo
Indkøbsdato, type-, model- og serienummer
Ostopäivä ja tarkka mallinumero ja sarjanumero
La date d’achat la référence et le numéro de série du produit
Das Kaufdatum. Modellnummer und Serial nummer
A vásárlás dátuma, modell szám és szériaszám
Date of Purchase. Model number and Serial number
La data di acquisto, numero di modello e numero di serie
La date d’achat, la référence et le numéro de série du produit
De datum van aankoop, modelnummer en serienummer
Datoen da du kjøpte produktet & modellnummer & serienummeret
Data zakupu, Numer modelu i numer seryjny
A data de compra, número do modelo e número de série
Дата покупки, Номер модели и Серийный номер
Dátum zakúpenia, číslo modelu a sériové číslo
Fecha de compra y número del modelo y número de serie
Inköpsdatum, modellnummer och serienummer
Das Kaufdatum. Modellnummer und Serial nummer
Date of Purchase, Model number and Serial number
Canada
USA
0820 901115
(Francophone)
1-888-744-5477
(English / Spanish)
1-888-744-5477
Free
Free
Date of Purchase, Model number and Serial number
Date of Purchase, Model number and Serial number
Argentina
Brazil
Chile
Mexico
11 4544 2047
0800 701 02 03
(Except Sao Paulo)
2121 0203
(Sao Paulo)
600 744 5477
01 800 504 6200
Tarifa local
Grátis
Preço local
Tarifa local
Gratis
Fecha de compra y número del modelo y número de serie
A data de compra, número do modelo e número de série
Fecha de compra y número del modelo y número de serie
Fecha de compra y número del modelo y número de serie
China
Hong Kong
Korea
4008 800 008
2619 9663
02 709 1200
Europe
North America
South America
Asia

iv
2 Your new player
2 Accessories
3 Optional accessories
3 Register your product
4 Getting started
4 Overview of controls and connections
5 Main menu
6 Vertical touch strip navigation
7 Install
8 Connect and charge
8 Use the supplied USB cable
9 Battery level indication
10 Transfer
10 Enjoy
10 Power on and off
11 Demo mode
12 Organize and transfer photos and music with
Windows Media Player 10
12 Music transfer
13 Add songs to Windows Media Player Library
16 Synchronize Windows Media contents with your player
20 Manage your Windows Media Player Playlist
21 Manage your songs and playlists in Windows Media Player
22 Photo transfer
22 Enable photo support
23 Add photos to Windows Media Player Library
23 Transfer photos to your player
Contents

v
Contents
26 Detailed operation
26 Music mode
26 Controls
27 Find your music
28 Album art
29 Play mode
30 Use the Sampler
31 Sound settings
31 Playlist on the go
32 Add songs to playlist on the go
32 Play back playlist on the go
33 Save Playlist on the go
33 Clear playlist on the go
34 Remove songs from Playlist on the go
34 Most played
35 Other playlists
35 Delete playlist from your player
36 Rate your songs
36 Now playing
37 Photos
37 Transfer photos from your computer to your player
38 Transfer photos from your player to your computer
38 Find photos on your player
39 Personal Image
39 Philips Photo Fixer
39 Slideshow
41 Settings
44 Use your player to store and carry data files

vi
45 Upgrade your player
45 Manually verify whether your firmware is up to date
47 Troubleshooting
52 Important safety information
58 Technical data
60 Glossary
Contents

2
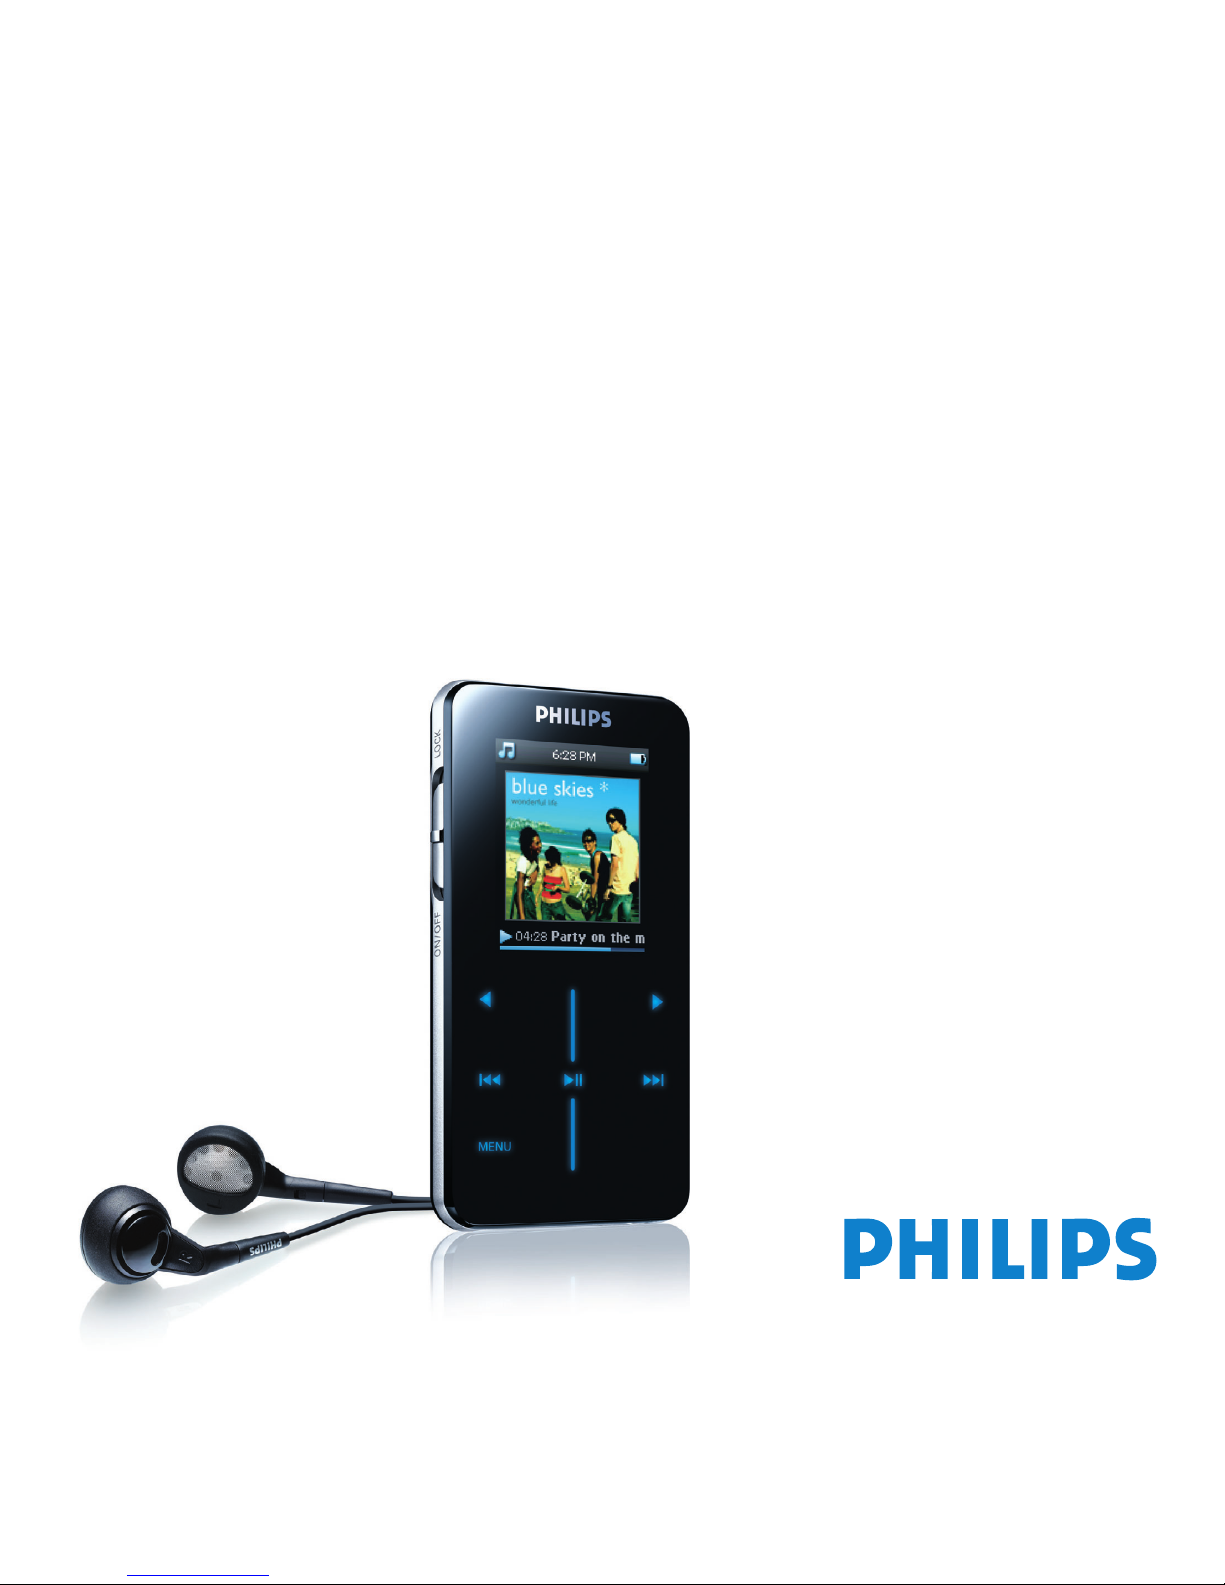
Your new player
With your newly purchased GoGear player, you can enjoy the following:
• MP3 and WMA playback
• Photo viewing
Accessories
The following accessories are included with your player:
USB
cable
Protective
pouch
Quick start guide
CD-ROM containing Windows
Media Player 10, Philips Device
Manager, Philips Device Plug-in,
User Manual, Tutorials and
Frequently Asked Questions
Philips Micro Jukebox
1
2
3
4
SA9100
SA9200
Install
Connect
and charge
Transfer
Enjoy
Quick start guide
Quick start guide 1
Guide de démarrage rapide 11
Guía de inicio rápido 21
Kurzanleitung 31
Handleiding voor snel gebruik 41
Guida di riferimento rapido 51
Snabbguide 61
Hurtig start 71
Nopea aloitus 81
Início rápido 91
qcoqg maqng 101
Быстрый запуск 111
Krótka instrukcja obsługi 121
Rychlý přehled 131
Rýchly prehľad 141
Gyors áttekintés 151
SU
PO
EL
RU
PL
CS
SL
HU
EN
FR
ES
DE
NL
IT
SV
DA
Headphones

3
Optional accessories
The following accessories are not included with your player, but can be bought separately.
You can find them at www.philips.com/GoGearshop (Europe) or www.store.philips.com (US).
Register your product
We strongly recommend that you register your product in order to gain access to free
upgrades. To register your product, please log on to www.philips.com/register or
www.philips.com/usasupport (for US residents) so that we can inform you as soon as new
updates become available.
GoGear travel charger
Multi voltage power adaptor /
charger with various plugs
(PAC011)

4
Getting started
Overview of controls and connections
On/Off/Lock slider
(key lock)
Left/Back key
Rewind/Previous key
Menu key
Reset
Headphone plug
Left Side View Right Side view
Volume Up/Down bar
Right/Select key
Forward/Next key
Play/Pause key
Vertical touch strip
Cable/dock/adaptor
connector
5
Press
ON/OFF LOCK
2;
J(
)K
+ VOLUME -
1
2
Vertical touch strip
MENU
To
Power On/Off (slide down and hold for about 1 second)
Lock all touch control keys (slide up)
Play/Pause songs
Move back to previous song
Fast rewind
Jump to next song
Fast forward
Control volume
Return to previous menu/option
Select option
Go to next option
Scroll through lists
Access list of menu options
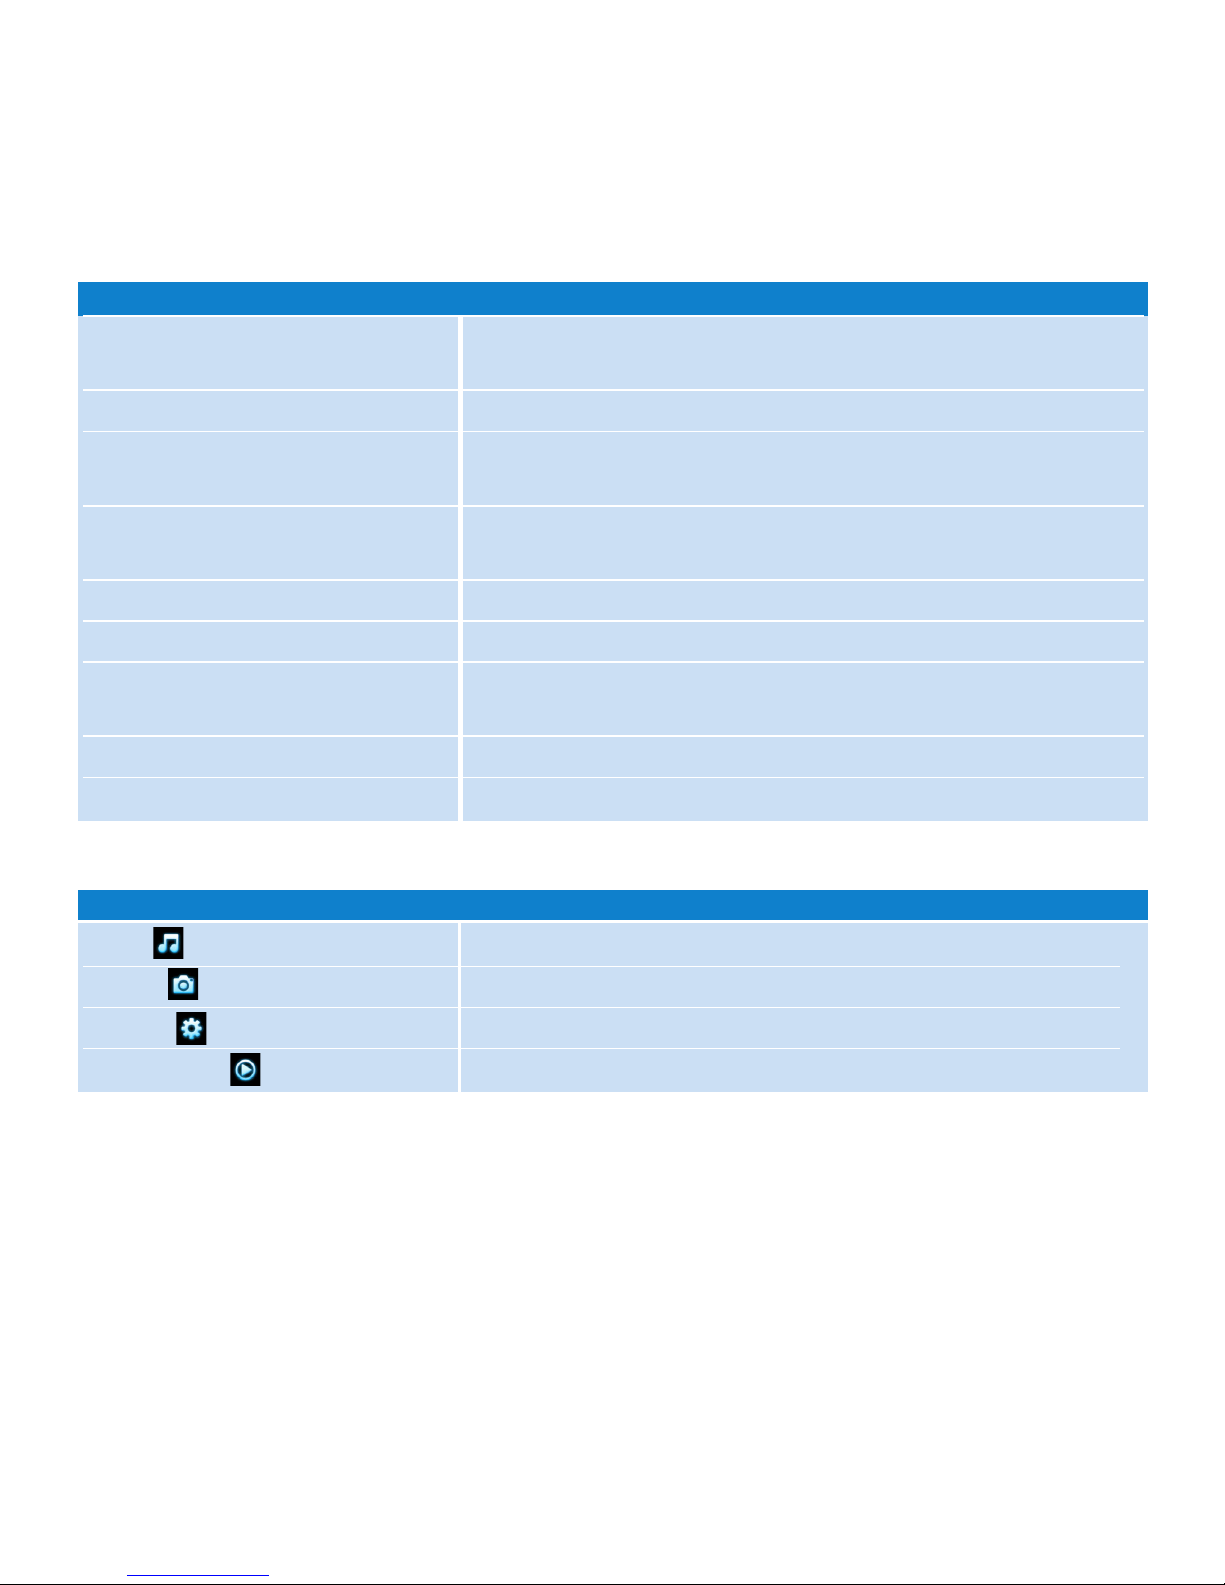
Menu
Music
Picture
Settings
Now Playing
To
Play your digital music tracks
View pictures
Customize the settings of your player
Go to the play screen
Main menu
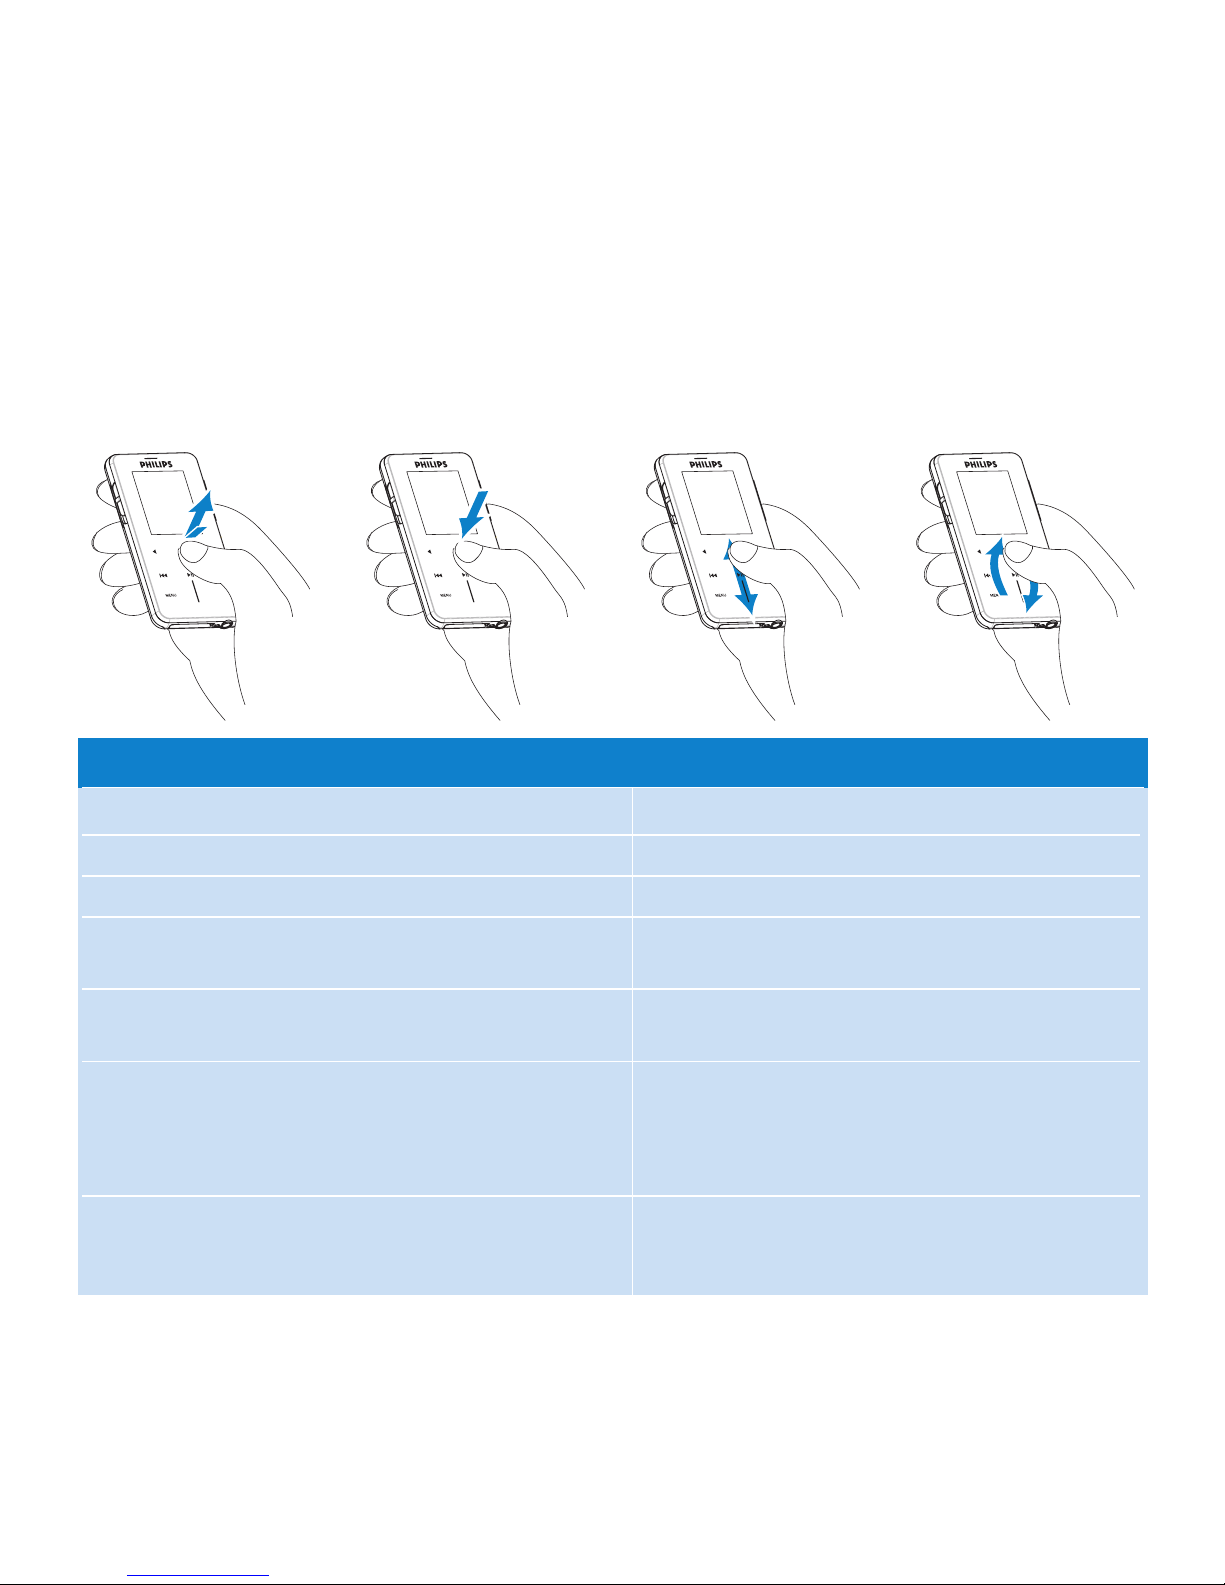
Vertical touch strip navigation
Your player has touch sensitive controls that respond to the touch of your fingers. The
VERTICAL TOUCH STRIP (see picture) is used to scroll through lists. It responds to the
following finger movements.
Action Function
Tap the top or bottom of the strip
Hold on the top or bottom of the strip
Stroke from top to bottom or bottom to top
Swipe up or down
Tap in the middle
Stroke and hold on the end of the strip
Continuous swipe
Move up or down step by step
Scroll through a list at increasing speed
Scroll through list
List will scroll quickly like a wheel (Fly
wheel) and then slow down gradually
To stop list from spinning
To Play/Pause music
Scroll through list at constant speed and
gradually increase the scroll speed. The
scroll speed will decrease and stop when
finger releases.
Add speed to the wheel or maintain the
fast list scrolling speed if maximum
scrolling speed is reached.
6
Tap Hold Stroke
Swipe

7
Install
System requirements:
• Windows XP (SP2 or above)
• Pentium Class 300MHz processor or higher
• 128MB RAM
• 500MB hard disk space
• Internet connection (preferable)
• Microsoft Internet Explorer 6.0 or later
• USB port
1 Insert the CD supplied with your product into the CD ROM drive of your PC.
2 Follow the on-screen instructions to complete the installation of Windows Media Player
(including necessary plug-ins) and Philips Device Manager.
3 If the installation program does not start automatically, browse the CD contents via
Windows Explorer and run the program by double clicking on the file ending with .exe.
Lost your CD? Don’t worry, you can download the CD contents from
www.philips.com/support or www.philips.com/usasupport (for U.S. residents).
IMPORTANT Make sure to install the software supplied in the by-packed CD for music
and photo transfer.

Connect and charge
Your player will be charged when connected to the PC.
Use the supplied USB cable
**Rechargeable batteries have a limited number of charge cycles and may eventually need to be
replaced. Battery life and number of charge cycles vary by use and settings.
Charge your player for at least 5 hours before using it for the first time.
The battery** will be fully charged (100%) in 5 hours and 70% charged in one hour for
quick charge.
The player is fully charged when the charging animation stops and is displayed.
Your fully charged player will allow up to 14 hours** of music playback.
8
Connect the supplied USB cable to PC for charging and data transfer. However, your PC
must have hi-power capability in order to perform charging.
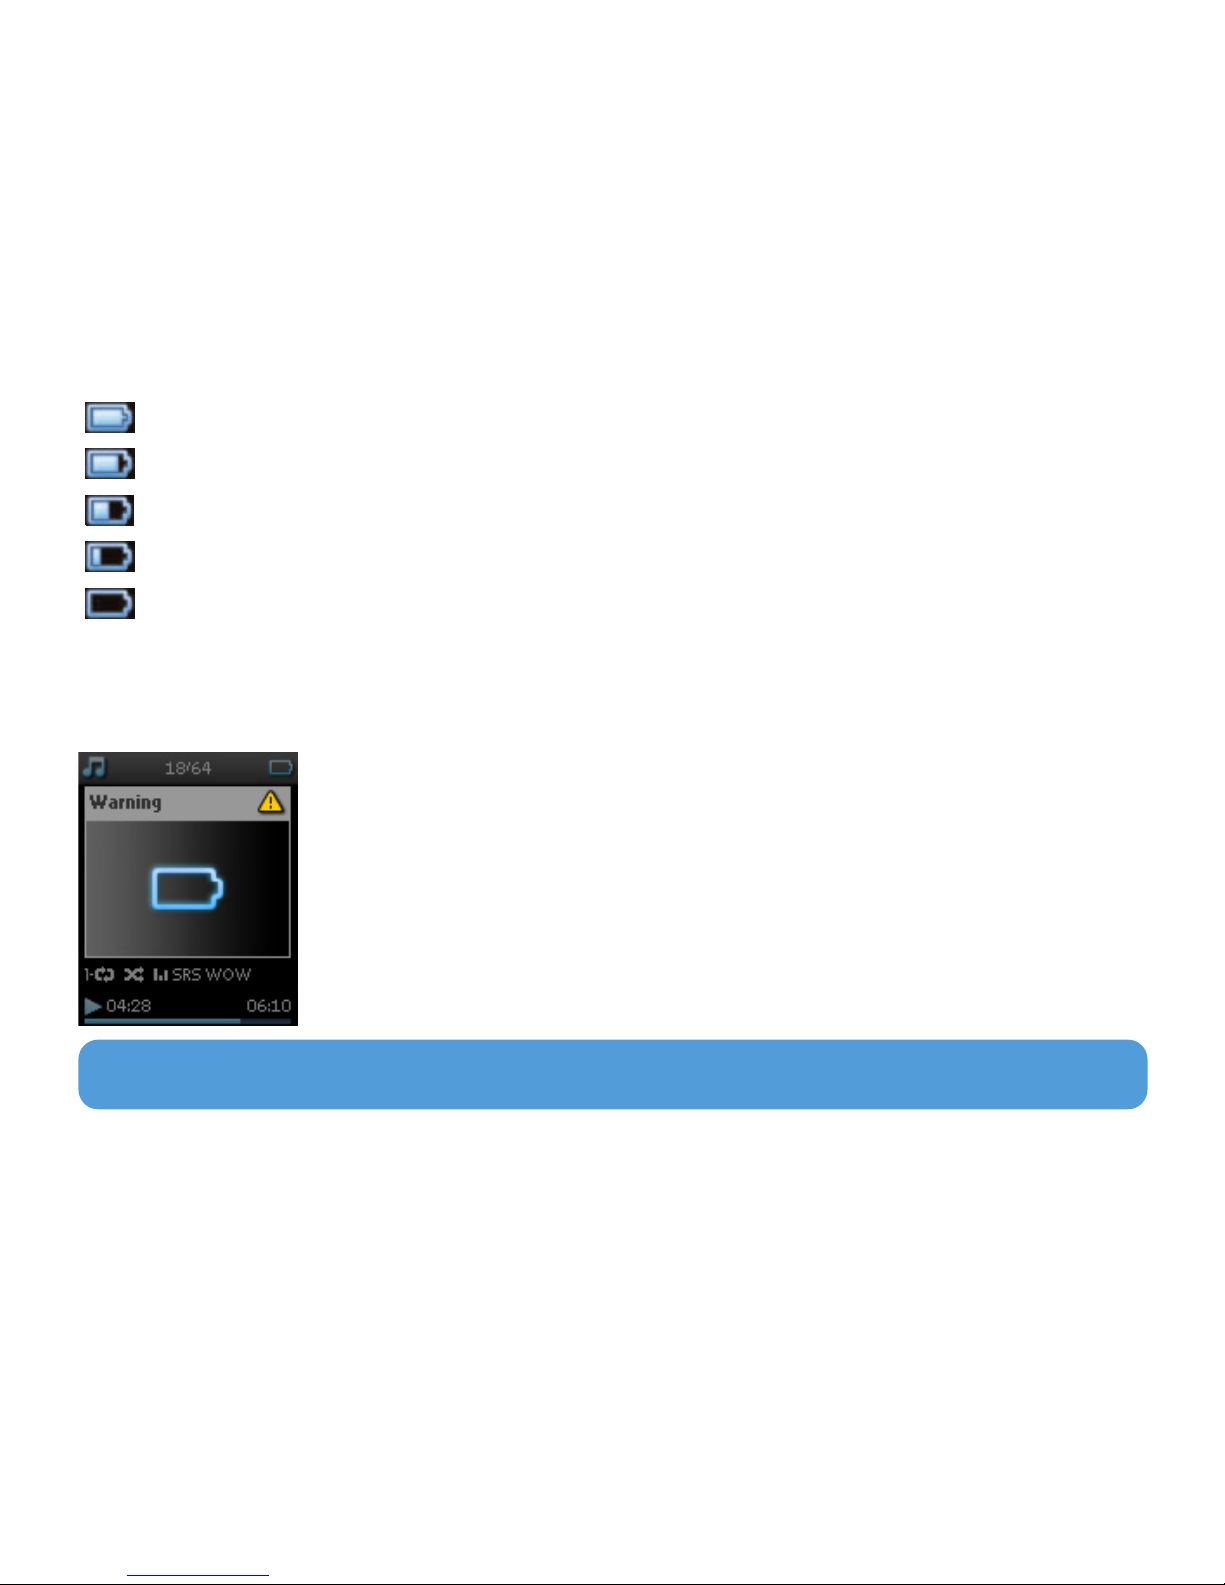
9
When the battery is nearly empty, the following power low warning screen will blink and
emit a beep tone. When you hear a double beep, your player will power down in less than
10 seconds.
All settings will be saved before the player shuts down.
Battery level indication
The approximate power levels of your battery are indicated as follows:
Battery is full
Battery is two-thirds full
Battery is half full
Battery is low
Battery is empty

10
Transfer
You can transfer music and photos to your player using Windows Media Player. See
Organize and transfer photos and music with Windows Media Player 10 section of
this user manual for more details.
Enjoy
Power on and off
Your player automatically powers off if there is no operation or music played for 10
minutes. The last playback status and screen will be resumed the next time it is powered
on unless the player has been powered off for a long period of time or the battery level
was low when the player was powered off.
To power on, slide down and hold ON/OFF LOCK slider to ON/OFF position until the
player powers on.
To power off, slide down and hold ON/OFF LOCK slider to ON/OFF position until the
player powers off.
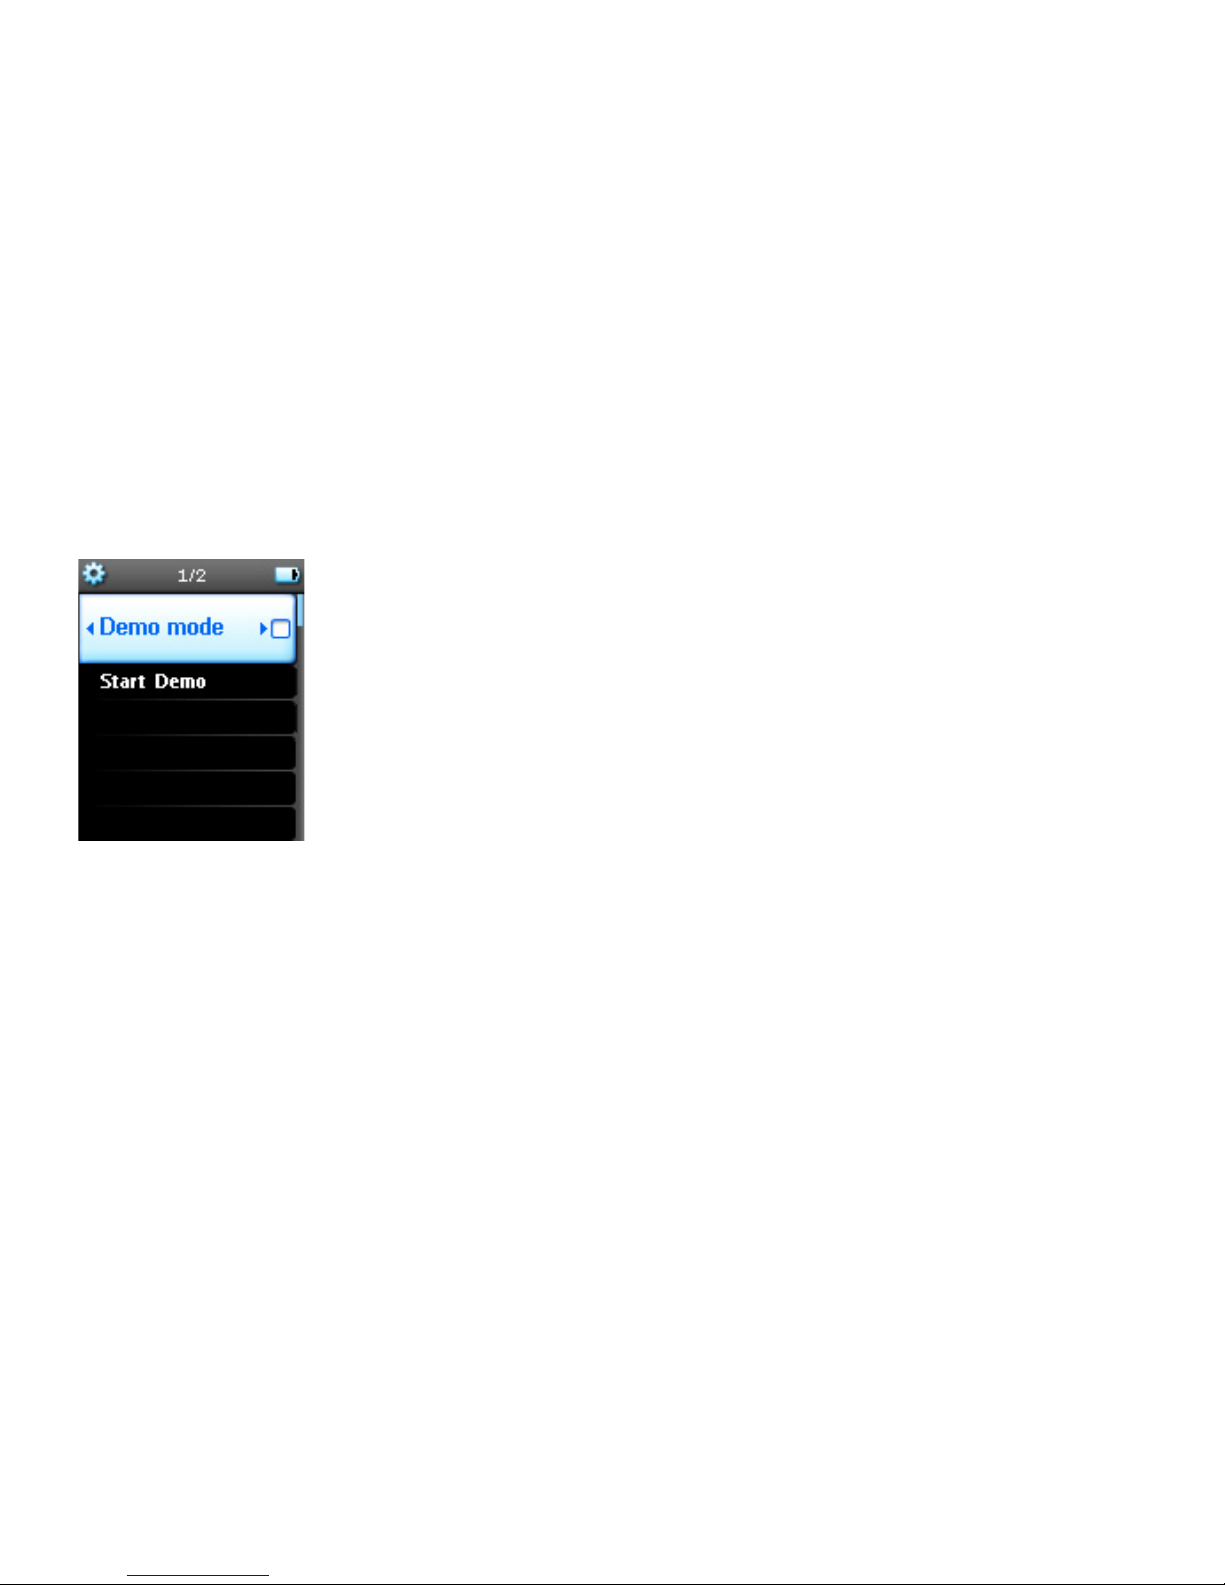
Demo mode
The Demo mode is a screensaver to give you a quick introduction to the product.
You may not need the demo mode after some use or you may prefer not to have the
screensaver to increase your battery lifetime.
The Demo mode can be turned off by accessing the Demo mode under the Settings menu
and unchecking the box as shown.
11

12
This chapter describes the steps that you need to follow to successfully transfer music and
photos to your player. For more information, see Windows Media Player (WMP) Help
on your computer.
Music transfer
You can add songs, organize songs into your playlists and manage your playlist using
Windows Media Player 10.
Organize and transfer photos and music with
Windows Media Player 10
IMPORTANT Make sure you have installed the software provided in the by-packed CD
for music and photo transfer.
TIP We recommend that you always use Windows Media Player to transfer music to
your player. However, if you prefer to use Windows Explorer, always make sure to
copy your music into the Media > Music folder, otherwise the songs will neither show
nor play on your player.
13
2 Select Library tab to access media library
3 Click Add to Library on the bottom left of the screen.
> You can choose to add files from folder, URL, by searching your computer, etc.
4 Select the desired files and add them to the library.
2
3
Add songs to Windows Media Player Library
Songs that are already on your computer
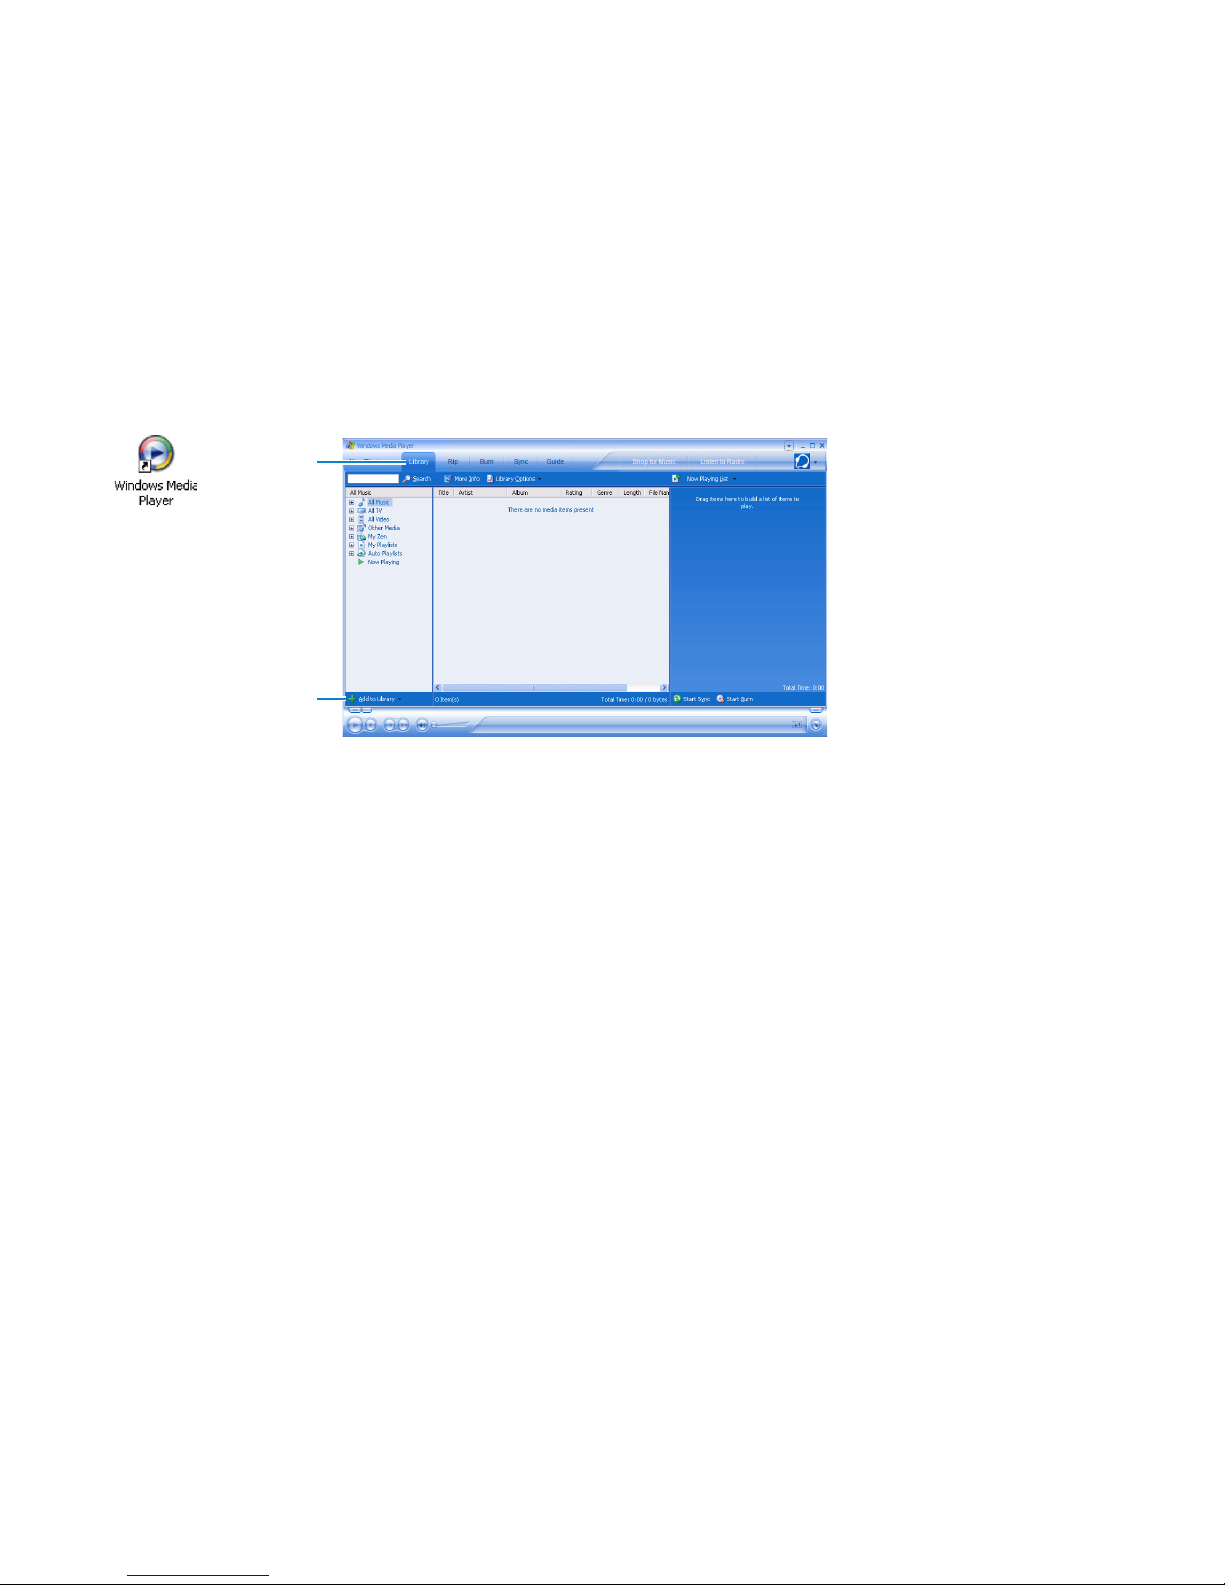
1 Start Windows Media Player by double clicking the following icon on your desktop.
14
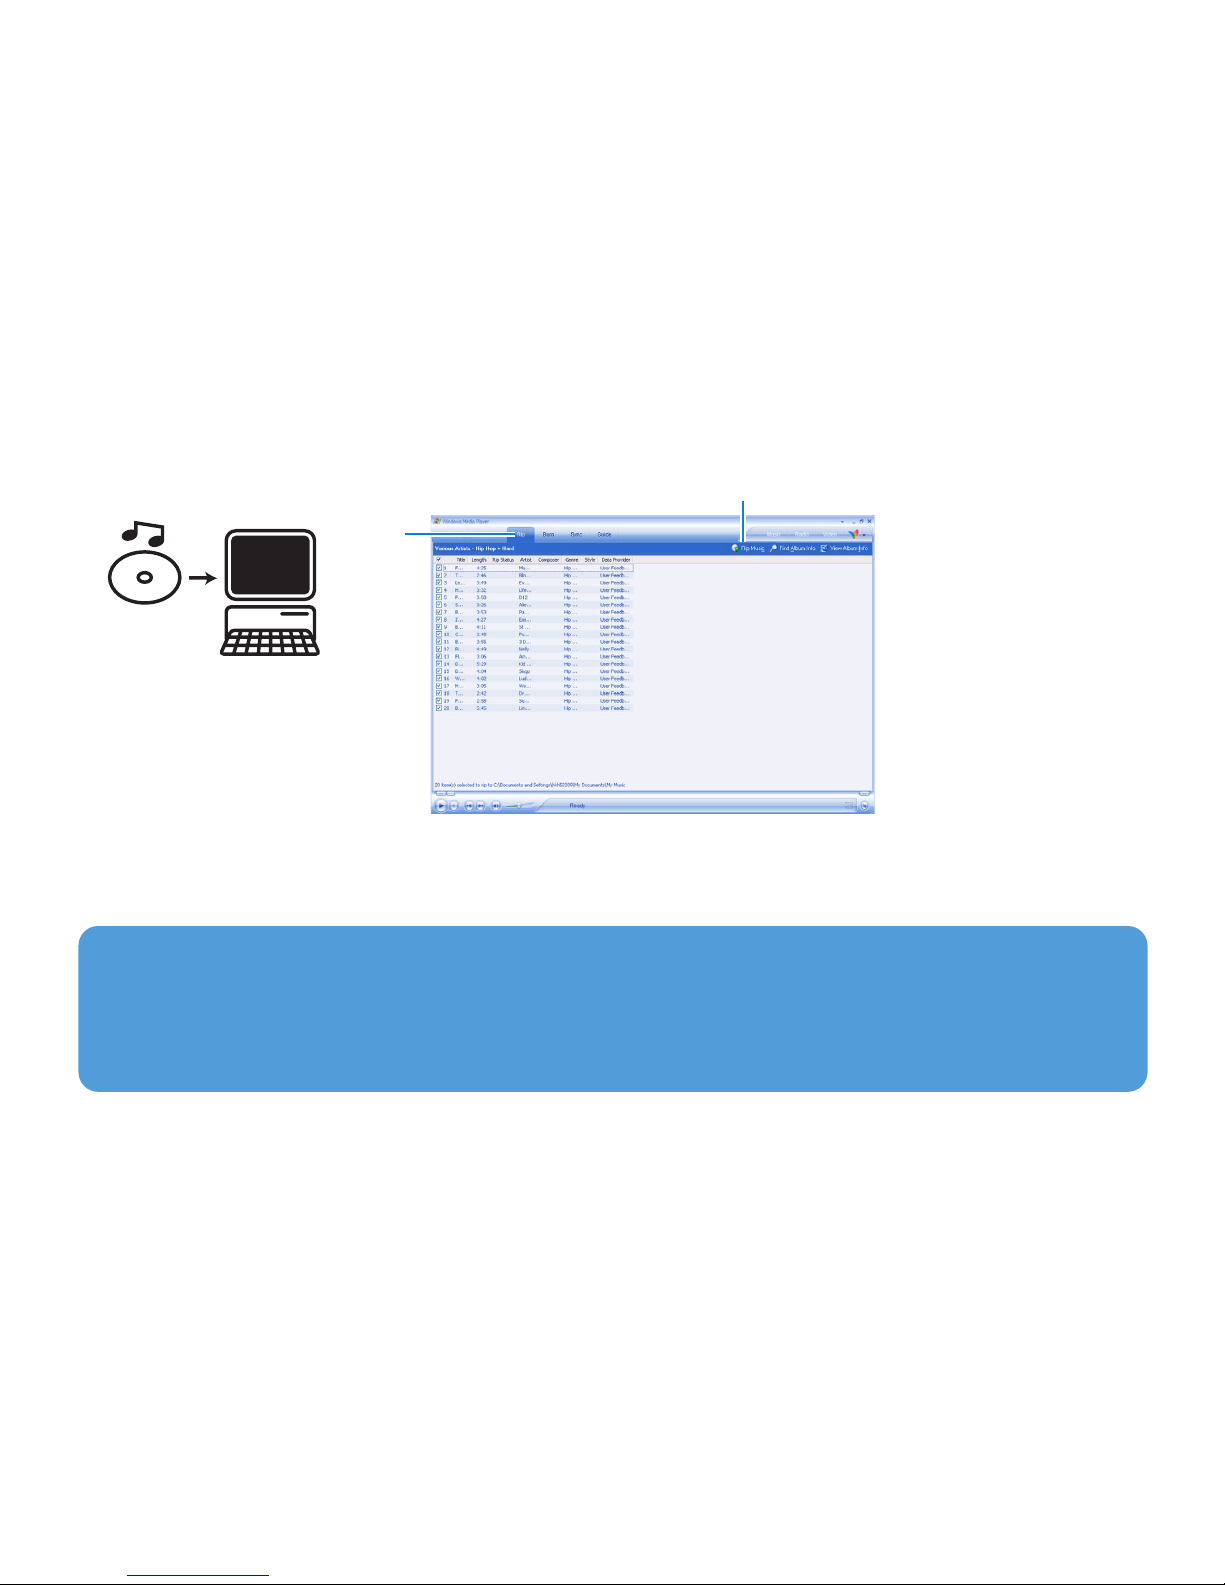
Rip songs from a CD
If you want to transfer music from a CD to your player, you need to create a digital copy of
the music on your PC first. This is called ripping.
1 Start Windows Media Player.
2 Insert the Audio CD.
3 Select Rip tab to display a list of music tracks on your CD.
4 Select the songs that you would like to rip and click Rip Music on the top menu bar.
> The songs will be converted into digital copies and added to Windows Media Player library.
3
4
If your computer is connected to the Internet, the album information will be automatically
obtained so that you don’t have to enter the song titles and other information manually.
If this does not happen, verify that you are connected to the Internet and click Find
Album Info.
15
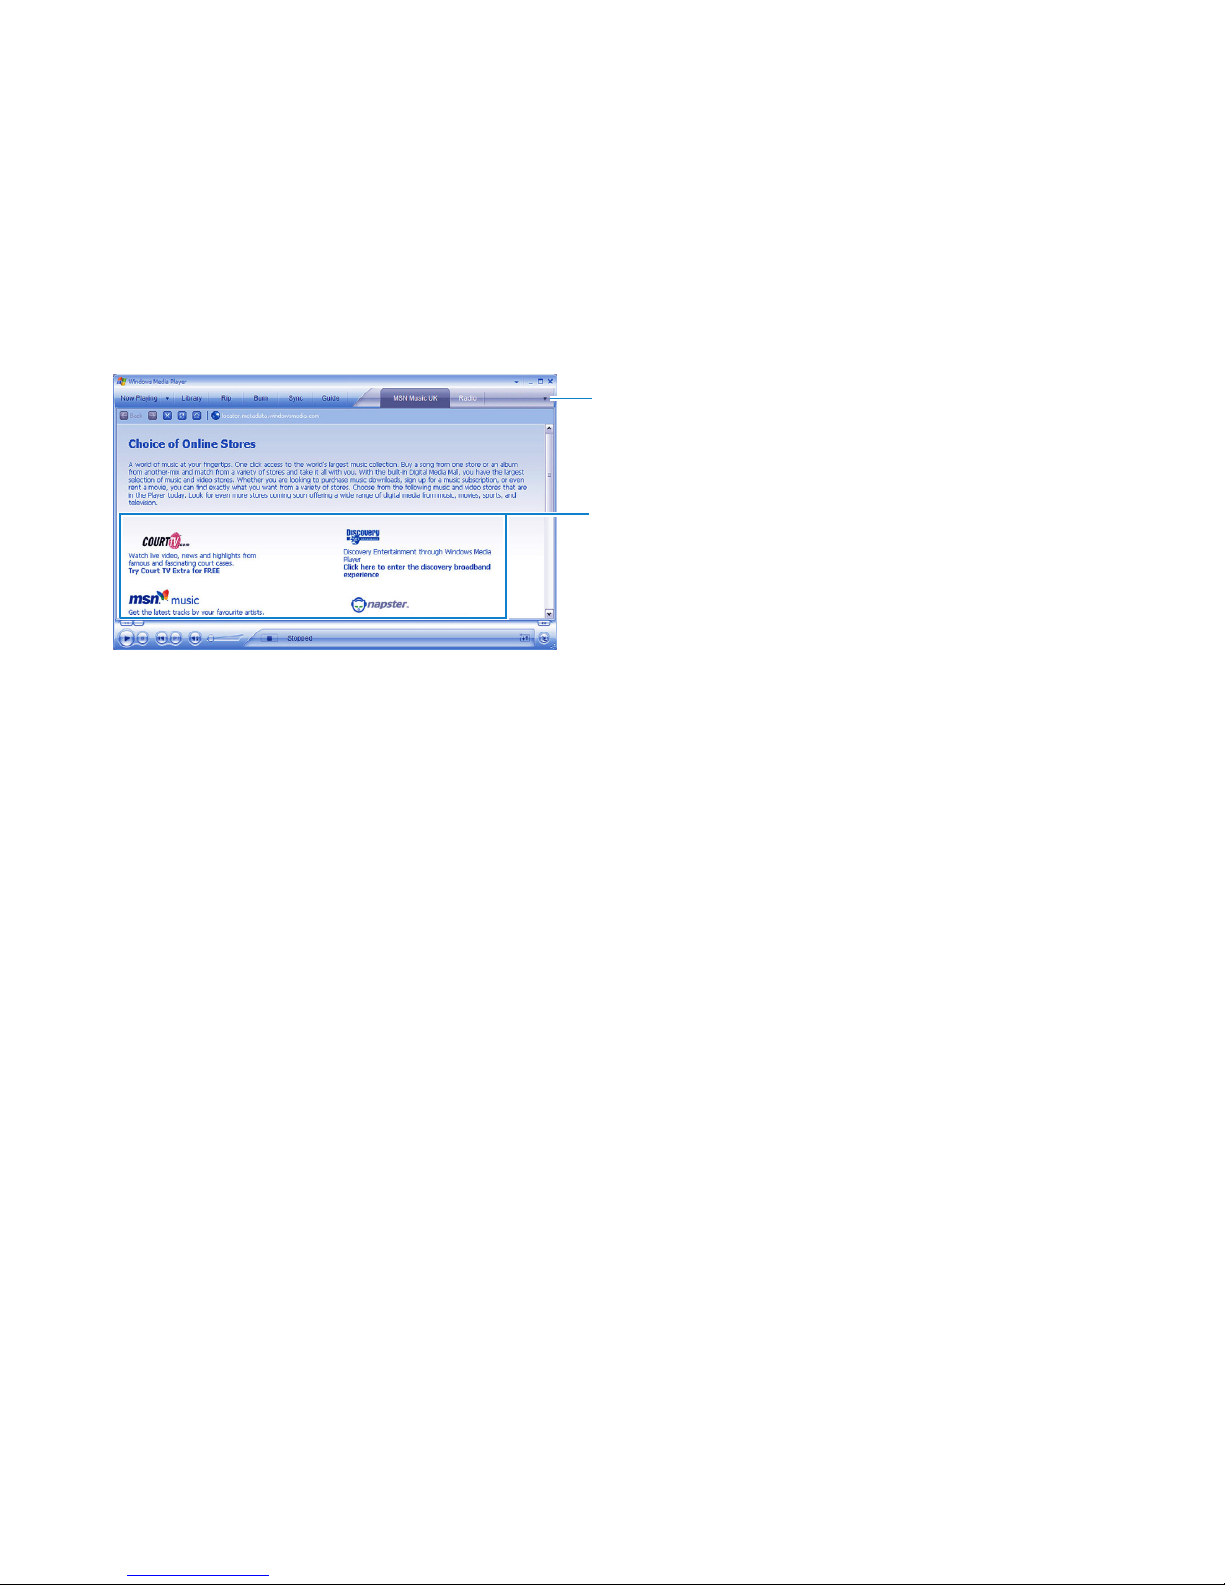
Buy songs online
If you want to buy music online, you need to select a music store.
1 Click the little triangle on the top right of the screen and select Browse all Online
Stores.
2 Choose a store and follow the on-screen instructions.
> After you have bought a song or an album, it will appear in Windows Media Player library.
1
2

16
Synchronize Windows Media contents with your player
When you connect the player to your computer for the first time, Windows Media Player
will start Device Setup Wizard. You can choose to synchronize your player with
Windows Media Player library automatically or manually.
TIP
When your player is connected for the first time, WMP10 gives you this option.
Automatic Synchronization:
Choosing Automatic will automatically synchronize your player with your content each
time you connect your GoGear to your computer. Be aware that this option allows you
to auto sync with one PC only.
Manual Synchronization:
Choosing Manual allows you to select the content that you want to synchronize each time.
 Loading...