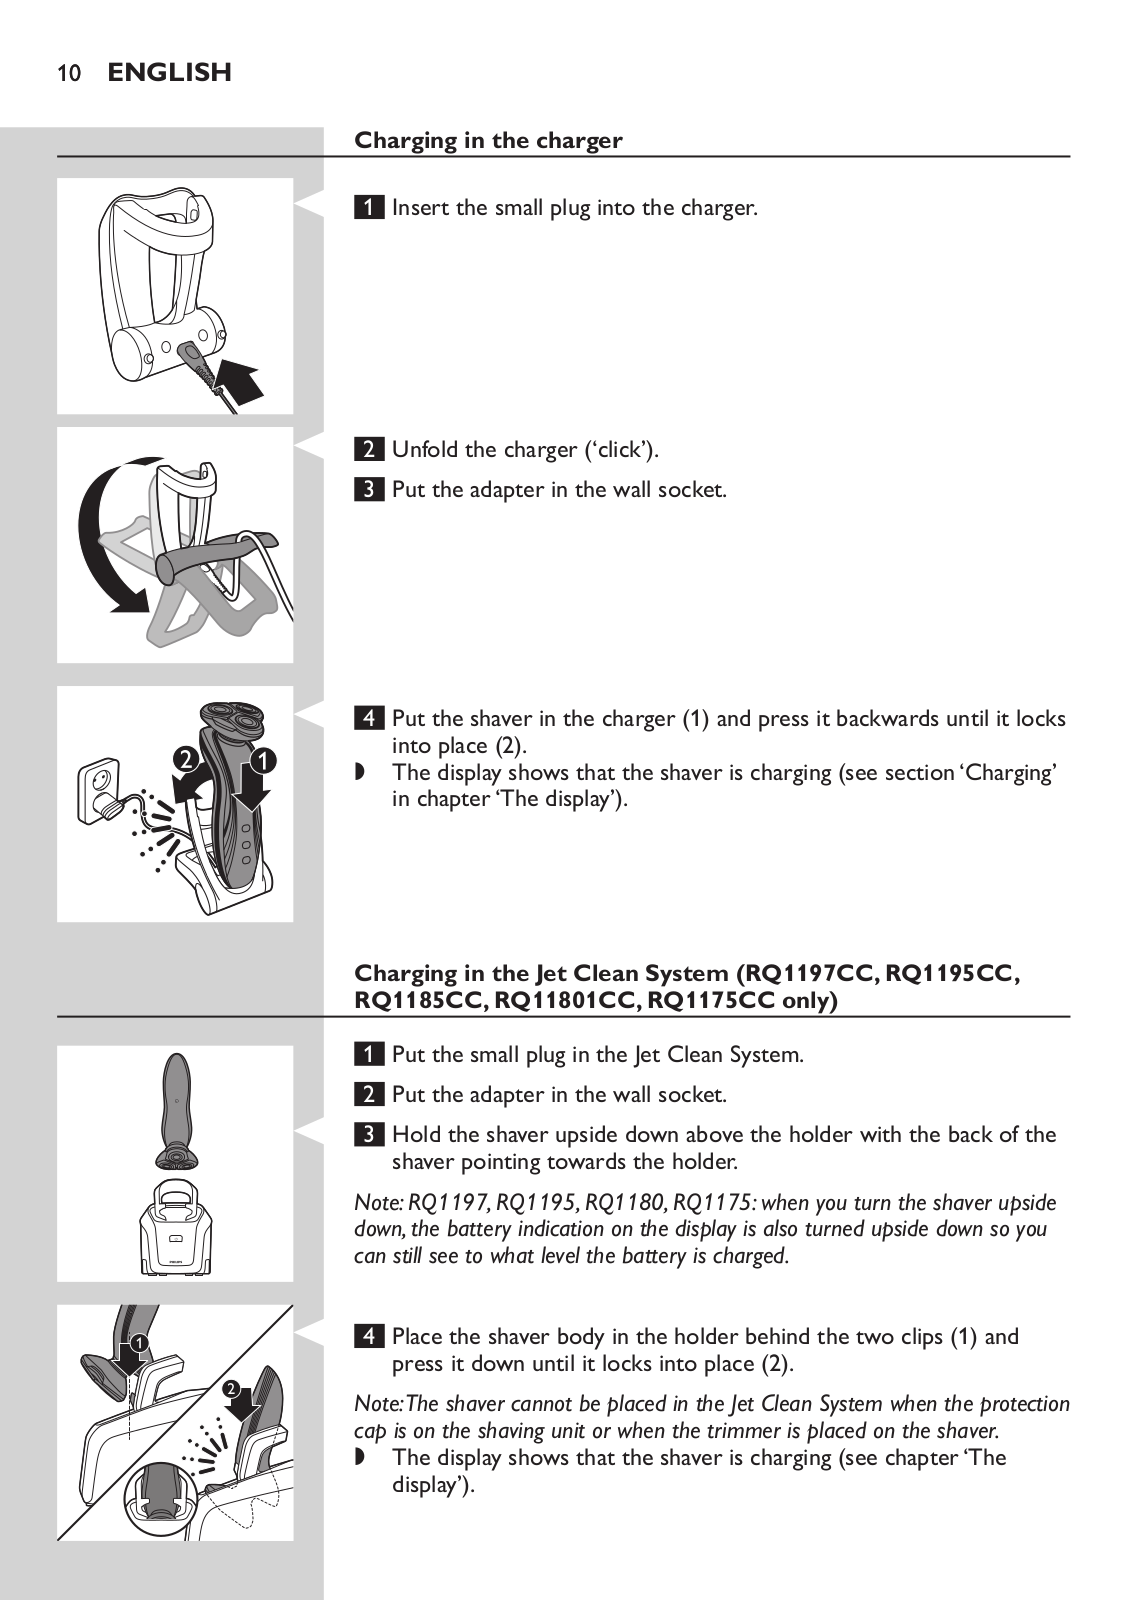
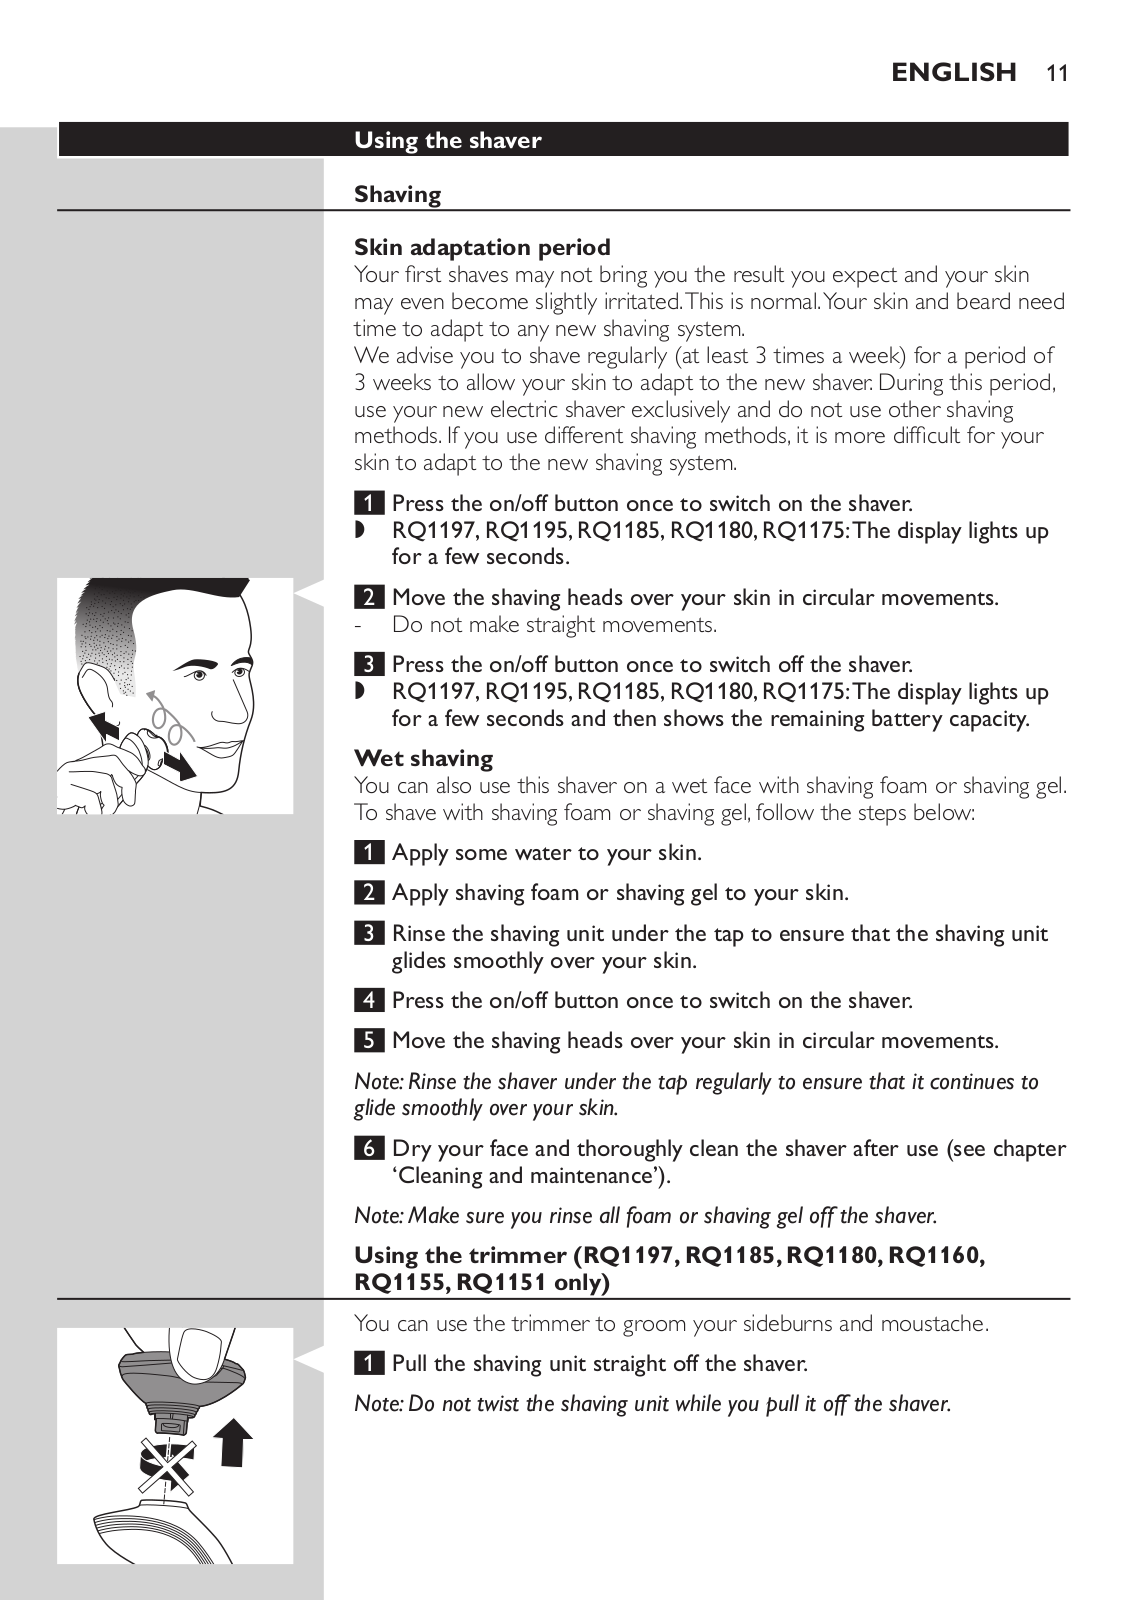
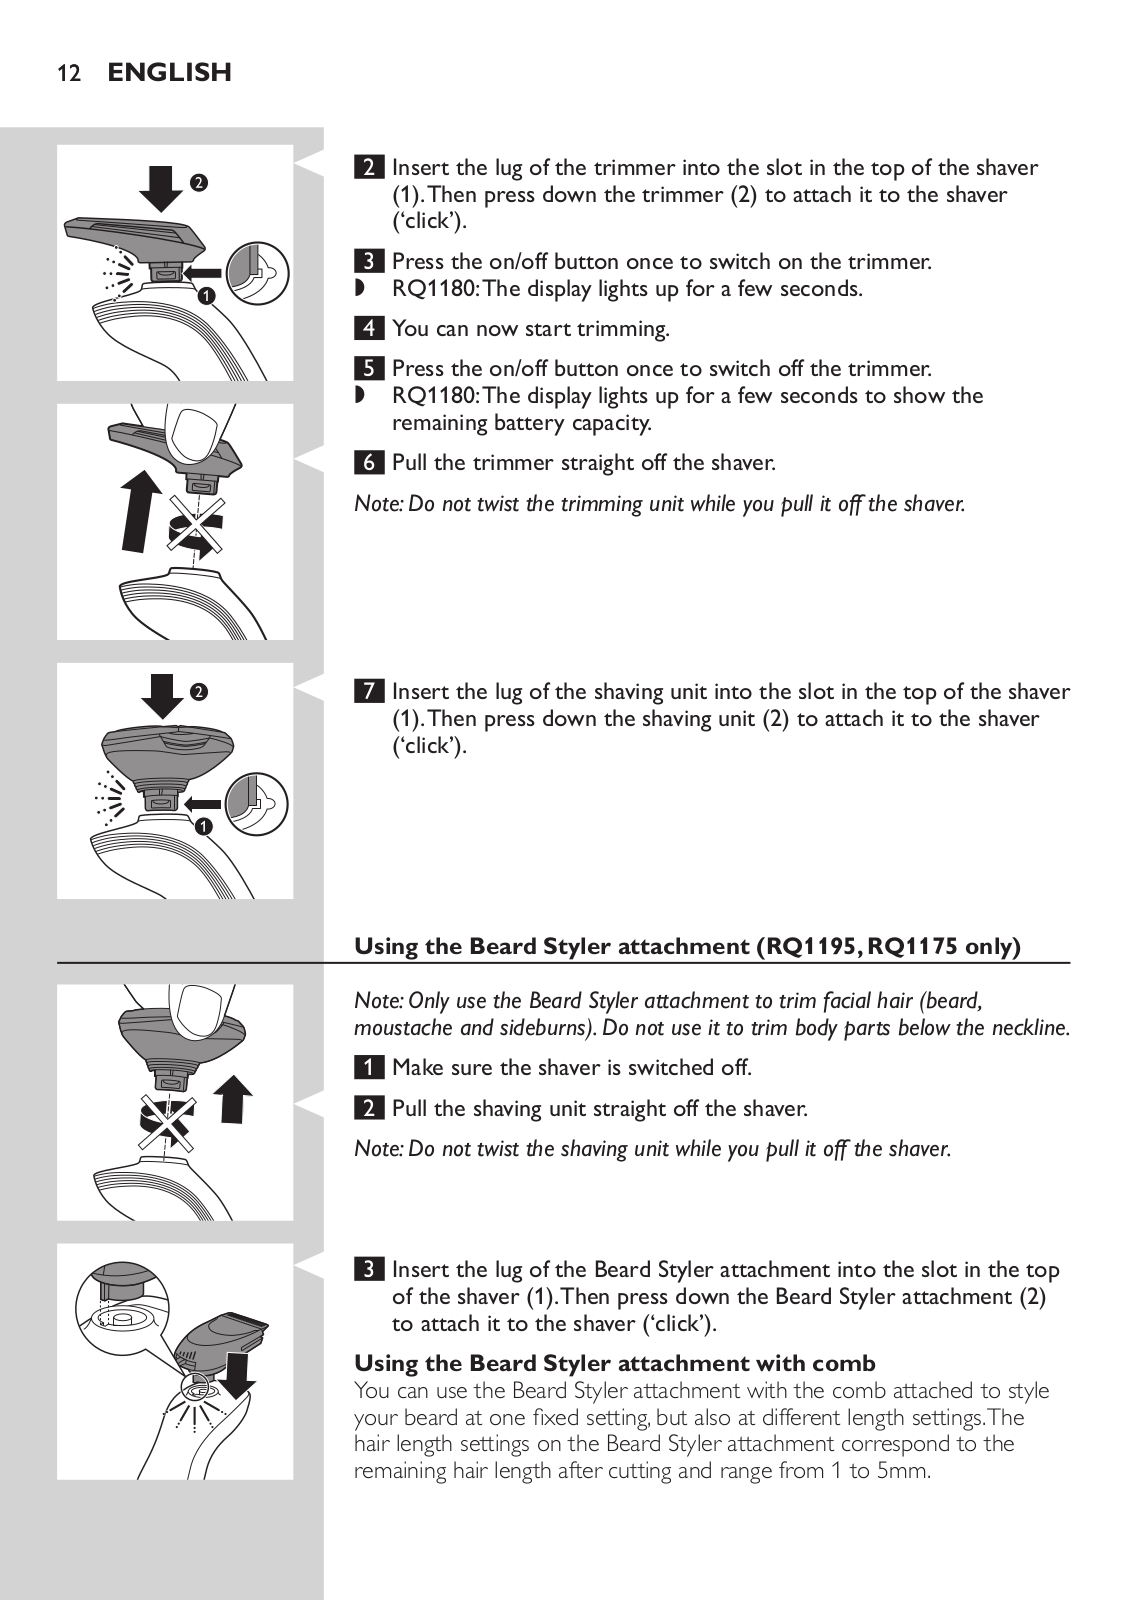
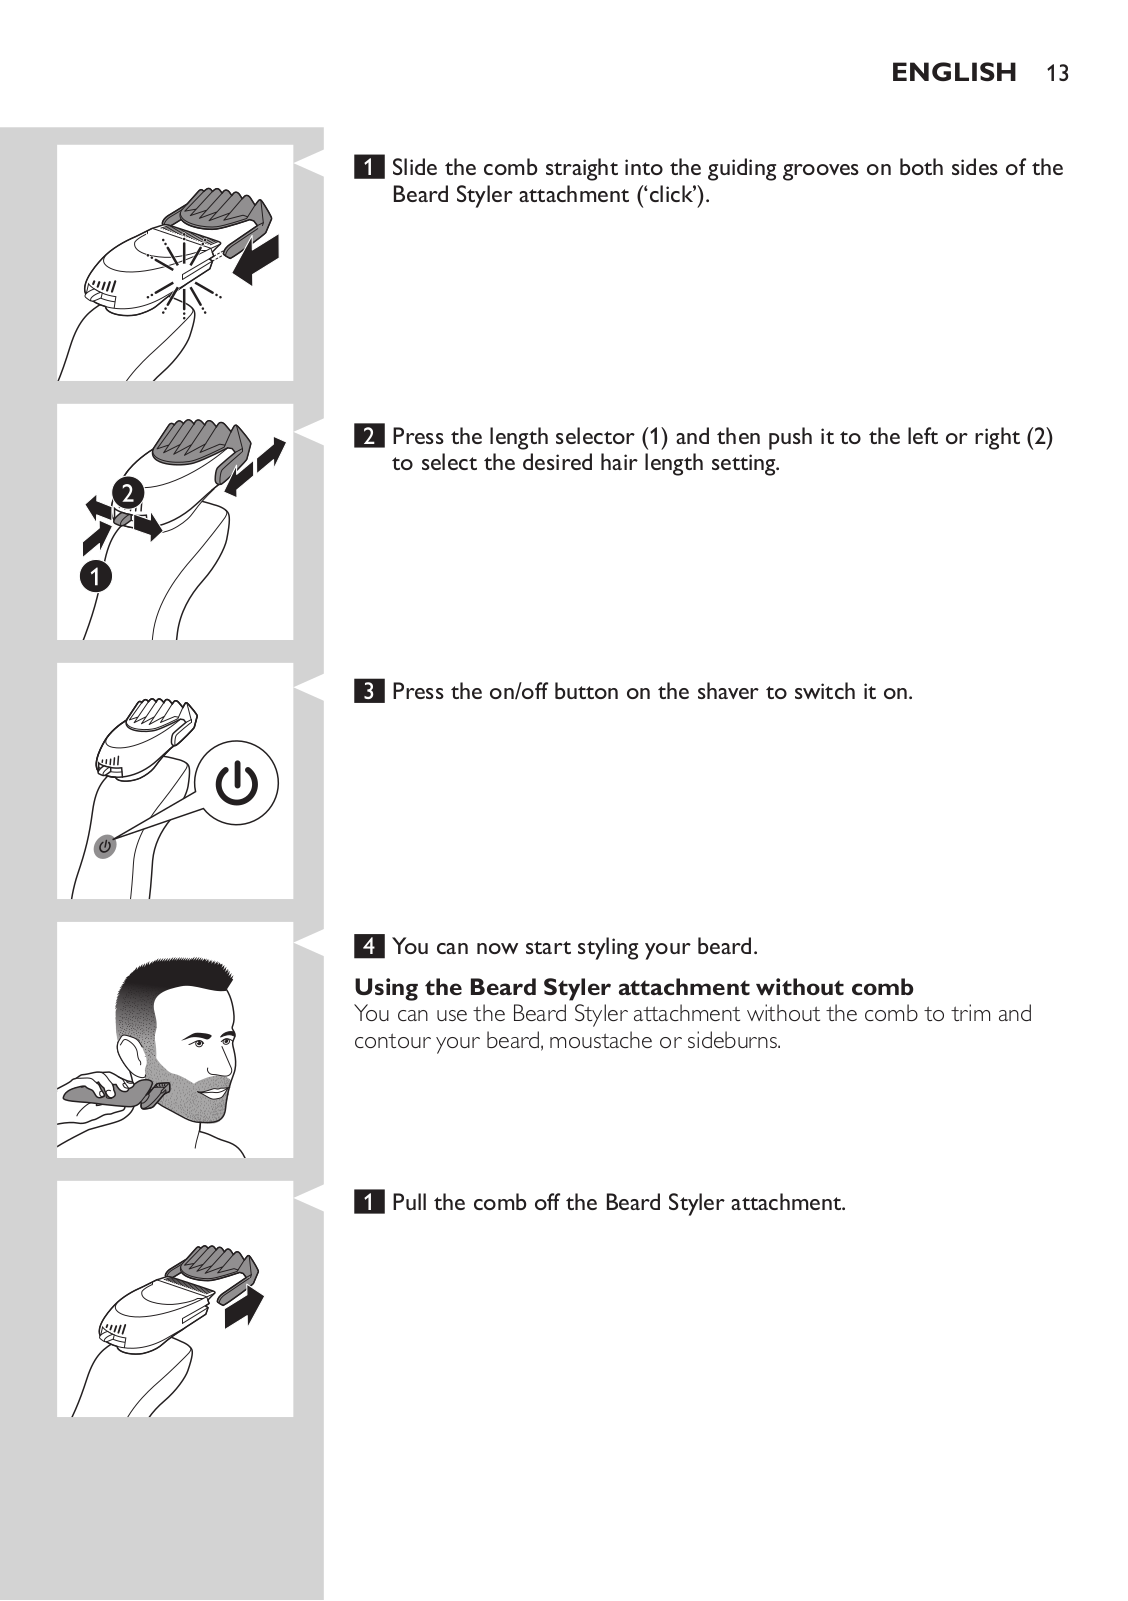
How it Works
Log In / Sign Up
Buy Points
How it Works
FAQ
Contact Us
Questions and Suggestions
Users
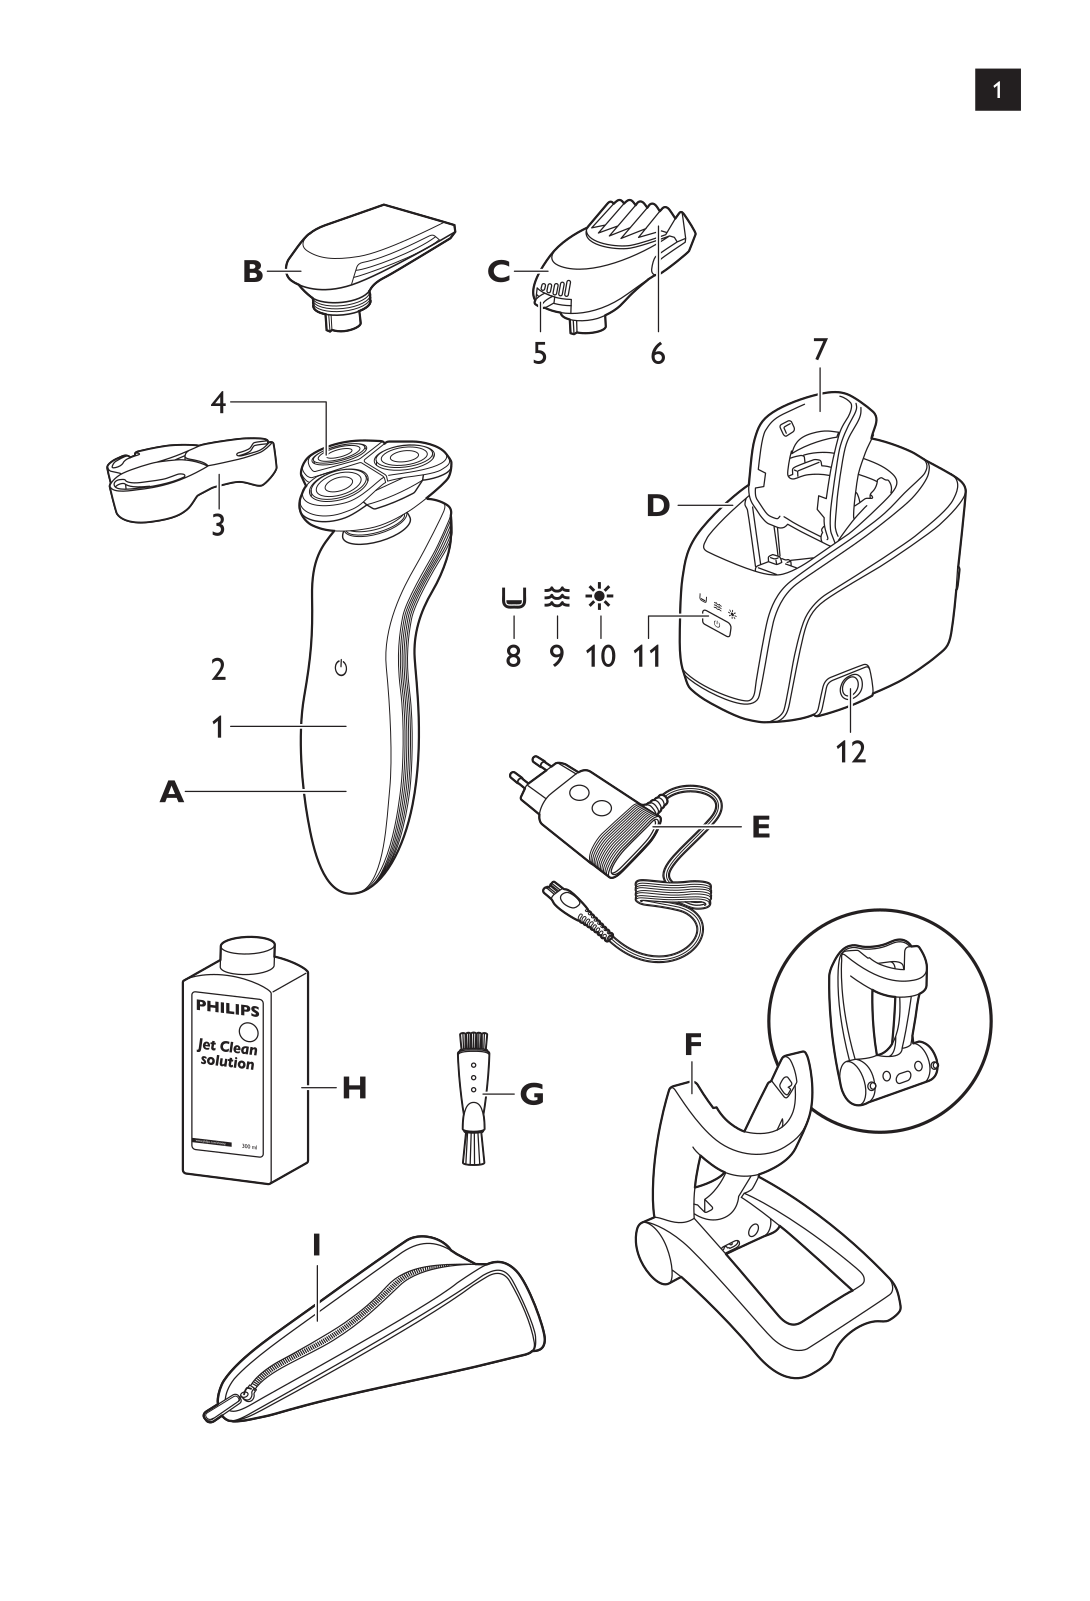
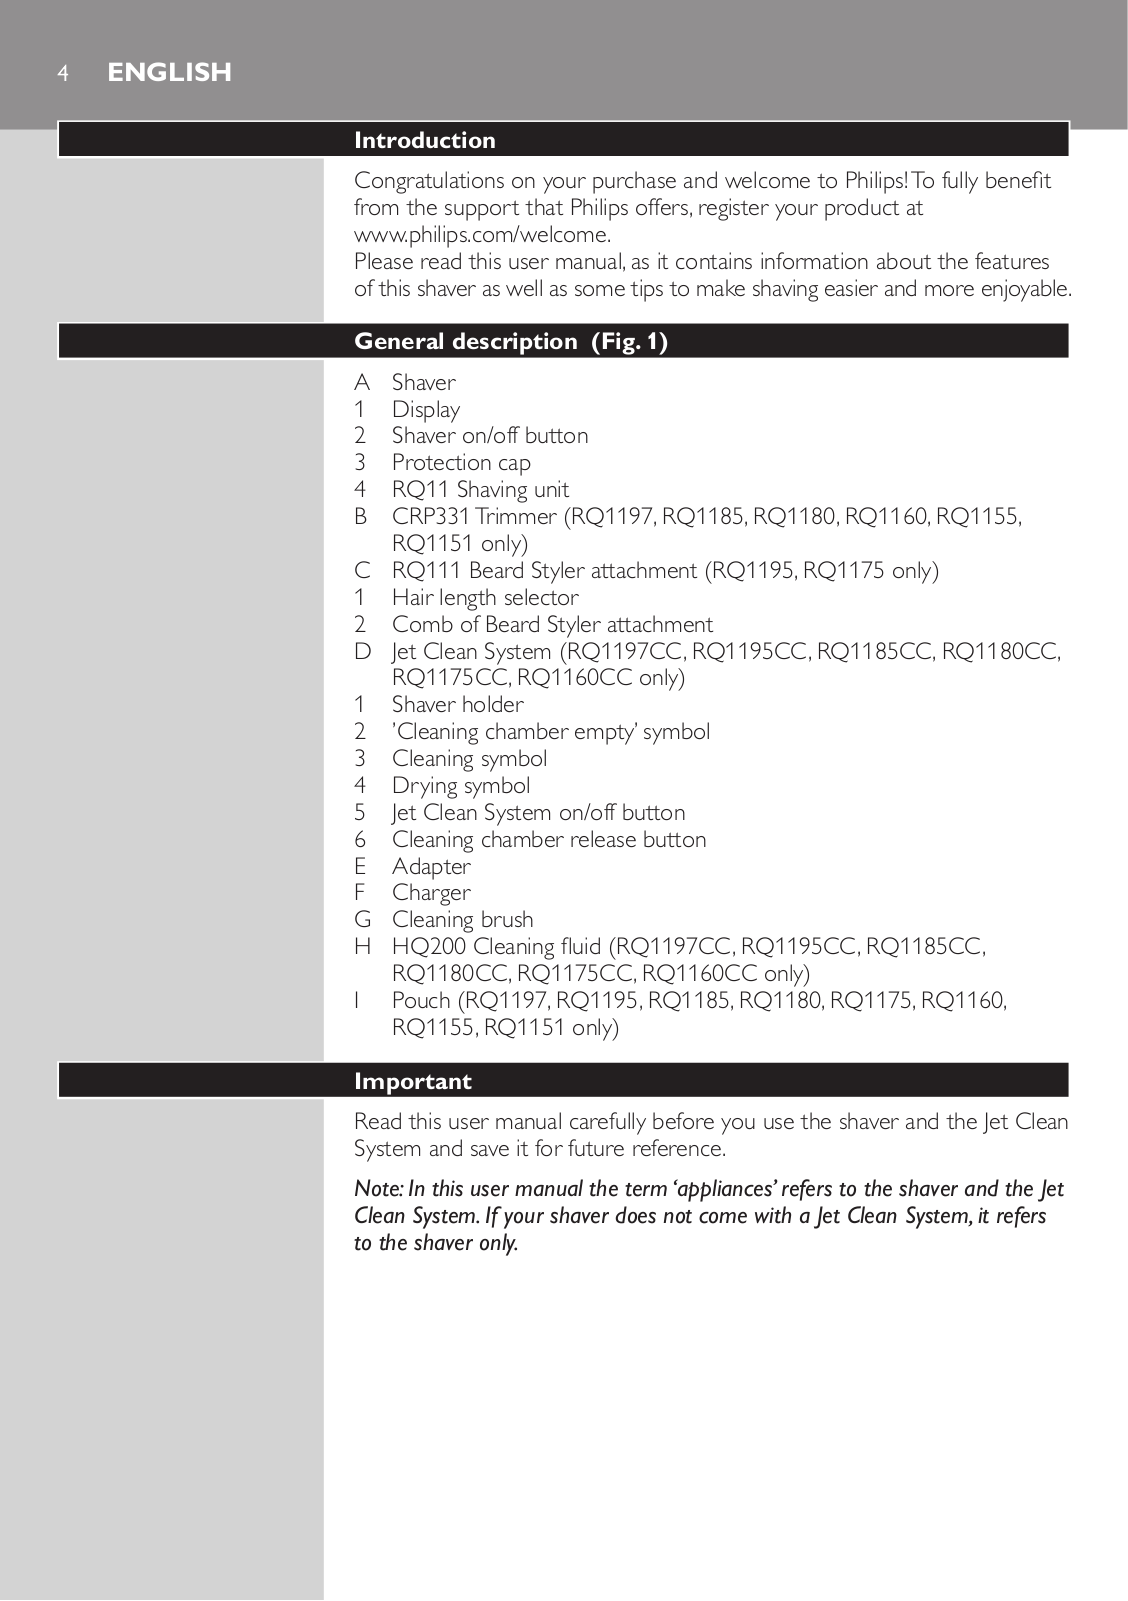
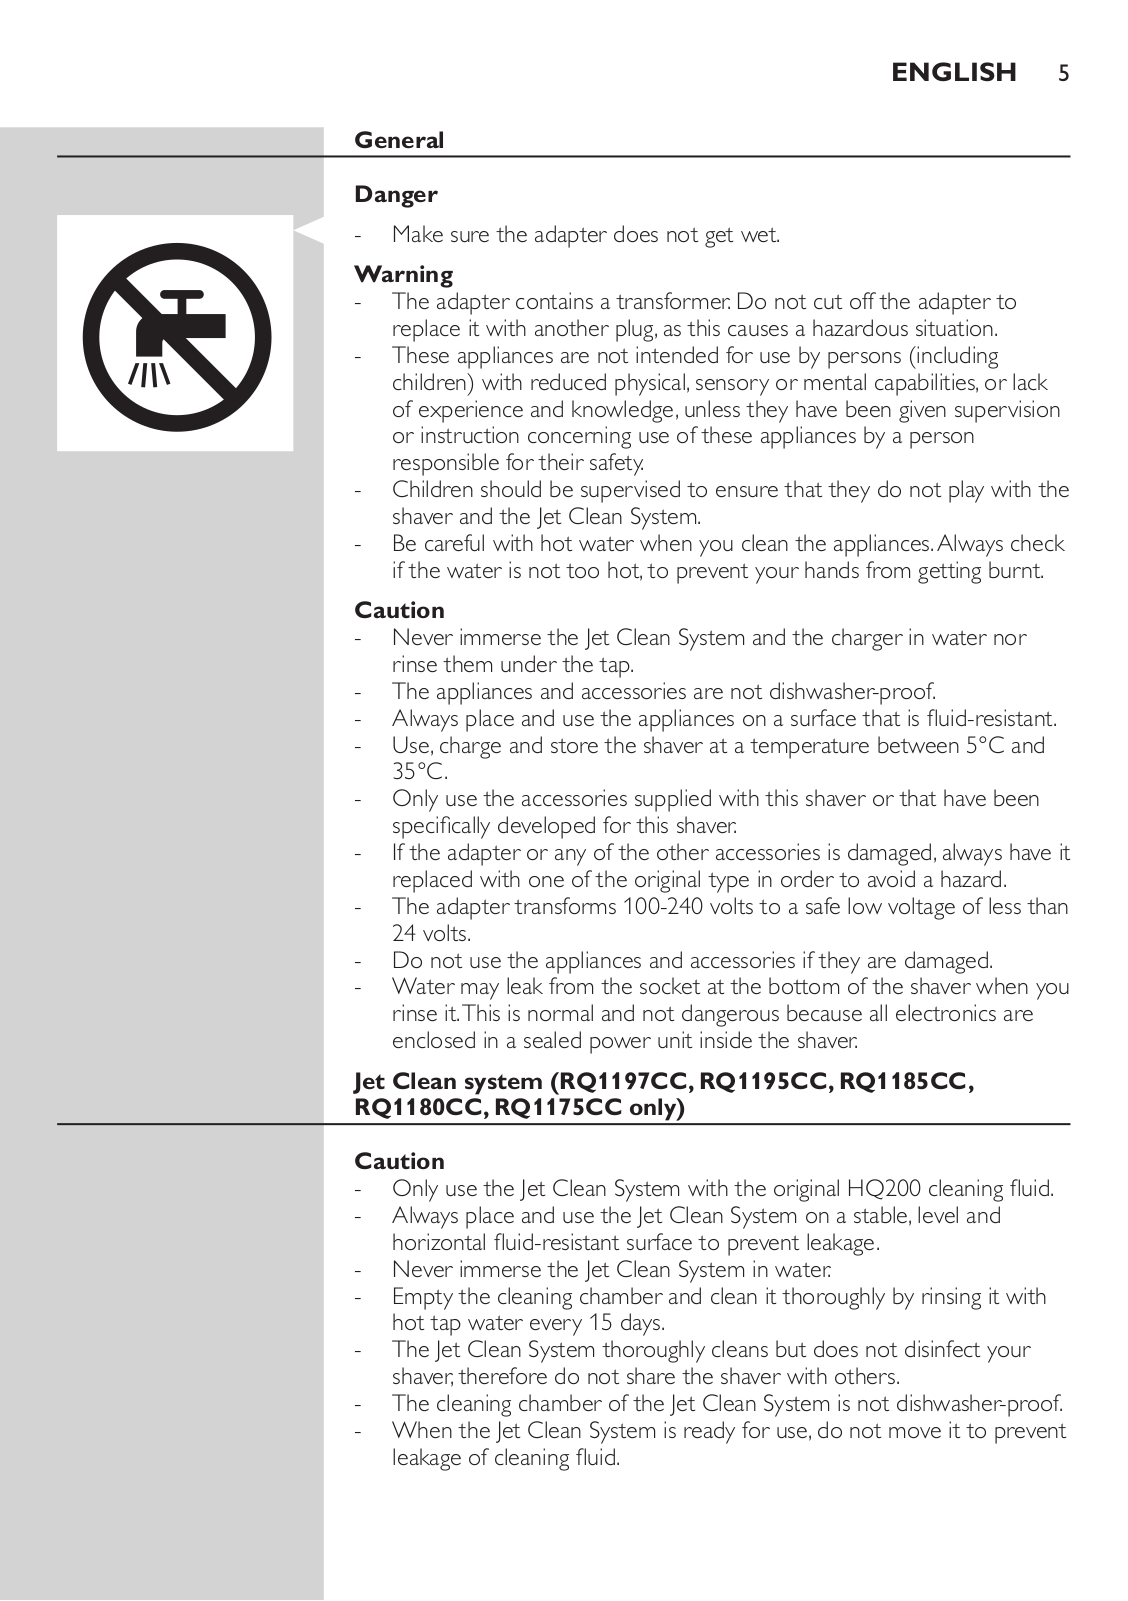
Philips
Loading...
R
RQ1075/22
RQ1075/23
RQ1076
2
RQ1076/21
3
RQ1076 E4
RQ1077
4
RQ1085
10
RQ1085/22
RQ1087
5
RQ1087/21
2
RQ1090/03
RQ1090/19
RQ1090/20
RQ1095
32
RQ1095/22
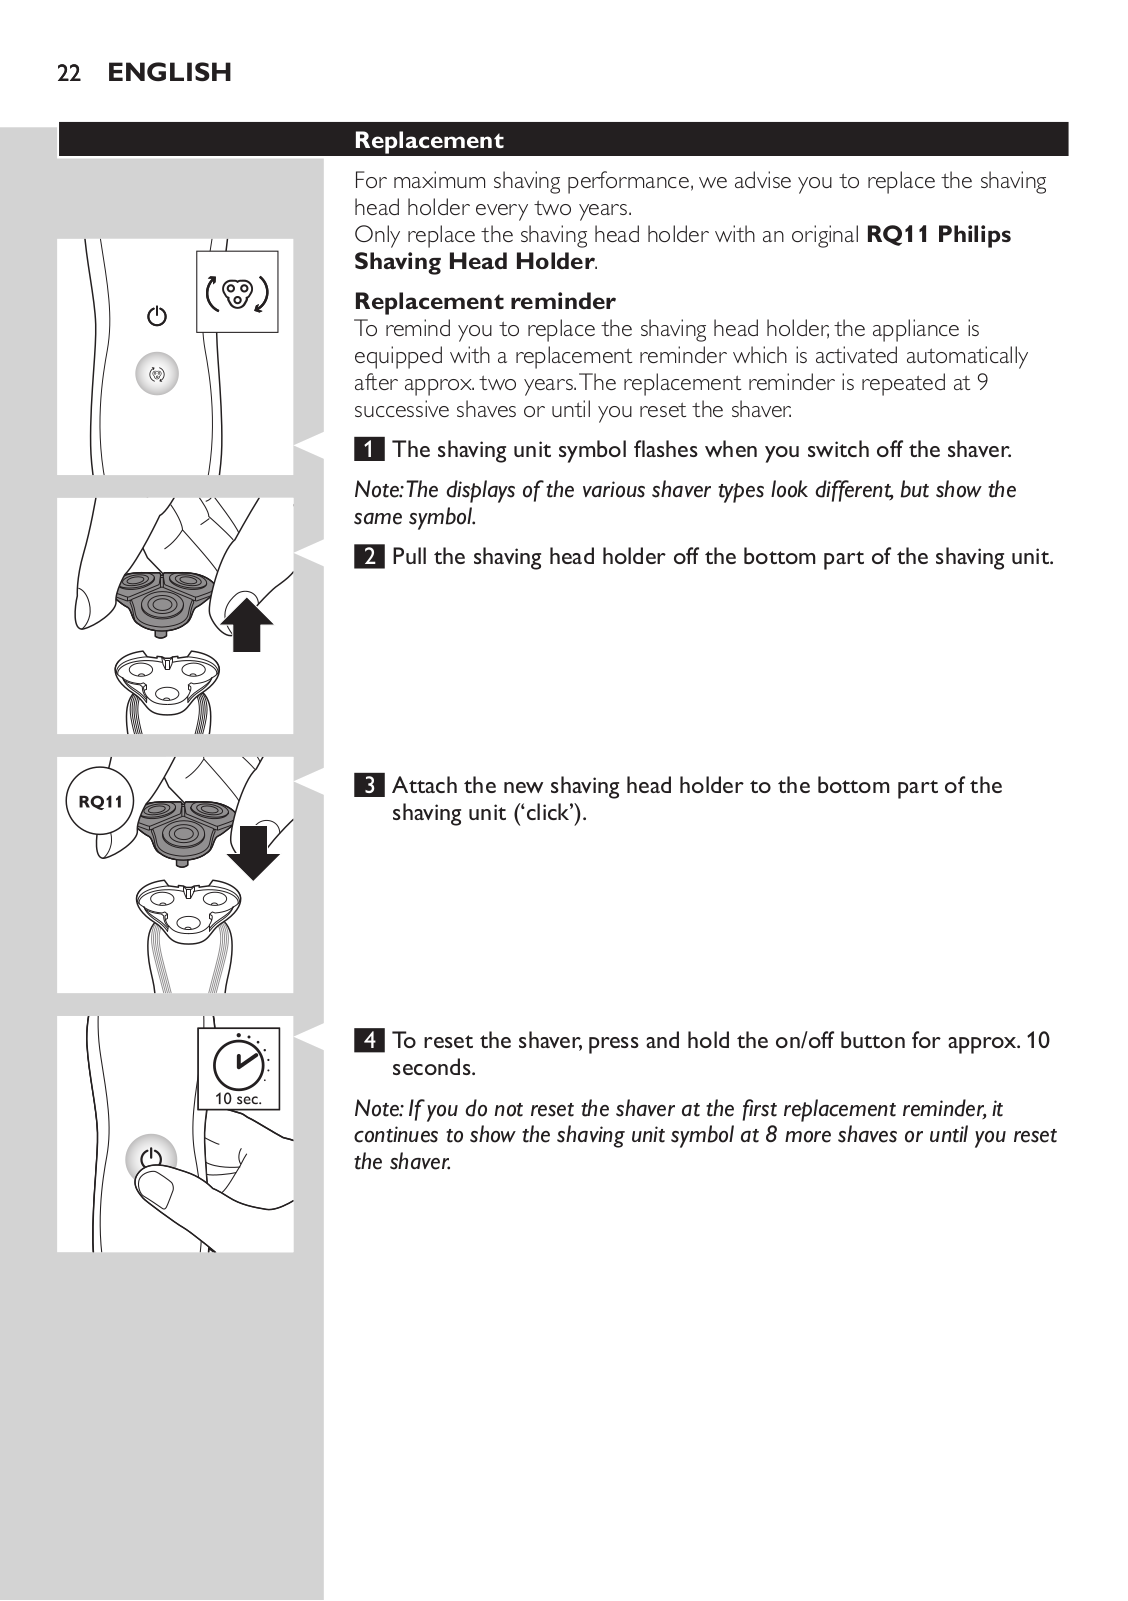
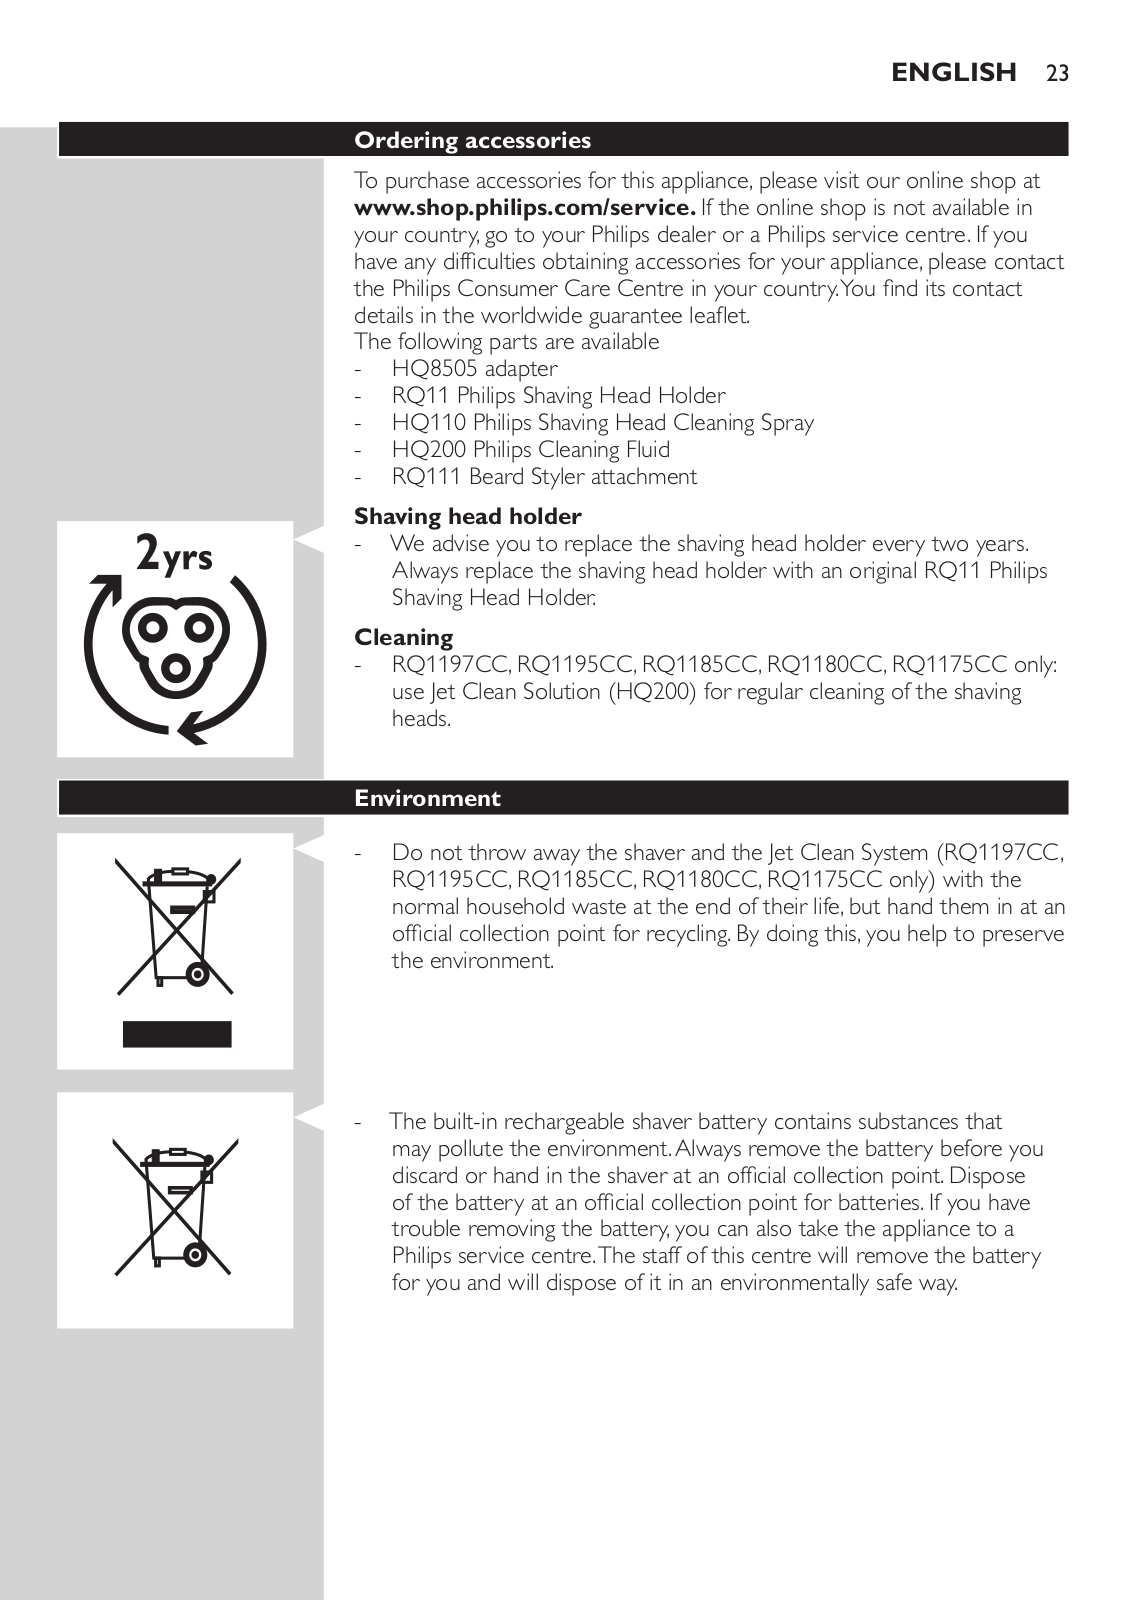
RQ11
33
RQ1100
4
RQ1100 Series
6
RQ111/50
RQ111/51
2
RQ111/52
3
RQ111/53
RQ111/60
RQ1131
6
RQ1131/16
RQ113x
RQ11-40
2
RQ1141
14
RQ1141/16
3
RQ1141/17
2
RQ1141/80
RQ11/42
RQ1145
14
RQ1145/17
RQ1145/32
RQ114x
RQ1150/16
2
RQ1150/17
2
RQ1151
11
RQ1151/16
RQ1151/17
RQ11-52
2
RQ11/53
RQ1155
11
RQ1155-16
2
RQ1155/16OP
RQ1155/17
RQ1155/32
RQ1155/80
RQ1155/81
2
RQ1155/82
RQ115x
RQ1160/16
2
RQ1160/17
2
RQ1160/21
2
RQ1160/22
2
RQ1160/32
rq1160cc
RQ1161/16
RQ1167
5
RQ1167/12
RQ1167/16
RQ1167/17
RQ1167/54
RQ1168/30
2
RQ116x
RQ1175
15
RQ1175-16
2
RQ1175/16OP
RQ1175/17
RQ1175/21
RQ1175/22
RQ1175/30
2
RQ1175/32
RQ1175/84
RQ1175CC
RQ1178/17
RQ117x
RQ1180/16
2
RQ1180/17
2
RQ1180/21
RQ1180/22
RQ1180/32
RQ1185
9
RQ1185/21
2
RQ1185/22
RQ1185/24
RQ1185CC
2
RQ1187
RQ1187/16
2
RQ1187/21
2
RQ1187/37
RQ1187/43
RQ1187/45
RQ1187CC
RQ118,RQ119,RQ115
RQ118x
RQ1195
6
RQ1195/17
RQ11 series
Loading...
Loading...
Nothing found
RQ1155/81
leaflet
2 pgs
482.13 Kb
0
User Manual
304 pgs
43.36 Mb
0
Table of contents
Loading...
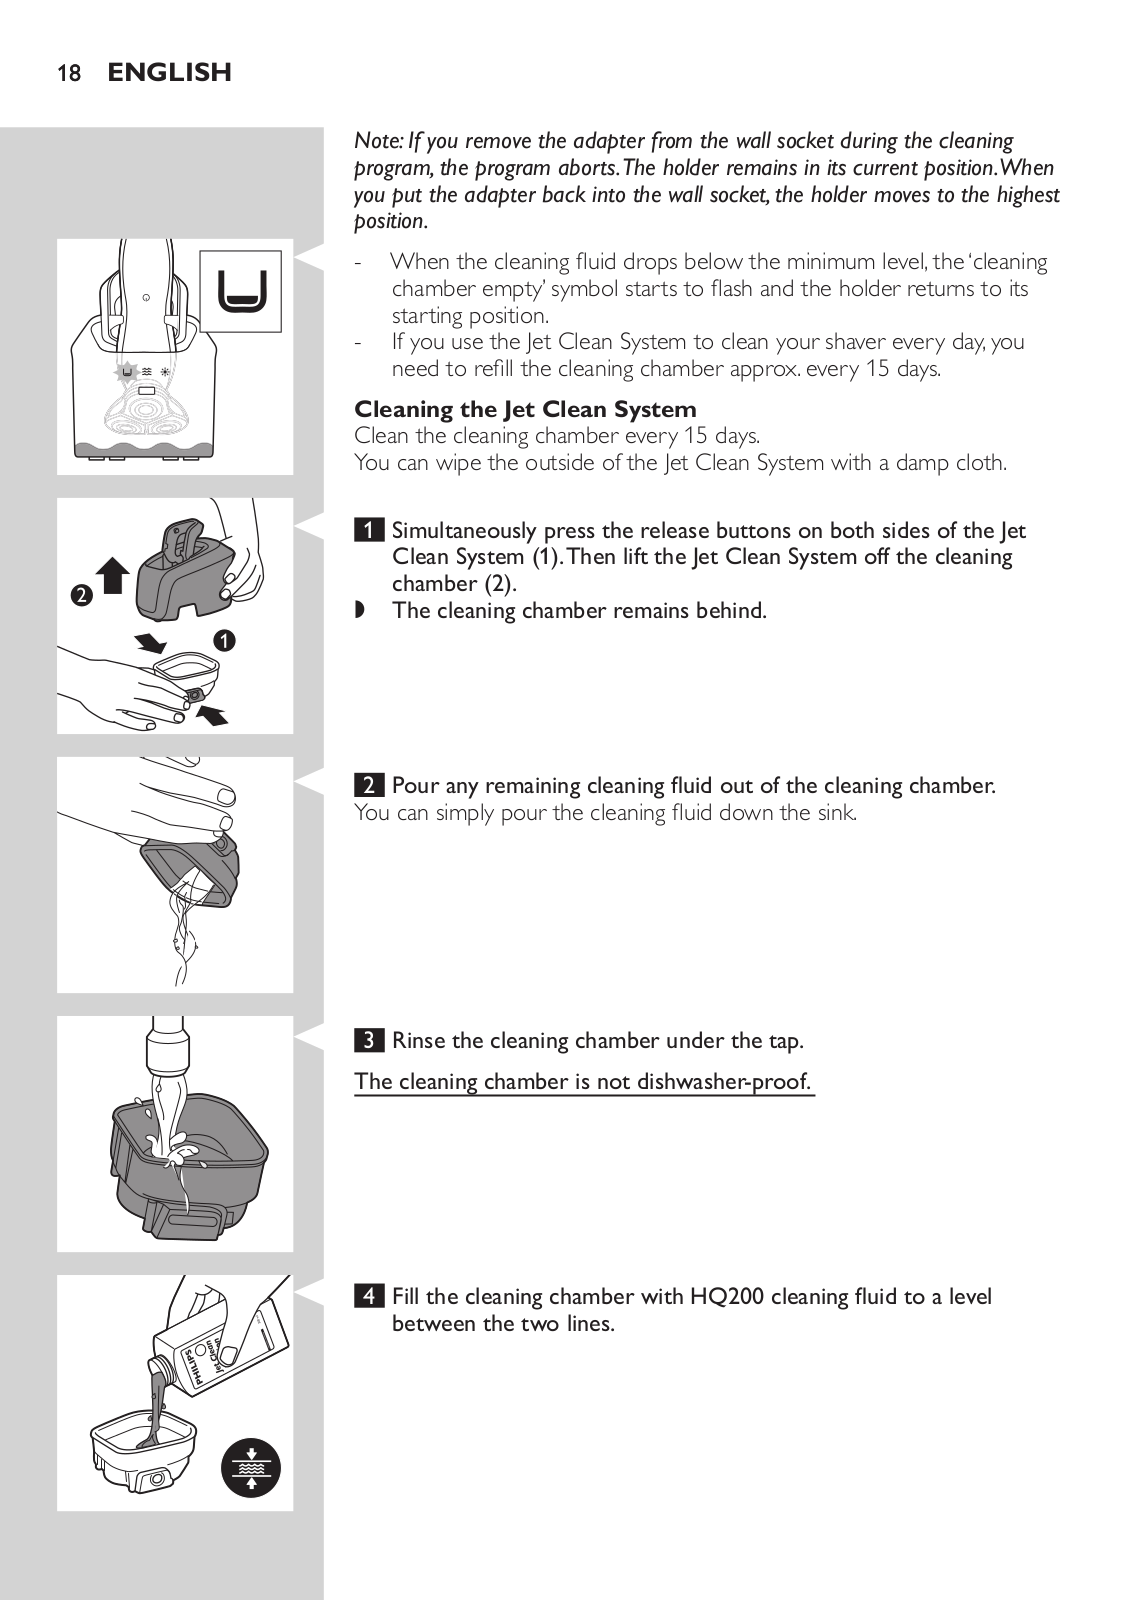
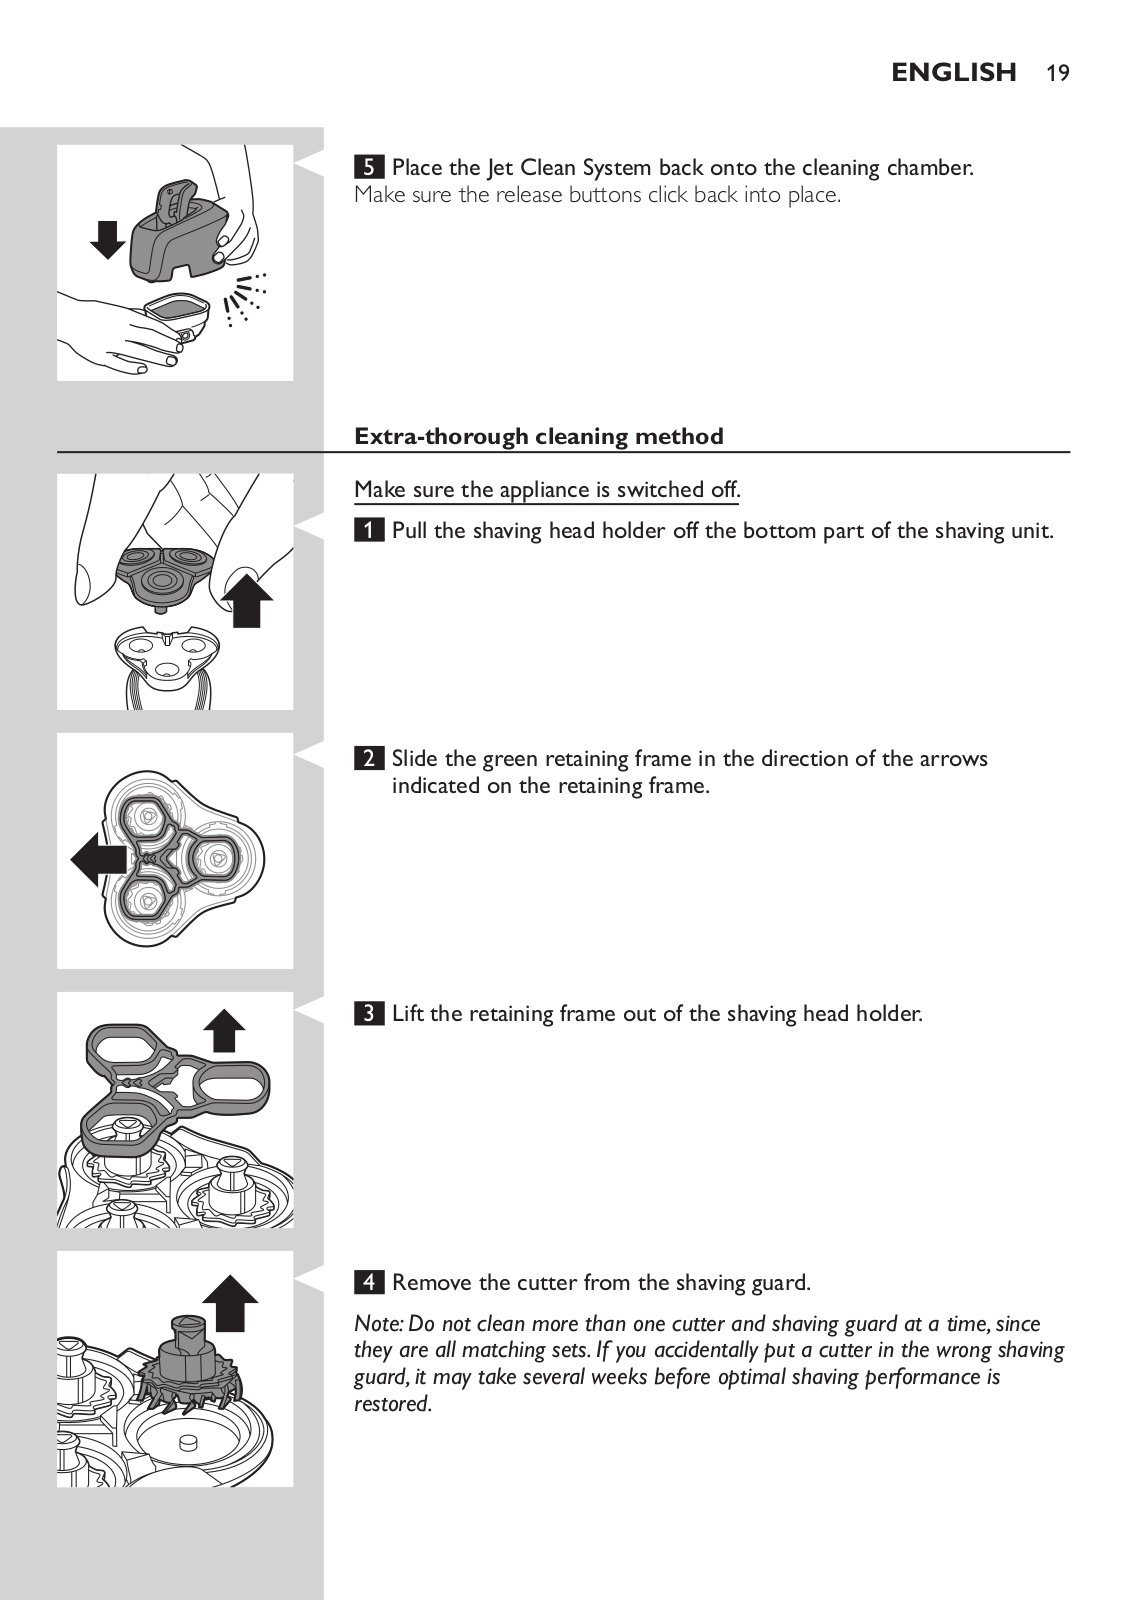
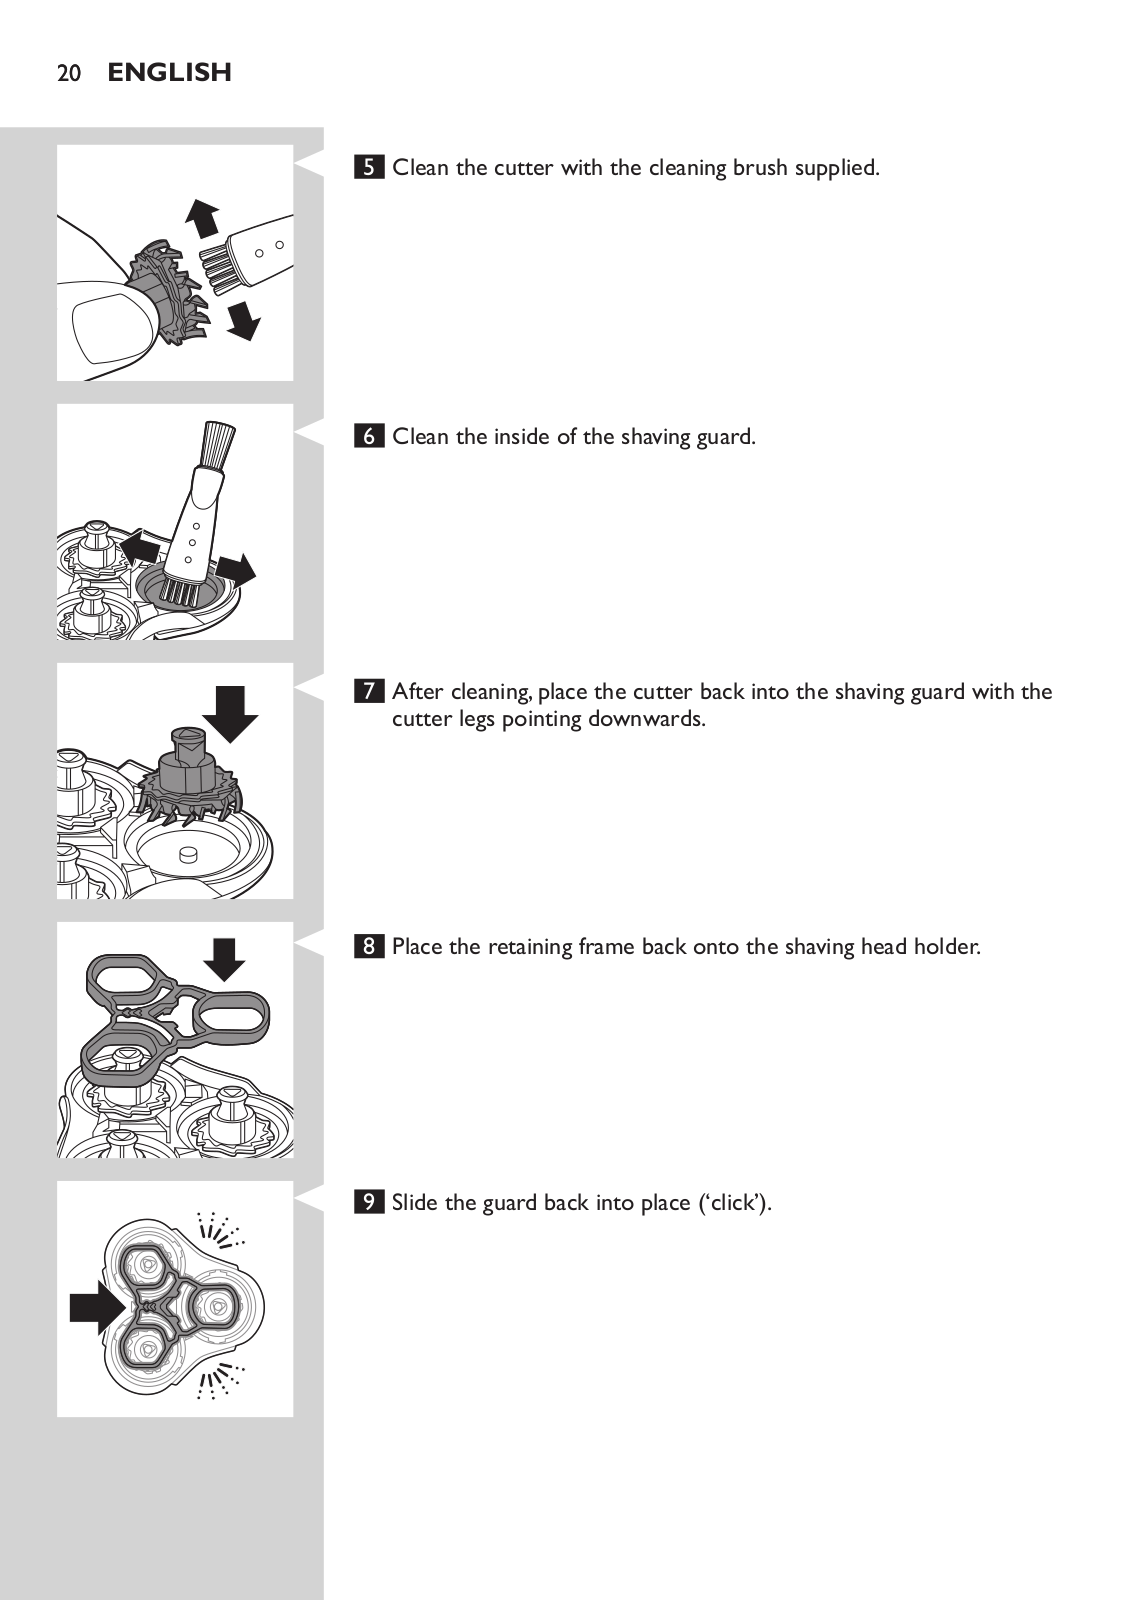
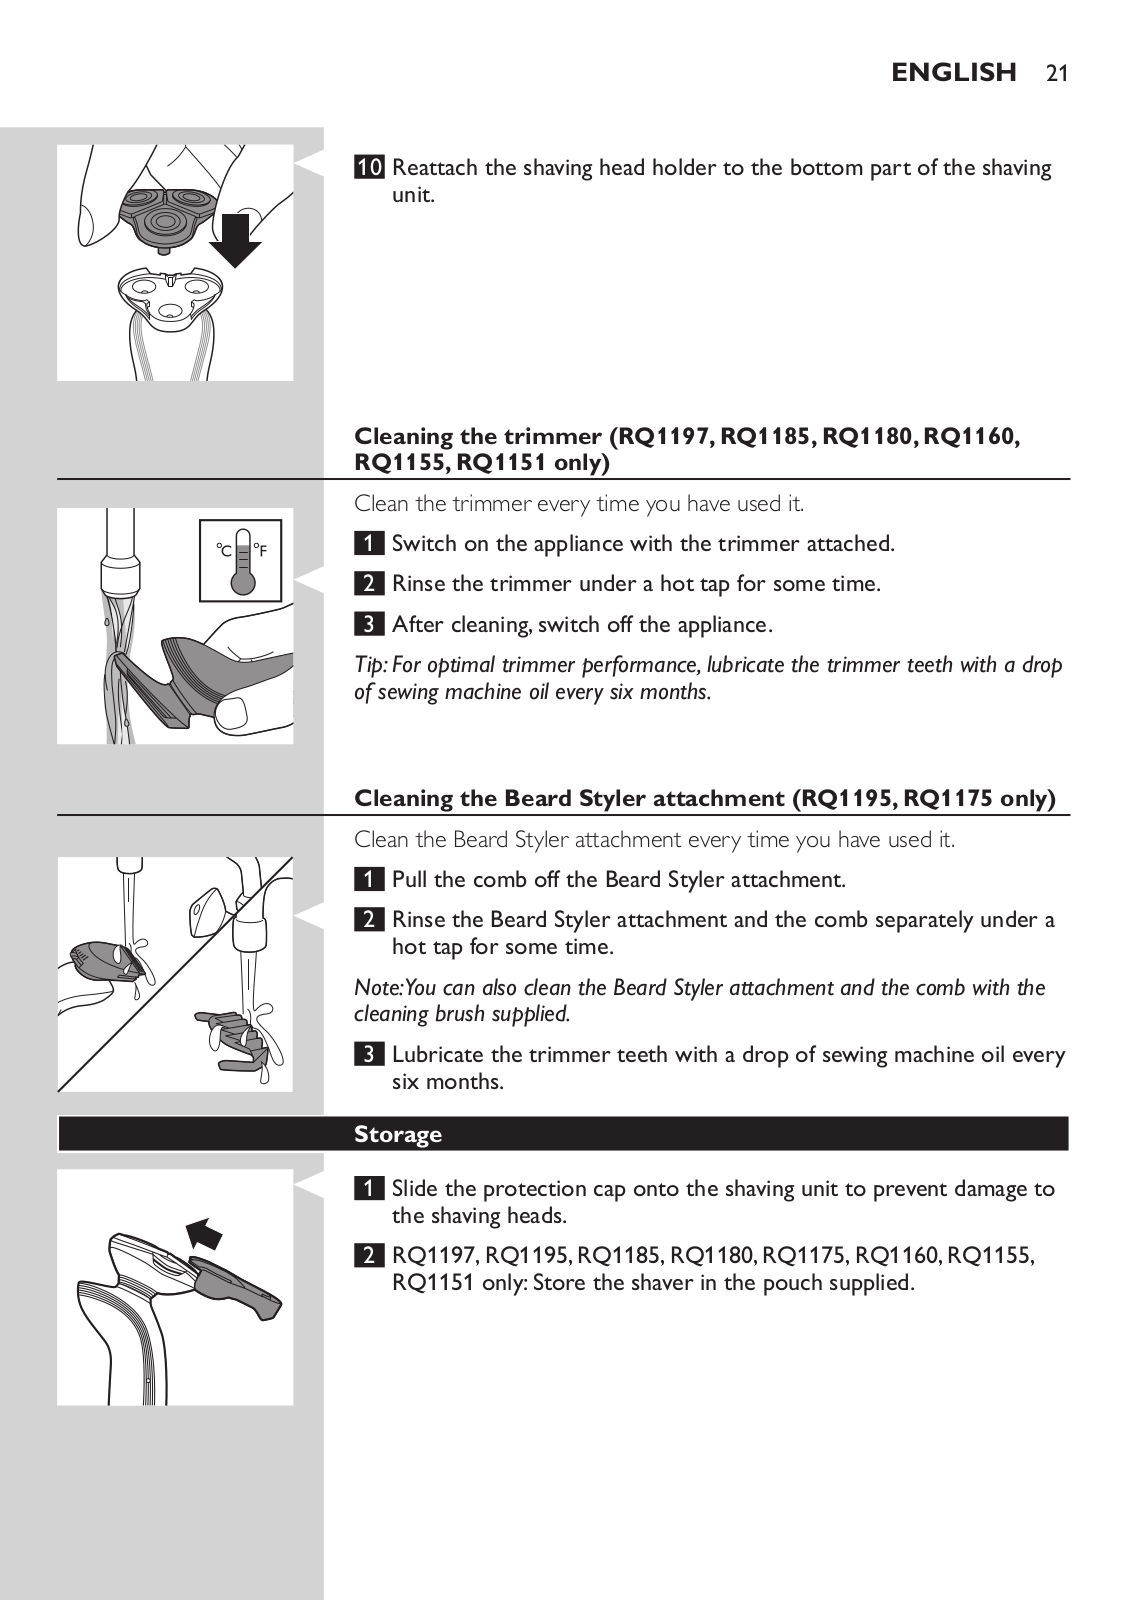
Philips RQ1155/81 User Manual
...
Philips User Manual
Download
Specifications and Main Features
Frequently Asked Questions
User Manual
Download
Loading...
+
274
hidden pages
Unhide
You need points to download manuals.
1 point = 1 manual.
You can buy points or you can get point for every manual you upload.
Buy points
Upload your manuals
 Loading...