

Page 1
Installation Guide
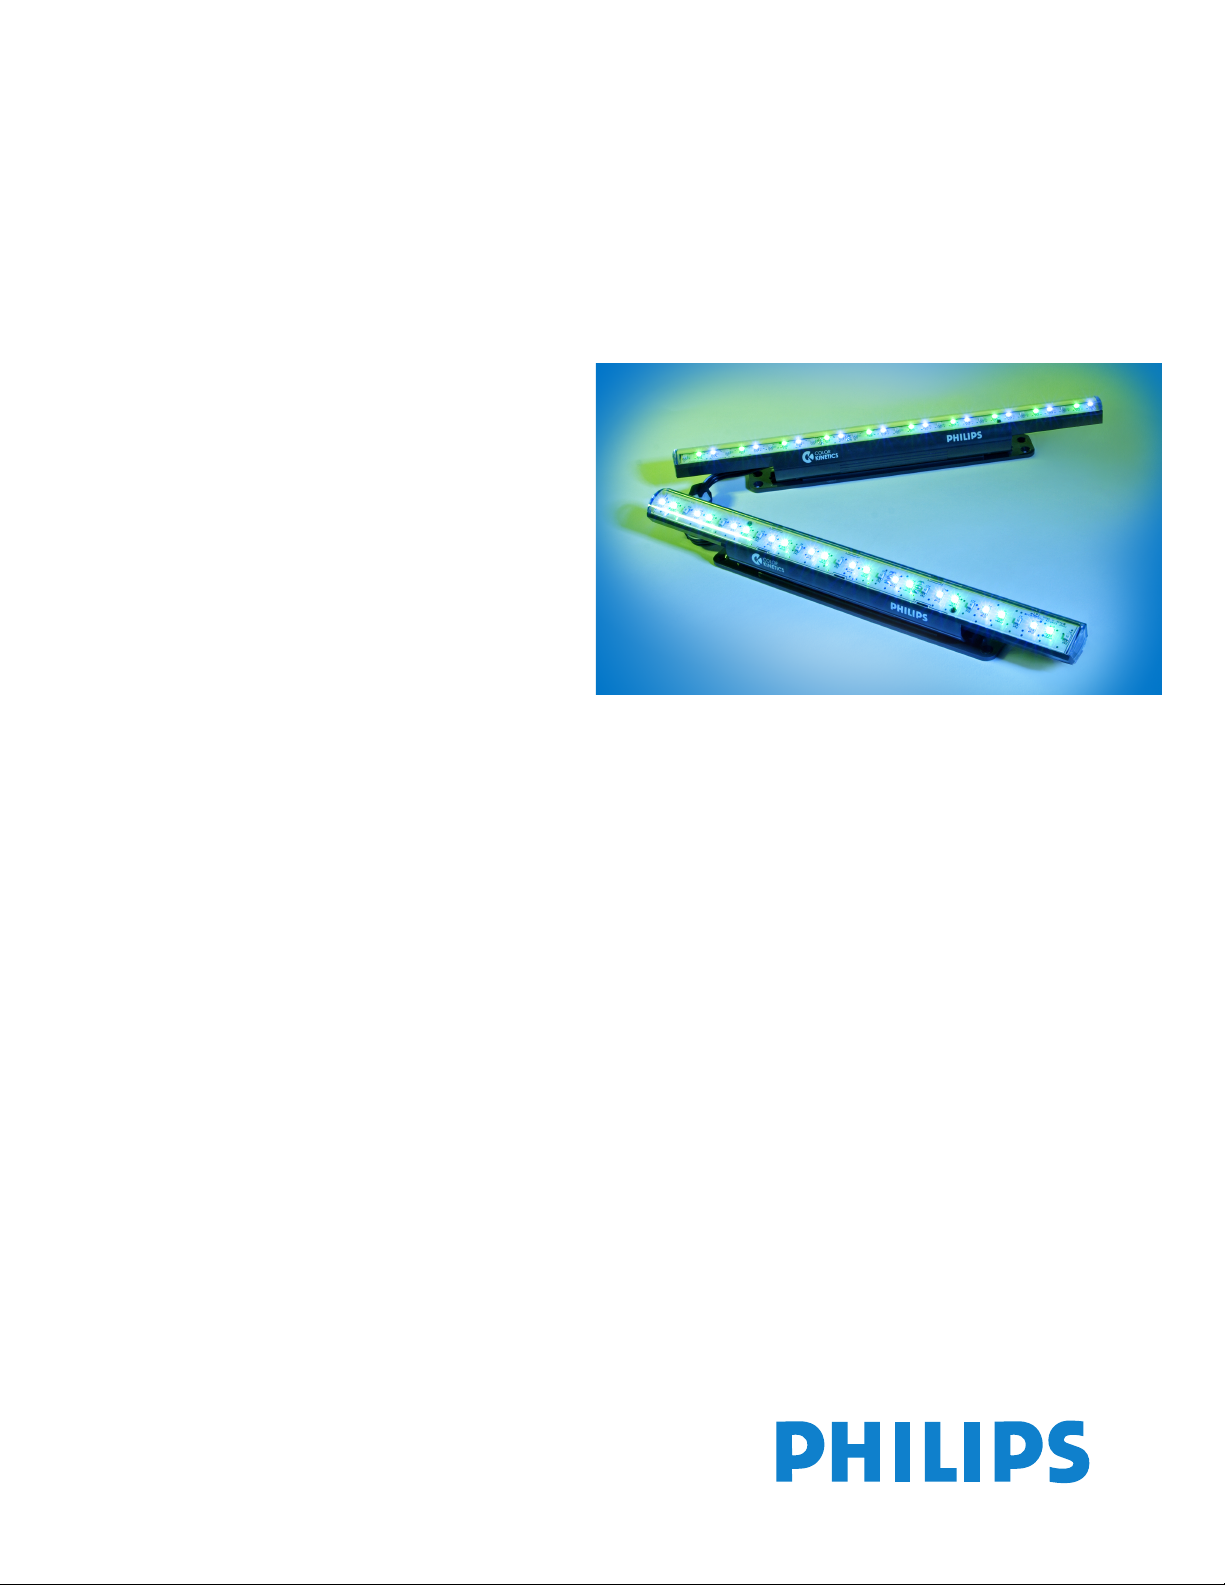
iColor Cove QLX
CK INTELLIGENT SERIES Preliminary
iColor® Cove QLX is a compact linear fixture that generates saturated color
and dynamic effects in alcoves, accent areas, and other interior spaces. The
fixture is available with a wide (120º x 120º) or medium (100º x 40º) beam. An
integrated rotating bracket and optional mounting track provide precise
positioning, and end-to-end connections ensure a simple installation.
• Integral mounting bracket with 180º rotation
• 50,000 hour lifetime
• 24 VDC input power
• End-to-end connectors
• Two standard lengths: 6-inch (15.2 cm) and 12-inch (30.5 cm)
• Uniform light quality is ensured with Optibin
• Precise, cost-efficient digital control is provided by Chromasic® technology
®
technology
Page 2
2 iColor Cove QLX Installation Guide
Scope Of This Guide
This Installation Guide contains important information on planning and
installing your new iColor Cove QLX fixture to ensure peak performance. Read it carefully and save it for future reference. This document should never be considered a substitute for any provision of a
regulation or state and/or local code.
The iColor Cove QLX product line includes, and this Installation Guide
covers, these products:
iColor Cove QLX Item Numbers
Fixture Length Beam Angle Item Number
6" (15.2 cm)
12" (30.5 cm)
Accessories for iColor Cove QLX Fixtures
iColor Cove QLX fixtures are part of a low-voltage system made up of
the fixtures and:
• One or more compatible power supplies from the list below.
• One leader cable, to connect each power supply output port to a
series of fixtures.
• A Philips, Color Kinetics, or other DMX512-based controller
work with iColor Cove QLX fixtures. The number of lights that
can be addressed varies with each controller. For information on
Philips or Color Kinetics controllers, see http://www.colorkinetics.com/support/systemguide/SysMatrix.pdf.
Power Supply Item Number
Compatible Philips and Color Kinetics power supplies:
sPDS-60ca24V provides 60W output
that can be split between two ports.
PDS-60ca provides 60W output that can
be split between two ports.
109-000016-01 (DMX)
sPDS-480ca 24V (provides eight 60W
output ports) 109-000026-00
Leader Cable Item Number
30-foot (9.1 m) leader cable. 108-000015-00
Depending on the installation’s design, you may need optional jumper
cables to add space between fixtures. Optional mounting tracks ensure
straight runs of fixtures.
Item Description Item Number
One-foot (30.5 cm) jumper cable. 108-000020-00
Five-foot (1.5 m) jumper cable. 108-000020-01
Box of 25 four-foot (1.2 m) mounting tracks
for straight runs. 523-000006-00
Wide 120º x 120º 101-000066-02
Medium 100º x 40º 101-000066-03
Wide 120º x 120º 101-000066-00
Medium 100º x 40º 101-000066-01
109-000021-02
DMX / Ethernet)
109-000016-00
(Preprogrammed) or
1. Start Here!
Before you begin the installation, read all of this installation guide.
iColor Cove QLX fixtures are low-voltage fixtures that require a power supply and a controller to be fully functional.
Control signals can be generated from any DMX-compatible controller, but only the power supplies listed on the previous page can transmit the control signals on the fixture’s leader cable.
Owner / User Responsibilities
It is the responsibility of the contractor, installer, purchaser, owner and
user to install, maintain, and operate the iColor Cove QLX fixture in
such a manner as to comply with all federal, state, and local laws,
codes, ordinances and regulations
WAR N ING
FIXTURES MUST BE INSTALLED BY A QUALIFIED ELECTRICIAN IN
ACCORDANCE WITH ALL NATIONAL AND LOCAL ELECTRICAL CODES
AND REGULATIONS.
2. Prepare For The Installation
Planning the installation includes developing a layout plan and verifying
that equipment required to support the lights is in place, as well as
ensuring that all required additional components (mounting tracks,
power supplies, leader and jumper cables) are available.
If approved architectural drawings are not available:
• Create a layout plan that starts with the location of the power
supplies and includes all power supplies, leader cables, fixtures,
and jumper cables.
• Refer to national, local, and state codes, and consult with the
appropriate electrical inspector, to ensure compliance with all
applicable codes and regulations.
• Consult Color Kinetics Application Engineering Services as
needed at support@colorkinetics.com.
Use these guidelines when you plan the installation:
• One iColor Cove QLX leader cable is required to connect each
run or series of fixtures to a power supply port.
• The number of iColor Cove QLX fixtures that may be daisychained together in a run is determined by the output of the
power supply and its ports. Each of the compatible power supplies listed in “Accessories for iColor Cove QLX Fixtures” on
page 2 provides one or more 60 Watt output ports. So, for
example, a single 60 Watt port can drive up to 30 6-inch or 20
12-inch iColor Cove QLX fixtures in a single series. Or, two
shorter runs can be powered by two lower wattage ports. A mix
of fixture sizes may be used, so long as the total power draw is
less than the 60 W supplied by the power supply port.
• Ensure that the power supplies provide the required wattage to
drive the fixtures and that the number of free ports is adequate.
• The power supply and first fixture may not be separated by more
than the 30-foot (9.1 m) length of the leader cable.
• Joined directly together, two fixture’s connectors allow for 1"
(25mm) spacing between fixtures and 180º turns.
• When fixtures need to be separated by more than an inch, use a
jumper cable. Two lengths are available: one-foot (30.48 cm)
(Item 108-000020-00) and five-foot (1.524 m) (Item 108-000020-
01).
Philips Solid-State Lighting Solutions
Page 3

Scope Of This Guide 3
OK
3. Assemble Additional Items
To wire and mount an iColor Cove QLX fixture, you may need additional parts and tools.
Power Supplies and Wiring
Install all power supplies, including any interfaces with controllers,
before installing the iColor Cove QLX fixtures. One iColor Cove QLX
leader cable is required to connect each run or series of fixtures to a
power supply port. (The power supply and external controllers send
control signals to the iColor Cove QLX fixtures over the leader cable.
To configure the power supply — fixture connection, you will need the
power supply installation or user guide for specific instructions.)
If jumper cables are required to add space between fixtures, make sure
that they are available.
Figure 1: Mounting Track Detail
6. Install The Fixtures
Mounting Tracks
iColor Cove QLX fixtures can be mounted directly to a wall, ceiling,
cabinet or other secure surface. For straight linear applications, several
iColor Cove QLX fixtures may be snapped into an optional four-foot
long mounting track to ensure a straight run. If the track is specified in
the plans, make sure it is available.
Too l s a n d Su pp li es
You will need these tools and supplies:
• General tools to secure fixtures and mounting tracks (drill, screwdriver, level, measuring tools, etc.).
• #6 mounting screws or other hardware (bolts, nuts and washers,
for instance) that is appropriate for the substrate.
4. Inspect The Fixtures and Accessories
Carefully inspect the cartons and boxes containing the iColor Cove
QLX fixtures, the fixtures themselves, and all cables for any damage
that may have occurred in transit.
WAR N I N G
DO NOT USE A FIXTURE IF THE LENS, HOUSING, OR POWER CABLES ARE
FIXTURES HAVE NO USER SERVICEABLE PARTS. DO NOT ATTEMPT TO OPEN
DAMAGED.
THEM.
5. Install Mounting Tracks (Optional)
If the optional mounting tracks are used, install them now. Tracks can
be easily cut to fit with a hacksaw or nippers. Make sure the tracks are
firmly attached to the substrate with screws or other suitable connectors in all mounting holes. The screw heads may not rise above the
interior rails.
(See “iColor Cove QLX Wiring” on page 4 for an overview of these
steps.)
1. Position the first fixture in the series. If a track is used, snap the
fixture into the track and slide it into position. The leader cable
will connect to this fixture’s male connector, so make sure that
the fixture is installed so that the next fixture can plug into this fixture’s female connector.
2. Use four screws to secure the fixture. Most materials will require pilot holes for the screws. Mark the location of the holes using the fixture base as a guide.
3. Drill the pilot holes (through the track, if used) and mount the fixture with four #6 screws.
4. Position the next fixture in the series. Match its male connector to the female connector of the previous fixture. Snap it into the track (if used) and secure the fixture with four mounting screws.
5. Continue mounting the fixtures, making direct connections or inserting jumper cables as you go, until all lights in the series are mounted and connected.
6. Insert the terminator (packaged with the leader cable) into the last fixture of the series.
7. Make Electrical Connections
1. Verify that power in the line circuit to the power supply is OFF or that the power supply’s power cord is not connected.
2. Connect the leader cable to the first fixture in the run or series.
3. Connect the leader cable to the power supply.
WAR N ING
ENSURE THAT MAIN POWER SUPPLY IS OFF BEFORE INSTALLING OR
4. Energize the power supply’s line circuit. It is normal for some fixtures not to illuminate, because communications between the power supply and fixtures has not been set up.
WIRING A FIXTURE.
http://www.colorkinetics.com
Page 4

4 iColor Cove QLX Installation Guide
Figure 2: iColor Cove QLX Wiring This illustration shows the power supply receiving line power and control data inputs and dispatching both power and data through a leader cable to the first fixture in a run. Note the terminator location, in the last fixture of the run.
8. Address Fixtures With the Power Supply
To power up the fixtures, each one needs to be assigned a unique
addressed by the power supply. The exact method used to address
iColor Cove QLX fixtures depends on the type of power/data supply
being used. Specific instructions are in each power supply’s user guide,
or if an external controller is used, in that tools’ guide.
• For information on the PDS-60ca 24V, refer to the PDS-60ca 24V
Installation Guide.
• For information on addressing, see the sPDS-60ca 24V User
Guide.
• The PDS-480ca uses external software, either Light System Manager or Video System Manager, to address the fixtures.
9. Aim The Fixtures
Aim the fixtures by rotating each fixture to the correct angle. There are
detents every 10 degrees in the bracket that hold it in position.
CAUTION
ICOLOR COVE QLX FIXTURES ARE A CLASS 2 LED PRODUCT. DO NOT
STARE INTO A BEAM OR VIEW DIRECTLY WITH OPTICAL INSTRUMENTS.
Philips Solid-State Lighting Solutions
Page 5

iColor Cove QLX Specifications
Specifications are subject to change without notice.
6-Inch Fixture 12-Inch Fixture
Length
Width
Height
Weight
LEDs Per Fixture
To t a l O u tpu t (lu m ens )
Efficacy (Lm/W)
Source
Color Range
Beam Angle
Mixing Distance
Housing
Lens
Medium-Beam Optics
Environment
Fixture Connectors
Max. Fixture Run
Max. Cable Run Length
Listings
Control
Operating Voltage
Power Consumption
Temperature Range
Humidity Range
LED Source Life
50,000 hours, based on LED manufacturers’ test data
6 inches (15.2 cm) 12 inches (30.5 cm)
1.25 inches (3.2 cm) (tube diameter)
1.37 inches (3.5 cm)
3 oz. (85 g) 5 oz. (142 g)
5 each: red, green, and blue 10 each: red, green, and blue
TBD Wide (120º x 120º) beam angle: 49.8
TBD White > 15
High-brightness LEDs.
16.7 million (8-bit) additive RGB colors; continuously variable intensity
120º x 120º or 100º x 40º
Mixing distance to uniform light is 2 inches (5 cm)
Charcoal gray, UL-recognized, injection-molded plastic
Clear polycarbonate. V-0 flame rating. F1 UV rating.
Polycarbonate.
UL Dry; CE IP20
IEC 15 A (max) with C13 plug
30 fixtures (on a single 60W power supply port) 20 fixtures (on a single 20W power supply port)
30 feet (9.1 m)
CE, PSE, RoHS, UL/CUL, WEEE
Chromasic input data
24 VDC from a Philips or Color Kinetics DMX In / Chromasic Out power supply
2 W maximum at full output steady state. 3 W maximum at full output steady state.
-4°F to 122°F (-20°C to 50°C) operating temperature
0 to 95% non-condensing
5
Medium (100º x 40º) beam angle: 46.1
http://www.colorkinetics.com
Page 6

iColor Cove QLX Installation Guide
Philips Solid-State Lighting Solutions
3 Burlington Woods Drive
Burlington, MA USA 01803
Toll Free: 888 385 5742
Tel: 617 423 9999
Fax: 617 423 9998
http://www.colorkinetics.com
This product is protected by one or more of the following U.S. patents and their foreign counterparts: 6,016,038,
6,150,774, 6,292,901, 6,340,868, 6,636,003, 6,777,891, 6,969,954, 6,975,079, 7,038,399, 7,161,313, 7,186,003,
7,202,613, 7,221,104, and 7,233,115. Other patents pending.
Copyright © 2008 Philips Solid-State Lighting Solutions All rights reserved.
Chromacore, Chromasic, CK, the CK logo, Color Kinetics, the Color Kinetics logo, ColorBlast, ColorBlaze, ColorBurst, ColorCast, ColorPlay, DIMand, Direct Light, EssentialWhite, eW, iColor, iColor Cove, IntelliWhite, iW,
iPlayer, Light Without Limits, Optibin, Powercore, QuickPlay, Sauce, the Sauce logo, and Smartjuice are either registered trademarks or trademarks of Philips Solid-State Lighting Solutions in the United States and/or other countries.
All other brand or product names are trademarks or registered trademarks of their respective owners.
PUB-000185-00R03 2/29/08
 Loading...