How it Works
Log In / Sign Up
Buy Points
How it Works
FAQ
Contact Us
Questions and Suggestions
Users
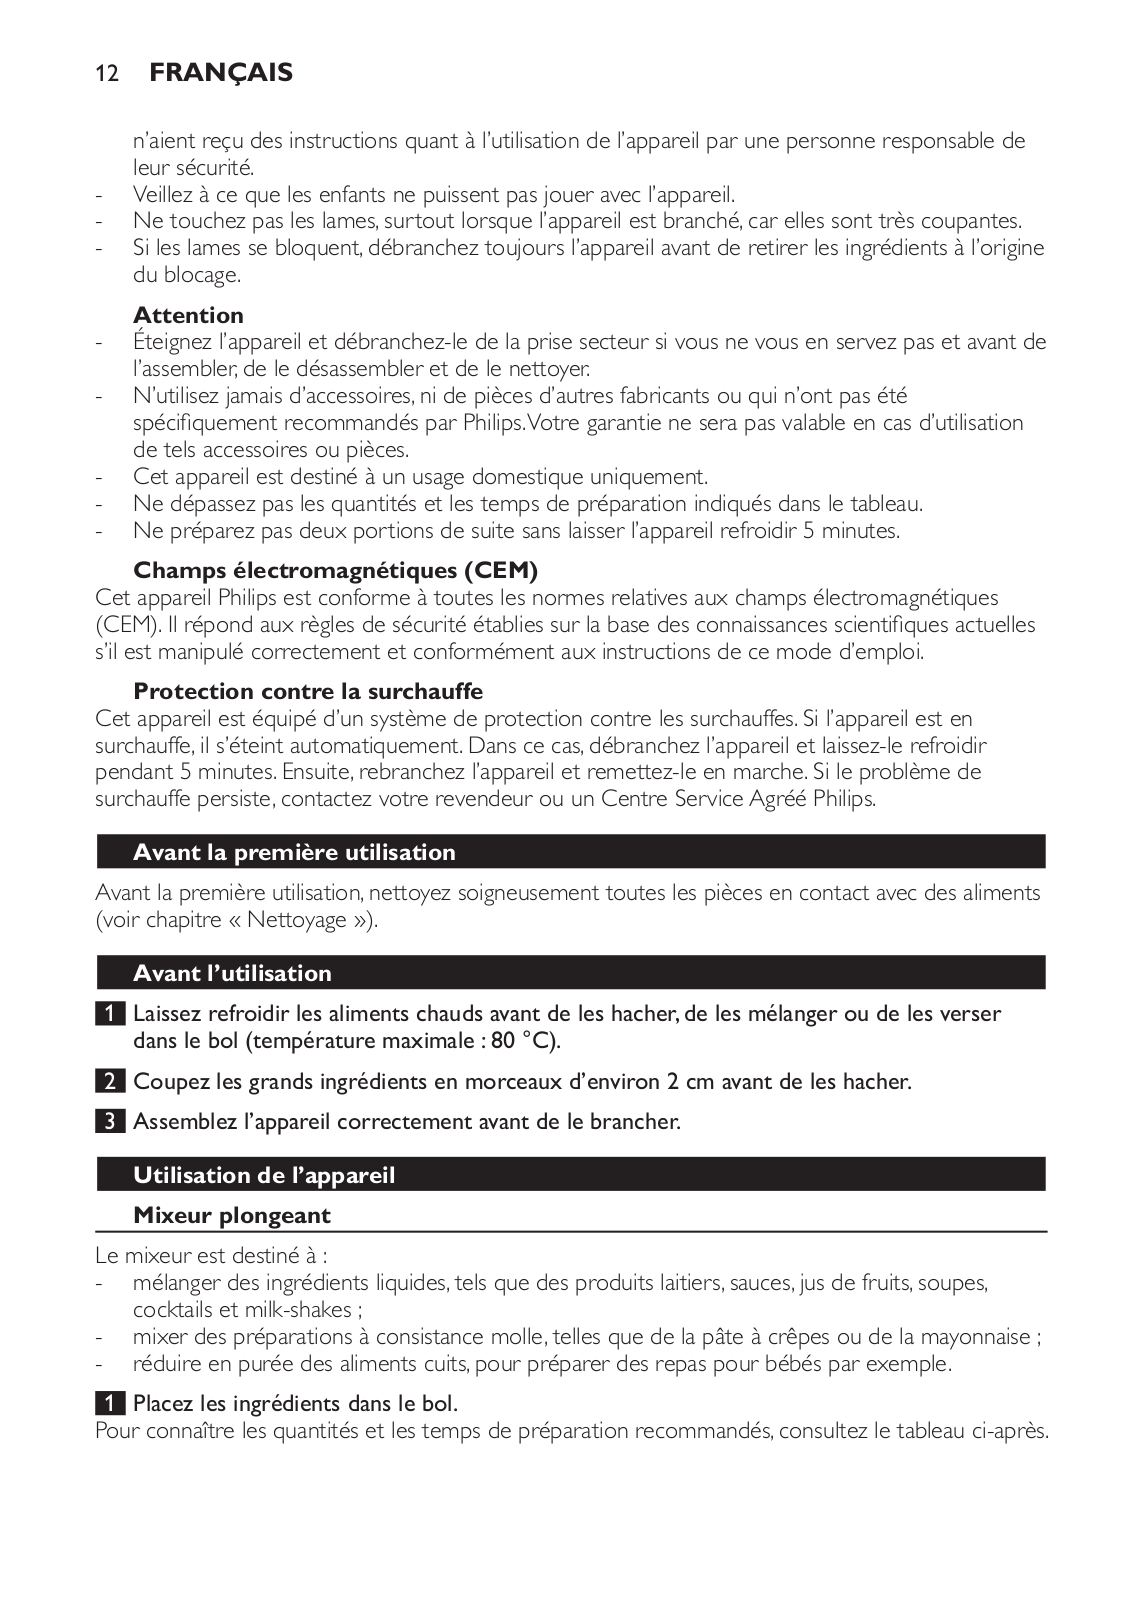
PHILIPS
Loading...
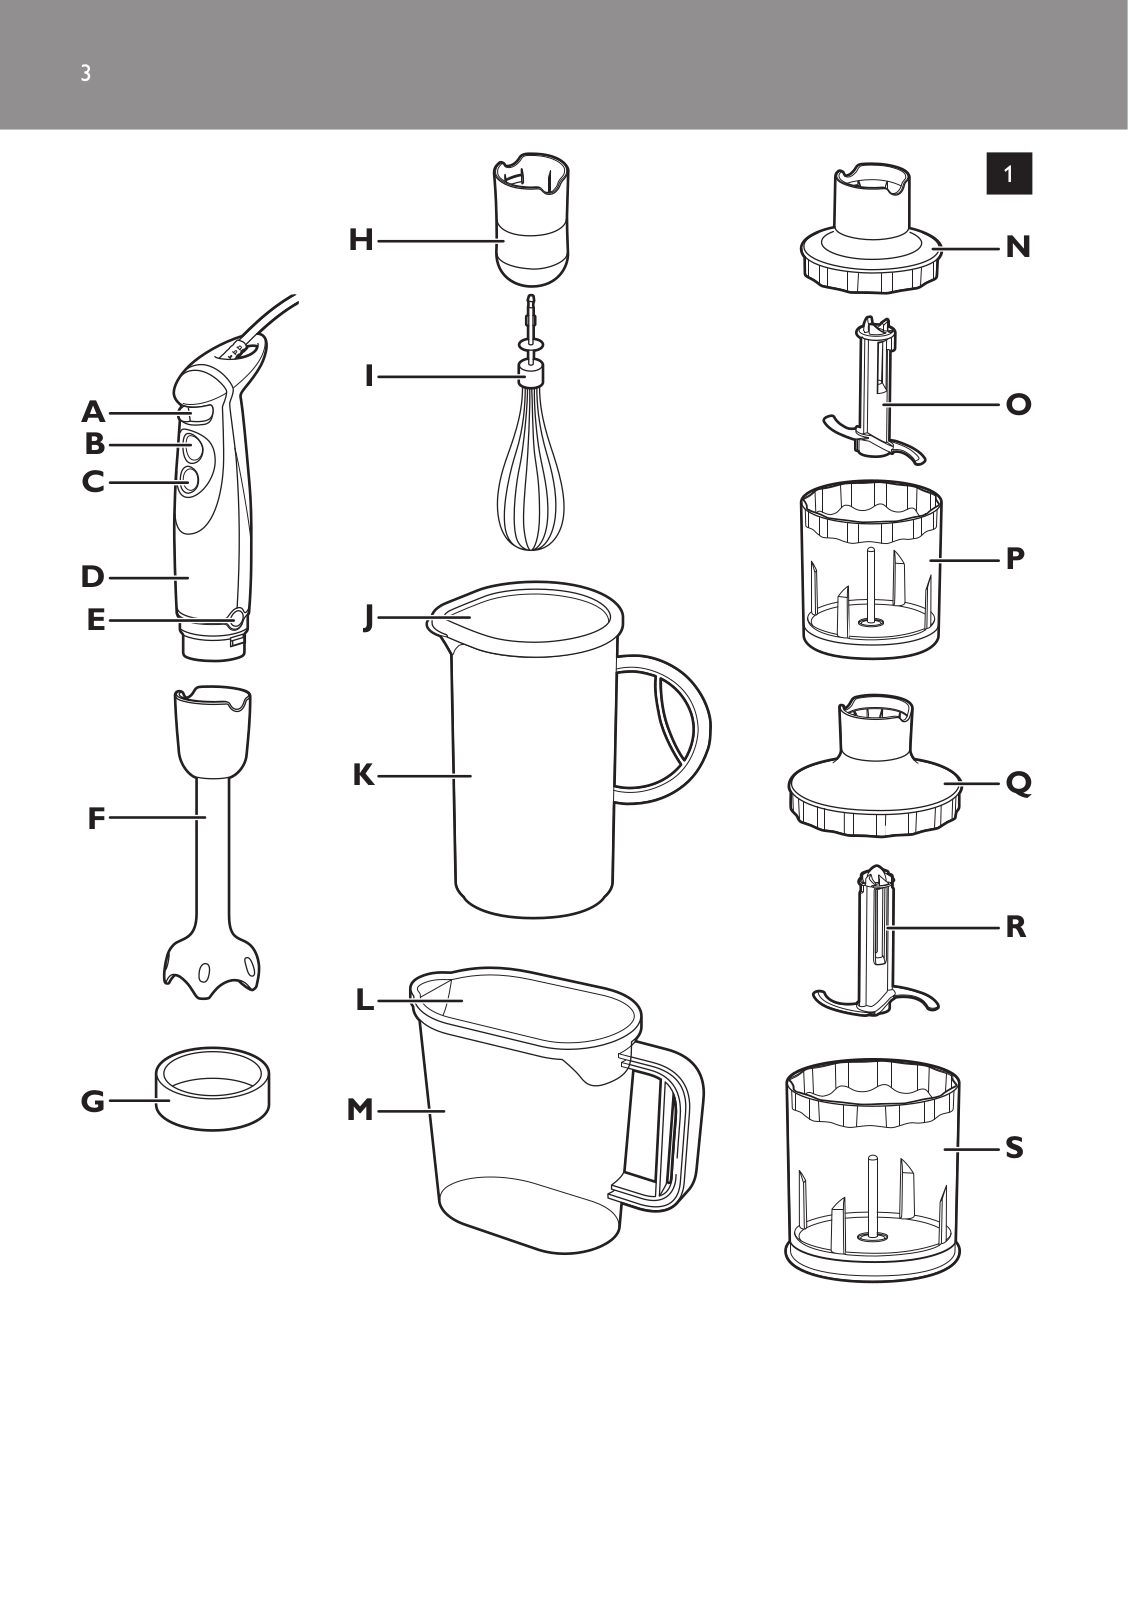
H
HR1576/00
HR1577
3
HR1578
4
HR1579
5
HR1581
18
HR1581/00
4
HR158110
HR1590
5
HR1591
5
HR1592
5
HR1593
5
HR1594
6
HR1600/00
3
HR1600/09
3
HR1601
8
HR1601/00
HR1602
9
HR1602/00
2
HR1603
9
HR1604/09
HR1605
4
HR1606
5
HR1606/00
2
HR1607
5
HR1607/00
HR1608
5
HR1608-00
HR1609
6
HR1610/00-01
2
HR1611
7
HR1611/00
2
HR1611/00-01
2
HR1613
7
HR1613/00
3
HR1613/00-03
2
HR1614
11
HR1614/00
3
HR1614/01
HR1614/90
HR1615/00
3
HR1615/00-01
2
HR1615/01
HR1615/90
HR1615/91
HR1616/00-01
2
HR1617
26
HR161700
2
HR1617/00-03
2
HR1617/01
HR1617/03
HR1617/90
HR1618
2
HR1618-90
2
HR1619
4
HR1619/00
HR1619/90
HR1621
7
HR1621/00
HR1623
8
HR1625
7
HR1625/00
3
HR1626
4
HR1627
6
HR1627/00
HR1628
5
HR1628/00
HR1629
2
HR1633
3
HR1633 series
HR1634
2
HR1635
2
HR1636/80
HR1637
2
HR1638
2
HR1639
HR1639 series
HR1640
3
HR1641
3
HR1642
4
HR1642/00
2
HR1643
4
HR1643/00
HR1644
3
HR1645
5
HR1646
3
HR1646/00
HR1647
2
HR1650
5
HR1650/90
HR1650/91
HR1651
4
HR1651/90
HR1652
4
HR1652/90
HR1652/91
HR1653
3
HR1655
4
HR1655/90
HR1659/90
HR1659-98
Loading...
Loading...
Nothing found
HR161700
User Manual
7 pgs
670.01 Kb
0
User Manual [fr]
64 pgs
3.66 Mb
0
Table of contents
Loading...
PHILIPS HR 1615, HR 1614, HR161700 User Manual [fr]
...
PHILIPS User Manual [fr]
Download
Specifications and Main Features
Frequently Asked Questions
User Manual
Download
Loading...
+
44
hidden pages
Unhide
You need points to download manuals.
1 point = 1 manual.
You can buy points or you can get point for every manual you upload.
Buy points
Upload your manuals
 Loading...