

Philips EasySpeed GC1720 Service Manual

Service Manual
Philips Domestic Appliances and Personal Care
Published by Philips Domestic Appliances and Personal Care Printed in the Netherlands © Copyright reserved Subject to modification
Steam Iron EasySpeed
GC1720
06/10
PRODUCT INFORMATION
Features
- Color : Rose Water
- Blue Ceralon soleplate
- Pointed tip soleplate
- Tank capacity 180 ml
- Steam rate 15 g/min
- Cord length 1.8 m
- Calc clean function
- Spray feature
Safety Information
- This product meets the requirements regarding
interference suppression on radio and TV.
- After the product has been repaired, it should function
properly and has to meet the safety requirements and
legal regulations as officially laid down at this moment.
TECHNICAL INFORMATION
Voltage : 110 V, 220 - 240 V
Frequency : 50 - 60 Hz
Power : 1000 W, 1200 - 1440 W
Dimension (F-box) : 285 (L) x 123 (W) x 152 (H) mm
Weight (Product) : 0.95 kg
Water advice
Suitable for tap water use. However, if the water in your area
is very hard, it is advisable to mixed with an equal portion of
distilled water or use only distilled water.
Blue Ceralon soleplate
The soleplate is coated with Ceralon material (non-stick
coating blended with ceramic particles) which is smooth
gliding, high scratch resistant & good durability advantage
over the conventional non-stick coating.
Pointed tip soleplate design
Access diffi cult-to-reach areas on a garment.
Calc clean function
Ensure longer life for the iron by removing calc build-up
inside the soleplate steam chamber.
GC1720
BACKPLATE 14
LAMP ASSY 7
CORDSET 10
SWIVEL 9
DOSING ASSY 13
INLAY 8
SPRAY KNOB 16
SPRAY PUMP ASSY 15
Remove Screw A
Remove BACKPLATE 14
Remove DOSING ASSY 13
Remove Screw B
Remove INLAY 8
DISASSEMBLY ADVICE
THERMOSTAT DIAL 12
WATER TANK ASSY 11
THERMOSTAT BUSH 6
METAL SHEET 5
COVER 4
DOSING SEAL 2
RYTON RING 3
SOLEPLATE ASSY 1
Remove THERMOSTAT DIAL 12
Remove Screws C1, C2, C3
Remove WATER TANK ASSY 11
Remove THERMOSTAT BUSH 6
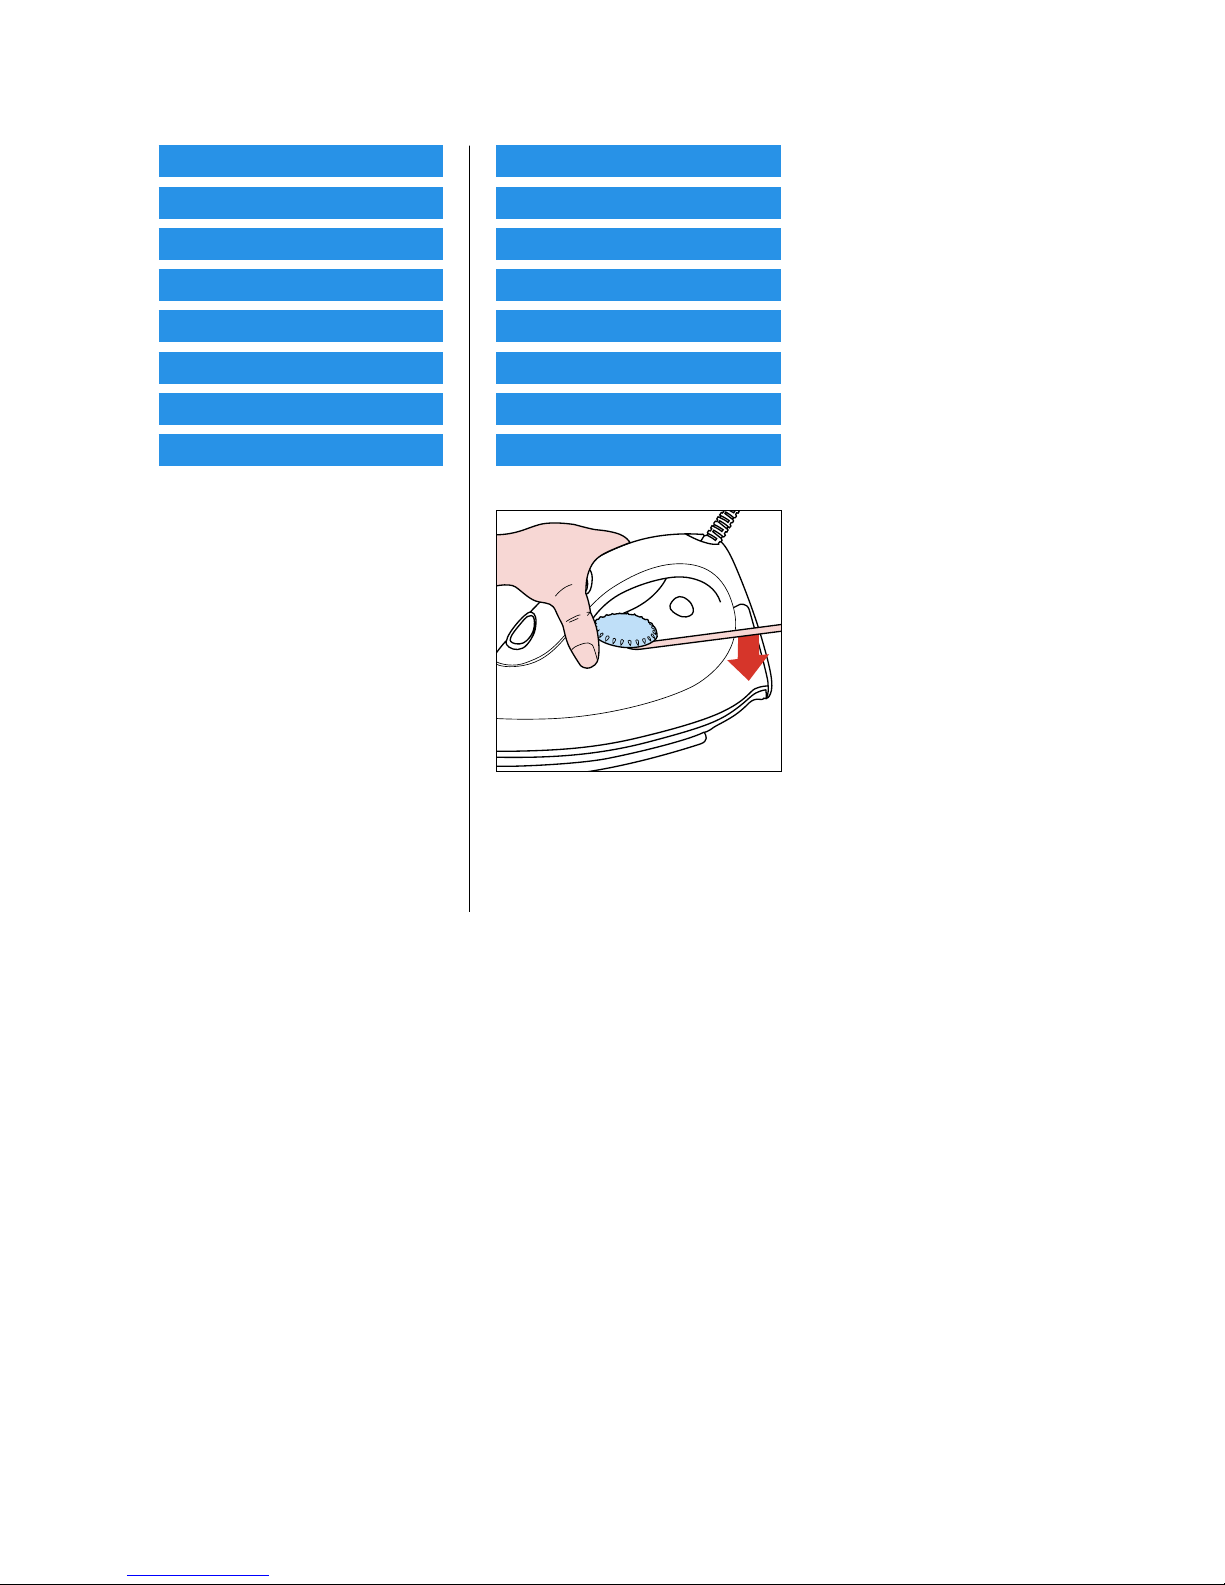
Remove Screws D1, D2, D3
Remove COVER 4
REPAIR INSTRUCTION
- In case of any defect on the thermostat, the complete soleplate has to be replaced.
- In the event that no information about the type number & voltage has been stamped onto the type plate sparepart, engrave at
least type number & voltage onto the typeplate sparepart with a tool when replacing this part.
- After product has been repaired, it should function properly & has to meet the safety requirements & legal regulations as officially
laid down at this moment.
2-4
 Loading...