

Page 1
Register your product and get support at
www.philips.com/welcome
Quick start guide
Connect
1
Setup
2
Enjoy
3
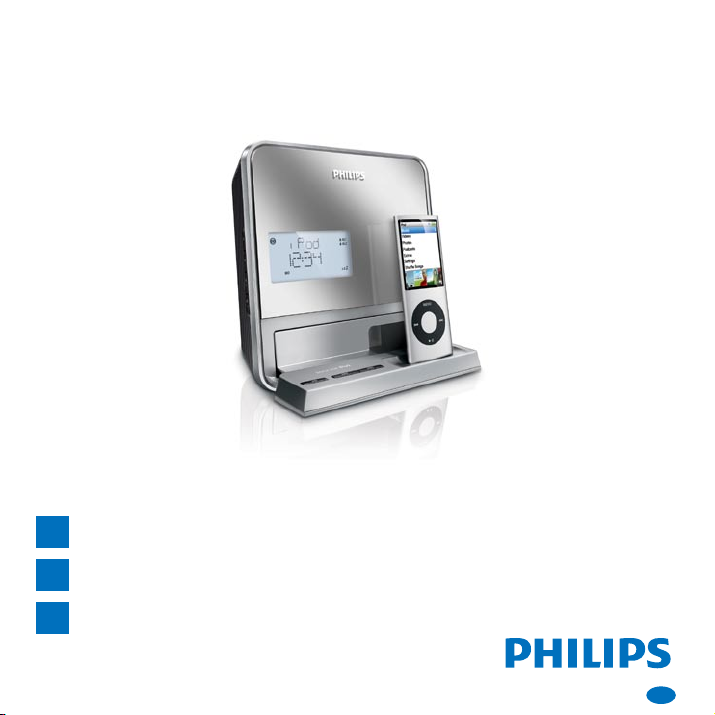
Docking Entertainment System
DCB210
EN
Page 2
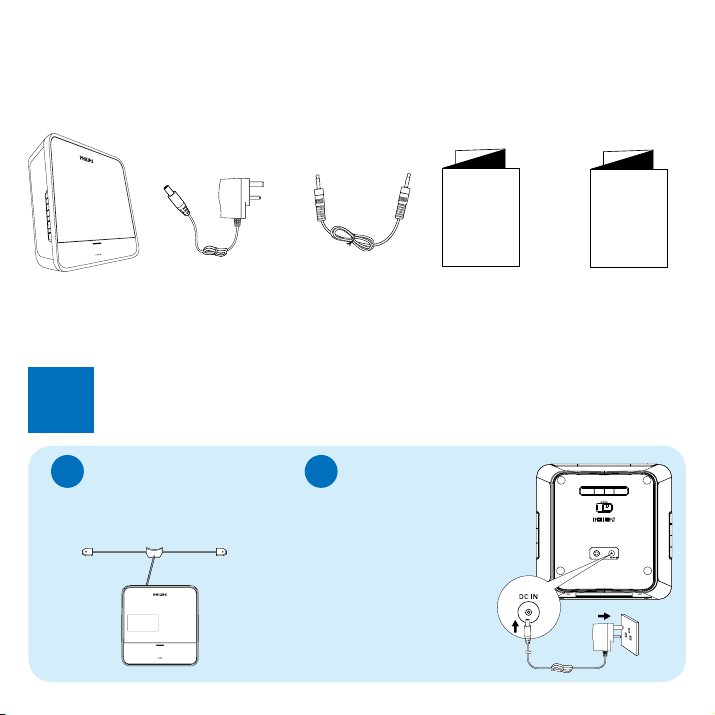
What’s in the box
Quick Start Guide
User Manual
MP3-Link DC IN
TUNING –TUNING
+
INFO /
MENU
TIME SET /
AUTO SCAN
BUZZ
FMDAB
WAKE TO iPod
6.5V1.3A
Main unit Power adaptor MP3 link cable
1
Connect
A
Prepare DAB/FM antenna
1 Fully extend the antenna and
x it to the wall as shown.
B
1 Connect the power adaptor to
the • DC IN jack on the rear
of the main unit
the power socket. •
Quick Start Guide
Connect power
User Manual
Page 3

2
Setup
A
Set clock
1 In standby mode, press and hold TIME
SET/AUTO SCAN for 2 seconds.
[SYNC ON] begins to blink.
»
2 Press TUNING +/- or PRESET +/- to
select a sync mode and press TIME SET/
AUTO SCAN to conrm.
The 24H or 12H begins to blink.
»
3 Press TUNING +/- to select the clock
format .
The hour digits begin to blink.
»
4 Press TUNING +/- to set the hour.
5 Press TIME SET/AUTO SCAN.
The minute digits begin to blink.
»
6 Press TUNING +/- to set the minute.
7 Press TIME SET/AUTO SCAN to
conrm.
8 Press TUNING +/- to set the year,
month, and date.
9 Press TIME SET/AUTO SCAN to
conrm.
Set the alarm timer
B
1 Ensure that you have set the clock
correctly.
2 Press and hold ALARM 1 or ALARM 2
for 2 seconds.
The hour digits begin to blink.
»
3 Press TUNING +/- to set the hour.
4 Press ALARM 1 or ALARM 2 again.
The minute digits begin to blink.
»
5 Press TUNING +/- to set the minute.
6 Press ALARM 1 or ALARM 2 to
conrm.
The weekdays begin to blink.
»
7 Press TUNING +/- to select whether to
ring alarm on weekdays or weekend.
8 Press ALARM 1 or ALARM 2 to
conrm.
9 Press TUNING +/- to select alarm
volume.
10 Press ALARM 1 or ALARM 2 to
conrm.
Page 4
2
MP3-Link DC IN
TUNING –TUNING
+
INFO /
MENU
TIME SET /
AUTO SCAN
BUZZ
FMDAB
WAKE TO iPod
6.5V1.3A
BUZZ
FMDAB
WAKE TO iPod
Setup
Set alarm mode
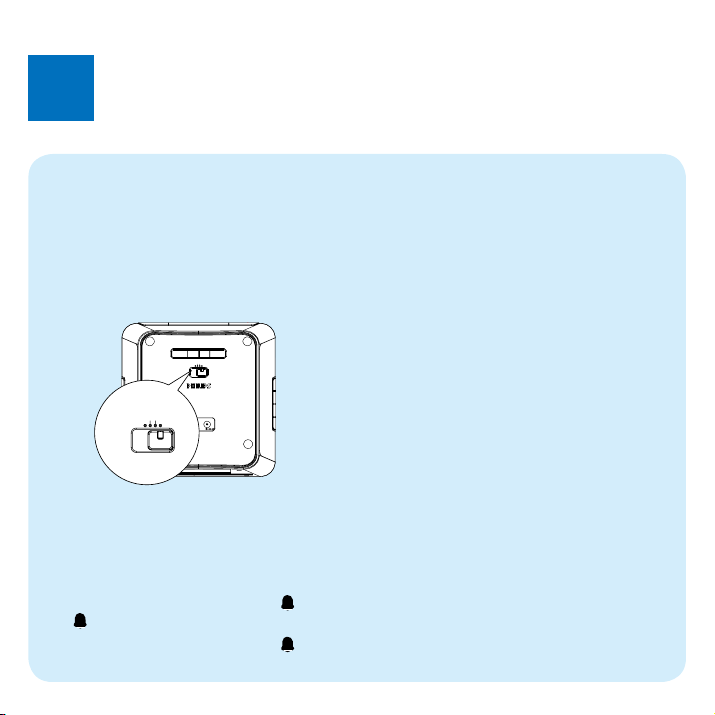
1 Adjust the WAKE TO iPod/DAB/FM/
BUZZ control to select the source for
the alarm.
When the alarm time comes, the
»
selected iPod, DAB, FM radio or buzzer
turns on.
Activate and deactivate the alarm timer
1 Press ALARM 1 or ALARM 2 repeatedly
to activate/deactivate the timer.
Tip
E
If the alarm timer is turned on, •
AL2 is displayed.
If the alarm timer is turned off, •
disappears.
AL1/
Repeat alarm
1 When the alarm rings, press REPEAT
ALARM/BRIGHTNESS CONTROL.
The alarm repeats ringing minutes later.
»
Tip
E
You can press • TUNING+/- to adjust
interval (5 - 15 minutes) to repeat alarm.
Stop alarm ring
1 When the alarm rings, press the
corresponding ALARM 1 or ALARM 2.
The alarm stops but the alarm settings
»
remain.
Reset the preset radio stations
1 In FM/DAB mode, during broadcasting,
press and hold INFO/MENU.
[SELECT FACTORY]
»
on the screen.
2 Press SELECT.
[CONFIRM Reset]
»
the screen.
3 Press SELECT to conrm.
All preset radio stations are cleared.
»
is displayed
is displayed on
Page 5
2
3
Enjoy
Play from iPod
A
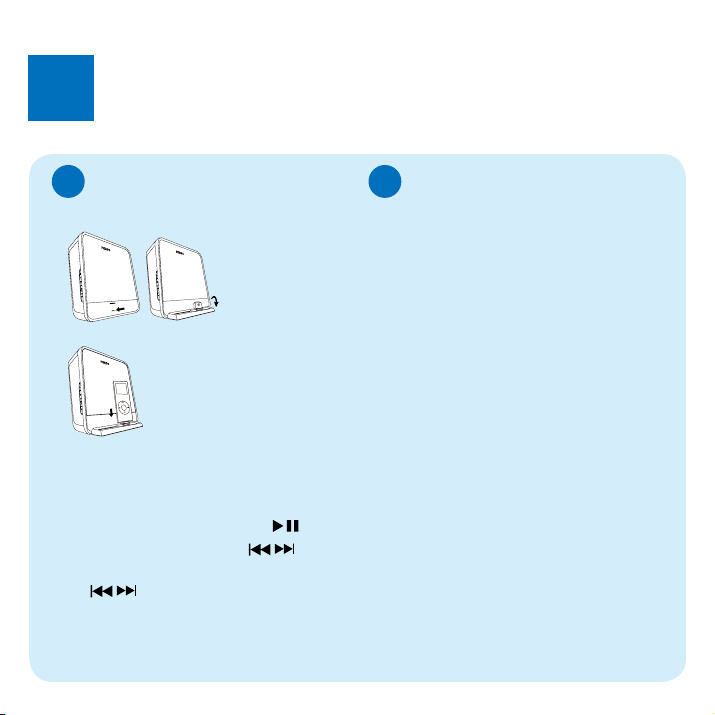
1 Push to open the dock compartment.
2 Place the iPod in the dock.
3 Press SOURCE repeatedly to select iPod
source.
The connected iPod plays automatically.
»
To pause/resume play, press •
To skip to a track, press •
To search during play, press and hold •
/ , then release to resume normal
play.
.
/ .
Program and listen to DAB/FM
B
radio stations
1 Press SOURCE repeatedly to select
DAB/FM radio
2 In the DAB/FM tuner mode, press and hold
TIME SET/AUTO SCAN for more
than 2 seconds to activate automatic
program mode.
All available stations are programmed
»
in the order of waveband reception
strength.
The rst programmed radio station is
»
broadcast automatically.
2 Press PRESET +/- to select a preset
number.
3 Press and hold SELECT for two seconds.
The preset number of the saved station
»
appears.
Tip
E
Detailed functions and features are •
described in the user manual.
Page 6

© Royal Philips Electronics N.V. 2009
All rights reserved.
Specications are subject to change without notice.
Trademarks are the proper ty of Koninklijke Philips
Electronics N.V. or their respective owners.
Printed in China
DCB210_05_QSG_V2.0
 Loading...