

Page 1
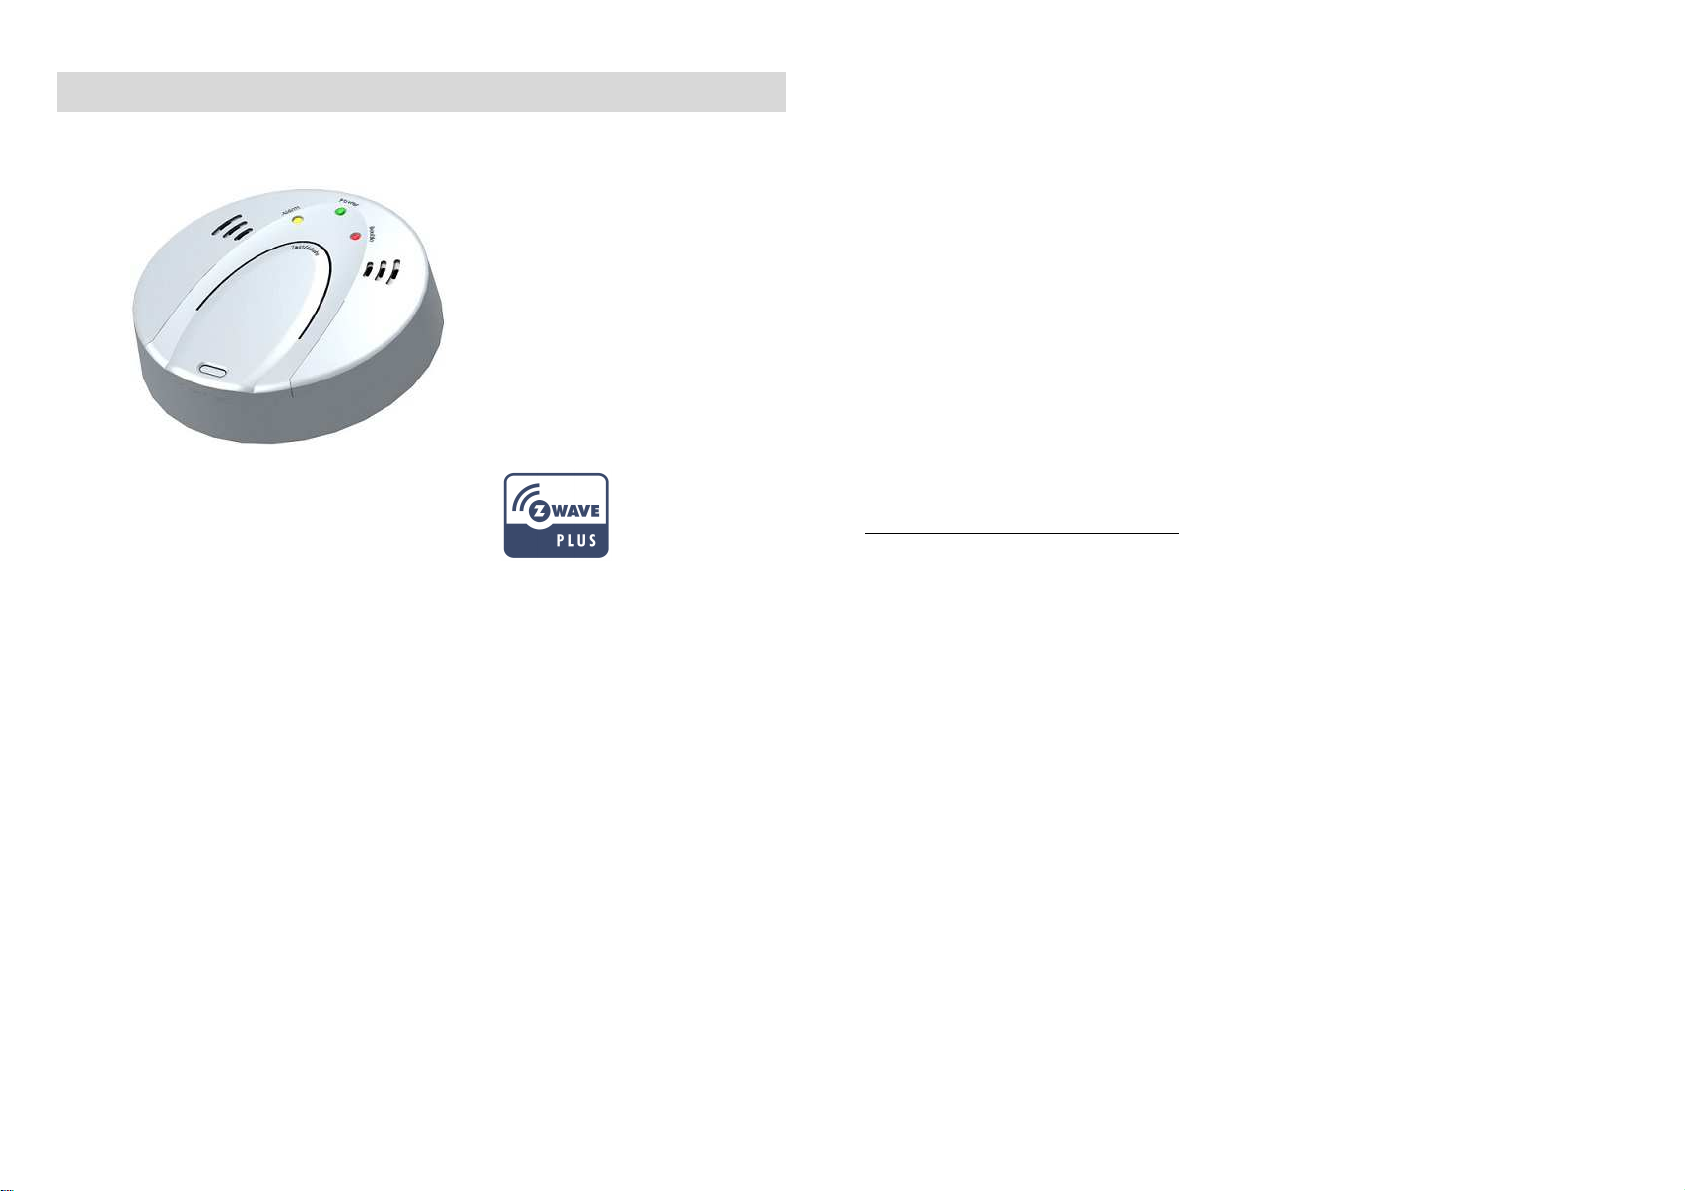
Z-Wave CO Sensor PSG04
with other Z-WaveTM certified devices from other manufacturers and/or
other applications. All non-battery operated nodes within the network
will act as repeaters regardless of vendor to increase reliability of the
network.
Introduction
The Z-Wave CO Sensor PSG04 is designed to give early warning of
developing fires by giving off the alarm sounds from its build-in alarm
horn, based on Z-WaveTM technology.
It is the Z-WaveTM plus product, it support the security, OTA. Those
newest features of the Z-WaveTM technology. Z-WaveTM is a wireless
communication protocol designed for home automation, specifically to
remotely control applications in residential and light commercial
environments. The technology uses a low-power RF radio embedded or
retrofitted into home electronics devices and systems, such as lighting,
home access control, entertainment systems and household
appliances.
The device adopt the Z-WaveTM 500 series chip, when your Z-Wave
network system is all made by Z-WaveTM 500 series devices. The
network system will have the advantages as below.
• Concurrent multi-channel support reduces external interference.
• Better RF range, improve about 10 meters in indoor.
• Support 100 Kbps transmit speed, speed up communication.
WARNING AND LIMITATION
!
WARNING!! This product is intended for use in ordinary indoor
locations of family living units. It is not designed to measure
compliance with Occupational Safety and Health Administration
(OSHA) commercial or industrial standards. It is designed to detect
carbon monoxide gas from any source of combustion, it is NOT
designed to detect CO, fire or any other gas.
Individuals with a medical problem may consider using warning
devices which provide audible and visual signals for carbon monoxide
concentrations under 30ppm.
This CO sensor is not suitable to install in a hazardous location, as
defined in the National Electrical Code.
TM
This product can be included and operated in any Z-WaveTM network
This CO alarm will not work without power. Philio's PSG04 Carbon
1
Page 2

Monoxide sensor will not work if the battery power is disconnected or
cut off for any reason. Additionally, carbon monoxide must reach the
CO alarm unit for the proper performance of CO gas detection.
Carbon monoxide alarms may wear out because they contain
electronic parts that fail at any time. Test your CO alarm at least every
week (see the section "TEST AND SILENCE YOUR CO ALARM").
enter the exclusion mode.
Node ID has been removed.
1. Product has a DSK string , you can key in first five
digit to increment smart start process,or you can
scan QR code.
Ex:mydsk
10209-46687-52248-13629-04783-07465-15776-56519
Add to/Remove from Z-WaveTM Network
There is one button on the device. It can be used to add, remove, reset
or association from Z-WaveTM network.
In the first time, add the device into the Z-WaveTM network. First, make
sure the primary controller is in the add mode. And then insert battery to
power on the device. Press the button once to start the NWI (Network
Wide Inclusion) mode. And it should be added in 5 seconds.
Notice: Including a node ID allocated by Z-WaveTM Controller means
“Add” or “Inclusion”. Excluding a node ID allocated by Z-WaveTM
Controller means “Remove” or “Exclusion”.
Function Description
1. Have Z-WaveTM Controller entered inclusion mode.
2. Pressing button three times within 1.5 seconds to
Add
Remove
enter the inclusion mode.
3. After add successful, the device will wake to receive
the setting command from Z-WaveTM Controller
about 20 seconds.
1. Have Z-WaveTM Controller entered exclusion mode.
2. Pressing button three times within 1.5 seconds to
Smart Start
Reset
Association
2
2. SmartStart enabled products can be added into a ZWave network by scanning the Z-Wave QR Code
present on the product providing SmartStart
inclusion. No further action is required and the
SmartStart product will be added automatically
within 10 minutes of minutes On in the network
vicinity.
Notice: Use this procedure only in the event that
the primary controller is lost or otherwise
inoperable.
1. Pressing button four times within 1.5 seconds and
do not release the button in the 4th pressed, and the
red LED will light ON.
2. After the red LED flash 9 times, release the button
within 2 seconds.
3. IDs are removed and all settings will reset to factory
default.
1. Have Z-WaveTM Controller entered association
mode.
2. Pressing button three times within 1.5 seconds to
enter the association mode.
Note: The device support 1 groups. This group is for
receiving the report message, like triggered event etc.
This group support 8 nodes maximum.
Page 3

• Failed or success in add/remove the node ID can be viewed
from Z-WaveTM Controller.
Notice 1: Always RESET a Z-WaveTM device before trying to add it to a
Z-WaveTM network
Notification Report (V4)
Notification Type: CO (0x02)
Event: CO detected, Unknown Location (0x02)
CO Alarm Test (0x03)
Sensor Binary Report (V2)
Z-WaveTM Notification
After the device adding to the network, it will wake-up once per day in
default. When it wake-up it will broadcast the “Wake Up Notification”
message to the network, and wake-up 10 seconds for receive the
setting commands.
The wake-up interval minimum setting is 30 minutes, and maximum
setting is 120 hours. And the interval step is 30 minutes.
If the user want to wake-up the device immediately, please press the
button once. The device will wake-up 10 seconds.
Z-WaveTM Message Report
When CO Sensor detects, the device will report the trigger event and
also report the battery status.
In default the device will using Notification Report to represent the
trigger event, it can be changed to Sensor Binary Report by setting the
configuration NO. 7 Bit4 to 1.
* CO Detected/Test Report:
When the CO Sensor detects CO, the device will unsolicited to send
the CO detected (0x02) report to the nodes in the group 1. When the
device is in alarm test mode, the device will unsolicited to send the CO
Sensor test (0x03) report to the nodes in the group 1.
Sensor Type: CO (0x03)
Sensor Value: 0xFF
* Tamper Report:
When the tamper is pressed, the device will into the alarm state. In that
state, if tamper is released, the yellow LED will light on and the device
will unsolicited to send the report to the nodes in the group 1.
Notification Report (V4)
Notification Type: Home Security (0x07)
Event: Tampering. Product covering removed (0x03)
Sensor Binary Report (V2)
Sensor Type: Tamper (0x08)
Sensor Value: 0xFF
Notice : When the event triggered, the device will report the messages
to the nodes in the group 1. The messages also include the tamper
status.
Power Up Procedure
* Wake
When the device power on, the device will wake about 20 seconds. In
3
Page 4

this duration, the controller can communicate with the device. Normally
the device is always sleeping to save the battery energy.
Over The Air (OTA) Firmware Update
3.Place the bracket so that the two longest hole slots are aligned on
the line. In each of keyhole slots, draw a mark to locate a mounting
plug and screw.
The device support the Z-Wave firmware update via OTA.
Let the controller into the firmware update mode, and then press the
button once to start the update.
Please don't remove the battery, otherwise it will cause the firmware
broken, and the device will no function.
After update finish, it is recommended that the user power up the
device. Caution: After remove the battery, please wait about 30
seconds, and then re-install the battery.
INSTALLING YOUR CO Sensor
Philio Carbon Monoxide Sensor PSG04 is easy to install to protect you
and your family in your home, cottage, cabin and office.
To install the CO Sensor (See figure 2 as below):
4.Remove the bracket.
5.Using a 3/16-inch (5mm) drill bit, drill two holes at the marks and
insert wall plugs.
6.Using the two screws and wall plugs (all supplied), attach the bracket
to the wall.
7.Line up the side slot of the bracket and the alarm. Push the alarm
onto the mounting bracket and turn
1. At the place where you are going to install the alarm, draw a
horizontal line six (6) inches long.
2.Remove the mounting bracket from your unit by rotating it
counterclockwise.
INSTALLING / REPLACING BATTERY
To install or replace the batteries in your CO Sensor PSG04, please
perform the following steps:
1. Gently press the transparent locker (see figure 3 as below) and flip
4
Page 5

open the battery cover to expose the battery compartment.
2.Remove the old batteries and properly dispose of them as
recommended by the battery manufacturer.
Battery Cover
LOCKER
Figure 3.
Three AA batteries have been included with your purchase. When
replacing the batteries, we recommend use of following mentioned
type of batteries:
3 pieces of AA 1.5V Energizer # E91 Alkaline battery; the battery life is
at least one year under normal operation condition.
or 3 pieces of AA 1.5V Energizer #L91 lithium battery; the battery life is
at least one year under normal operation condition.
or 3 pieces of AA 1.5V GP #LR6 lithium battery; the battery life is at
least one year under normal operation condition.
!
WARNING!! Use only Batteries specified in manual. Use of a
different battery may have a detrimental effect on alarm operation.
Caution!! Constant exposures to high or low temperatures or high
humidity may reduce battery life.
TEST AND SILENCE YOUR CO ALARM
3.When reinstall the new batteries, note the polarity illustration in the
bottom of the battery compartment.
4.Reinstall the new batteries, make sure to carefully seat the red
battery warning flags in the recess of the battery well.
5.Gently close the battery cover. The battery cover of your CO Sensor
will not close if all three AA batteries are not properly installed.
6.The unit will chirp for approximately 0.5 second and all the LED will
flash for 0.5 second. after batteries are properly installed.
Recommended battery:
The test/silence button is used to test if the CO sensor is working
properly and to mute the unit during alarm.
Test the unit:
Press the test button and you should hear 4 short beeps with a
corresponding three LED flashes in 5 seconds, this cycle will repeat
one more time.
Familiarize yourself and your family members with this alarm pattern
as this testing simulates a actual CO sensor condition.
Silence the unit :
If the CO sensor is sounding, pressing the test/Mute button will have
the alarm muted while at the same time red LED keeps flashing. After
5
Page 6

4 minutes, if the CO concentration caused the alarm still remains at
alarming condition, the CO sensor will reactivate.
Test Key / Mute Key
TAKING CARE OF YOUR CO ALARM
You have to maintain the CO sensor frequently to ensure it working
properly. Few tips are provided for you to take care of your CO sensor
PSG04:
(a)Use a vacuum cleaner to clean the CO sensor cover once a month,
using the soft brush attachment, never use water, cleaners as they
may damage the unit.
Power on mode: Three LEDs blink and buzzer beeps for 0.5 second
as soon as the batteries are installed.
Stand-by mode: green LED flashes once in every 60 seconds, which
means the unit is receiving power and also indicates it is functioning
properly.
CO Alarm mode: When the unit sensors CO which is at alarming
level , the red LED light flashes rapidly and buzzer sounds loudly with
repeating 4 quick beeps and pause 5 seconds and then 4 quick beeps.
Low battery warning mode: The yellow LED flashes once in a minute
and the buzzer chirps also once in a minute. This warning should last
for up to 30 days, but please replace the battery asap before battery
power is completely exhausted.
Malfunction (Error) mode: The yellow LED flashes three times in a
minute and buzzer chirps once in a minute. This indicates the unit is
malfunctioned and needs to be replaced.
(b)Press the Test/Mute button to test its operating function once every
week.
MEANING OF LED LIGHT & SOUND
The red, green, yellow LED light and sound turn on and/or off to
indicate various situations. There are a few different LED light and
sound operations:
Low sensitivity (Aging) mode: The yellow LED flashes twice in a
minute and buzzer chirps once in a minute. This means unit needs to
be replaced.
End of life signal mode: The yellow LED flashes four times in a
minute and buzzer chirps once in a minute. This indicate the CO alarm
unit is reaching the end of this useful life (around 5 years after the unit
is purchased), please replace with the new CO alarm.
6
Page 7

Tamper mode: The buzzer chirps once in a minute and the yellow LED
is steadily on .until the CO alarm unit is mounted back to the bracket
properly.
ACTIONS TO TAKE WHEN CO ALARM SOUNDING
!
WARNING!! Actuation of your CO alarm indicates the presence
of carbon monoxide (CO) which can kill you. If alarm sounds :
reached.
(c) If no symptoms exist, immediately ventilate the home by opening
windows and doors. Turn off fuel burning appliances and call a
qualified technician or your utility company to inspect and repair
your problem before restarting appliances.
Normally an activation of the CO alarm indicates the presence of CO
gas. However, the CO gas can be extremely fatal, if it is not detected.
The source of the CO gas may come from several possible situations,
please refer to the list of sources of carbon monoxide in page 1.
1.Operate Mute button
2. Call your emergency services or fire department or 911
3. Immediately move to the fresh air –outdoor or by an open door
window.
In case of harmful levels of CO gas being detected, your CO sensor
PSG04 will go into a CO alarm mode as mentioned above. in “ CO
Alarm Mode” Try to take the following necessary actions immediately:
(a) If there is anyone experiencing the effects of carbon monoxide
poisoning such as headache, dizziness, nausea or other flu-like
symptoms, call your fire department right away or 911. You should
evacuate all the people in the premises immediately. Do a head
count to check that everybody is accounted for.
(b) Do not re-enter the premises until the problem has been corrected
and the CO gas has been dispersed out and a safe level is
CAUTION!! This CO alarm will only indicate the presence of CO gas at
the sensor. However, you have to be aware that the CO gas may be
present in other areas in the premises.
LOCATIONS TO INSTALL YOUR CO ALARM
Since CO gas moves freely in the air, the suggested location is in or as
near as possible to sleeping areas of the home. The human body is
most vulnerable to the effects of CO gas during sleeping hours. For
maximum protection, a CO alarm should be located outside primary
sleeping areas or on each level of your home. In the figure 1 below,
are suggested locations in the home. The electronic sensor detects
carbon monoxide, measures the concentration and sounds a loud
alarm before a potentially harmful level is reached.
7
Page 8

CO alarms for minimum security
Figure 1: Location for placing CO
alarm for A multi-floor
COMMAND_CLASS_ASSOCIATION_V2
COMMAND_CLASS_CONFIGURATION
COMMAND_CLASS_MANUFACTURER_SPECIFIC_V2
COMMAND_CLASS_VERSION_V3
COMMAND_CLASS_SENSOR_BINARY_V2
COMMAND_CLASS_WAKE_UP_V2
COMMAND_CLASS_ASSOCIATION_GRP_INFO
COMMAND_CLASS_POWERLEVEL
COMMAND_CLASS_DEVICE_RESET_LOCALLY
COMMAND_CLASS_SECURITY
COMMAND_CLASS_SECURITY_2
COMMAND_CLASS_FIRMWARE_UPDATE_MD_V5
Z-Wave Configuration Settings
Do not place the CO alarm in the following areas:
(a) Where the temperature may drop below 40℉ (4.4℃) or exceed
100℉ (37.8℃)
(b) Near paint thinner fumes
(c) Within 5 feet (1.5 meter) of open flame appliances such as
furnaces, stoves and fireplaces
(d) In exhaust streams from gas engines, vents, flues or chimneys
(e) Do not place in close proximity to an automobile exhaust pipe; this
will damage the Alarm
Z-Wave Supported Command Class
COMMAND_CLASS_ZWAVEPLUS_INFO_V2
COMMAND_CLASS_BATTERY
COMMAND_CLASS_NOTIFICATION_V8
Notice:
* All of the configuration, the data size is 1.
* The configuration mark with star (*), means after the remove the
setting still keep, don't reset to factory default. Unless the user executes
the “RESET” procedure.
* The reserve bit or not supported bit is allowed any value, but no effect
NO. Name Def. Valid Description
7
(*)
Custome
r
Function
4 All
0 Bit0: Reserve.
Customer function switch, using bit
control.
0 Bit1: Reserve.
1 Bit2: Reserve.
0 Bit3: Reserve.
0 Bit4: Notification Type,
8
Page 9

10
Auto
Report
Battery
Time
0: Using Notification Report.
1: Using Sensor Binary
Report.
0 Bit5: Reserve.
0 Bit6: Reserve.
0 Bit7: Reserve.
The interval time for auto report the
battery level.
12 0~127
0 means turn off auto report
battery. Each tick means 30
minutes. The default value is 12(6
hours).
922~927MHz (Japan)
920~924MHz (Taiwan; Korea)
865.20 MHz (IN),
869.00 MHz (RU),
921.40 MHz, 919.80 MHz (ANZ),
RF Maximum Power
+5dBm (peak) For EU RED directive
(peak)
RF Maximum Power
(Average)
-10dBm (Average) For EU RED
directive
RF Modulation Type FSK (Frequency-Shift Keying)
Specifications
Operating Voltage DC4.5V (3 x AA 1.5V alkaline battery)
Battery life Up to one year
Operating Temperature 0°C ~ 50°C (85% humidity)
Storage Temperature -20 C ~ 60°C
FCC ID RHHPSG04
RF Range (distance) Minimum 40M in door and 100M in
outdoor, line of sight
Frequency Range 868.40MHz; 869.85MHz (EU)
908.40MHz; 916.00MHz (US)
916.00 MHz (IL), (Israel), (PSG04-IL)
Sensitivity: Comply to UL2034 and EN50291
This CO sensor PSG04 meets following mentioned response
times:
UL2034
At 70ppm, the unit must alarm within 60-240 minutes
At 150ppm, the unit must alarm within 10-50 minutes
At 400ppm, the unit must alarm within 4-15 minutes
EN50291:
At 50ppm , the unit must alarm within 60-90 minutes
At 100ppm, the unit must alarm within 10-40 minutes
At 300ppm, the unit must alarm within 3 minutes
9
Page 10

Alarm audibility: Over 85dB at 3m
For indoor use only.
Size: 12.5cm diameter x 3.5cm depth
Specifications subject to change without notice due to continuing
product improvement.
FCC Interference Statement
to the following two conditions:
(1) This device may not cause harmful interference, and
(2) This device must accept any interference received, including
interference that may cause undesired operation.
FCC Caution: Any changes or modifications not expressly approved by
the party responsible for compliance could void the user's authority to
operate this equipment.
This transmitter must not be co-located or operating in conjunction
with any other antenna or transmitter.
This equipment has been tested and found to comply with the limits for
a Class B digital device, pursuant to Part 15 of the FCC Rules. These
limits are designed to provide reasonable protection against harmful
interference in a residential installation. This equipment generates,
uses and can radiate radio frequency energy and, if not installed and
used in accordance with the instructions, may cause harmful
interference to radio communications. However, there is no guarantee
that interference will not occur in a particular installation. If this
equipment does cause harmful interference to radio or television
reception, which can be determined by turning the equipment off and
on, the user is encouraged to try to correct the interference by one of
the following measures:
• Reorient or relocate the receiving antenna.
• Increase the separation between the equipment and receiver.
• Connect the equipment into an outlet on a circuit different from
that to which the receiver is connected.
• Consult the dealer or an experienced radio/TV technician for
help.
Disposal
This marking indicates that this product should not be
disposed with other household wastes throughout the EU.
To prevent possible harm to the environment or human
health from uncontrolled waste disposal, recycle it
responsibly to promote the sustainable reuse of material
resources. To return your used device, please use the
return and collection systems or contact the retailer where
the product was purchased. They can take this product for
environmental safe recycling.
Warning
Do not dispose of electrical appliances as unsorted municipal waste,
use separate collection facilities. Contact your local government for
information regarding the collection systems available. If electrical
appliances are disposed of in landfills or dumps, hazardous substances
can leak into the groundwater and get into the food chain, damaging
your health and well-being.
This device complies with Part 15 of the FCC Rules. Operation is subject
10
Page 11

When replacing old appliances with new once, the retailer is legally
obligated to take back your old appliance for disposal at least for free of
charge.
Warning
Caution, avoid listening at
high volume levels for
long periods
11
 Loading...