

Page 1
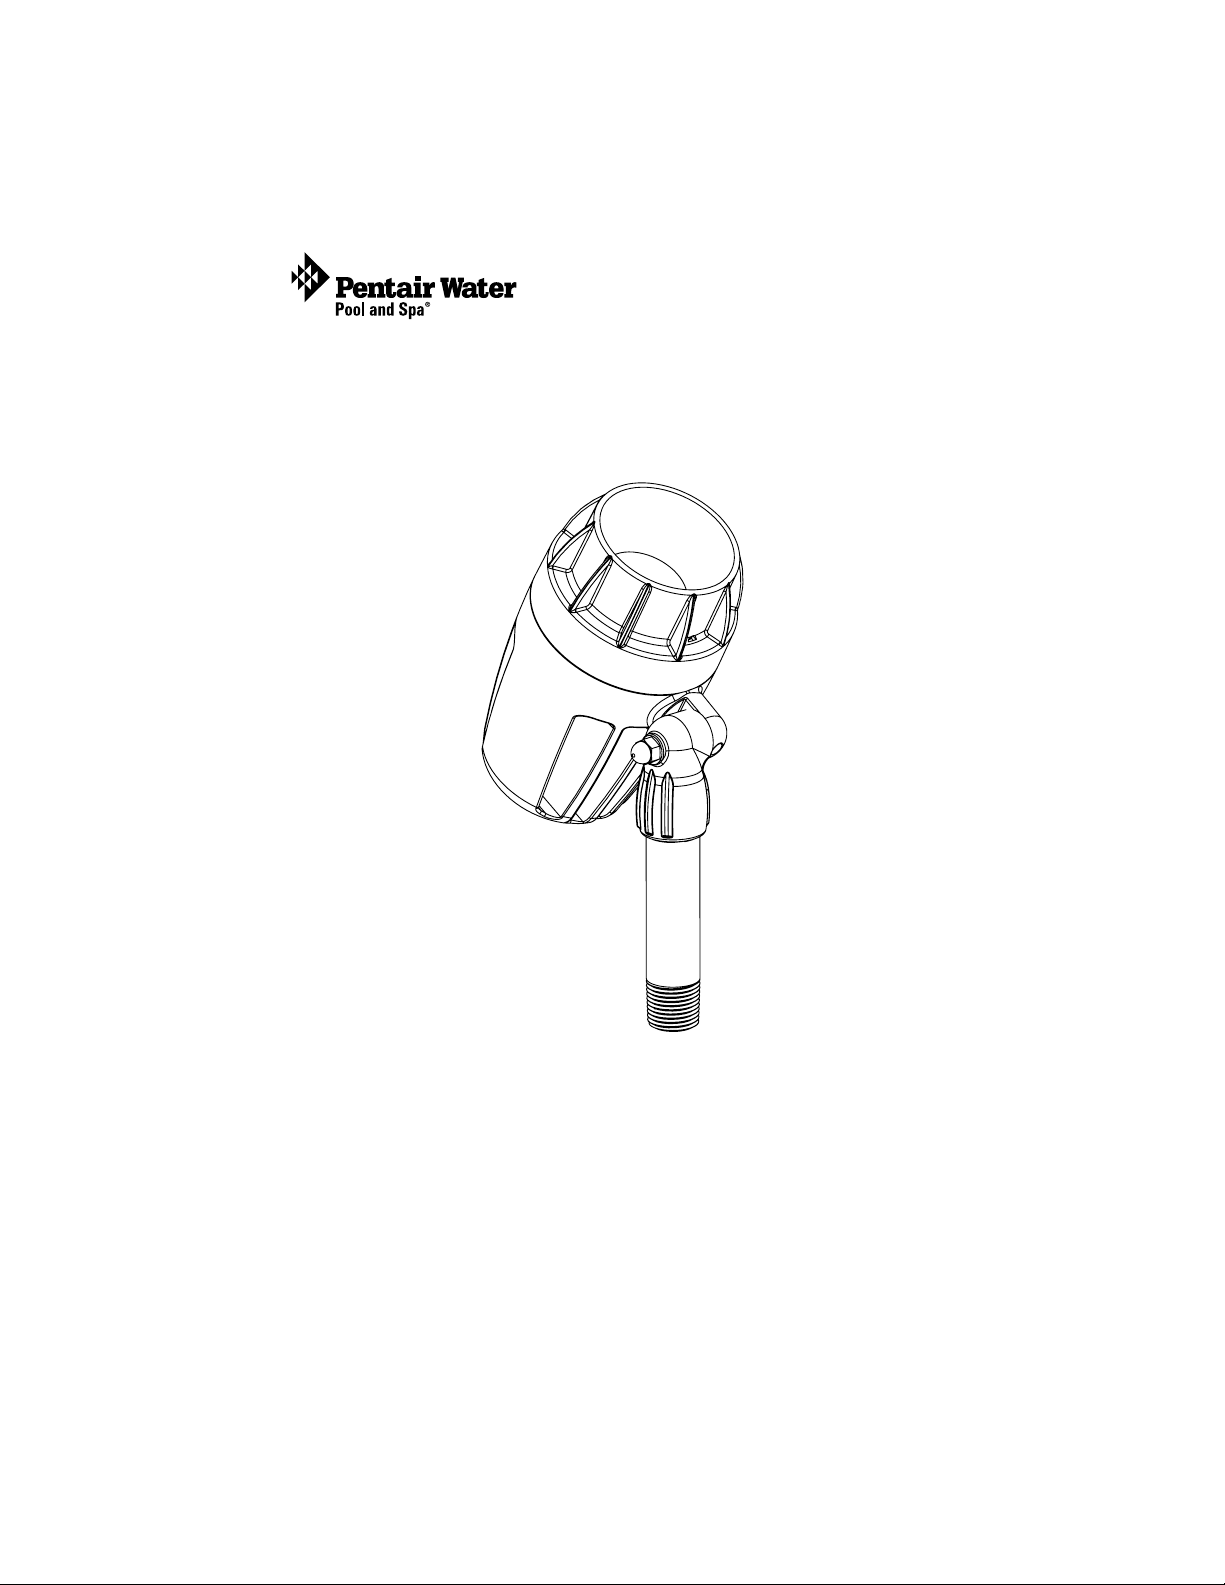
IntelliBrite
LED Color-Changing Light
®
Outdoor Landscape
User’s and Installation Guide
IMPORTANT SAFETY INSTRUCTIONS
READ AND FOLLOW ALL
INSTRUCTIONS
SAVE THESE INSTRUCTIONS
IntelliBrite Landscape Light Installation and User’s Guide
Page 2
i
IMPORTANT SAFETY WARNINGS AND PRECAUTIONS
Important Notice: Attention Installer: This manual contains important
information about the installation, operation and safe use of this product.
This information should be given to the owner and/or operator of this
product. READ AND FOLLOW ALL INSTRUCTIONS IN THIS MANUAL.
Before installing the IntelliBrite® landscape LED light, read and
follow all warning notices and instructions which are included.
Failure to follow safety warnings and instructions can result in severe injury,
death, or property damage. Call (800) 831-7133 for additional free copies of
these instructions.
TRANSFORMER CONNECTION: Connecting the high
voltage side of the outdoor IntelliBrite LED landscape light
transformer to an IntelliTouch® or EasyTouch® control system must be installed
by a qualified electrician, according to the National Electrical Code (including
article 680-22) or Canadian Electrical Code (including section 68) and local
codes and ordinances. The electrician should also consult the local building
department regarding local codes.
• Do not exceed the maximum ratings of individual
components, wiring devices, and current carrying capacity
of conductors (see page 7).
• The LED landscape lighting supply circuit must be
protected by a Ground Fault Circuit Interrupter (GFCI) of
the CLASS A type with an appropriately rated circuit
breaker.
RISK OF ELECTRIC SHOCK! INSTALL ALL LUMINAIRES
TEN (10) Feet (3.05 Meters) OR MORE FROM THE POOL,
SPA, OR FOUNTAIN.
THE PENTAIR WATER POOL AND SPA INTELLIBRITE
OUTDOOR LANDSCAPE LIGHT LOW VOLTAGE CABLE SHALL:
A) BE PROTECTED BY ROUTING IN CLOSE PROXIMITY TO THE LUMINAIRE
OR FITTING, OR NEXT TO A BUILDING STRUCTURE SUCH AS A HOUSE OR
DECK; B) NOT BE BURIED EXCEPT FOR A MAXIMUM OF SIX (6) INCHES
(15.2 CM) IN ORDER TO CONNECT TO THE MAIN LOW VOLTAGE CABLE;
AND C) HAVE THE LENGTH CUT OFF SO THAT IT IS CONNECTED TO A
CONNECTOR WITHIN SIX (6) IN (15.2 CM) FROM A BUILDING STRUCTURE,
A LUMINAIRE, OR FITTING.
Notice: The IntelliBrite® outdoor landscape LED color-changing lights are for
outdoor use ONLY.
© 2010 Pentair Water Pool and Spa, Inc. All rights reserved.
1620 Hawkins Ave., Sanford, NC 27330 • (919) 566-8000
10951 West Los Angeles Ave., Moorpark, CA 93021 • (800) 553-5000
IntelliBrite®, IntelliTouch®, EasyTouch®, SAm® and Pentair Water Pool and Spa® are trademarks and/or
registered trademarks of Pentair Water Pool and Spa, Inc. and/or its affiliated companies in the United
States and/or other countries. Unless noted, names and brands of others that may be used in this
document are not used to indicate an affiliation or endorsement between the proprietors of these names
and brands and Pentair Water Pool and Spa, Inc. Those names and brands may be the trademarks or
registered trademarks of those parties or others. P/N 690034 Rev C - 9/9/2010
IntelliBrite Landscape Light Installation and User’s Guide
Page 3

IMPORTANT SAFETY WARNINGS AND PRECAUTIONS
Notice:
1. FOR USE WITH LANDSCAPE LIGHTING SYSTEMS ONLY.
2. THE DEVICE (INTELLIBRITE® LANDSCAPE LIGHTS) IS ACCEPTED AS A
COMPONENT OF A LANDSCAPE LIGHTING SYSTEM WHERE THE
SUITABILITY OF THE COMBINATION SHALL BE DETERMINED BY CSA OR
LOCAL INSPECTION AUTHORITIES HAVING JURISDICTION.
Contents
IntelliBrite Landscape Lights Overview ............................................................ 2
Operating the “IntelliBrite” Color Light Shows ..................................................3
Operating the “Landscape” Color Light Shows ................................................ 4
Connecting the Light Wires to the Transformer ................................................ 5
Transformer Timer Settings .......................................................................... 5
Using an Electronic Transformer with the Landscape Light ........................ 5
IntelliBrite Landscape Lights Transformer Wiring for Automation Systems ..... 6
Number of Lights vs Required Transformer Wattage ....................................... 6
Purchasing a Transformer for IntelliBrite Landscape Lights.............................6
Purchasing Additional Wiring for IntelliBrite Landscape Lights .......................6
Recommended Minimum Wire Gauge (11.5 VAC and 14.5 VAC) ....................7
IntelliBrite Controller (Accessory) ..................................................................... 8
Installing IntelliBrite Landscape Lights ............................................................. 9
Landscape Lights Recommended Wire Gauge and Length .......................9
Light Placement and Orientation ................................................................. 9
Dig hole for Ground Stake ........................................................................... 9
Attach the Light Fixture to the Ground Stake ............................................... 9
Splice Light Wires ...................................................................................... 1 0
Tilt and Horizontal Light Adjustment ............................................................... 11
Light Toggle Switch Settings ........................................................................... 1 2
Lens Cap Removal/Replacement .............................................................. 1 2
Setting the Color Swim Effect (optional) .........................................................13
1
Technical Support: Sanford, North Carolina (8 A.M. to 5 P.M. ET) - Moorpark,
California (8 A.M. to 5 P.M. PT) - Phone: (800) 831-7133 - Fax: (800) 284-4151
Related manuals: IntelliTouch User’s Guide (P/N 520102), EasyTouch User’s
Guide (P/N 520584), IntelliBrite Controller (P/N 619751).
IntelliBrite Landscape LED Color-Changing Light kit contents
The following items are included:
• LED Light assembly and ground stake
• 1/2” pipe, 4” post and Installation and User’s Guide (this manual)
IntelliBrite Landscape LED Light Replaceable Parts
Description Part No.
Lens cap 619790Z
O-ring, 2-150 (elbow joint) 620013Z
Elbow joint 690018Z
Pipe, 1/2” NPT x 4”, Post 619790Z
Stake 620017Z
IntelliBrite Landscape Light Installation and User’s Guide
Page 4

2
IntelliBrite® Landscape Lights Overview
IntelliBrite Landscape LED Color-Changing Lights
The IntelliBrite landscape LED lights are for outdoor use only. The
landscape lights provides an economical and energy efficient way to
enhance your home’s outside landscaping. Use the outside IntelliBrite
lights as accent “up” lighting of trees and shrubs, for the outside garden,
backyard pool area, driveway, deck/patios area. Lights can be
connected together to achieve multicolored, synchronized spectacular
lighting effects.
Controlling IntelliBrite Landscape Lights
The “IntelliBrite” light shows and “Landscape” light shows can be activated by
cycling AC power to a standard landscape light magnetic transformer. By
turning the transformer switch off and on a specific number of times, the light
activates one of the seven light show modes or five fixed colors. IntelliBrite
landscape lights can also be controlled using the wall mounted IntelliBrite
Controller (P/N 600054), or by IntelliTouch® or EasyTouch® control systems.
Connecting IntelliBrite Landscape Lights
The IntelliBrite landscape LED lights easily connects to an existing 12 VAC
lighting landscape magnetic transformer. When using multiple lights, refer to
the “Recommended Minimum Wire Gauge” tables on page 7 for
recommended wire gauge and length. Also “Number of Lights vs Required
Transformer Rating” for transformer wattage requirements (page 6).
Selecting IntelliBrite and Landscape Color Light Shows
There are two synchronized sets of color light shows that can be selected via
the light fixture toggle switch:
• “IntelliBrite” color light shows and fixed colors (default) (page 3)
• “Landscape” color light shows and fixed colors (page 4).
For more about the switch settings and descriptions for the “IntelliBrite” and
“Landscape” color light shows, see “Light Toggle Switch Settings” on
page 12.
Color Swim Effect Feature
The “Color Swim” effect feature synchronizes with any of the IntelliBrite or
Landscape color shows. The color swim effect starts from the first light, then
the color change is delayed across to the adjacent lights creating a wave
effect. The Color Swim effect is used with multiple lights. Each light is set with
its own address number. For more information, see “Set Light Address for
Color Swim Effect” on page 13.
Selecting High/Low Brightness or High/Low Luminance
The landscape light brightness and luminance can be set to high or low. The
default setting is high brightness and luminance. For more information, see
“Light Toggle Switch Description” on page 12.
IntelliBrite Landscape Light Installation and User’s Guide
Page 5

OPERATING THE “INTELLIBRITE” COLOR LIGHT SHOWS
The “IntelliBrite” color show set is the default setting. For more information
about selecting the “Landscape” color light shows, see “Light Toggle Switch
Settings” on page 12. The “IntelliBrite” color light shows are described below.
Select an IntelliBrite color light show or fixed color
1. Switch power on to the transformer. The previously selected color or
color show will start.
2. To select one of the IntelliBrite color light shows (1-7) or fixed colors
(8-12), turn the transformer 120 Volt AC power switch OFF and ON a
specific number of times. Each number (1-14) shown below,
corresponds to the number of times to cycle power to activate a color
show or fixed color. 13 and 14 activate the Hold and Recall feature.
Cycle
Power IntelliBrite Color Light Shows and Fixed Colors
Times
1 SAM mode: Cycles through white, magenta,
blue and green colors. Emulates Pentair Water Pool
and Spa SAm® light.
2 Party Mode: Rapid color changing building energy
and excitement.
3 Romance Mode: Slow color transitions creating a
mesmerizing and calming effect.
4 Caribbean Mode: Transitions between a variety of
blues and greens.
5 American Mode: Patriotic red, white and blue
transition.
6 California Sunset Mode: Dramatic transitions of
orange, red and magenta tones.
7 Royal Mode: Richer, deeper color tones.
8 Blue: Fixed color.
9 Green: Fixed color.
10 Red: Fixed color.
11 White: Fixed color.
12 Magenta: Fixed color.
3
13 Hold Feature: Capture and save a color effect while
displaying one of the light show effects.
14 Recall Feature: Activate the last saved color effect.
IntelliBrite Landscape Light Installation and User’s Guide
Page 6

4
OPERATING THE “LANDSCAPE” COLOR LIGHT SHOWS
The “Landscape” color light show is selected via the light’s toggle switch. For
more information about selecting the “IntelliBrite” color light shows, see “Light
Toggle Switch Settings” on page 12. The “Landscape” color light show set is
described below.
Select a Landscape light show or fixed color
1. Switch power on to the transformer. The previously selected color or
color show will start.
2. To select one of the IntelliBrite color light shows (1-7) or fixed colors
(8-12), turn the transformer 120 Volt AC power switch OFF and ON a
specific number of times. Each number (1-14) shown below,
corresponds to the number of times to cycle power to activate a color
show or fixed color. 13 and 14 activate the Hold and Recall feature.
Cycle
Power Landscape Light Shows and Fixed Colors
Times
1 Cape Cod: Cycles through colors of amber, blue,
teal, gold and white.
2 Denali: Transitions between various shades of
green colors.
3 Borealis: Cycles through colors of violet, teal,
yellow, amber.
4 Sedona: Cycles through colors of blue, orange,
purple, green, and magenta.
5 Lawrence: Transitions between various shades of
amber colors.
6 Kauai: Cycles through all colors (red, orange,
yellow, green, teal, blue, purple and pink).
7 Vancouver: Colors transitions from dark green
gradient to light green, from light blue gradient to
dark blue.
8 Light Blue: Fixed color.
9 Teal: Fixed color.
10 Amber: Fixed color.
11 Warm White: Fixed color.
12 Gold: Fixed color.
13 Hold Feature: Capture and save a color effect while
displaying one of the light show effects.
14 Recall Feature: Activate the last saved color effect.
IntelliBrite Landscape Light Installation and User’s Guide
Page 7

CONNECTING THE LIGHT WIRES TO THE TRANSFORMER
IntelliBrite landscape LED lights are powered by a standard 12 VAC to 12
VAC landscape transformer (purchased separately). Select the correct
transformer rating (Wattage) which is able to power the number of IntelliBrite
landscape LED lights installed. For example, a maximum of 15 IntelliBrite
lights requires a 300 Watt transformer. Refer to “Number of Lights vs
Required Transformer Rating” page 6 for transformer wattage requirements.
If your lighting system is powering other lights, add all the light wattage
together to select the correct transformer wattage. All lights can be connected
together using a landscape direct-burial cable (purchased separately).
Transformer Location
Select a location for the transformer near the exterior AC power outlet. Mount
the transformer using suitable wall anchors. There usually are slots or
brackets on the back of the transformer for this purpose.
Wiring the Lights to the Transformer
Before wiring lights, DISCONNECT TRANSFORMER
PLUG FROM AC POWER.
Strip back the direct-burial landscape wires of the main cable. Connect each
wire to the output terminals on the transformer (typical is shown below).
Switch AC power on to the transformer.
Note: For complete wiring information regarding your transformer, refer to the
manufacturers documentation provided with the transformer.
5
Connect light wires (2)
to transformer
output terminals
STANDARD LANDSCAPE TRANSFORMER
Transformer Timer Settings
Most transformers have a dial-type timer. Set the timer to the approximate
current time. A typical transformer may use red tab(s) for start off/on time, and
black tab(s) for time to turn off. A digital timer may also used.
Using an Electronic Transformer with the Landscape Light
A standard magnetic transformer is recommended for use with the IntelliBrite
landscape light. If an electronic transformer is being used, an additional
halogen or incandescent light is required. The wattage of this light must be at
least equal to or greater than the minimum wattage requirement
recommended by the electronic transformer manufacturer (see page 7).
IntelliBrite Landscape Light Installation and User’s Guide
Page 8

6
IntelliBrite Landscape Lights Transformer Wiring
®
(when connected to IntelliTouch
or EasyTouch® pool and spa
control system)
Wiring the high voltage side of the landscape light
transformer to an IntelliTouch or EasyTouch control system
must be performed by a licensed or certified electrician and must conform
with the National Electrical Code (NEC), all local codes and ordinances.
• The 120 VAC power cord from the landscape lights transformer, must
be wired to a relay in the IntelliTouch or EasyTouch load center.
• When using IntelliBrite landscape LED lights with an IntelliTouch or
EasyTouch pool and spa control system, the transformer must always
be set to 'ON'. Also, select the light circuit as an “IntelliBrite” light from
the automation control panel,
• If a manual switch is being used to turn on existing pool light(s),
connect the switch to the relay in the automation load center.
Note: For IntelliBrite landscape light setup information, refer to the
IntelliTouch User’s Guide (P/N 520102), and EasyTouch User’s Guide (P/N
520584).
Number of Lights vs Required Transformer Wattage
(see Table 1 and Table 2 on page 7)
IntelliBrite landscape LED lights are powered by a standard 12 VAC
landscape transformer (purchased separately). Use the following table to
determine the correct transformer rating (Wattage) which is able to power the
number of IntelliBrite landscape LED lights installed. Add all the light wattage
together to select the correct transformer to power the lights. There can be a
maximum of 15 IntelliBrite LED lights connected to one 300 Watt transformer.
Five (5) lights requires a 100 Watt (minimum) transformer and 10 lights
require a 200 Watt transformer. Each light uses 20 Watts (which includes the
cabling).
Purchasing a Transformer for IntelliBrite Landscape Lights
A 120 VAC standard magnetic safety isolated transformer must be purchased
separately. To determine the transformer rating for number of lights being
used, see page 7, Table 1 and Table 2 “Transformer (VA)” rating (bottom row).
Main Low Voltage Cable and Additional Wiring
The IntelliBrite landscape lights require the purchase of main low voltage
cable for initial hookup. Additional lengths of main low voltage cable may be
needed at a later date. This cable is widely available at home improvement
stores. Before purchasing additional wiring, refer to recommended wire
gauge and length specification tables on page 7.
IntelliBrite Landscape Light Installation and User’s Guide
Page 9

Table 1: Recommended Minimum Wire Gauge (AWG)*
(for use with 11.5 VAC transformer output)
elbaC
htgneL
1234 5 6 7 89 011121314151
ni
teeF
818181816161616161614141414141
'03
818161614141414141212121212121
'05
816141412121212121210101010101
'57
816141212121010101010101888
'001
61412101018 88888
'051
41210101888
'002
4101018 8
052
'
410188
'003
-snarT
060606001001002002002002003003003003003003
remrof
*)AV(
Note: (*) Use the “Transformer (VA)” rating (bottom row) to determine transformer
rating.
sthgiLforebmuN
WIRE GAUGE (AWG)
Table 2: Recommended Minimum Wire Gauge (AWG)**
(for use with 14.5 VAC transformer output)
elbaC
htgneL
1234 5 6 7 8 9 011121314151
ni
teeF
818181818181818181818181818181
'03
sthgiLforebmuN
7
818181818181816161616161616161
'05
818181816161616141414141414141
'57
818181616141414141412121212121
'001
8161614141212121212101010
'051
8161412121210101010101 8888
'002
8141212101010101 88 8 888
'052
6141210101018888
'003
-snarT
060606001001002002002002003003003003003003
remrof
*)AV(
10101
Note: (**) Use the “Transformer (VA)” rating (bottom row) to determine
transformer rating.
Note: (**) A transformer rating of 20 Volt-amps per light will cover losses in the
wiring.
IntelliBrite Landscape Light Installation and User’s Guide
Page 10

8
INTELLIBRITE CONTROLLER (ACCESSORY)
Instead of a wall switch, use an IntelliBrite Controller
(sold separately) to control your IntelliBrite landscape
LED lights
Instead of a wall switch, using an IntelliBrite Controller
(p/n 600054, sold separately) to operate the
IntelliBrite landscape LED lights makes it easy to dial
in any of the various color light shows or fixed colors.
The controller’s Hold and Recall buttons also allow
you to create endless unique lighting effects. The
IntelliBrite Controller can control individual or multiple
IntelliBrite LED landscape lights. Multiple IntelliBrite
landscape lights can be connected via a junction box
to the IntelliBrite Controller so that all lights can be
switched on and off together.
IntelliBrite Controller
Maximum wattage when using multiple IntelliBrite LED lights
with an IntelliBrite Controller
When using multiple IntelliBrite LED lights, the total allowable light wattage is
300 Watts maximum. The following example combination of IntelliBrite LED
lights can be connected to the IntelliBrite Controller:
• Two (2) IntelliBrite LED pool lights (each light 70 Watt maximum)
• One (1) IntelliBrite LED spa light (each light 40 Watt maximum)
• Six (6) IntelliBrite LED landscape lights (each light 20 Watt maximum)
Wiring the IntelliBrite Controller to a 12 VAC Transformer
The following diagram shows how to connect the IntelliBrite LED lights to a
120 VAC wall outlet using a 12 VAC transformer (plastic transformer, 2-wire
(no ground wire) or metal transformer, 3-wire (with ground wire)).
GREEN GRN (3-wire/metal transformer)
WHITE (2-wire/plastic transformer)
Extension
cord
12O VAC
GFCI Wall
BLACK
BLACK
IntelliBrite Controller
RED
IntelliBrite
Controller
BLACK
WHITE
Outlet
IntelliBrite Landscape Light Installation and User’s Guide
Transformer
Transformer
AC power
120 VAC
to
12 VAC
cord
Page 11

INSTALLING INTELLIBRITE LANDSCAPE LIGHTS
Landscape Lights Recommended Wire Gauge and Length
Depending on the number of landscape lights being used and the transformer rating (11.5 VAC to 14.5 VAC loaded output), be sure to use the correct
wire gauge and length. Before installation, refer to the “RECOMMENDED
MINIMUM WIRE GAUGE” table on page 7.
Light Placement and Orientation
Position the IntelliBrite landscape LED light in the desired location. The light
can be mounted in any orientation (pointing upward or downward). The
½" mounting pipe can be attached to other mounts instead of the supplied
ground stake.
Dig Hole for Ground Stake
Depending on the type of soil, the ground
mounting stake may be difficult to hammer
into the ground. If needed, use a shovel to
loosen the earth before inserting the stake
into the ground.
Note: If needed, use a
rubber mallet (not a metal
hammer) to hammer stake
into ground.
MOUNTING
STAKE
9
Attach Light Fixture to Ground Stake
DO NOT use
the rubber hammer to drive
thestake into the ground with
the light fixture attached.
With the ground stake
inserted into the ground,
mount the light into the top of
the stake as follows:
1. Route the light’s two
wires through the slot in
the top of the stake
base.
2. Screw the light fixture
mounting pipe into the
thread in the stake base. Hand tighten until the light fixture is seated
firmly into the stake base.
RISK OF ELECTRIC SHOCK! Install each landscape light a
minimum of 10 feet (3.05 meters) from the pool, spa or fountain.
IntelliBrite Landscape Light Installation and User’s Guide
MOUNTING
PIPE
STAKE
BASE
SLOT FOR
WIRES
Page 12

10
Splice Light Wires
With the light positioned in the ground stake, connect the light’s wires to the
main lighting cable as follows:
The main low voltage cable and the short landscape light wires
(6 in max) should be buried a maximum of six (6) in (15.2 cm) in
the ground when connecting to the main low voltage cable. Be
sure the short wire from the light is within six (6) in (15.2 cm)
from a building structure, a luminaire, or fitting. The main cable
and short wire must be protected by routing it in close proximity
to the luminaire or fitting, or next to a building structure such as a
house or deck.
1. Leaving enough cable length to adjust the light, strip the ends of the
light’s wires and splice into the main lighting cable.
2. Secure the wires using silicone pre-filled wire nuts to seal the wire
connections or apply silicone to the inside of wire nuts. Leave enough
cable length to adjust the light. DO NOT BURY THE WIRE NUTS UNTIL
THE SILICONE IS DRY.
3. Cable installation: It’s recommended to bury the outdoor light cables
(maximum of 6 inches) for protection against the elements. The cables
can also be covered with chips, dirt, or placed on the ground against a
wall.
SHORT LIGHT
WIRES FROM
LANDSCAPE
LIGHT
MAIN LOW VOLTAGE
LIGHTING CABLE
IntelliBrite Landscape Light Installation and User’s Guide
WIRE NUTS
Page 13

Tilt and Horizontal Light Adjustment
The IntelliBrite landscape light can be adjusted to position the light beam for
“up” lighting of trees and shrubs, or “down” lighting for paths, driveway, deck
and patio areas.
TO PREVENT PERMANENT DAMAGE TO THE
INSIDE THREAD OF THE LIGHT”S ELBOW JOINT,
NEVER TRY TO ADJUST THE ANGLE OF THE LIGHT FIXTURE
BEFORE LOOSENING THE ACORN NUT.
To adjust the tilt angle of the light fixture:
1. While holding the light, using a 3/8" hex head nut wrench, loosen the
acorn nut.
2. Position the light fixture’s tilt angle (up or down) as desired.
3. Hold the light in the desired position and tighten the acorn nut to
secure the light’s position.
Note: DO NOT overtighten the acorn nut, permanent damage to the
inside thread of the light’s elbow joint can occur.
To adjust the horizontal angle of the light fixture:
• Position the light fixture’s horizontal angle by rotating the vertical
mounting pipe mounted in the ground stake.
11
Inside thread
(Elbow Joint)
LOOSEN 3/8” HEX
HEAD ACORN NUT
TO ADJUST THE TILT
ANGLE POSITION OF
LIGHT
HORIZONTAL LIGHT
ADJUSTMENT: ROTATE
MOUNTING PIPE
IntelliBrite Landscape Light Installation and User’s Guide
Page 14

12
Light Toggle Switch Settings
The landscape light toggle switch is located on the front side of the light
fixture circuit board (see picture below). To access the toggle switch, remove
the cap (see “Lens Cap Removal/Replacement” below for instructions).
Light toggle switch settings
LO HI BRIGHTNESS*
LO HI LUMINANCE*
LANDSCAPE INTELLIBRITE*
Note: (*) default light switch settings
Light toggle switch description
IntelliBrite mode (see page 3). Landscape mode (see page 4)
High Luminance: Bolder color tones
Low Luminance: Softer color tones
High Brightness: Equivalent to a 20 Watt halogen bulb (approximately).
Low Brightness: Equivalent to a 10 Watt halogen bulb (approximately).
Lens Cap Removal/Replacement
To access the light configuration switch, first remove the light lens cap:
1. Rotate the lens cap counterclockwise about half a turn, then pull
outward to remove the lens cap from the light fixture.
2. Reinstall the cap: Align the upper and lower lens cap threads with the
light fixture thread gaps. Gently press the lens cap onto the top of the
light fixture and rotate the lens cap clockwise (about half a turn) to lock
in place.
LENS CAP THREAD
UPPER THREAD
LENS CAP
THREAD
LOWER
THREAD
LIGHT
FIXTURE
IntelliBrite Landscape Light Installation and User’s Guide
LIGHT
ADDRESS
DIAL SWITCH
LIGHT
TOGGLE
SWITCH
LIGHT CIRCUIT BOARD
(FRONT VIEW)
Page 15

3. Align the Lens Cap Drain-Hole: Rotate the lens cap to vertically align
the lower drain hole with the top of the light mounting pipe. This will
allow water to drain out of the lens cap.
4. The lens cap installation is complete.
LENS CAP
LOWER
DRAIN
HOLE
Setting the Color Swim Effect (optional)
The additional “Color Swim” effect feature works with any of the “IntelliBrite” or
“Landscape” color shows . The color effect starts from the first light, then the
color change is delayed across to the adjacent lights creating a wave effect.
The color swim effect is used with multiple lights. Each light is set to its own
address number. The Color Swim effect is automatically activated when each
light is assigned its own address number, as described below.
13
To set a light address number
The address dial switch is located on the front side of the light fixture circuit
board. To access the light address dial switch, first remove the lens cap
(see “Lens Cap Removal/Replacement” on page 12.
Assigning address numbers to multiple lights
1 to 10 lights: Set each light with its own address number. The default light
address is set to Address 0. Set the first light to address 0, second light address
1, and so on.
20 lights (even number of lights - more than 10): Pair adjacent lights with the
same address number; lights 1 & 2 (address 0), 3 & 4 (address 1) and so on.
15 lights (odd number of lights - more than 10): Pair adjacent lights with the
same address number. Assign the odd numbered single lights with their own
address number as follows:
Paired Single
Lights Address Light Address
1 - 2 (address 0) 3 (address 1)
4 - 5 (address 2) 6 (address 3)
7 - 8 (address 4) 9 (address 5)
10 - 11 (address 6) 12 (address 7)
13 - 14 (address 8) 15 (address 9)
LIGHT ADDRESS DIAL SWITCH
IntelliBrite Landscape Light Installation and User’s Guide
3
2
4
1
0
5
▲
6
9
7
8
Page 16

690034
P/N 690034 - Rev C
IntelliBrite Landscape Light Installation and User’s Guide
 Loading...