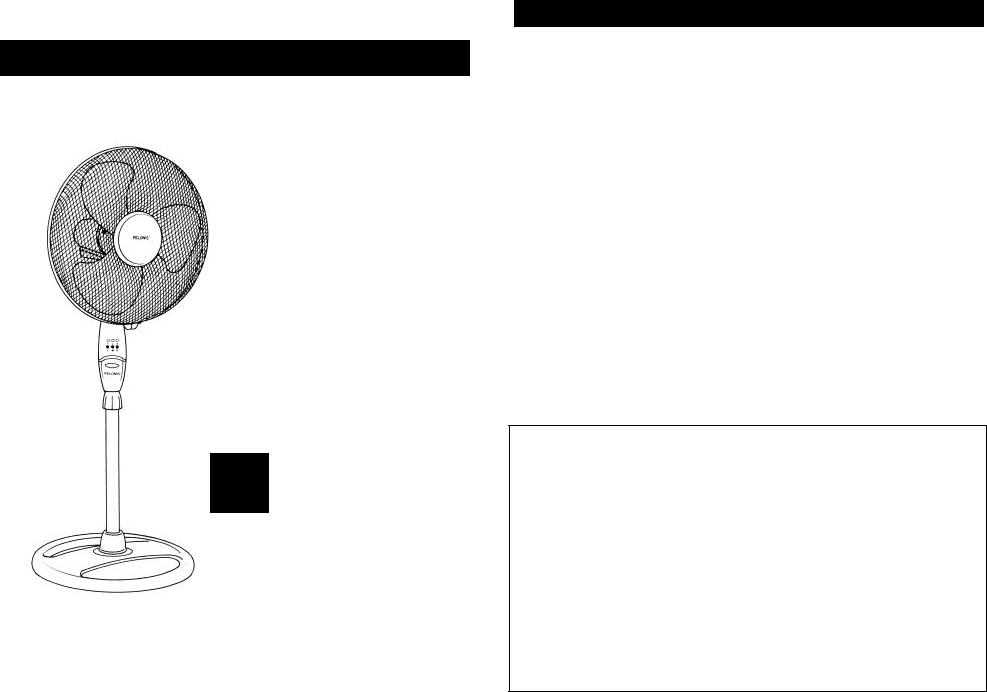
Pelonis FS40-G5 User Manual

PELONIS
OWNER’S MANUAL
16”
Oscillating Stand Fan
with Remote Control
Model No. FS40-G5
UL
®
READ AND SAVE THESE INSTRUCTIONS
IMPORTANT SAFETY INFORMATION
RULES FOR SAFE OPERATION
1.Never insert fingers or any other objects through the grill when the fan is running.
2.Disconnect the fan when moving it from one location to another.
3.Disconnect the fan when removing the grills for cleaning.
4.Be sure the fan is on a stable surface when operating to avoid overturning.
5.DO NOT use the fan in a window as rain may create an electrical hazard.
OVERHEAT PROTECTION
The fan motor is equipped with a thermal fuse that turns the fan off in case of overheating. If overheating occurs, please send the fan in for repair (refer to the Service & Support section of this manual).
WARNING
1.To reduce the risk of fire or electric shock, do not use this fan with any solidstate speed control device.
2.This appliance has a polarized plug (one blade is wider than the other). To reduce the risk of electric shock, this plug is intended to fit in a polarized outlet only one way. If the plug does not fit fully in the outlet, reverse the plug. If it still does not fit, contact a qualified electrician. Do not attempt to defeat this safety feature.
3.Do not leave the fan running unattended.
4.Changes or modifications to this unit not expressly approved by the party responsible for compliance could void the user’s authority to operate the equipment.
NOTE: This equipment has been tested and found to comply with the limits for a Class B digital device, pursuant to Part 15 of the FCC Rules. These limits are designed to provide reasonable protection against harmful interference in a residential installation. This equipment generates, uses, and can radiate radio frequency energy and, if not installed and used in accordance with the instructions, may cause harmful interference to radio communications. However, there is no guarantee that interference will not occur in a particular installation. If this equipment does cause harmful interference to radio or television, which can be determined by turning the equipment off and on, the user is encouraged to try to correct the interference by one or more of the following measures:
-Reorient or relocate the receiving antenna.
-Increase the separation between the equipment and receiver.
-Connect the equipment into an outlet on a circuit different from that to which the receiver is connected.
-Consult the dealer or an experienced radio TV technician for help.

ASSEMBLY INSTRUCTIONS
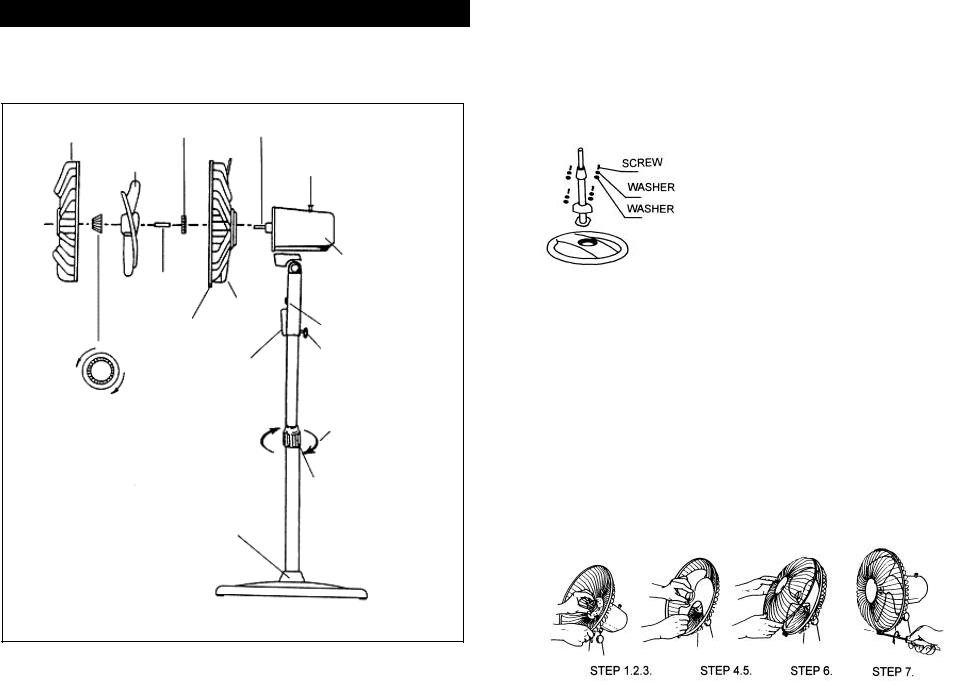
To assemble the fan, follow the instructions by referring to the parts diagram below.
PARTS DIAGRAM
Front Grill |
Plastic Nut Motor Shaft |
|
Handle
Fan Blade
Clutch Knob
Plastic |
|
Motor Housing |
|
|
|
||
Sleeve |
Rear Grill |
|
|
|
|
||
Clip |
|
Indicator Light |
|
|
|
||
Screw |
Remote |
Thumb |
|
|
|||
|
Screw |
||
Unscrew |
Control |
||
|
|||
Spinner |
|
|
|
|
|
Fasten |
|
Height |
|
Adjustment |
Stand Ornament |
Ring |
|
Figure 1
BASE ASSEMBLY
To assemble the base, refer to Figure 2:
1.Unpack the base and column parts from the packing box and loosen the 4 screws.
2.Fix the column onto the base plate using the 4 sets of screws.
3.Unscrew and take off the Height Adjuster, mount the column, and screw the Height Adjuster to tighten the extension column to the desired height.
Figure 2
GRILL AND FAN BLADE ASSEMBLY
To assemble the grills and fan blade, refer to Figure 3:
1.Unscrew the Spinner clockwise and the Plastic Nut counter clockwise and remove both of them.
2.Set the Rear grill in the proper position with the Handle up.
3.Screw on the Plastic Nut tightly to attach the Rear Grill.
4.Discard the Plastic Sleeve on the Motor Shaft.
5.Install the Fan Blade onto the Motor Shaft until it reaches the retaining pin.
6.Screw the Spinner onto the Motor Shaft counter clockwise.
7.Press the rim of the Front Grill onto the Rear Grill until the front grill is properly fitted. Secure both grills firmly by tightening the fan grill locking screws and nuts through the Clip.
Figure 3
 Loading...