

Page 1
Monarch
6015 Printer
TC6015PM Rev. AC 2/01 ©1999 Monarch Marking Systems, Inc. All rights reserved.
Page 2

Each product and program carries a respective written warranty, the only
warranty on which the customer can rely. Monarch reserves the right to make
changes in the product, the programs, and their availability at any time and
without notice. Although Monarch has made every effort to provide complete
and accurate information in this manual, Monarch shall not be liable for any
omissions or inaccuracies. Any update will be incorporated in a later edition of
this manual.
©1999 Monarch Marking Systems, Inc. All rights reserved. No part of this
publication may be reproduced, transmitted, stored in a retrieval system, or
translated into any language in any form by any means, without the prior
written permission of Monarch Marking Systems, Inc.
WARNING
This equipment has been tested and found to comply with the limits for a Class A digital
device, pursuant to Part 15 of the FCC Rules. These limits are designed to provide
reasonable protection against harmful interference when the equipment is operated in a
commercial environment. This equipment generates, uses, and can radiate radio frequency
energy and, if not installed and used in accordance with the instruction manual, may cause
harmful interference to radio communications. Operation of this equipment in a residential
area is likely to cause harmful interference in which case the user will be required to correct
the interference at his own expense.
CANADIAN D.O.C. WARNING
This digital apparatus does not exceed the Class A limits for radio noise emissions from
digital apparatus set out in the Radio Interference Regulations of the Canadian Department
of Communications.
Le présent appareil numérique n’émet pas de bruits radioélectriques dépassant les limites
applicables aux appareils numériques de la classe A prescrites dans le Réglement sur le
brouillage radioélectrique édicte par le ministère des Communications du Canada.
Trademarks
MONARCH is a registered trademark of Monarch Marking Systems, Inc.
Paxar is a trademark of Paxar Corporation.
6015 is a trademark of Monarch Marking Systems, Inc.
3Com and Palm Computing are registered trademarks of Palm Computing, Inc., 3Com Corporation, or its
subsidiaries.
Monarch Marking Systems
P.O. Box 608
Dayton, Ohio 45401
Page 3

TABLE OF CONTENTS
Introduction............................................................................................... 1
Creating Data Streams.............................................................................. 1
Conventions Used in this Manual................................................................ 2
Creating Formats ....................................................................................... 3
Creating Text Fields.................................................................................3
Selecting Character Sets ....................................................................... 3
Formatting Text.................................................................................... 4
Creating Graphic Fields ............................................................................ 5
Creating Bar Code Fields.......................................................................... 6
Specifying Particular Bar Codes............................................................. 7
Positioning Fields .................................................................................... 8
Configuring the Printer............................................................................... 9
Selecting Operating Modes........................................................................ 9
Setting the Print Contrast .......................................................................... 9
Setting the Power Mode.......................................................................... 10
Checking the Battery Voltage................................................................... 11
Using the Power-Off Timer ......................................................................12
Checking Version Information..................................................................13
Communicating with the Organizer ........................................................... 13
Miscellaneous Control Characters ............................................................14
Sample Data Stream................................................................................. 15
i
Page 4

INTRODUCTION
1
The Monarch® 6015™ printer works with application programs written for
the Palm III™ series of organizers or the Symbol® SPT 1500. With
these Palm Computing® connected organizers, the printer can print
receipts for retail, healthcare, or industrial environments. Palm Computing
is a subsidiary of 3Com® Corporation.
The application writes a data stream of commands (in the printer's control
language) to the printer. It writes these commands either directly or through
the Symbol Application Programming Interface (API). For information about
the API, refer to Symbol's Web site (www.symbol.com).
Refer to the 3Com/Palm Computing Web site (www.palm.com) for more
information about the Palm III series of organizers. Also, refer to the
Stevens Creek Web site (www.stevenscreek.com) for various organizer
applications.
The purpose of this manual is to describe the printer's control language.
The commands can be either of the following:
♦ control characters (in hex format) that control the printer directly
(physically manipulating the print buffer's contents, for example).
♦ character sequences that adjust the printer's performance or help you
design the receipts to print.
Creating Data Streams
Creating a data stream involves coding a sequence of commands in the
printer's control language. Then, you embed the data stream in the
application, which writes it to the printer.
To create a data stream:
Draw a rough sketch of how you want the receipt to look. For example,
1.
a graphic may appear at the top, followed by the name of your
organization, followed by a list of items purchased. Your receipt could
be organized any number of ways.
Code the commands to implement your receipt design. See "Creating
2.
Formats" for more information.
1
Page 5

3. Add any commands to the data stream related to how the printer
performs. For example, at the data stream's beginning, enter the
command to choose the operating mode. See "Configuring the Printer"
for more information.
Embed the data stream in the application and test what you have
4.
written.
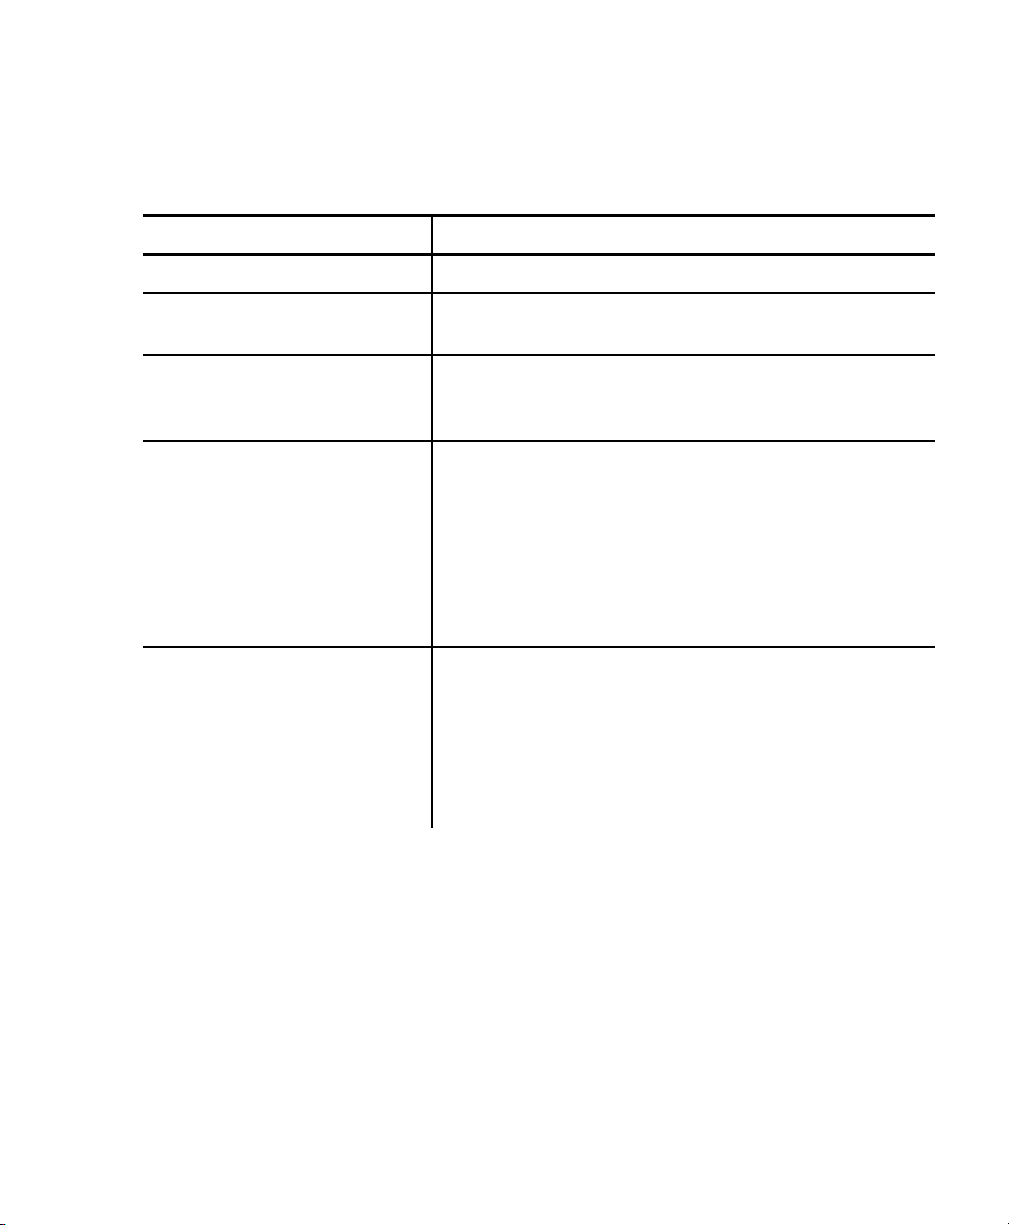
Conventions Used in this Manual
Following are the conventions used in the syntax descriptions of each
command.
Symbol Description
- Separates items in the command sequence.
< > Indicates a variable with a single-byte value.
' ' Indicates the value is a literal. Enter the value as it appears or
use the ASCII hex values for the same characters.
( ) Indicates a variable of any length.
# # Indicates a variable of an exact length.
ESC
CR-LF
These conventions make it easier for you to read the commands' syntax
descriptions. They are not part of the data streams. For example,
ESC-'F'-'1' may be the syntax description, but the application writes 1BF1 (1B
46 31 hex) to the printer.
2
Indicates the beginning of a command sequence. Enter 1B hex
for this item.
Indicates the end of a response from the printer. In the
response, it is represented as
The printer ignores commands
with syntax errors.
0D 0A hex.
Page 6

CREATING FORMATS
2
A format is the design of a receipt that the application prints with the
printer. It consists of fields placed at various places on the format. Fields
can contain text, graphics, and bar codes.
This chapter describes the commands used to create formats.
Creating Text Fields
Text fields can contain letters, numbers, and symbols. To specify text
appearing on the format you create, write the text directly to the printer.
There is no special command to use. There are, however,
commands/control characters to select a character set to use and to format
the text.
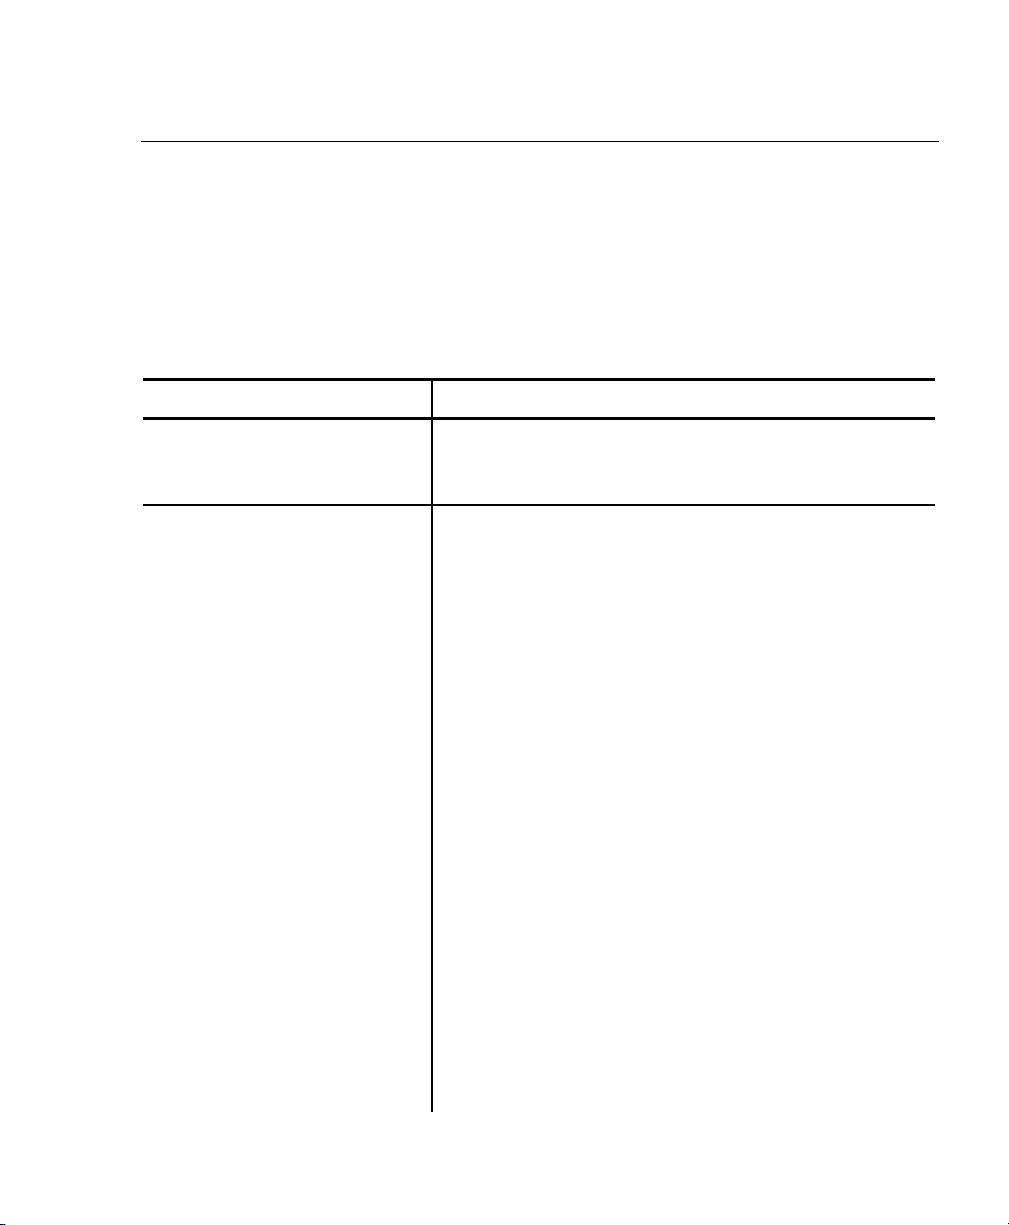
Selecting Character Sets
The printer can use the ANSI or ASCII character sets. These character sets
are preloaded in the printer. ANSI characters are the default.
Command Description
ESC-'F'-'1' Selects ANSI characters.
ESC-'F'-'2' Selects ASCII characters.
3
Page 7
Formatting Text
0-10
For the text on your format, you can choose the font and its size, spacing,
and style (normal or bold).
Command Description
1C hex (Extend) Prints characters twice as high as normal.
1D hex (Extendoff)
Stops printing characters twice as high as
normal.
ESC-'U'-<mode> Turns bold printing on or off.
<mode> 0 Turn off bold printing.
1 Turn on bold printing.
ESC-'k'-<font> Selects a font.
<font> 0 Large Rotated (90 degrees clockwise) -
24 columns per line
1 Large Normal - 24 columns per line
2 Standard Bold - 32 columns per line
3 Standard Normal - 38 columns per line
4 Reduced Bold - 42 columns per line
5 Reduced Normal - 48 columns per line
ESC-'A'-<space> Sets the space to leave between lines of text
when they are printed.
<space>
The amount of space (in increments of
.125 mm). The default is 3 (.375 mm).
Example:
ESC-A-2
Sets the space between lines of text to .25
mm.
(1B 41 02 hex)
4
Page 8

Creating Graphic Fields
You print data stream graphics one line at a time. To create a line, you
specify bits to turn off or on. Bits turned off represent white space, and bits
turned on represent part of the graphic. There is a .125 mm gap between
consecutive lines.
Command Description
ESC-'V'- 01 hex- 0 0 hex#data#
#data#
You do not directly specify the bits turned on or off.
You specify the bits in groups of eight by using hex
Example
This line of code prints a solid horizontal line of dots.
ESC-V- 1 - 0 - FFFFFFFFFFFFFFFFFFFFFFFFFFFFFFFFFFFFFFFFFFFFFFFF
Prints a graphic line.
48 hex bytes, indicating the dots to turn on or
off. For example, if a specified byte is FF, all
the dots are on. If it is 01, only one dot is on,
and the other 7 are off.
If you accidentally specify less than 48 bytes,
the printer does not print the graphic. If you
specify more than 48 bytes, a fatal exception
occurs.
values.
5
Page 9
Creating Bar Code Fields
The printer can print the following bar codes, with or without humanreadable data.
♦ Code 39
♦ Codabar
♦ Interleaved 2 of 5
♦ Code 128 (UCC/EAN-128)
♦ UPC/EAN/JAN
Command Description
ESC-'z'-<bctype><length>-<height><data>
ESC-'Z'-<bctype><length>-<height><data>
<bctype> The type of bar code to print (values are the
<length> The length of the bar code data (in hex). This
<height> The height of the bar code (in hex) in
Prints a bar code without human-readable
data.
Prints a bar code with human-readable data.
ASCII representation, not hex).
'1' Code 39
'2' Code 128 (UCC/EAN-128)
'3' Interleaved 2 of 5
'4' UPC/EAN/JAN
'5' Codabar
value is dependent on the bar code you
choose with <bctype> (see below).
increments of .125 mm. <height> can be no
smaller than 14. For example, 14 = 2.5 mm,
15 = 2.625 mm, etc.
For UPC/EAN/JAN bar codes, the height you
specify will include a 1.25 mm drop bar
pattern after the bar code.
<data> The data for the bar code. Its length must
equal
data restrictions, which vary by bar code.
6
<length>. See the following table for
Page 10

Specifying Particular Bar Codes
Values for the <length> and <data> parameters depend on the type of bar
code you choose with
<bctype>.
Bar Code
<length> <data>
Code 39 9 (maximum) 0-9, A-Z, -, (space), $,
/, +, and %
Interleaved 2 of 5 16 (maximum) Pairs of numeric
characters (0-9)
UPC/EAN/JAN UPCA: 12
0-9
UPCE: 7
EAN/JAN-8: 8
EAN/JAN-13: 13
These lengths are fixed
and all include a check
digit.
Codabar
15 (maximum) plus start
and stop characters.
The printer adds the
stop character
automatically.
Data: 0-9, $, -, :, /, .,
and +.
Start: a (the default),
b, c, or d.
Code 128 (UCC/EAN-128) Details
<length> can be a maximum of 13 (with alphanumeric/control code data) or
26 (if subset C and numeric pairs are used).
Each subset enables the bar code to contain different characters. Subset
A uses 20-3F hex and 40-7F hex (read by the bar code reader as 00-7F
hex), subset B uses 20-7F hex, and subset C uses 30-39 hex.
The first character of
<data> must specify the subset to be used: A, B, or
C (listed as 87, 88, and 89 hex, respectively). The rest of the data can be
all 256 ASCII characters by using a combination of the subsets. The data
must appear as numeric pairs corresponding to the hex values for the
ASCII character in question.
7
Page 11

You can change subsets in mid-stream by using certain hex values in the
1-FF
data. Use 85, 84, and 83 hex to switch to subsets A, B, and C,
respectively. To change the next character only to another subset, use 82
hex. With this option, you can only change between subsets A and B.
You can also insert Code 128 function characters into the data. Function 1
uses the reserved Code 128 character (UCC/EAN128), function 2 appends
data, function 3 initializes the bar code reader, and function 4 extends
characters (for example, 'a' (97 decimal) is changed to '
adding 128 to it. Use 86 hex to specify Function 1 (all three subsets). Use
81 and 80 hex to specify Function 2 and Function 3, respectively (subsets
A and B only). To specify Function 4, use 85 hex in subset A and 84 hex in
subset B. Function 4 is unavailable in subset C.
β' (225 decimal) by
Positioning Fields
These commands/control characters help you move the supply through the
printer to position the fields on the receipt. The application could also write
spaces to the printer before it prints text.
Command Description
D hex (CR) Advances to the beginning of the next line and
turns bold printing off.
C hex (FF) Advances 10 lines.
14 hex (Norm)/F hex (SI) Sets the printer to 48-column mode.
E hex (SO) Sets the printer to 24-column mode.
B hex (VT) Advances 5 lines.
9 hex (HT)
A hex (LF) Advances to the beginning of the next line.
ESC-'J'-<num> Performs a specified number of line feeds.
<num>
8
Tabs to the next position or the beginning of
the next line.
The default amount of space between lines is
.375 mm for text and .125 mm for graphics.
The amount of space (in hex). The
default is 1 (.125 mm).
Page 12

CONFIGURING THE PRINTER
3
You must configure the printer before printing with it. This chapter
describes the configuration commands.
Selecting Operating Modes
The printer works in either online or buffer mode. In online mode, the
printer prints characters as soon as they are received. In buffer mode, the
printer receives and stores characters, and then prints them upon receipt of
an EOT control character (
Command Description
ESC-'P'-'#' Selects online mode.
ESC-'P'-'$' Selects buffer mode.
Setting the Print Contrast
The print contrast depends on the battery voltage and the print contrast
setting. The print contrast setting also affects the print speed. A high
contrast indicates a slow speed and vice versa.
4 hex).
We recommend designing your
applications so the user can adjust
the print contrast.
Command Description
ESC-'P'-<value> Sets the print contrast.
<value> 0-9 0 is the highest contrast and 9 is the
lowest contrast. The default is 5.
9
Page 13

Setting the Power Mode
The printer can operate in five different power modes, each using a different
number of printhead sections. The mode selected also affects the print
speed. The larger the number of dots used, the faster the printer speed.
Command Description
ESC-'P'-<value> Sets the power mode.
<value>
The number of printhead sections to use,
specified in hex. How you specify this value is
dependent on the language the application is
written in. For example, in C, you would use
0x01 to select one printhead section.
1 Prints using one printhead section.
2 Prints using two printhead sections.
3 Prints using three printhead sections.
6 Prints using six printhead sections.
7 Default. Dynamically chooses the
number of printhead sections to use (1,
2, 3, or 6), depending on what is
printed.
10
Page 14

Checking the Battery Voltage
The following commands/control characters involve the printer's battery.
Command Description
ESC-'P'-'^' Prints the battery voltage.
ESC-'P'-'!' Requests the battery voltage from the printer.
16 hex (Ctrl-V)
NiCD and NiMH batteries only. Requests the
print buffer and battery statuses. The printer
responds with:
ESC-'B'-(pbchars)-CR-LF-ESC-'V'-#volts#-CRLF
(pbchars) The number of characters
currently in the print buffer.
#volts# Four ASCII characters. The first
three are the battery voltage
(form x.x).
The fourth character categorizes
the voltage listed to give it a
reference. Values are 1-4, where
1 is high and 4 is low.
We recommend designing your
applications so the user can check
the printer's battery voltage.
11
Page 15
Using the Power-Off Timer
The printer has a power-off timer to conserve battery life. After a specified
period of inactivity occurs, the printer goes into sleep mode. You can
specify the length of this period. The printer returns to normal mode when it
starts receiving commands again.
Command Description
ESC-'C'
ESC-'M'-<digit1><digit2>-0-CR
<digit1> and
<digit2>
Example:
ESC-M-5-6-0-CR
(1B 4D 35 36 30
OD hex)
Sets the inactivity period to the default (20
seconds).
Sets the power-off timer. Use D hex for the
carriage return character (CR).
0-9 The number of seconds to set the timer
to. To disable the timer, set both
parameters to 0.
Sets the inactivity period to 56 seconds.
Be careful when using buffer
mode. If there is data in the print
buffer when the printer goes into
sleep mode, you will lose that
data.
12
Page 16
Checking Version Information
Your application can check the versions of both the printer hardware and
firmware.
Command Description
ESC-'P'-'('
ESC-'P'-')'
Requests the firmware version. The printer
responds with:
ESC-'('-#version#-CR-LF
#version# Four ASCII characters
representing the firmware
version.
Requests the hardware version. The printer
responds with:
ESC-')'-'097'-<version>-CR-LF
#version# An ASCII character representing
the hardware version.
Communicating with the Organizer
The printer and organizer must use these values for the communication
parameters:
♦ Baud Rate - 19200
♦ Stop Bits - 2
♦ Parity - None
♦ Data Bits - 8
Have the organizer use hardware (RTS/CTS) communications protocol when
communicating with the printer.
These control characters are related to communications between the printer
and the organizer.
Command Description
13 hex (Xoff)
11 hex (Xon)
Indicates a complete data transmission.
Ready to accept data.
13
Page 17
Miscellaneous Control Characters
Command Description
18 hex (Cancel)
2 hex (Ctrl-B)
8 hex (BS)
Re-initializes the printer.
Requests the print buffer status. The printer
responds with:
ESC-'B'-<pbchars>-CR-LF
<pbchars> The number of characters
currently in the print buffer.
Removes the last character entered in the
print buffer.
14
Page 18
SAMPLE DATA STREAM
4
How you send the data stream to the printer is dependent on the
language your application is written in. For example, the following data
stream (consisting of several strings that the application writes to the
printer) makes use of C notations for carriage returns (\r), new lines (\n),
and the C method for representing hex numbers (x06, for example).
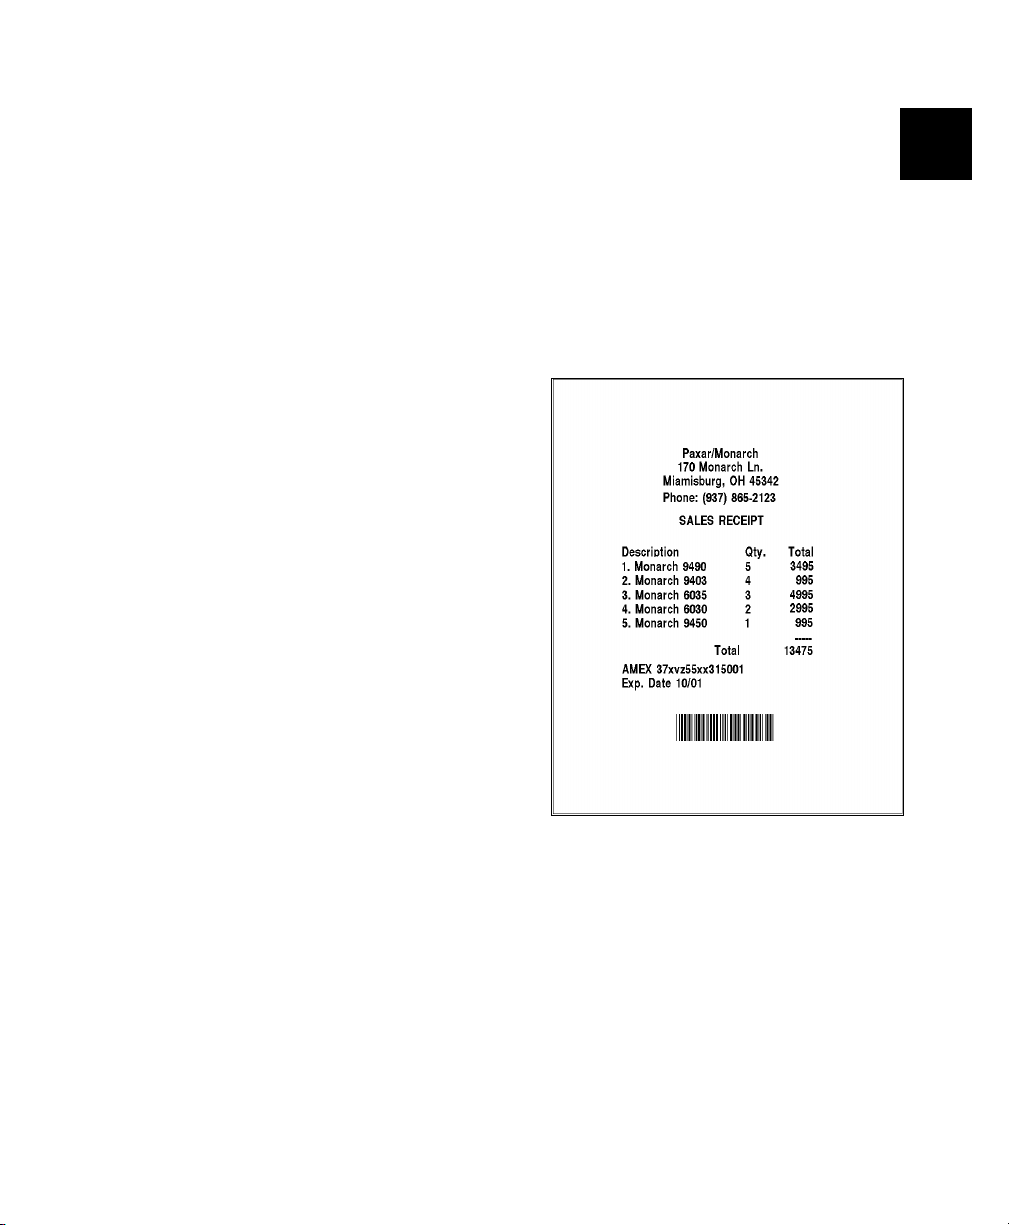
The data stream prints the label on the right.
"\x1bP#\r\n\r\n" \
" Paxar/Monarch\n" \
" 170 Monarch Ln.\n" \
" Miamisburg, OH 45342\n" \
" Phone: (937) 865-2123\r\n\r\n" \
" SALES RECEIPT\r\n\r\n" \
" Description Qty. Total\n" \
" 1. Monarch 9490 5 3495\n" \
" 2. Monarch 9403 4 995\n" \
" 3. Monarch 6035 3 4995\n" \
" 4. Monarch 6030 2 2995\n" \
" 5. Monarch 9450 1 995\n" \
" -----\n" \
" Total 13475\r\n\r\n"
\
" AMEX 37xyz55xx315001\n" \
" Exp. Date 10/01\r\n\r\n\r\n" \
" \x1bz1\x06\x64" \
"123456\n\x0c"
15
Page 19

Page 20
 Loading...