

Page 1
pass
TM
May 18, 2006
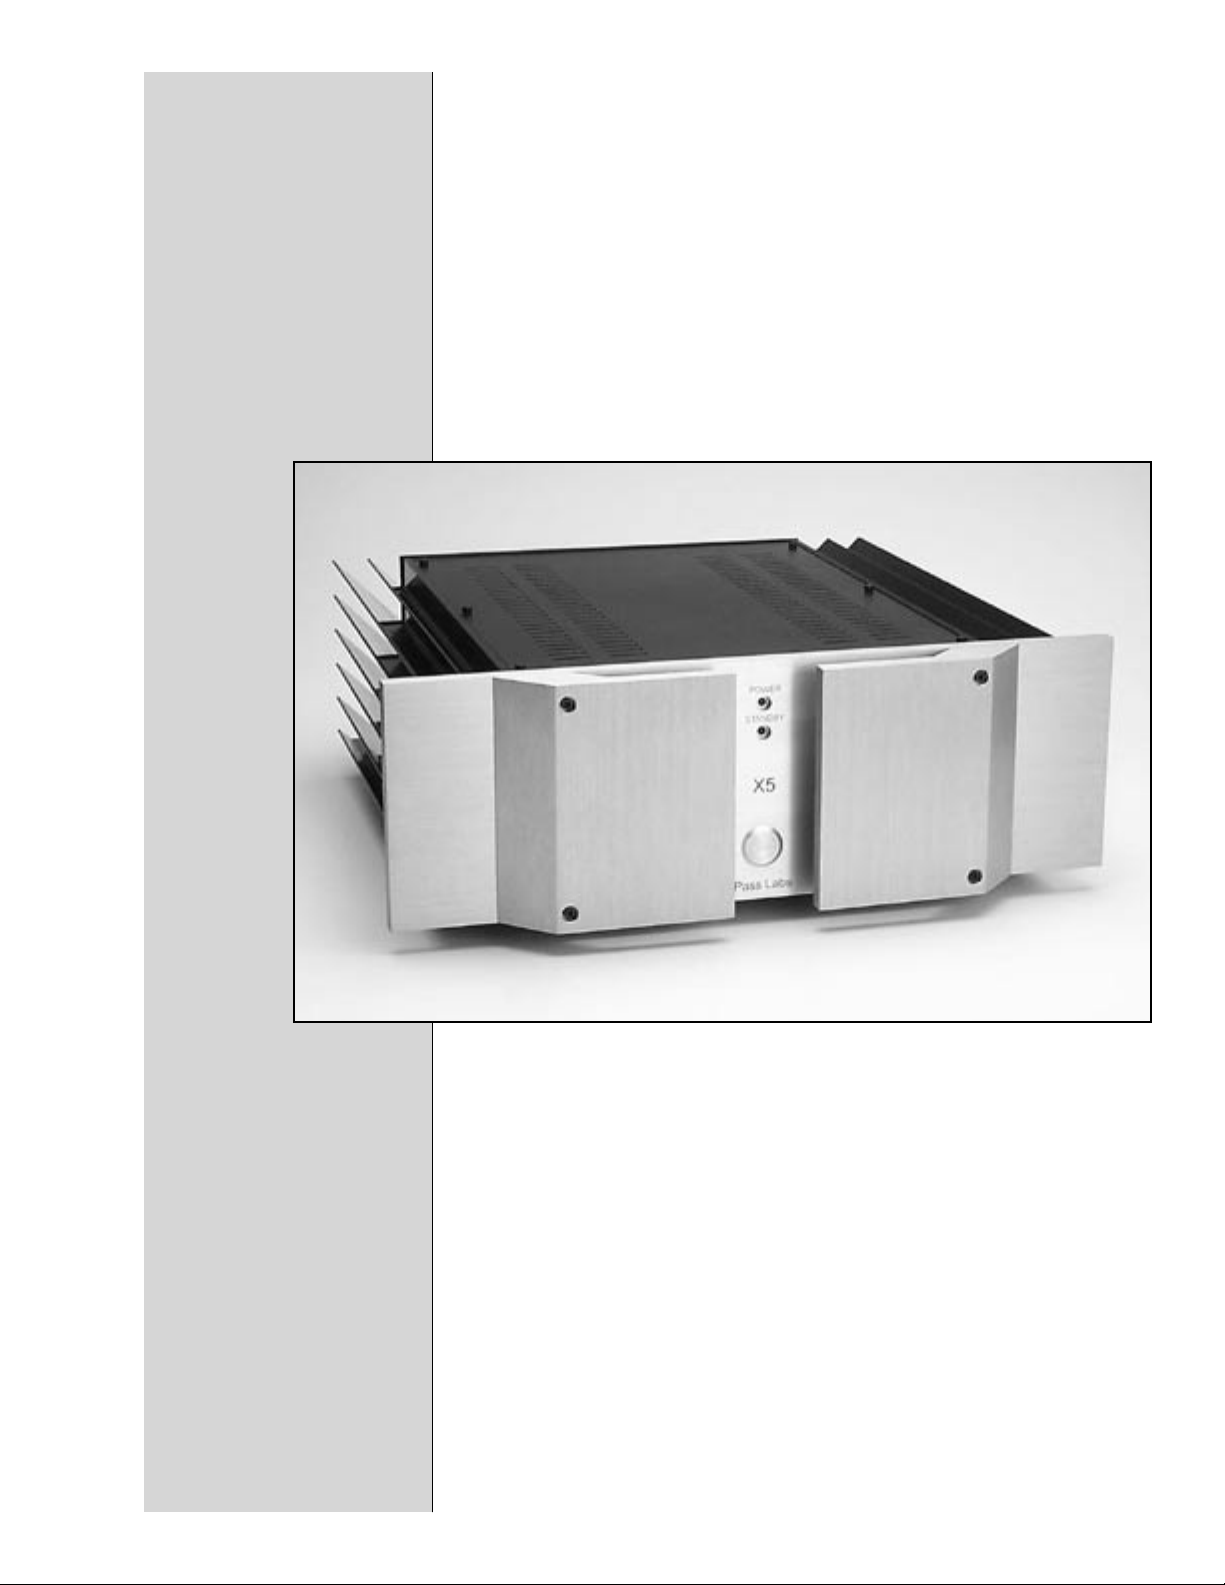
X5 Owner’s Manual
X5 Owner’s Manual
1
Page 2

Introduction
The X5 five channel amplifier embodies the design technology and
refinements of the larger “X” series amplifiers including extensions
of the patented Supersymmetry circuit.
The Supersymmetry circuit topology was granted a U.S. patent in
1994, and is the result of 19 years of effort by Nelson Pass. The
amplifier uses highly matched components in a classically simple
balanced Class A circuit. The amplifier contains only two simple
stages: the first is a balanced single-ended Class A voltage gain stage.
Its output drives a bank of high power Mosfets operated as voltage
followers.
These are inherently low distortion types of circuits, but their
performance is improved when operated in balanced mode through
cancellation. Distortion and noise identical to both halves of a
balanced circuit will disappear at the output, and in a well-matched
symmetric circuit, most of the distortion and noise is identical.
Supersymmetry enhances this effect by providing a connection
between the two halves of the balanced circuit that further perfects
the match. Any distortion and noise not already identical to the two
halves is made identical, and the result is improved cancellation at the
output.
Unlike feedback techniques where the goal is to correct for the
distortion by feeding a gain stage an inversely distorted signal,
Supersymmetry seeks merely to create perfect matching.
Matched balanced power circuitry typically sees a distortion
and noise reduction of about 90% (20 dB) through a balanced
connection without any additional effort. The Supersymmetric
circuit delivers another 90% reduction, so that the X series has
about 1/100 of the distortion of a conventionally simple amplifier.
Actually this ordinary distortion and noise can still be seen at the
output of one half of the circuit, but since it is virtually identical
on the other half, it goes away at the speaker terminals. This gives
good measured performance, which because it is simple, also sounds
excellent.
Previously these kinds of simple Class A circuits have been popular
for their sound quality in low power amplifiers, but have not found
application at high power levels due to excessive distortion and low
efficiency. Supersymmetry overcomes this barrier, delivering the
sweetness, staging, and detail of very simple circuitry up to kilowatt
power levels and beyond.
X5 Owner’s Manual
2
Page 3

The X Series amplifiers have the tremendous dynamic range (>150
dB) to do justice to the 24 bit recordings of the 21st Century. The
simple but powerful circuitry moves easily from total silence to
explosive transient and back to silence without a trace. It’s a spooky
experience.
So relax and enjoy your amplifier. Call us if you ever have a problem
or question. Thank you for buying our product.
Setup
You can position the amplifier anywhere you want, but it requires
ventilation. We do not recommend placing it in enclosed cabinets or
small closets without means for air to circulate freely. The amplifier
idles at about 200 watts.
Let’s talk about power requirements. The amplifier draws about
2 amps (continuous rms) out of the wall during normal audio
operation, and this reflects mostly the idle current that we run
through the output stage. If you are driving a low impedance load,
you will draw more than this, but this will not be typical.
The X5 is provided with the more conventional AC line cord, which
is rated at 15 amps. The circuit ground is attached to the chassis in
the conventional manner.
Under no circumstances should you defeat the ground connection of
the power cord. For your safety, the chassis of the amplifier should
be earth grounded.
Looking at the rear panel you will see the AC power cord receptacle,
a power switch, fuse holder, five pairs of output connectors, a pair of
5 way connectors for remote turn-on, five RCA input connectors and
five XLR balanced input connectors.
X5 Owner’s Manual
Make sure that the power switch is off (down). Plug the AC cord
into the back of the amplifier, and then into the wall. Then turn the
switch on (up). The lights in your house will blink when the power
supply charges the capacitors.
On the front panel, the “Standby” LED indicator should be glowing
blue, indicating that the power is on. The “Power” LED should
not be on. If the “Power” LED is on, don’t get excited, just use
the front panel stand-by button to go to stand-by mode, with the
“Standby” LED on and the “Power “ LED off.
OK, so the amplifier is sitting there in stand-by mode with just the
3
Page 4

single blue LED lit. No speaker connected yet. You can go ahead
and connect the source and speakers.
The amplifier can be driven single-end or balanced, if driving the
amplifier single-ended leave the supplied jumpers in place (between
pins 1 & 3 on the XLR).
Now that the source component is connected, make sure there is no
signal coming from it, probably by turning the volume all the way
down.
With the speakers connected, push the front panel button to activate
the amplifier. The “Power” LED will come on. You are ready to play
music.
Do everybody a favor and try not to have shorted output cables. It
happens accidentally all the time, and the amplifier is designed to
survive, but I wouldn’t bet the farm on it.
Of course it’s always possible that something could go wrong. If so,
don’t get excited, just relax. It’s really aggravating when something
like this doesn’t work, we understand, but it will get fixed. We go to
a lot of trouble to make products reliable, and the failure rate of our
amplifiers is almost non-existent. This is small comfort to the few,
but take it easy and give us a call if you have problems.
People are interested in how long it takes for these amplifiers to
break in. It takes about an hour for them to warm up, and this is
where we adjust them first. Then we adjust them again and again
over a couple of days, keeping the bias and offset in the sweet spot.
Our environment is about 23 degrees Centigrade, room temperature,
and the heat sinks will rise to about 22 degrees C. above that, for a
heat sink temperature of 45 degrees C.
In your setup the temperature may vary a bit due to line voltage and
ventilation, but it is not a big deal. You should be able to put your
hands on the heat sinks without discomfort.
The amplifier has a thermal cutout that will disconnect AC power if
the temperature exceeds 75 degrees Centigrade. This should never
occur in real life.
More things to know: You can remotely operate the stand-by mode
by applying 12 volts DC to the single pair of 5 way connectors on
the rear of the amplifier. The positive of the 12 volts DC goes to
the red connector. This connection has an actual operating range
X5 Owner’s Manual
4
Page 5

of about 9 volts to 15 volts. This switching will override the front
panel button, so if you want the button to operate, leave the rear
connection open.
So much for essential information.
Speaker Interface
The X5 is optimized for loads nominally rated at 4 ohms and above.
You can run the amplifiers into a lower nominal impedance without
difficulty, and we are not aware of a speaker on the market that
presents unusual difficulty with these amplifiers.
The X amplifiers do not care particularly about the reactivity of
the load. Reactive loads typically will have slightly less distortion
at a given voltage/current level than resistive loads, but will make
the amplifier run a little hotter. The X circuit was designed to
be quite happy driving electrostatic and other speakers, since it is
unconditionally stable.
When driving transformer-coupled loads directly, as in some
electrostatic and ribbon designs, some attention must be paid to the
DC character of the situation. If the transformer primary is being
driven raw with no protection from DC and your source has DC
voltage, or in cases where the small offset of the power amplifier
is still too much, you may create distortion in the transformer and
get less than optimal performance from it. Generally this is not the
case with transformer coupled loudspeakers, but it does occasionally
surface. In these cases, take special care that the source does not
contain a differential DC component, and confirm the differential
DC offset of the amplifier is sufficiently low. This is easily adjusted
by a qualified technician armed with the service manual. Again,
consult your dealer or call us.
Interconnects and Speaker
Cables
X5 Owner’s Manual
We have a general recommendation about interconnects, which is
that they should cost less than the amplifier. We have tried a lot of
products and most of them work well, but as a practical matter we
cannot make blanket recommendations.
The amplifier is not sensitive to source interconnects. It is also not
sensitive to radio frequency pickup, which allows some flexibility in
choosing source interconnects without shields.
We prefer speaker cables that are thick and short. Silver and copper
are the preferred metals. If you find any cable made of gold, please
send me a couple hundred feet.
5
Page 6

Fortunately the amplifier is not sensitive to the capacitive/inductive
character of some of the specialty speaker cables, so feel free to
experiment.
We have found that about 90 per cent of bad sounding cables are
really bad connections, and we recommend that special attention be
paid to cleanliness of contact surfaces and tight fit.
Speaker cables should be firmly tightened down at the speaker
output terminals, but do not use a wrench. They will not withstand
100 foot-lbs of torque. Hand tightening without excessive force is
plenty.
Fun Hardware Facts
The X5 has a power transformer, rated at 1000 watts, continuous
duty. Under actual conditions in the amplifier the transformer will
deliver about 1800 watts for short duration.
All the transistors in the product are power Mosfets, actually Hexfets
from International Rectifier and Harris. These are hyper-matched
parts, with gate voltages matched to 0.5% and all devices taken
from the same lot codes (made on the same wafer). The speed and
noise critical gain devices in the front end, (that is to say the actual
balanced pair of transistors) are ultra low noise and distortion
matched JFETs having a low (.02 S) transconductance figure. The
JFETs are made on the same substrate for prefect matching.
The X5 has 40 output Mosfet power transistors in TO-3 plastic
packages, again matched to 0.5% and drawn from the same lot codes
for each type. The output stages can sustain transients of about
1,000 watts per channel, but are not allowed to dissipate more than
half that, even into a dead short.
So how long will this hardware last? It is my experience that, barring
abuse or the odd failure of a component, the first things to go will
be the power supply capacitors, and from experience, they will last 15
to 20 years. Fortunately they die gracefully and are easily replaced.
After that, the longevity will depend on the number of operating
thermal cycles, but I can say that I have had amplifiers operating in
the field in excess of 20 years with no particular mortality except
capacitors. The answer is, I don’t have good information beyond
that. More to the point, I would suggest that you not worry about
it. This is a conservatively built industrial design, not a tweaky tube
circuit run on the brink. If it breaks, we will simply get it fixed, so
sleep well.
X5 Owner’s Manual
6
Page 7

X5 Specifications
All figures obtained after a 1 hour warmup, with regulated 120 VAC
power line. See manual notes about AC power line regulation.
Gain 30 dB
Freq. Response -0 dB at DC, -3 dB at 100 kHz
Power Output 125 X 5 watts maximum @ 1% THD,
1 kHz, 8 ohms
Maximum Output Voltage plus, minus 50 volts
Maximum Output Current plus, minus 10 amps
Input Impedance 22 kohm balanced
Damping factor 200 ref 8 ohms nominal
Slew rate plus, minus 50 V/uS
Output Noise 300 uV unweighted 20-20 kHz
Balanced CMRR -85 dB @ 1 kHz (input common
mode rejection ratio)
DC offset < 100 mv
Power Consumption 200 watts idle, 600 watts maximum
Temperature 20 degrees C. above ambient typical
Dimensions 19 “ W x 7” H x 20” D
Shipping Weight 74 lbs.
For more information please contact:
Pass Laboratories Inc.
P.O. Box 219,
24449 Foresthill Rd.,
Foresthill, CA 95631
Tel: 530.367.3690
Fax: 530.369.2193
www.passlabs.com
© 2006, Pass Laboratories Inc.
“Pass”, “pass”, “Pass Labs”, “Pass Laboratories”, Supersymmetery”,
“Aleph”, and “Zen” and are all registered trademarks of Pass
Laboratories, Inc., and all rights thereto are protected by law.
X5 Owner’s Manual
7
Page 8

Warranty Information
Please check with the factory-authorized distributor in the country you are
purchasing this product for specific warranty information.
All Pass Laboratories products purchased from an authorized Pass Laboratories dealer in North America are covered by a transferable, limited 3-year
warranty. This warrantee includes all parts and labor charges incurred at the
repair facility in addition to return shipping to the domestic customer, exclusive of subsequent damages. Damage due to physical abuse is specifically
not covered under this warranty.
For this warranty to apply the customer is responsible for returning the
product unmodified to the factory within the warranty period. The customer
assumes all responsibility for shipping and insurance to the factory or a factory specified repair facility. The conditions and stipulations of this Pass
Laboratories warranty only applies to units sold new in North America.
Non-North America customers should consult with their original Pass Labs
dealer or distributor for warrantee repair instruction prior to contacting the
factory or shipping product for repair.
Non-North American product must be returned to the country of origin for
warrantee service. Foreign distributors are only required to offer warranty
service on Pass Laboratories product that they have imported.
Please note: Conditions of warranty service and customer rights for product
purchased outside the United States may vary depending upon the distributor and local laws. Please check with your local distributor for specific rights
and details.
Any modifications to Pass Laboratories products that have not received
written factory approval nullify all claims and void the warrantee. Should a
modified product be returned to the factory for repair the owner will be required to pay all necessary charges for the repair in addition to those charges
required to return the product to it’s original configuration.
In the case of safety issues, no product shall be returned to the customer
without those safety issues being corrected to the most recent accepted
standards.
Removal or alteration of original Pass Labs serial numbers voids the factory
warranty. Product with altered or missing serial numbers will be suspected
as counterfeit product.
Pass Laboratories will not repair or in any way indemnify any counterfeit or
cloned product.
X5 Owner’s Manual
Pass Laboratories does not offer products in voltages intended for international markets either to authorized Pass Labs dealers or to third parties
located in the United States or Canada.
8
Page 9

For your protection please
read the following:
Water and moisture: Electrical devices should not be used near
water ( as per example, near a bathtub, washbasin, kitchen sink,
laundry tub, wet basement or swimming pool ). Care should be
taken such that objects do not have the opportunity to fall, and that
liquid is never spilled onto or into the device enclosure through
openings.
Power Sources: An electrical device must be connected to a mains
power source in strict accordance with the supplied product owner’s
manual. Please verify that the AC mains voltage specified in the
product manual matches those requirements indicated on the unit
and the AC voltage provided to your location by the power company.
Grounding: Adequate precautions should be taken so that the
grounding provisions built into an electrical product are never
defeated.
Power Cords: Pass Laboratories provides a power supply cord that
meets all legislated requirements for the market in which the product
was originally sold. If you choose to substitute an after-market
product we urge you to choose one that is fully safety rated by the
necessary local authority.
Power Cord Protection: Power supply cords should be routed so
that they are not likely to be walked on, abraded, or pinched by items
placed on or against them, paying particular attention to cords where
they enter plugs or exit from a device. Never under any circumstance
insert a cut or damaged power cord into a mains power socket.
Power and Signal: Cables should never be connected /
disconnected with equipment powered up. Failure to heed this
warning may damage or destroy equipment.
Ventilation: Power-amplifiers run hot, but you should be able to
place your hands on them without discomfort. You must allow for
this heat in installation, by providing for free air circulation around
the product. Electronics should not be subjected to sources of
excessive radiant heat. Excessive heat can shorten the life of the
product and may cause the electronics to self-protect and shut down.
Servicing: To reduce the risk of fire, electrical shock or other
injuries, the user should not attempt to service the device beyond
that which is described in the operating instructions. All other
servicing must be referred to qualified service personnel.
X5 Owner’s Manual
9
 Loading...