

Page 1

BELT TYPE
AIR COMPRESSOR
OPERATING INSTRUCTION
IMPORTANT:
PLEASE READ CAREFULLY BEFORE USE.
Record these numbers in the space below and retain for future reference:
Power source: 240 V 50 Hz Single Phase
Model No:
Serial No:________________________________________
Purchased Date: ___________________________________
Page 2

TABLE OF CONTENTS PAGE
1:IMPORTANT SAFETY INSTRUCTIONS ---------------------------------------------
2:GENERAL DESCRIPTION ------------------------------------------------------------
3:ON RECEIPT INSPECTION ----------------------------------------------------------
4:GENERAL REQUIREMENT ---------------------------------------------------------
5:INSTALLATION --------------------------------------------------------------------------
6:COMPRESSOR LUBRICATION -----------------------------------------------------
7:START UP PROCEDURE -------------------------------------------------------------
8:MAINTENANCE CHECK LIST -------------------------------------------------------
9:STORAGE --------------------------------------------------------------------------------
3-4
5
5
5
5-7
7
7
8
8
10:TROUBLE SHOOTING --------------------------------------------------------------
9-10
2
Page 3
1:IMPORTANT SAFETY INSTRUCTION
IMPROPER OPERATION OR MAINTENANCE OF THIS PRODUCT COULD RESULT IN
SERIOUS INJURY AND PROPERTY DAMAGE.
PLEASE READ AND UNDERSTAND ALL INSTRUCTIONS BEFORE USING YOUR AIR COMPRESSOR.
KEEP THIS BOOKLET FOR FUTURE REFERENCE.
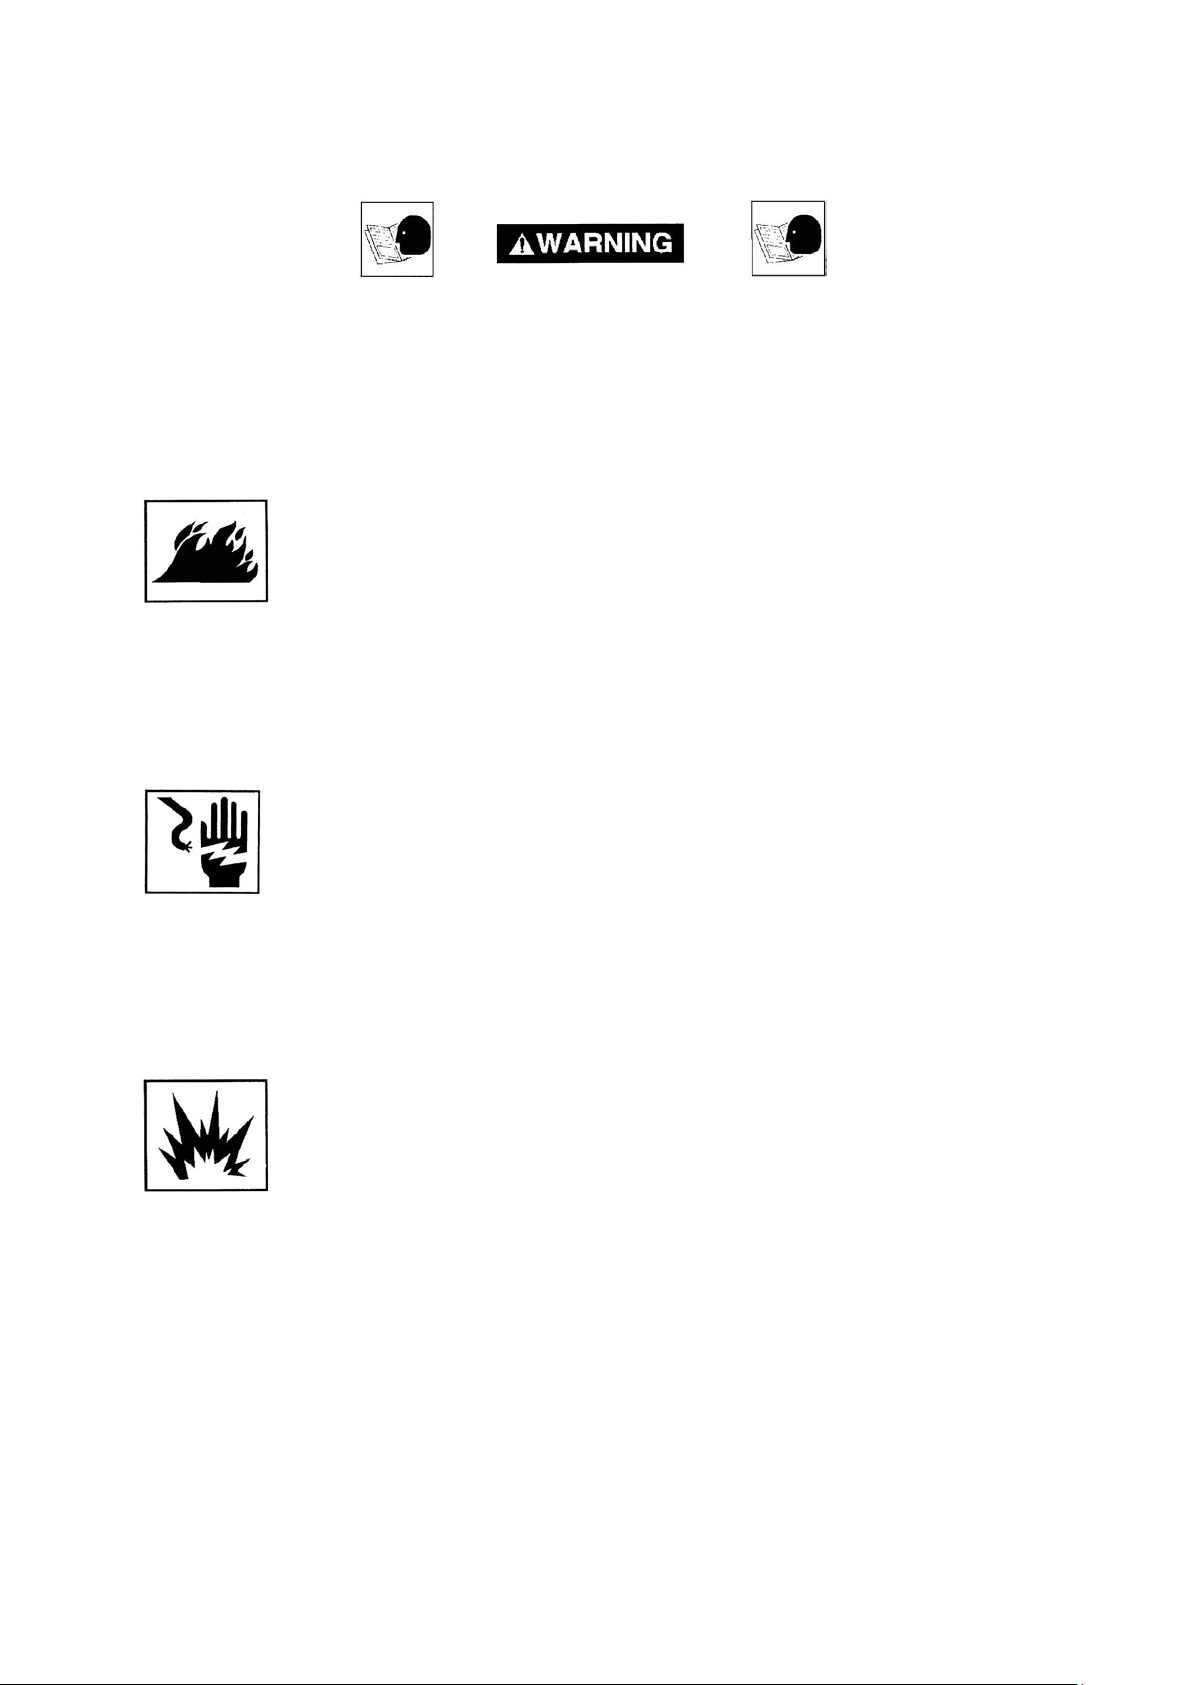
1-1:RISK OF FIRE
● DO NOT SPRAY COMBUSTIBLE OR FLAMMABLE LIQUID IN A CONFINED AREA,
SPRAY AREA MUST BE WELL VENTILATED.
● DO NOT SMOKE WHILE SPRAYING OR SPRAY WHERE SPARK OR FLAME IS
PRESENT.
● KEEP COMPRESSOR AT LEAST 12 ~ 18 FEET A WA Y FROM SPRA YING AREA AND
ALL EXPLOSIVE VAPOURS.
1-2:RISK OF ELECTRICAL SHOCK
● DISCONNECT COMPRESSOR FROM ELECTRICAL SUPPLY CIRCUIT BEFORE
MAINTENANCE.
● DO NOT EXPOSE COMPRESSOR TO RAIN OR OPERATE IN A WET AREA.
● NEVER USE THE AIR COMPRESSOR WITHOUT CONNECTION TO A PROPERLY
GROUNDED OUTLET WITH THE SPECIFIED VOLTAGE AND FUSE PROTECTION.
● IMPROPER GROUNDING CAN RESULT IN ELECTRICAL SHOCK.
1-3:RISK OF EXPLOSION
● DRAIN TANK DAILY, CONDENSED WA TER WILL CAUSE RUSTING AND RISK OF
TANK RUPTURE OR EXPLOSION.
● DO NOT REP AIR, MODIFY OR WELD TANK, RETURN TO AN AUTHORIZED SERVICE
CENTER IF REPLACEMENT IS REQUIRED.
● DO NOT ADJUST REGULA TOR TO RESULT IN OUTPUT PRESSURE GREATER
THAN MARKED MAX. PRESSURE OF ATTACHMENT.
● PRESSURE SWITCH IS SET AT THE FACTORY FOR OPTIMUM PERFORMANCE OF
YOUR PAR TICULAR MODEL, NEVER BYPASS OR REMOVE PRESSURE SWITCH AS
SERIOUS DAMAGE TO EQUIPMENT OR PERSONAL INJURY COULD RESUL T FROM
IMPROPER PRESSURE SETTING.
● BEFORE STARTING COMPRESSOR, PULL PRESSURE RELIEF VALVE RING TO
MAKE SURE THE VAL VE MOVES FREELY. THE PRESSURE RELIEF VALVE IS
FACTORY INSTALLED TO PREVENT THE AIR RECEIVER FROM DAMAGE SHOULD
MALFUNCTION OCCUR IN THE PRESSURE SWITCH. IT IS FACTORY SET AT A
SPECIFIC LIMIT FOR YOUR PARTICULAR MODEL, AND SHOULD NEVER BE
TAMPERED WITH. ADJUSTMENT BY USER WILL AUTOMATICALLY VOID
WARRANTY.
3
Page 4

1-4:RISK OF BURNS
● HOT SURFACE CAN CAUSE SERIOUS INJURY. NEVER TOUCH ANY EXPOSED
METAL PARTS ON COMPRESSOR DURING OR IMMEDIATELY AFTER OPERATION.
TOUCHING THESE AREAS MAY CAUSE SEVERE BURNS.
● DO NOT REACH AROUND PROTECTIVE SHROUDS OR ATTEMPT MAINTENANCE
UNTIL UNIT HAS BEEN ALLOWED TO COOL.
1-5:RISK TO HE ALTH
● DO NOT USE COMPRESSED AIR FOR BREATHING. WHEN SPRAYING USE
RESPIRATORY PROTECTION IN A WELL VENTILATED AREA.
● COMPRESSED AIR FROM THE UNIT MAY CONTAIN POISONOUS VAPOUR WHICH
IS NOT SUITABLE FOR INHALING AND COULD BE HARMFUL TO YOUR HEALTH.
● WORK IN AN AREA WITH GOOD VENTILATION.
1-6:RISK FROM MOVING PARTS
● UNIT STARTS AUTOMATICALLY, DO NOT OPERATE WITH BROKEN GUARDS OR
COVERS REMOVED.
● ANY REPAIR REQUIRED ON THE PRODUCT SHOULD BE PERFORMED BY
AUTHORIZED SERVICE CENTER PERSONNEL.
● DO NOT TOUCH MOVING PARTS.
1-7:RISK FROM FLYING OBJECTS
● ALWAYS WEAR ANSI Z87.1 APPROVED SAFETY GLASSES WITH SIDE SHIELDS
WHEN USING THE AIR COMPRESSOR. ALWA YS WEAR PROPER SAFETY
EQUIPMENT WHILE USING COMPRESSED AIR.
● DO NOT DIRECT HIGH PRESSURE AIR STREAM TOWARD ANY PARTS OF THE
BODY OR AT OTHER PEOPLE.
● UNPLUG POWER CORD AND DRAIN AIR FROM TANK BEFORE SERVICING AND
WHENEVER YOU LEAVE FOR THE DAY.
1-8:RISK OF PROPERTY DAMAGE WHEN TRANSPORTING COMPRESSOR
● ALWAYS PLACE COMPRESSOR ON A PROTECTIVE MAT WHEN TRANSPORTING
TO PROTECT AGAINST DAMAGE TO VEHICLE FROM LEAKS.
● ALWAYS OPERATE COMPRESSOR IN A STABLE POSITION TO PREVENT
ACCIDENTAL MOVEMENT OF THE UNIT.
4
Page 5

2:GENERAL DESCRIPTION OF AIR COMPRESSOR
The air compressor pump works with the up and down of a piston in the cylinder. During the
down-stroke, ambient air is drawn in through the inlet valve, while the discharge valve remains
closed. On the up-stroke of th e pisto n, the air is forced into the compressor tank through the
discharge valve and the check valve. Through this controlled action, air is forced into the tank
to a preset pressure. The pressure switch regulates the pressure and controls the
stop/start of the motor. Working air is not available until the pressure in the air tank is built up.
The air inlet filter openings must be kept clear of obstructions.
All tools require specific air pressure to operate properly. Consult your air tool manual for those
requirements and safety instructions. There are a variety of air tools available that will operate
efficiently with this air compressor. For best result s, always compare the air tool requirements to
your compressor output specifications. A tool that requires a lot of continuous air, such as a
sander, will not operate effectively with a small tank compressor. A tool that requires little air,
such as a brad nail gun, will operate with a small tank compressor very effectively. Lear n your
air tool power requirements, match your air tools to your compressor correctly and this
compressor will perform effectively.
3:ON RECEIPT INSPECTION
Each air compressor outfit is carefully tested and inspected before shipment. Every attempt is
made to ensure safe and complete shipment of our products. Please inform the dealers if any
deficiency was found.
4:GENERAL REQUIREMENT
Please ensure air compressor is installed correctly. Maintain and service on a regular basis.
Information included in this booklet describing the maintenance schedules and
trouble-shooting. It is important that you read this information and keep it for future
reference.
5:INSTALLATION
5.1:MECHANICAL
Use the compressor in a clean, dry and well-ventilated area. The compressor should be
located 300mm from a wall or any other obstruction that would interfere with the air flow.
Place the air compressor on a firm and level surface. The air compressor is designed with
heat dissipation fins that allow for proper cooling. Keep the fins and other parts clean. A
clean compressor runs cooler and provides longer service. Allow room for easy access to
the air compressor for maintenance and service work.
5.1-1:For vertical type permanent installation, the compressor should be bolted to the floor
through holes provided in the compressor feet. Shims must be used to level the
compressor before bolting it to the floor. Severe vibration will result when the compressor
is bolted down tightly and the feet are not level. This can lead to welds cracking or fatigue
of the air receiver.
5
Page 6

5.2:ELECTRICAL
Please ensure that the air compressor is electrically connected in a safe and cor rect manner.
Any electrical work should be carried out by an electrician and installed in a way which
meets all applicable codes and regulations.
Failure to connect the air compressor correctly to power source may result in serious
personal injury or damage to the equipment.
Please note that under normal conditions, the air compressor will operate intermittently.
Should it be necessary to service, ensure the power source has been shut down to prevent
personal injury or damage to the unit.
If the supply cord is damaged, it must be replaced by a service agent in order to avoid a
hazard.
5-2-1
:MOTOR
Wiring must be done in a manner tha t full voltage is available at the m otor t erminals durin g
startup. Use of an incorrect power source will result in premature motor failure and is not
covered by this compressor or motor manufacturer’s warranty.
5-2-2
:PRESSURE SWITCH
The pressure switch acts as a pilot device activating the motor. The pressure switch cut
in/cut out has been preset at the factory, do not tamper with the settings. Never bypass or
remove this switch, as serious damage to equipment or personal injury could result from
improper pressure setting. Consult your local distributor or service center if the switch
malfunctions.
5-2-3:GROUNDING INSTRUCTIONS
Do not modify the plug that has been provided, if it does not fit the available outlet, the
correct outlet should be installed by a qualified electrician. The plug must be plugged into
an outlet that is properly installed and grounded in accordance with all local codes. If these
grounding instructions are not completely understood or if in doubt as to whether the
compressor is properly grounded, have the installation checked by a qualified electrician.
5-2-3-1
5-2-4
5-2-5:PUMP ROTATION
The compressor is to be wired in a manner that the rotation of the flywheel causes the air
:This product is for use on a nominal 240 volt circuit.
No adapter should be used with this product.
:EXTENSION CORDS
The use of any extension cord will cause some drop in voltage and loss of power. For
optimum performance, plug the compressor power cord directly into a grounded wall
socket. Do not use an extension cord unless absol utely necessary. It is better to use a long
air hose to reach area where work is being performed. If use of an extension cord can not
be avoided, refer to the following guidelines :
Make sure your extension cord is in good condition. Be sure quality is sufficient to carry
the current the unit will draw.
to be blown over the pump. This allows the pump to cool properly.
6
Page 7

6:COMPRESSOR LUBRICATION
Do not add or change oil while the compressor is in operation, use the recommended 30 weight
non-detergent oil only.
6-1:OIL FILLING
:Remove the oil filler plug.
6-1-1
6-1-2
:Slowly pour the proper oil into the pump crankcase.
:Always keep oil level between the marks “HIGH” and “LOW” level on the oil stick or on
6-1-3
the red circle of the sight glass.
7:START UP PROCEDURE
Do not attempt to operate the air compressor unit without first checking the oil level in the pump,
add oil as required. Serious damage may result from use without oil.
7-1
:Check to see that nuts and bolts are all snug, this must be done as som e fasteners may
become loose in transit.
:Check to see if the belt is installed with proper tension.
7-2
:Check belt tightness so that when pressure is applied at the center, there is 1/2” slack.
7-3
7-4:Check that type and oil level is correct, user proper compressor lubrication.
:Check that compressor is placed on stable, level ground.
7-5
:Check that crank case breather is clean.
7-6
7-7
:Check that air filter is clean.
:Do not place any materials on or against the compressor unit itself.
7-8
Doing so will limit the cooling of the air compressor and could lead to
premature failure.
7-9
:Check that the flywheel is turning in the correct direction.
:Open the air receiver outlet ball valve and start the unit. Allow the unit to operate for a
7-10
minimum of twenty minutes in this no load condition.
:After running the compressor for twenty minutes, close the ball valve and allow the
7-11
unit to reach maximum operating pressure. Ensure that the compressor shuts down
at the preset maximum pressure, and the head pressure is released through
pressure switch.
7-12
:Check the air compressor and piping systems for leakages, and correct as required.
:Shut off of all power to the air compressor before attempting any repair or maintenance.
7-13
7-14
:Stop the compressor and check the oil level thru oil gauge. Add oil as required.
:Your compressor is ready for use.
7-15
7
Page 8

8:MAINTENANCE CHECK LIST
Before doing any maintenance or adjustments to your air compressor, the following safety
precautions should be taken.
(1)
:DISCONNECT ELECTRICAL POWER.
:RELEASE PRESSURE IN AIR RECEIVER.
(2)
:Daily checklist
8-1
8-1-1
:Check oil level.
:Drain condensation from air receiver tank.
8-1-2
:Check for any unusual noise or vibration.
8-1-3
:Be sure all nuts and bolts are tight.
8-1-4
8-2
:Weekly checklist
:Clean air filter . Replace air filter if necessary.
8-2-1
:Check oil level and top up if necessary.
8-2-2
:Quarterly or 300 hour checklist
8-3
8-3-1
:Change compressor oil and filter element.
:Check condition and alignment of belt, flywheel and motor pulley.
8-3-2
Adjust belt tension if necessary or replace belt if worn.
8-3-3
:Check safety valve .
8-3-4
:Check pressure switch unloads to ensure compressor head unloads.
:Clean and blow off pump fins and motor.
8-3-5
:Inspect air system for leaks by applying soapy water to all joints. Tighten joints if
8-3-6
leakages are observed.
9:STORAGE:
WHEN YOU HAVE FINISHED USING THE AIR COMPRESSOR:
9-1:Set the “on/off” switch to “off” and unplug the cord.
:Be sure to drain the water from the air tank.
9-2
:Protect the electrical cord and air hose from damage.
9-3
:Store the air compressor in a clean and dry location.
9-4
8
Page 9

10:TROUBLE SHOOTING:
Won
Low pressure
Pressure relief
releasing
Oil discharge and
excessive carbon
formation or appearance
of water and oil in the
air lines
Install a moisture separator and/or
B
or motor pulley
s
Water in air receiver tank
CONDITION CAUSE CORRECTIVE
’t start
continuously
valve
1:Fuse blown or circuit breaker tripped
2:Loose electrical connection
3:Motor overheated
1:Malfunction in valves
2:Loose tube or fittings
3:Restricted air filter
4:V-belts loose
5:Defective check valve
6:Worn compression rings
1:Defective pressure switch or
improper adjustment
2:Defective pressure relief valve
1:Improper oil viscosity
2:Overfilling the crankcase with oil
3:Restricted air intake filter
4:Carbon on exhaust valves
5:Worn valves
6:Worn piston rings
7:High ambient temperature and/or
humidity
8:Over usage of this compressor
1:Check for cause of blown fuse or
breaker and replace or reset
2:Check wiring connection
3:Press reset button
1:Check inlet and exhaust valves
2:Tighten fittings
3:Clean or replace
4:Adjust belts tension
5:Replace check valve
6:Replace rings
1:Check for proper adjustment
if problem persists replace
pressure switch
2:Replace valve
1:Use SAE 30 non-detergent
compressor oil
2:Drain oil and fill to proper level
3:Clean or replace filter
4:Replace
5:Replace
6:Replace piston ring
7:
dryer follow by filter
8:Check for air leakage
If no leaks are found you may
required an additional
compressor unit as air demand
is too much for the ex ist ing unit
elt roll off the flywheel
1:Flywheel and motor pulley not aligned
properly
2:Belts do not match flywheel / pulley
groove
3:A nick or tear on the edge of the belt
4:
Not a matched set(if two or more belt
are used)
1:Condensation in the air receiver 1:Drain daily or install an automatic
9
1:Align using a straight edge
2: Purchase new set of matched
belts
3: Purchase new set of matched
belts
4: Purchase new set of matched
belts
drain
Page 10

CONDITION CAUSE CORRECTIVE
Compressor over heated
or
Excessive noise
for damage replace
Pressure switch do es not
unload or leak air when
unit is not operating
Pressure switch unloading may be dirty
Oil leaks or appearance
of oil on the compressor
9:File or sand with emery cloth
1:Undersized unit for air requirements
2:Compressor location
3:Pump rotating the wrong way
4:Air leaks in the system
5:Restricted air filter
6:Improper grade or level of oil
7:Worn, damage or carbon build up on
valve
Carbon build up at after-cooler tube
8:
check valve
1:Loose flywheel or motor pulley
2:Loose valves
3:Noisy only during start up, Check for
loose belts
4:Vibrating belt guard, piping
5:Unit not installed level
6:Improper grade of oil in crankcase
7:Carbon or foreign material on piston
8:Worn bearings
1:Contact your compressor
distributor
2:See installation section
3:See pump rotation
4:Fix leaks
5:Clean or replace filter
6:Use SAE 30 non-detergent
compressor oil
7:Clean, repair or replace valves
8:Clean or replace
1:Tighten as required
Inspect valves
2:
as required
3:Adjust for proper tension
4:Tighten as required
5:Check if unit is mounted level
6:Use SAE 30 non-detergent
compressor oil
7:Clean piston
Check cylinder wall for scoring
8:Replace bearings
1:
or faulty
2:Check valve may be dirty or faulty
1:Spillage of oil when filling
2:Overfilling the crankcase
3:Improper grade of oil
4:Leak at oil filler plug
5:Oil leak at gasket, cap screw, head,
cylinder or crankcase
6:Loose valve plugs
7:Loose side or end plate
8:Oil seal leak
9:Scratch or burn on the crankshaft
1:Clean, repair or replace pressure
switch
2:Clean or replace check valve
1:Wipe unit clean
2:Drain oil and fill to proper level
3:Use SAE 30 non-detergent
compressor oil
4:Tighten or replace oil filler plug
and/or “O” ring
5:Replace gaskets as required
Use pipe dope or gasket
compound on all cap screw
threads
6:Tighten valve plug
7:Tighten plates
8:Replace oil seal
10
Page 11

11
Page 12

Paslode Australia
Head Office
47 -55 Williamson Road
Ingleburn NSW 2565
Australia
www.paslode.com.au
ABN 63 004 235 063
2C03-AX01(1212)
12
 Loading...