

Page 1

Instruction Manual
Manual No. 012-09067
Mini Drop Shoot
Accessory
Model No. ME-6827
Page 2

Model No. ME-6827
®
2
Page 3

Model No. ME-6827 Mini Drop Shoot Accessory
Mini Drop Shoot Accessory
Model No. ME-6827
Equipment List
3
1
2
4
Included Equipment Replacement
Part Number*
1. Drop Shoot Bracket
2. 1.6 cm Steel Balls (2)
3. Photogate Mounting Hardware
4. Loading Rod
648-08601
042-030
003-0567
*Use Replacement Model Numbers to expedite replacement orders.
Additional Equipment Required
Mini Launcher
C Clamp
Photogate Head
ME-6825
SE-7285
ME-9498A
Time of Flight Accessory
Smart Timer
or Computer Interface
®
ME-6810
ME-9830
3
Page 4

Mini Drop Shoot Accessory Model No. ME-6827
Introduction
PASCO's Drop Shoot Accessory is designed to demonstrate the
independence of motion in the x and y directions for a
projectile. The included bracket easily mounts on a Mini
Launcher (ME-6825). Add a Photogate to the bracket to
determine the muzzle velocity of the ball as it leaves the
launcher. In addition, a Time of Flight Accessory can be used
to measure the time of flight for the ball.
Independence of X and Y Motion
1. Mount the Mini Launcher to a tabletop with a C clamp or other
table clamp.
2. Using the attached plumb bob, set the launch angle to 0º.
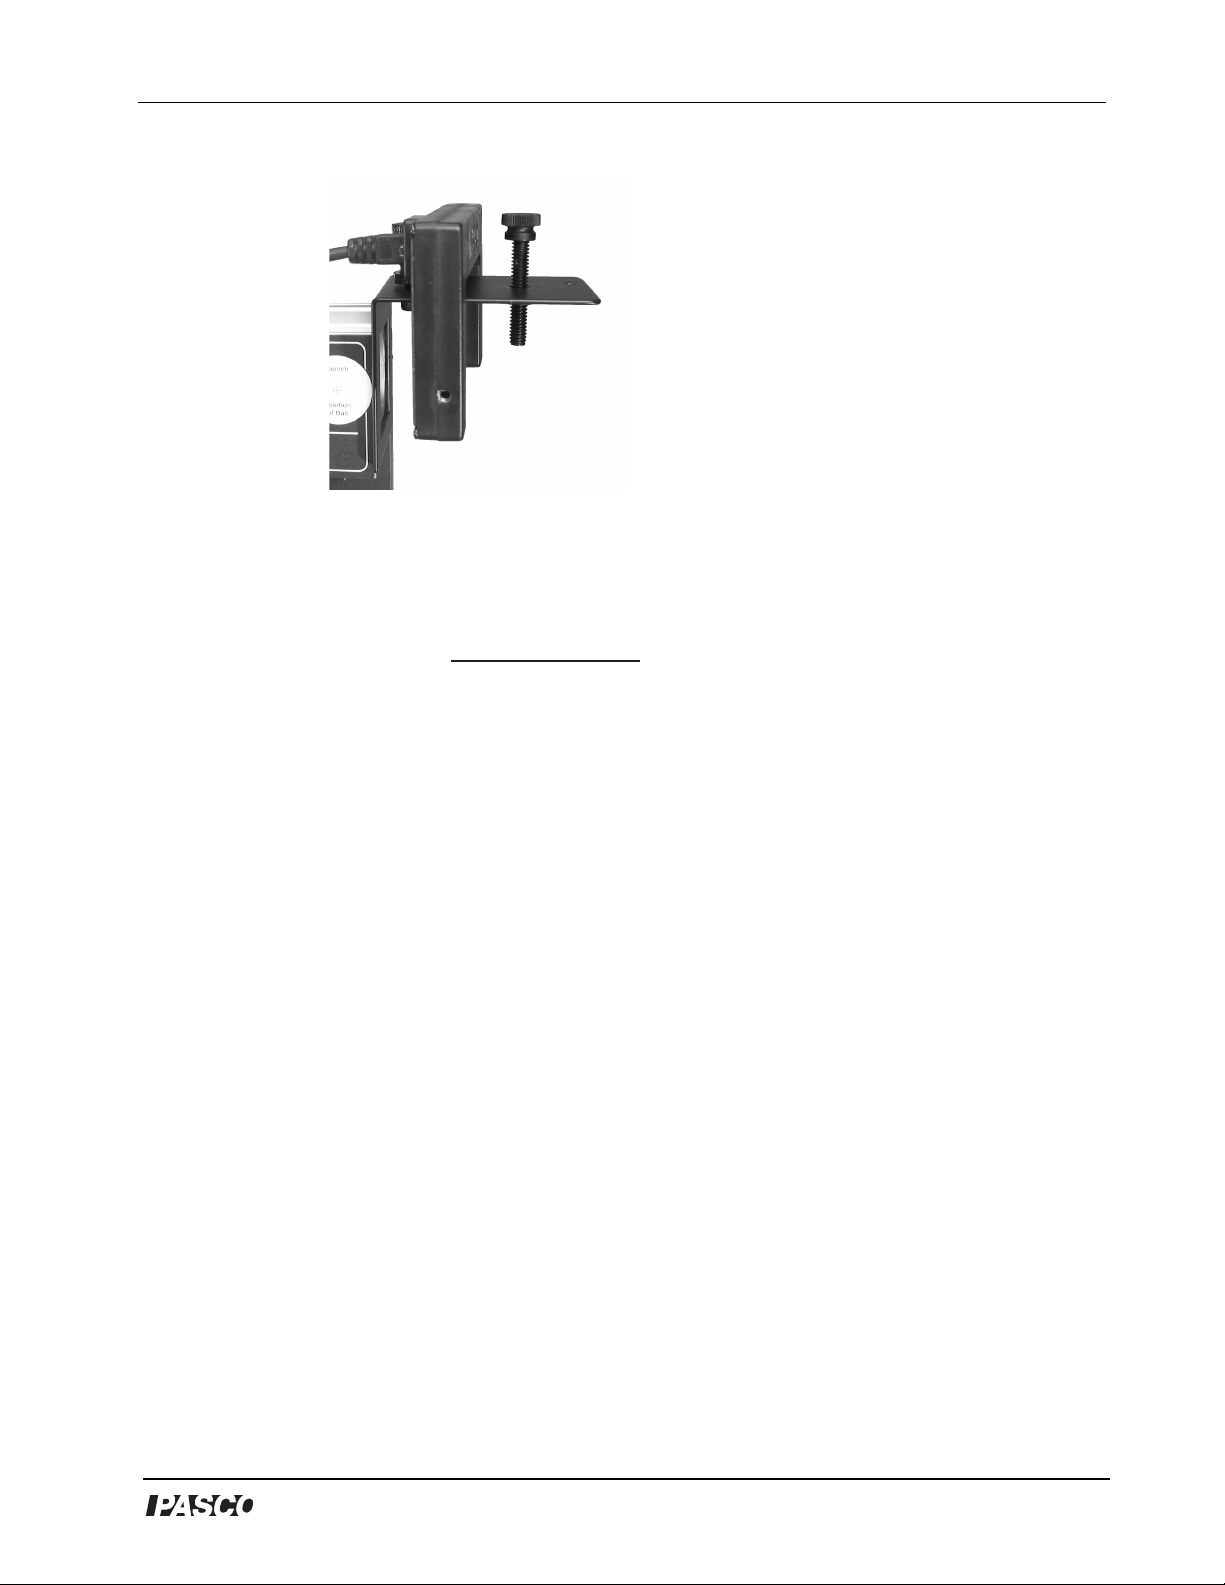
3. Slide the Drop Shoot Bracket into the groove on the bottom of the
Projectile Launcher.
4. Tighten the thumbscrew on the bottom to secure the bracket.
4
®
Page 5
Model No. ME-6827 Mini Drop Shoot Accessory
5. Connect a photogate as shown to measure the initial speed of the
fired ball (optional). Since the photogate beam passes through the
center of the ball's path, the velocity of the ball is calculated by the
following equation:
velocity =
diameter of ball
"blocked time"
6. Place the Time of Flight Accessory directly below the Drop Shoot
Bracket.
7. Hang a steel ball from the magnetic screw.
8. Adjust the magnetic screw until the "hanging ball" is centered on
the launcher piston.
9. Remove the "hanging ball."
10. Place a steel ball into the barrel and use the included loading rod to
depress the plunger to the first click.
11. Replace the "hanging ball".
12. Pull the launch cord to release the balls.
13. Mark the position the "hanging ball" when it strikes the ground.
14. Click Stop in DataStudio to end data collection.
15. Position the Time of Flight Accessory such that the hanging ball
will strike it and repeat the launch procedure.
16. Describe the motion of the balls in the x direction.
®
5
Page 6

Mini Drop Shoot Accessory Model No. ME-6827
17. Describe the motion of the balls in the y direction.
18. How does the time of free fall compare for the two balls? Explain.
Changing Launch Velocity
1. Repeat the above experiment, depressing the plunger of the launcher
to the "second click" instead of the "first click."
2. Draw a force diagram for each ball as it flies through the air.
3. Ask students to predict the horizontal range and time of free fall
for this new launch setting.
4. How does the horizontal range compare to the "first click" setting?
Explain.
5. How does the time of free fall compare to the "first click" setting?
Explain.
6. What must be changed to affect the time of free fall?
7. If desired, repeat the experiment for the "third click."
6
®
 Loading...