

ParkZone PKZ4275 User Manual

9135
PKZ4276
6 05482 16646 8
ParkZone® products are distributed exclusively by
Horizon Hobby, Inc.
4105 Fieldstone Road
Champaign, IL 61822
©2006 Horizon Hobby, Inc.
www.parkzone.com
Instruction Manual
Charge-and-Fly™ Park Flyer
Wingspan: 37 in (950mm)
Length: 27 in (700mm)
Weight: 22 oz (620 g)
Motor: 6-pole brushless direct-drive, 1880Kv
Speed Control: E-flite 25A brushless ESC
Wing: Z-Foam
Prop: 6x4
™
F-27C Stryker Plug-N-Play
Instruction Manual
Congratulations on your purchase of the ParkZone®
F-27C Stryker™ Plug-N-Play™ airplane. Your F-27C Stryker
PNP comes almost fully assembled so you can get in the air
quickly. It already has two 3-wire servos installed, along with
a ParkZone 6-pole 1880Kv brushless motor and E-flite® 25
amp ESC. You only need to add your own 72MHz FM transmitter, with four or more channels, a receiver, and a 3S Li-Po
battery pack. The minimum recommended discharge rate
for the battery pack is 12C. We recommend ParkZone’s 3S
2200mAh Li-Po pack (PKZ1030).
Everyone at ParkZone is committed to giving you the most
enjoyable flying experience possible. In order to ensure safe
and successful flight, we ask that you do not fly until you
have read these instructions thoroughly.
Warning: WE KNOCKED THIS ONE OUT OF THE PARK
This is a high-performance airplane and is not a toy.
The F-27C Stryker PNP is capable of flying at speeds exceeding 80 miles per hour (129 kilometers per hour), so it is
intended for highly experienced and expert radio control pilots
only. We suggest that this airplane only be flown at AMA
approved flying sites. It travels much too fast to be flown in
a typical park setting, even one with many acres of space.
Never fly where you may place anyone’s safety in jeopardy.
Crash damage is not covered under any warranty.
ASSEMBLING YOUR F-27C STRYKER PNP
Step 1
Attaching the Nose
1. Trial fit the nose without peeling away the paper covering the tape.
This will give you a good idea as to what the fit will be.
2. Peel the paper off the tape and carefully attach the nose.
3. To add support, apply the included decals to the side and bottom
of the nose/fuselage
2
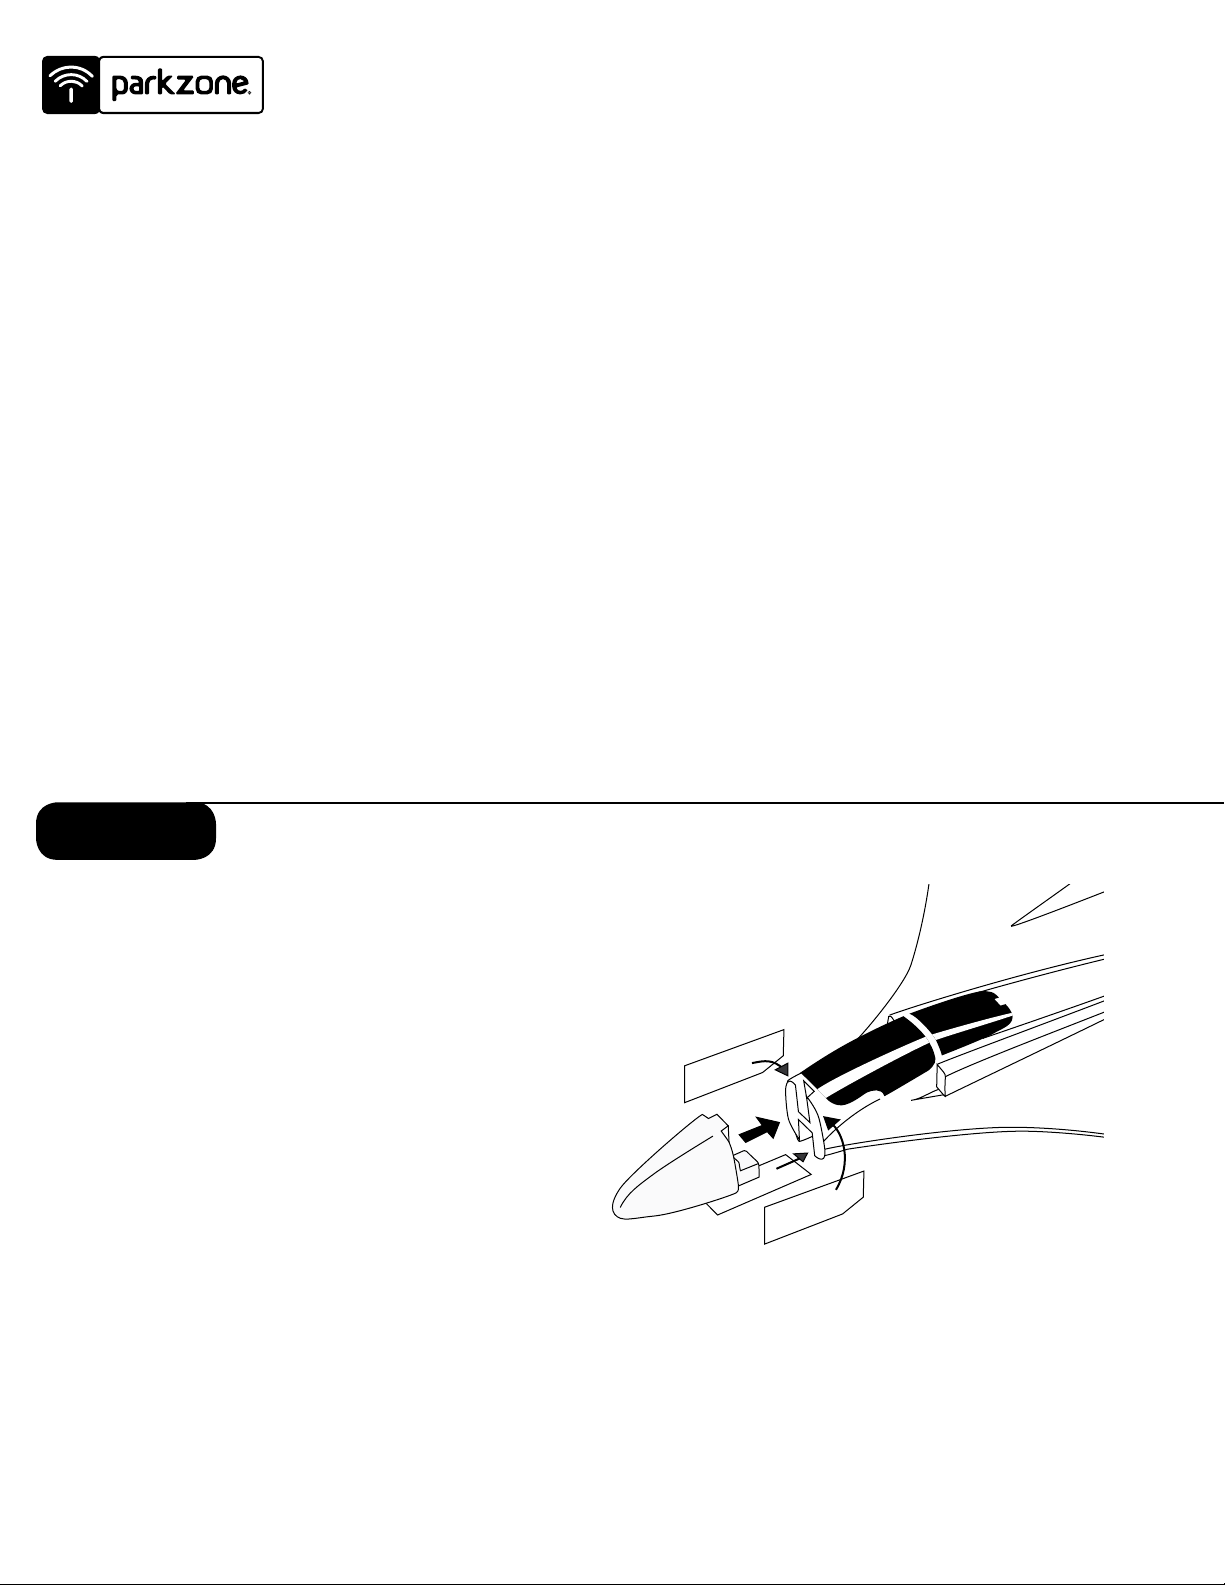
Step 2
1. Slide the fins into the slots on the fuselage. The leading edge
of the fin should fit under the retainer that is already secured
in the fuselage.
2. Confirm that the fit is tight and both fins are secured properly.
Attaching the Vertical Fins
Battery Cap
Note: It may be helpful to add a few drops of CA to the front tips of the vertical stabs in
order to keep them in place while flying your F-27C Stryker PNP. There is rubber double-sided tape on the front of each one, but over time, and despite a tight tension fit
when you slide the fins on the first time, they can lose their sticking power. At speeds
exceeding 80 mph, it is good, for your safety and the safety of your plane, to add CA to
ensure they will stay in place.
Step 3
Your F-27C Stryker PNP requires, at minimum, a 3-Channel FM 72MHz radio system, and utilizes elevons that control pitch
and roll. The E-flite 25A brushless ESC that comes already installed in your F-27C Stryker PNP controls throttle.
1. Plug the ESC lead into the Throttle channel of your receiver.
2. Consult your radio instructions for the set-up for elevons/”V” tail control.
Make certain to carefully route the receiver antenna from the receiver through the bottom of the left wing. There is a
small cavity molded in the foam for the purpose of running the antenna through (just behind the carbon spar in the wing).
Make sure the antenna exits the bottom left wing tip so there is at least 14 inches (35.5 cm) of the antenna
hanging from the plane to ensure the range will be sufficient.
Note: Always make certain that you perform a proper range check prior to your first flight and after you have made any
change to your receiver and/or transmitter.
Installing Your Receiver
3
 Loading...