

Parasound Zphono-USB Owner's Manual
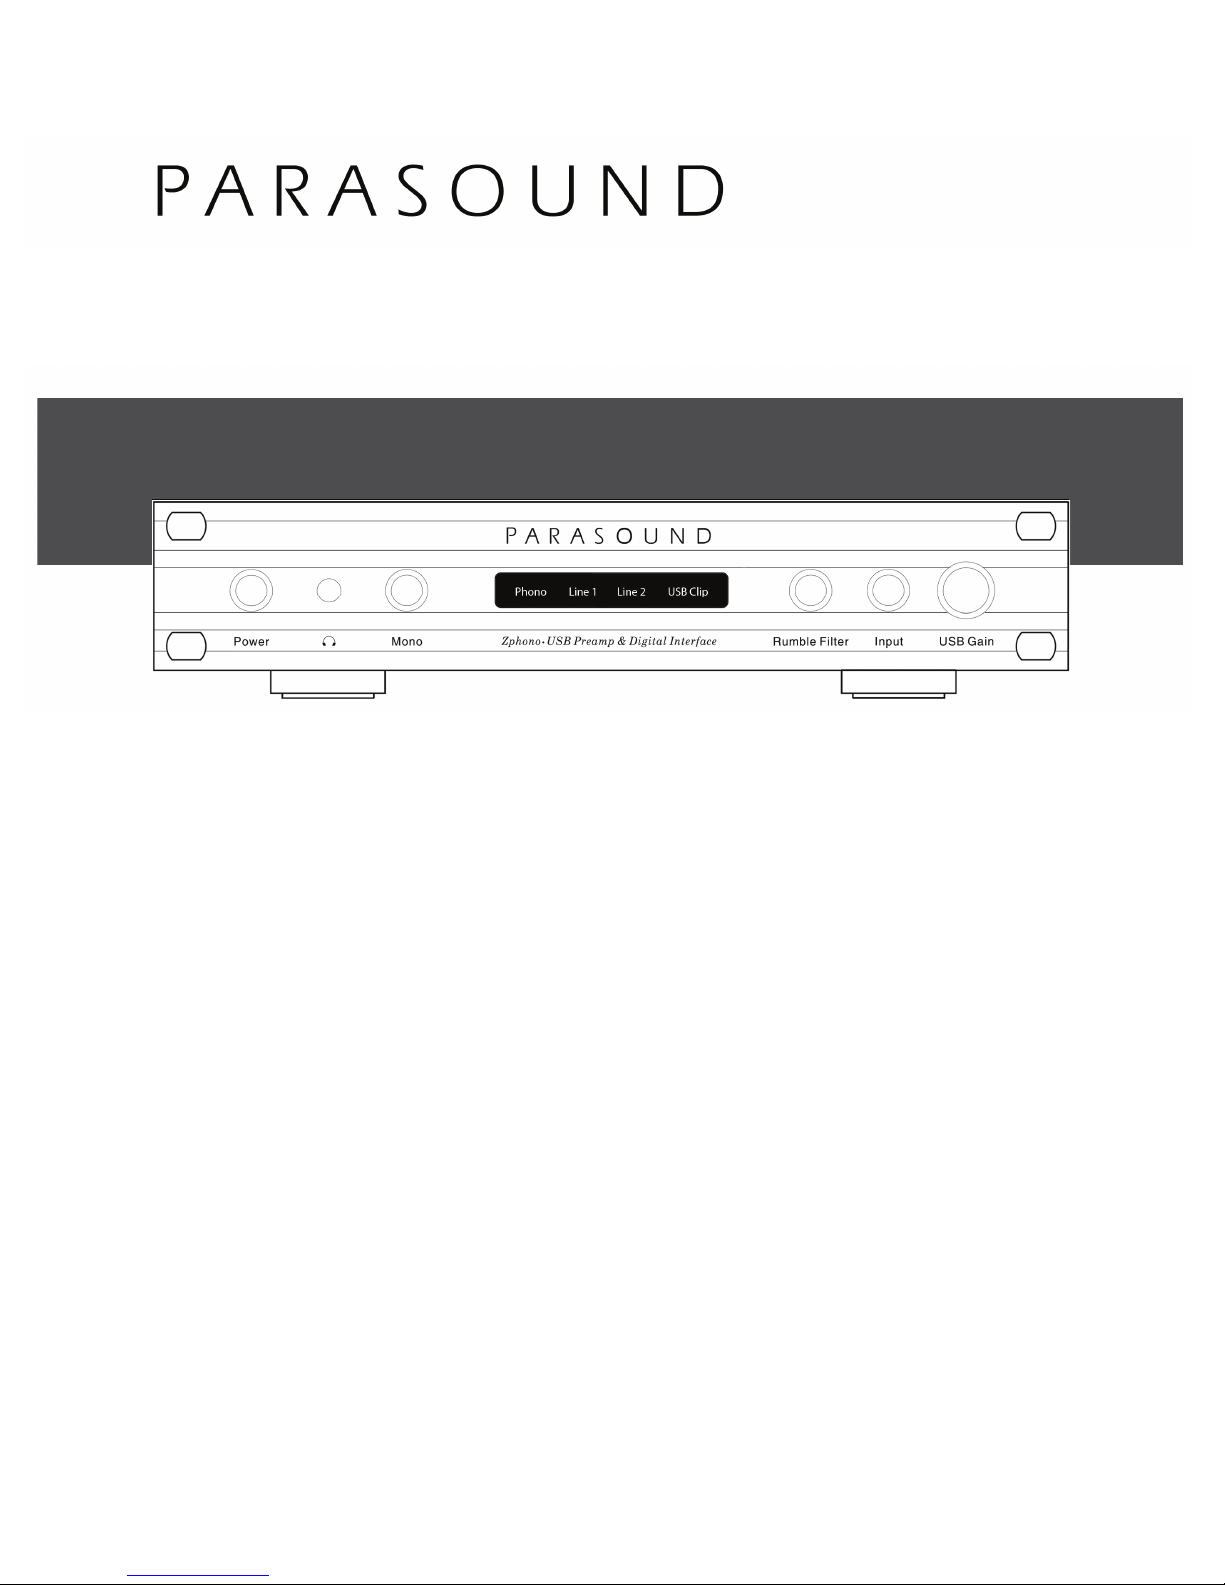
Zphono•USB
Phono Preamplifier & Digital Interface
OWNER’S GUIDE

INTRODUCTION
Thank You for Choosing Parasound
Congratulations on your purchase of this precision component and thank you for your selection of
Parasound. We are proud to offer you this versatile audio component, knowing that it will bring you
many years of enjoyment and dependability.
Please take a few moments to review this manual so you may enjoy all the benefits of your new
Zphono•USB’s unique features and capabilities.
Enjoy.
The Parasound Staff
www.parasound.com
Keep you Purchase Receipt/Bill of Sale and Keep the Carton for Future Reference
Record the 5 digit serial number located on the bottom side of your Zphono•USB in the space
below. Also note your Parasound dealer’s name and telephone number. Your purchase receipt/bill
of sale is required to determine if your Zphono•USB is eligible for Parasound warranty service. We
recommend that you make an extra copy of your original purchase receipt/bill of sale and store it
inside the Zphono•USB’s carton. If the Zphono•USB should require warranty repair you will need its
original carton and foam packing inserts to ship it.
Please do not throw away the carton or foam packing inserts.
Parasound Zphono•USB Serial # _______________________
Parasound Dealer: ___________________________________
Parasound Dealer Phone Number: _______________________
Date of Purchase: ____________________________________
Important Warranty information
There is no Parasound warranty for this unit if it was not purchased from an Authorized
Parasound Dealer. Investigate warranty coverage statements made by unauthorized dealers very
carefully, as Parasound will not provide service under our warranty and you will need to depend
entirely upon the unauthorized dealer for warranty service. A list of Authorized Parasound Dealers
and detailed warranty information is available at www.parasound.com or you can call (415) 397-
7100 between 8:30 am and 4 pm Pacific time.
A missing or altered serial number could indicate that this unit was re-sold by an unauthorized
dealer or is stolen merchandise. If this unit is missing its serial number or the serial number has
been altered, you should return it to your dealer immediately for a full refund.
2

Table of Contents
Introduction
Zphono•USB Placement and Ventilation Guidelines
................................................ 2
................. 4
115 / 230 AC Voltage Selector .................................. 5
Connecting Your Zphono•USB ................................. 6
Rear Panel Controls ......................................... 8
Operating Your Zphono•USB & Front Panel Controls ................ 9
Setting the USB Gain Control for Successful Recording ............. 11
Software for Recording to Your Computer ....................... 12
Frequently Asked Questions and Troubleshooting ................. 13
If You Require Assistance or Warranty Repair
Specifications
............................................. 15
3
..................... 14
Unpacking your Zphono•USB & Placement
Guidelines
Unpacking Your Zphono•USB
Carefully remove your Zphono•USB from its shipping carton and locate all the enclosed
accessories:
• AC power cord
• USB cable
While you are unpacking your Zphono•USB, inspect it thoroughly for possible shipping damage and
tell your Parasound dealer immediately if you find any. If possible, save and store both the inner and
outer cartons and–most especially–the foam packing inserts, to protect the Zphono•USB if you
have to move it or ship it. This would be a good time to make a copy of your sales receipt to store
with the Zphono•USB’s original packing.
Again: Do not throw away the Zphono•USB carton or foam packing inserts.
Placement Guidelines
Install your Zphono•USB away from heat sources such as heating ducts, radiators, or other
heat-producing components. Always position the Zphono•USB horizontally. Observe the following
ventilation guidelines when installing the Zphono•USB in an equipment rack or any other enclosed
space:
You should never install the Zphono•USB in an unventilated equipment cabinet or compartment
because hot air will not exhaust adequately to prevent overheating. Air won’t often circulate
adequately in a cabinet or enclosure whose front and back sides are open; pockets of intense heat
can still develop around any heat-producing equipment. Allow a few inches of empty space on each
side and above the unit and try to avoid crowding or stacking the Zphono•USB tightly between other
components. A ventilation fan is also recommended where other heat-producing equipment must be
mounted close to the Zphono•USB.
If you’re installing the Zphono•USB yourself, use input and output cables that are long enough to
leave at least two feet of slack; that will enable you to pull the Zphono•USB out of a cabinet to check
or to change connections without inadvertently disconnecting cables. If you’re putting the
Zphono•USB inside a cabinet, it needs a space that’s at least 11 inches wide so you’ll be able to
turn it around for access to its rear panel connections.
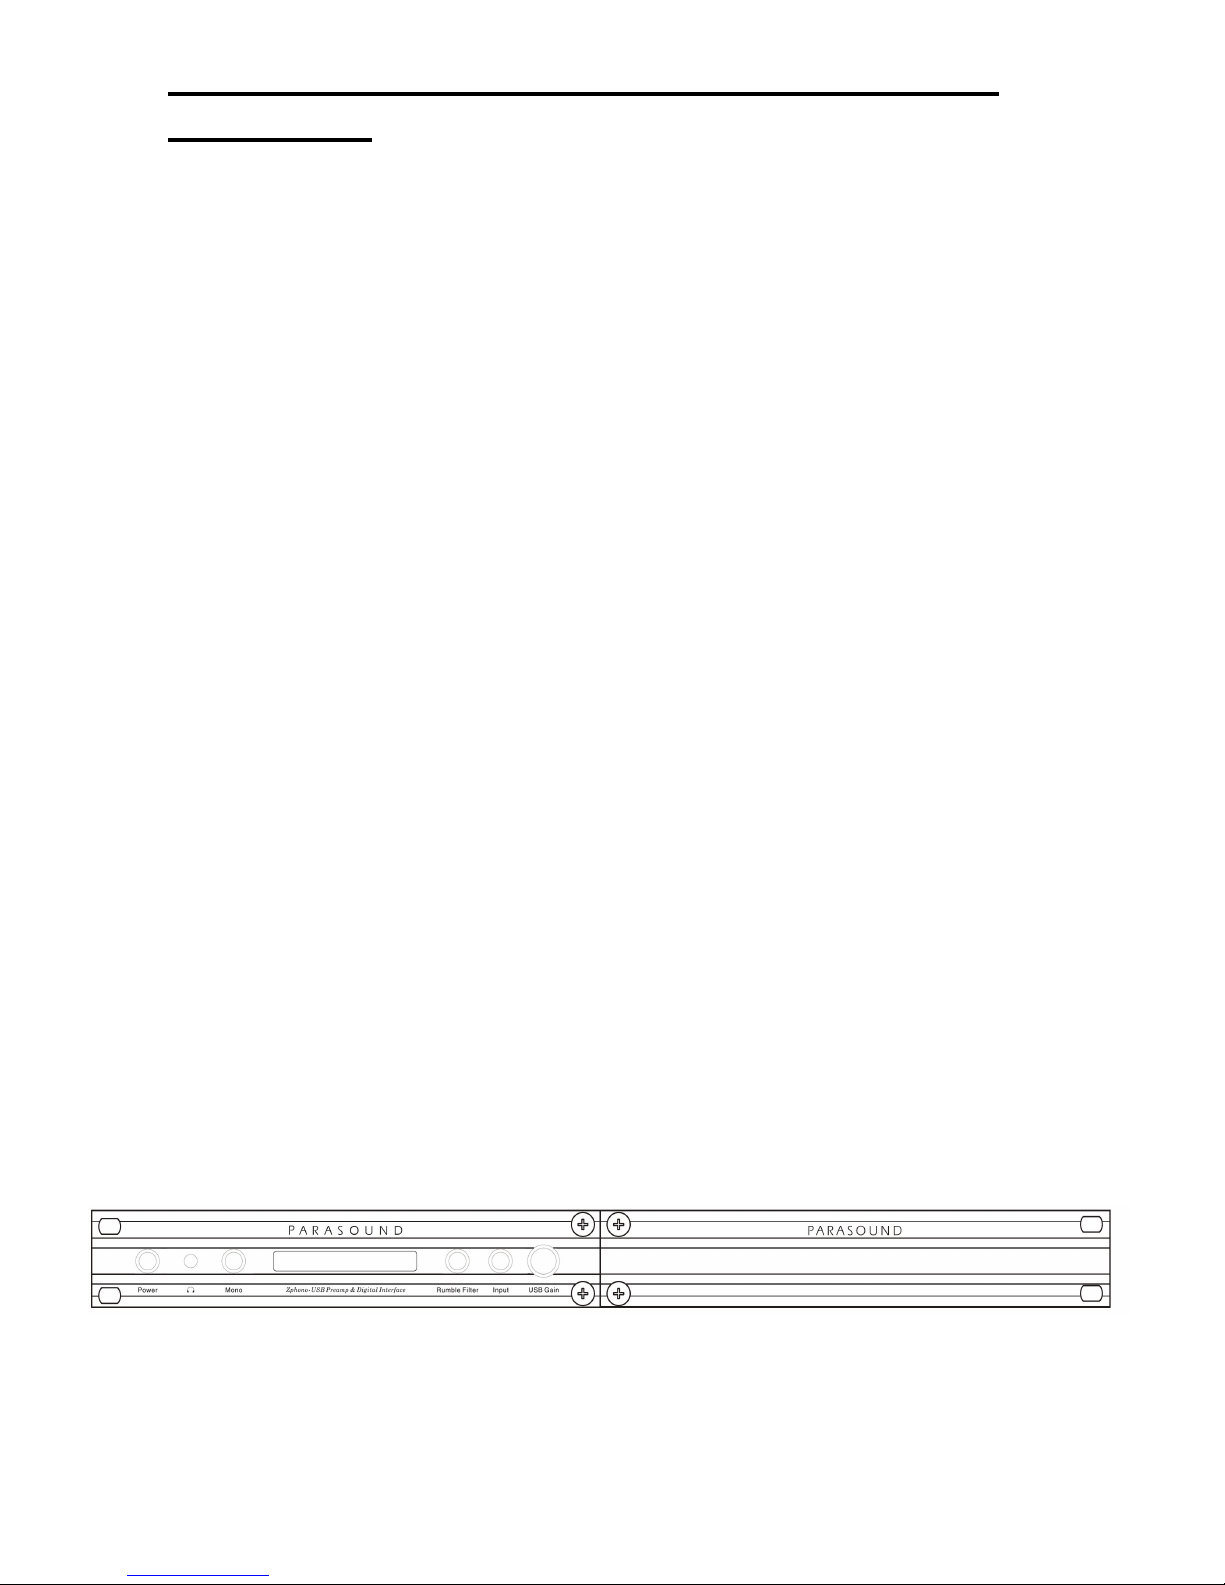
Rack Mounting Your Parasound Zphono•USB
The Zphono•USB occupies only half the width of a single rack space in a standard 19" equipment
rack. For rack mounting, you can fasten it to another Parasound Z model by using the Parasound
SBS (Side-by-Side) mounting kit (Sold Separately). You can also mount a single Zphono•USB in the
rack with the accessory Zblank panel extender. The SBS includes four rack mount bolts plus four
pairs of plastic “shoulder washers.” The washers are important because they insulate the
Zphono•USB front panel (and chassis) from the metal equipment rack and from the four mounting
bolts. Place these washers on both sides of the front panel before the mounting bolts are screwed
into the rack rail.
Note: Tighten each bolt just enough to keep the unit secure in the rack to avoid deforming the
shoulder washers. Eliminating metal-to-metal contact reduces the likelihood of creating a ground
loop that might introduce hum into your system.
4

AC Voltage Selection
115v / 230v AC Voltage Selector Switch
This switch is found on the chassis bottom. The 115V position of this switch is correct for North
America and Brazil; most other countries require setting it to 230V. If you are in doubt of your local
AC voltage (sometimes referred to as “mains”) call your dealer. The following website is also
helpful: http://en.wikipedia.org/wiki/Mains_electricity_by_country#Voltage_ranges
Make sure the 115/230V switch on its bottom side is set for the correct AC line (mains)
voltage before you plug in the Zphono•USB’s power cord and before you install it. The unit
could be seriously damaged if this switch is set incorrectly.
The 115V setting is correct for North America where the Zphono•USB can operate safely with AC
line voltages between 110-120V. Most other countries will require the switch to be set to 230V. With
the 230V setting the Zphono•USB can operate safely with AC line voltages between 220V-240V.
Note: The Zphono•USB could be seriously damaged if the AC Voltage Selector switch is set
incorrectly. Prior to plugging your Zphono•USB into an AC power source, check the position
of the 115v/230v switch on the Zphono•USB’s chassis bottom and do not depend on the 115v
or 230v markings on the outside of its cardboard carton.
5
 Loading...