

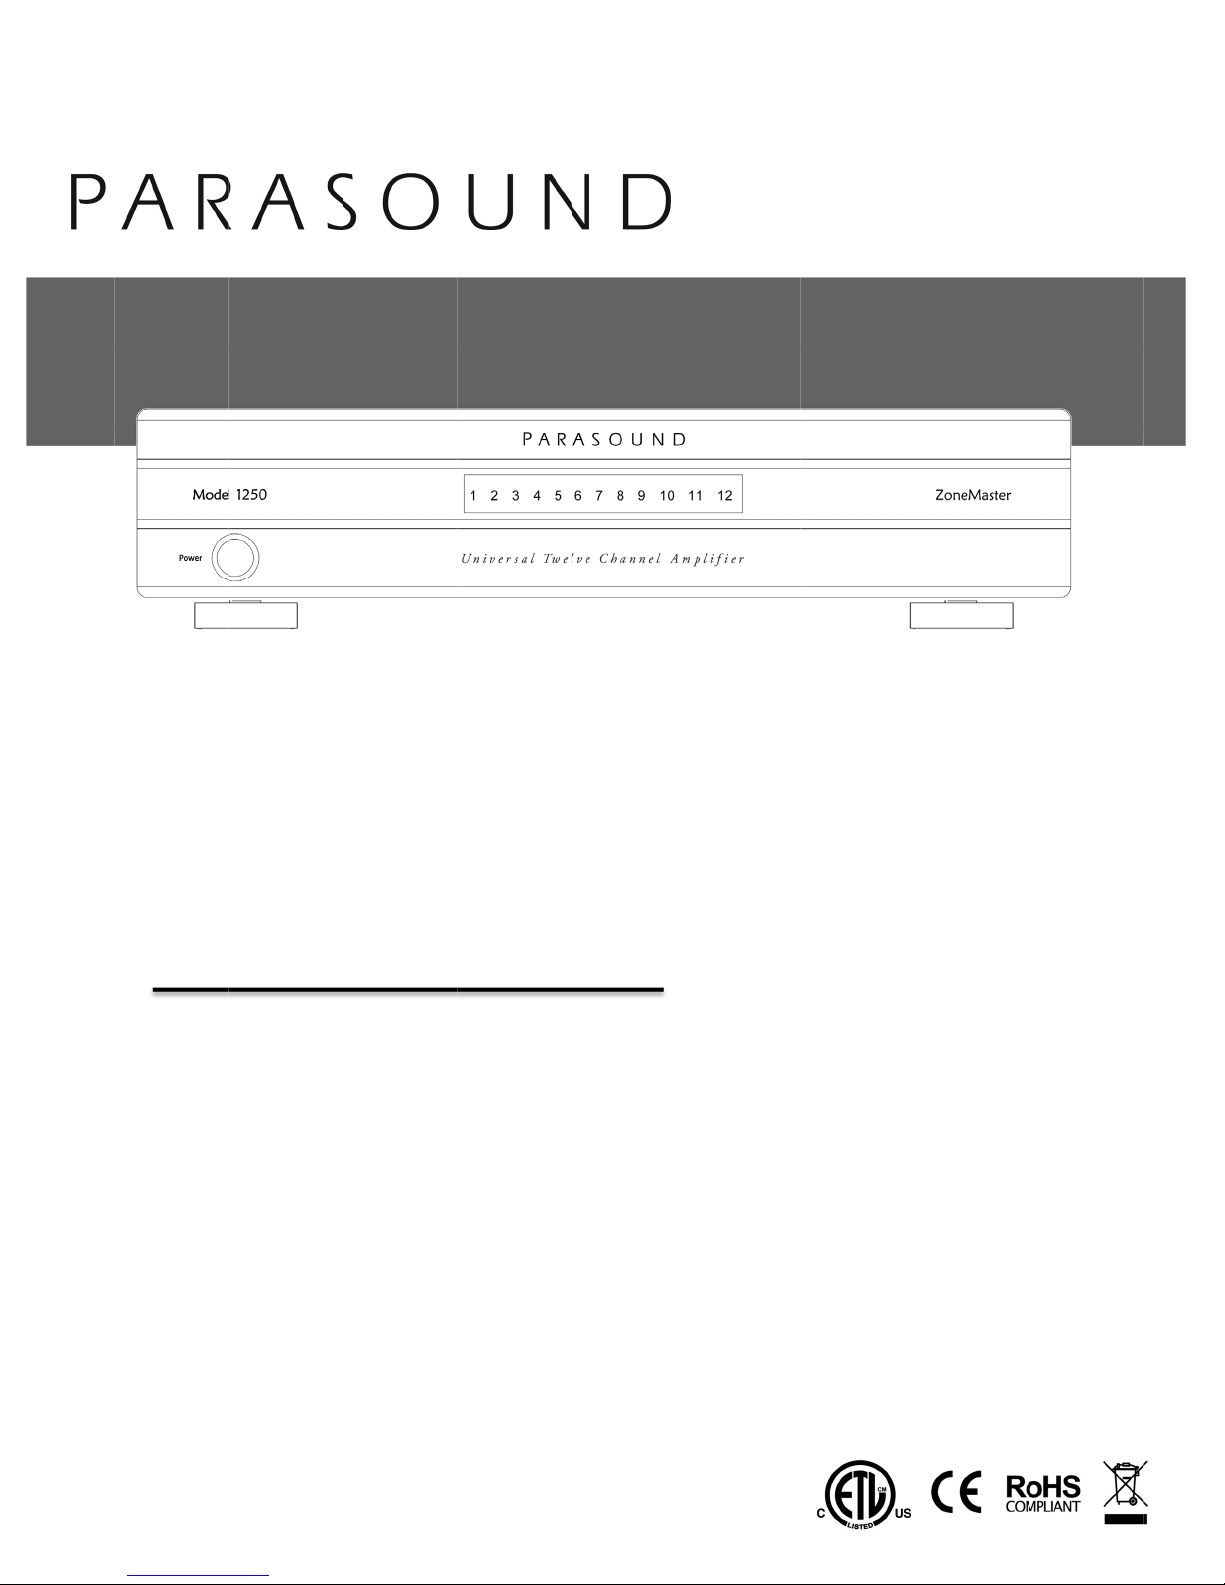
Parasound ZoneMaster 1250 Owner's Manual
o
o
v
N
e
e
S
a
1
u
e
5
h
M
e
®
p
Z
M
Uni
OW
n
d
ersal
ER’
M
l
Twel
Man
st
2
ve C
al
0
ann
T
l Am
lifier

Important Safety Instructions
The lightning flash with the arrowhead symbol within an equilateral triangle is intended to alert the user to the presence of
“dangerous voltage” inside the product that may constitute a risk of electric shock.
The exclamation point within an equilateral triangle is intended to alert the user to the presence of important operating and
maintenance instructions in the literature accompanying the product.
TO REDUCE THE RISK OF ELECTRIC SHOCK, DO NOT REMOVE COVER. NO USER-SERVICEABLE PARTS INSIDE.
REFER SERVICING TO QUALIFIED SERVICE PERSONNEL
1. Read Instructions — Read all the safety and operating instructions before operating this product.
2. Retain Instructions — Retain safety and operating instructions for future reference.
3. Heed Warnings — Adhere to all warnings on the product and in the operating instructions.
4. Follow Instructions — Follow all operating and use instructions.
5. Cleaning — Unplug this product from the wall outlet before cleaning. Use a damp cloth for cleaning. Clean the outside of
the product only.
6. Attachments — Do not use attachments that are not recommended by the product manufacturer; they may be hazardous.
7. Water and Moisture — Do not use this product near water.
8. Accessories — Do not place this product on an unstable cart or stand. The product may fall, causing bodily injury and
damage to the product. A product and cart combination should be moved with care. Quick stops, excessive force, and
uneven surfaces may cause the product and cart to overturn.
9. Ventilation — Slots and openings in the cabinet are provided for ventilation to ensure reliable operation of the product and
to protect it from overheating. These openings must not be blocked or covered. This product should not be placed in a
built-in installation such as a bookcase or rack unless proper ventilation is provided.
10. Power Sources — Operate this product only from the type of power source indicated on the label. If you are not sure of
the type of power supply to your home, consult your dealer or local power company. This product is equipped with a threeprong grounding plug. This plug will only fit into a grounding power outlet. If you are unable to insert the plug into the outlet,
contact your electrician to replace your obsolete outlet. Do not defeat the safety purpose of the grounding plug.
11. Power Cord Protection — Power supply cords should be routed so that they are not likely to be walked on or pinched by
items placed upon or against them.
12. Lightning — Unplug the unit from the wall outlet for added protection during a lightning storm and when it is left
unattended and unused for long periods of time. This will prevent damage to the product due to lightning and power line
surges.
13. Overloading — Do not overload wall outlets or extension cords. This can result in a fire or electric shock.
14. Inserting Objects into Unit — Never push objects of any kind into this product through any openings; they may touch
dangerous voltage points or short out parts that could result in fire or electric shock.
15. Servicing — Do not attempt to repair or service this product yourself. Opening or removing covers may expose you to
dangerous voltage and other hazards. Refer all servicing to qualified service personnel.
16. Damage Requiring Service — Unplug this product from the wall outlet and refer servicing to qualified
service personnel under the following conditions: a) If the power-supply cord or plug is damaged.
b) If liquid has been spilled into the product. c) If the product has been exposed to rain or water. d) If the product does not
operate normally by following the operating instructions. e) If the product has been dropped or damaged in any way. f) If
the product exhibits a distinct change in performance.
17. Replacement Parts — When replacement parts are required, be sure the service technician has used replacement parts
specified by the manufacturer. Unauthorized substitutions may result in fire, electric shock, and other hazards.
18. Safety Check — Upon completion of any service or repairs to this product, ask the service technician to perform safety
checks to determine that the product is in proper operating condition.
19. Wall or Ceiling Mounting — Mount the product to a wall or ceiling only as recommended.
20. Heat — The product should be situated away from heat sources such as radiators, heat registers, stoves, and other
products (including amplifiers) that produce heat.
Parasound® ZoneMaster ™ 1250 Owner’s Manual Page 2

INTRODUCTION
Congratulations on your purchase of this precision audio product and thank you for selecting
Parasound. We are proud to offer you this versatile amplifier, knowing that it will bring you many years of
enjoyment and dependable operation. Please take a few moments to read the following instructions so you
can enjoy all the benefits of your new ZoneMaster 1250’s advanced performance capabilities.
You can find details of the ZoneMaster 1250’s specifications and advanced technology at
www.parasound.com.
Enjoy.
The Parasound Staff
www.parasound.com
Keep your Purchase Receipt/Dealer Invoice for future reference
Keep the carton in the event it is needed in the future
Record the 5 digit serial number located on the bottom side of your ZoneMaster 1250 in the space below.
Also note your Parasound dealer’s name and telephone number. Your purchase receipt-dealer invoice is
required to determine if your ZoneMaster 1250 is eligible for Parasound warranty service. We recommend
that you make an extra copy of your original purchase receipt-dealer invoice and store it inside the
ZoneMaster 1250’s carton. If the ZoneMaster 1250 should require warranty repair you will need its original
carton and foam packing inserts to ship it.
Please do not throw away the carton or foam packing inserts.
Parasound ZoneMaster 1250 Serial # ____________________
Parasound Dealer: ___________________________________
Parasound Dealer Phone Number: _______________________
Date of Purchase: ____________________________________
Important Warranty information
There is no Parasound warranty for this unit if it was not purchased from an Authorized
Parasound Dealer. Investigate warranty coverage statements made by unauthorized dealers very carefully,
as Parasound will not provide service under our warranty and you will need to depend entirely upon the
unauthorized dealer for warranty service. A list of Authorized Parasound Dealers and detailed warranty
information is available at www.parasound.com or you can call Parasound at (415) 397-7100 between 8:30
am and 4 pm Pacific time.
A missing or altered serial number could indicate that this unit was re-sold by an unauthorized
dealer or is stolen merchandise. If this unit is missing its serial number or the serial number has
been altered, you should return it to your dealer immediately for a full refund.
Parasound® ZoneMaster ™ 1250 Owner’s Manual Page 3

Table of Contents
Introduction ................................................. 3
Placement and Ventilation Guidelines ............................. 5
115V / 230V AC Mains Voltage ................................... 6
Rear Panel Audio Connections .................................. 7
Speaker Level Input Connector .................................. 7
Speaker A and B Outputs and Speaker Impedance ................... 8
Rear Panel Controls (Input and Mode Switch) ....................... 9
Channel Level Controls and Uses ................................10
Turn On Options .............................................11
Selecting Audio Trigger or 12V Trigger by Zone .....................12
12V Trigger Jacks by Zone
Front Panel Power Buttons and Display
.....................................13
............................14
Frequently Asked Questions and Troubleshooting ...................15
If You Require Assistance or Warranty Repair
.......................16
Specifications and Details
Parasound® ZoneMaster ™ 1250 Owner’s Manual Page 4
......................................17

s
U
s
d
a
npac
k
k
a
w
e
w
n
u
a
Z
u
n
n
o
f
a
w
o
t
a
t
e
e
e
h
r
n
u
Z
w
e
2
s
e
n
P
s
2
l
e
w
a
t
u
d
o
d
e
c
d
s
o
s
e
e
d
a
e
o
d
e
e
m
n
v
h
e
e
e
w
l
s
g
o
h
e
h
e
e
m
n
r
p
o
g
e
t
Z
a
s
p
r
s
e
e
v
,
a
e
o
Ag
e
a
e
c
e
a
u
r
o
a
p
a
r
c
v
m
c
e
&
r
i
c
h
n
o
n
s
e
a
e
g
m
t
e
a
M
e
5
m
d
s
a
d
v
e
e
t
o
e
s
p
o
c
n
n
n
o
n
m
h
C
o
e
l
w
s
d
G
c
o
n
o
r
o
v
y
c
e
e
o
s
v
n
o
h
e
p
f
m
e
r
o
i
h
2
o
k
n
t
a
e
n
e
u
a
o
o
h
o
a
u
n
Unpac
Carefully
included
While yo
damage
inner and
you have
with the
inserts.
Placem
Install yo
heat-prod
ventilatio
You shou
hot air wil
sides are
around a
and try to
fan is als
1250.
overheat
damage
If you are
at least t
change c
ZoneMas
turn it aro
Rack M
Brackets
ZoneMas
packed in
side of th
mounted.
ohms wh
amp we r
amps will
system s
ing yo
ing Your
remove your
T
L
T
a
are unpacki
nd tell your
outer carton
to move it or
oneMaster 1
ent Guide
r ZoneMast
ucing compo
guidelines
ld never inst
l not exhaust
open doesn’
y heat-prod
avoid crowdi
recommen
Sa
ety Cauti
if it is installe
n amplifier a
installing th
o feet of sla
er 1250 insi
und for acce
ounting Y
er 1250. Th
the bag with
If you inten
be racked m
ould be use
ccessories:
o 12V trigg
ft and right
o different
d the small
nnections w
nd 8 screw
amp. Thes
n channels
commend l
r Zon
oneMast
ZoneMaster
r wires with
U rack mou
ize screwdri
r one is for t
g your Zon
arasound d
and–most
ship it. This
50’s origina
ines
r 1250 away
nents. Alway
hen installin
ll the ZoneM
adequately t
guarantee t
cing equipm
ng or stackin
ed where ot
n
ZoneMaster
k; that will e
ithout inadve
e a cabinet,
s to its rear
for mountin
the brackets
re bridged)
aving at lea
.
Th
in a confin
d could ulti
ur Paras
rack brack
are just ins
to run the
unted on to
Maste
r 1250
1250 from it
ono 3.5mm
t side brack
ers, the larg
e speaker le
Master 1250
aler immedi
specially–th
ould be a g
packing.
from heat so
position th
the ZoneM
aster 1250 in
prevent ov
at air will cir
nt. Allow a f
g the ZoneM
er heat-prod
ZoneMaste
d space with
ately pose
1250 yourse
able you to
tently discon
t needs a sp
anel connec
und Zone
in a standa
t “ears” atta
. First remo
alled for cos
oneMaster 1
dequate ven
t 1 empty ra
of each oth
1250
shipping ca
to 3.5mm m
ts and 8 bra
r one is for t
el input con
inspect it th
tely if you fin
foam packi
od time to m
ain: Do not
urces such a
ZoneMaster
ster 1250 in
an unventila
rheating. Ev
ulate adequ
w inches of
ster 1250 ti
cing equip
1250, as wi
ut adequat
risk of fire.
lf, use input
ull the Zone
necting cabl
ce that’s at l
tions.
Master 12
d 19” equip
h to each sid
e and discar
etic reason
250 into spe
tilation shoul
k space abo
r (“flat stack
& Plac
ton and loca
ni plugs at b
ket screws.
he speaker o
ector.
roughly for
d any. If pos
g inserts, to
ake a copy
throw away
s heating du
1250 horizo
an equipme
ted equipme
n a cabinet
tely pockets
empty space
htly betwee
ent must be
h any other
ventilation.
nd output ca
aster 1250
s. If you’re p
east 11 inch
0
ent rack are
e of the amp
the 8 scre
and will not
ker loads le
be provide
e and below
d”) a proper
ment
e its AC pow
th ends.
utput conne
vidence of p
ible, save a
rotect the Z
f your sales
the carton
ts, radiators,
tally. Obser
t rack or an
t cabinet or
r enclosure
of intense h
on each sid
other comp
mounted clo
igh powered
ontinuous o
bles that are
ut of a cabi
utting the
s wide so y
included in t
ifier using th
s that come
be needed i
s than 4 oh
. To improv
the amplifie
ly designed f
uidel
er cord and t
tors
ssible shipp
d store both
neMaster 1
eceipt for st
r foam pac
or other
e the followi
other enclos
ompartmen
whose front
at can still d
and above t
nents. A ve
e to the Zon
amplifier, co
erheating c
long enough
et to check
u’ll be able t
e box with t
8 screws th
reinstalled
the amp will
s (or less th
air flow aro
. If more tha
rced-air ven
nes
ese
ing
the
50 if
rage
ing
g
ed space:
because
nd back
velop
he unit
tilation
Master
ld
n
to leave
r to
e
at are
n the
be rack
n 8
nd the
two
tilation
oun
®
ZoneM
Para
ste
™
1250 Ow
er’s Manual
Page 5

s
d
a
M
E
e
b
o
5
c
C
t
w
t
t
r
n
V
i
r
0
e
e
M
/
M
e
g
e
s
e
a
e
i
c
A
e
0
a
5
s
c
d
a
x
c
s
l
_
b
o
w
e
e
c
d
a
u
C
.
a
g
C
e
m
h
e
n
n
u
m
s
e
w
u
2
2
l
t
i
t
a
a
h
p
AC
BEFOR
marked
The Zon
unit can
voltage f
In the 11
which is
Brazil, A
230V set
If you are
http://en.
No
AC Vol
ains
plugging
for 115V o
Master 125
e seriously
r this mod
V position th
orrect for No
voltage vari
ing the Zone
not certain o
ikipedia.org
e: A Zone
incorr
age Marki
olta
n the Zon
230V. The
has been s
damaged if
l can be ch
e ZoneMast
th America,
s by region.
aster 1250
your local
wiki/Mains_
aster 125
ct AC volt
g:
e
Master 12
e marking
t by the fa
it is plugge
nged only b
r 1250 can s
ncluding Me
Most other
an operate
C voltage ca
lectricity_by
that has
ge is not c
0’s AC po
are locat
tory to eith
into the in
y a qualifie
fely operate
ico, as well
ountries req
afely with A
l your dealer
country#Volt
een dama
vered by t
er cord:
d below th
r 115V or 23
orrect AC
electronics
with AC line
s in Taiwan.
ire setting t
line voltag
. The followi
age_ranges
ed by con
he Paraso
heck if the
AC line (
0V AC main
ains voltag
technician.
voltages bet
In some co
is switch to
s between 2
g website wi
ection to t
nd warran
rear panel
ains) inle
operation.
. The oper
een 110V-1
ntries, such
30V. With t
0V-240V.
l also be hel
he
y.
s
.
The
ting
20V
s
e
ful:
Para
®
oun
ZoneM
ste
™
1250 Ow
er’s Manual
Page 6
 Loading...