

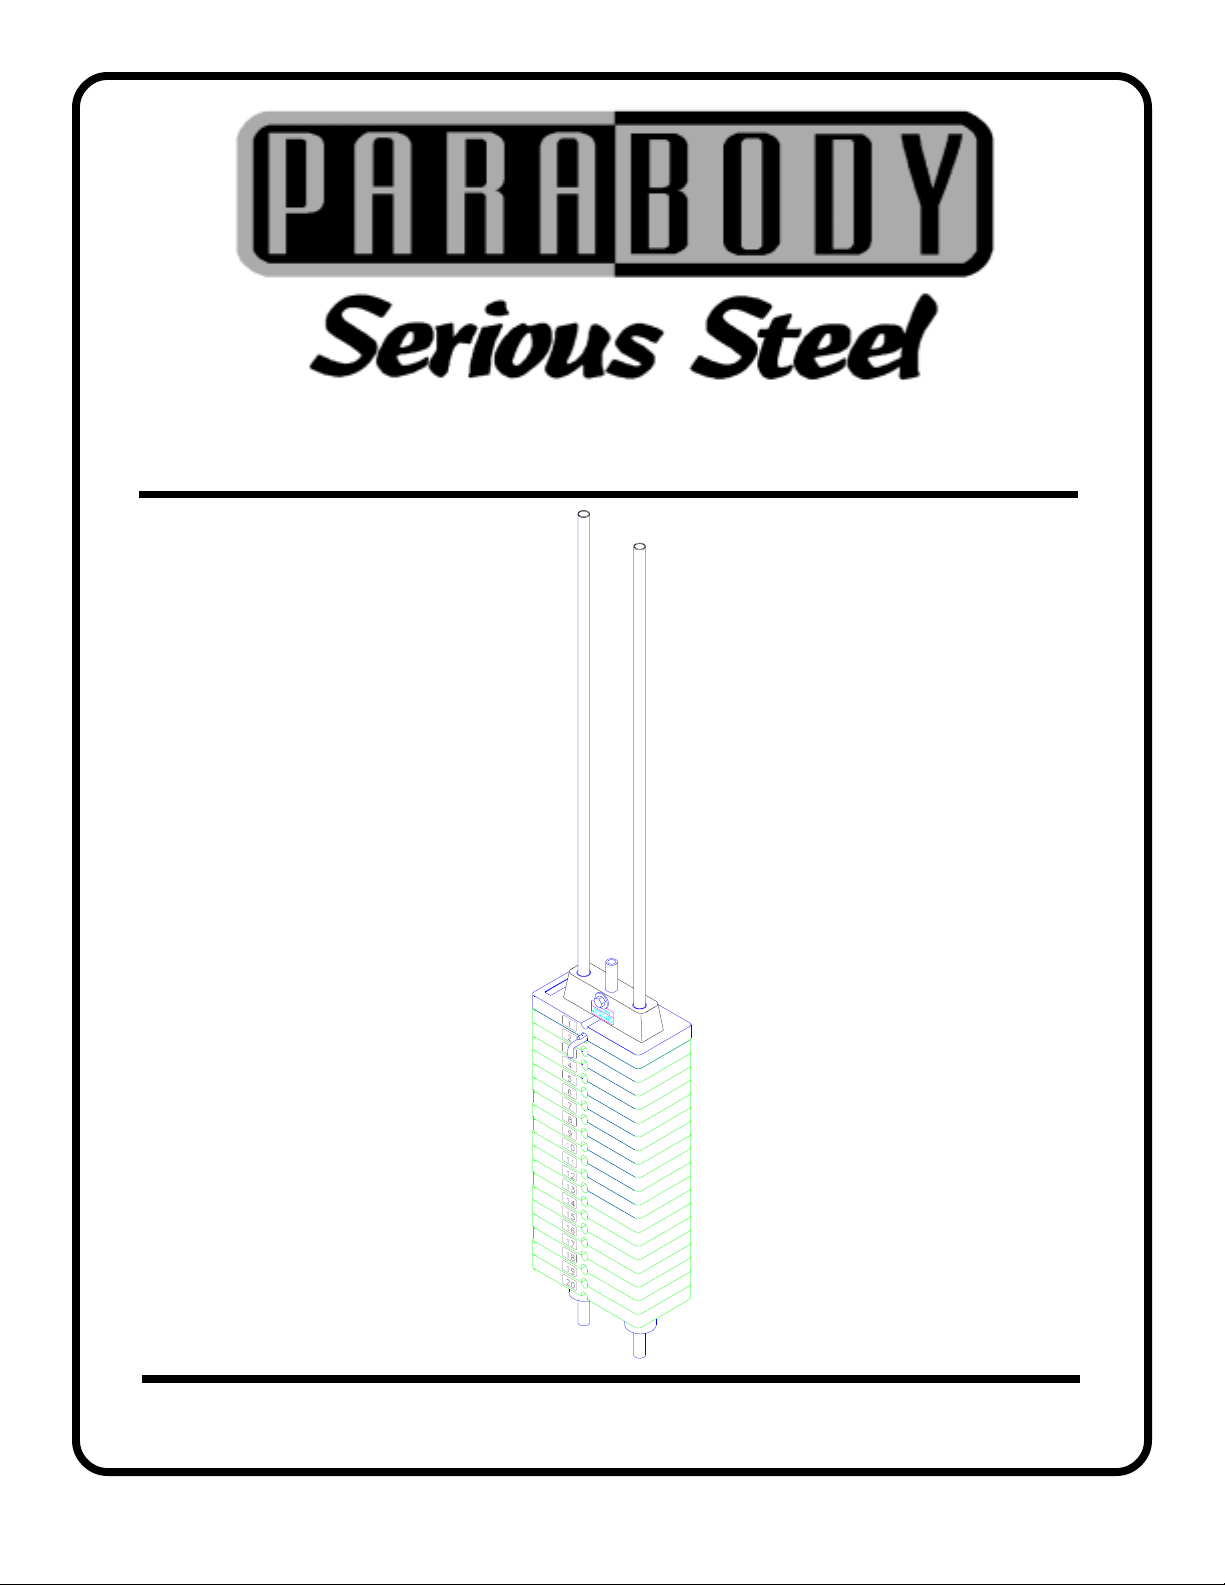
359101 50 LB. ADD-ON KIT
ASSEMBLY INSTRUCTIONS
Part # 6827301 Revision: 3/30/991
P AR TS LIST
KEY
1
2
PART #
6284501
6382301
DESCRIPTION
20 HOLE WEIGHT ST ACK SHAFT
WEIGHT PLA TE BUSHING 10 CT
4
QTY
1
1
KEY
3
4
2
PART #
6198501
6214501
DESCRIPTION
WEIGHT ST ACK LABEL (1-25)
WEIGHT PLA TES
QTY
1
5
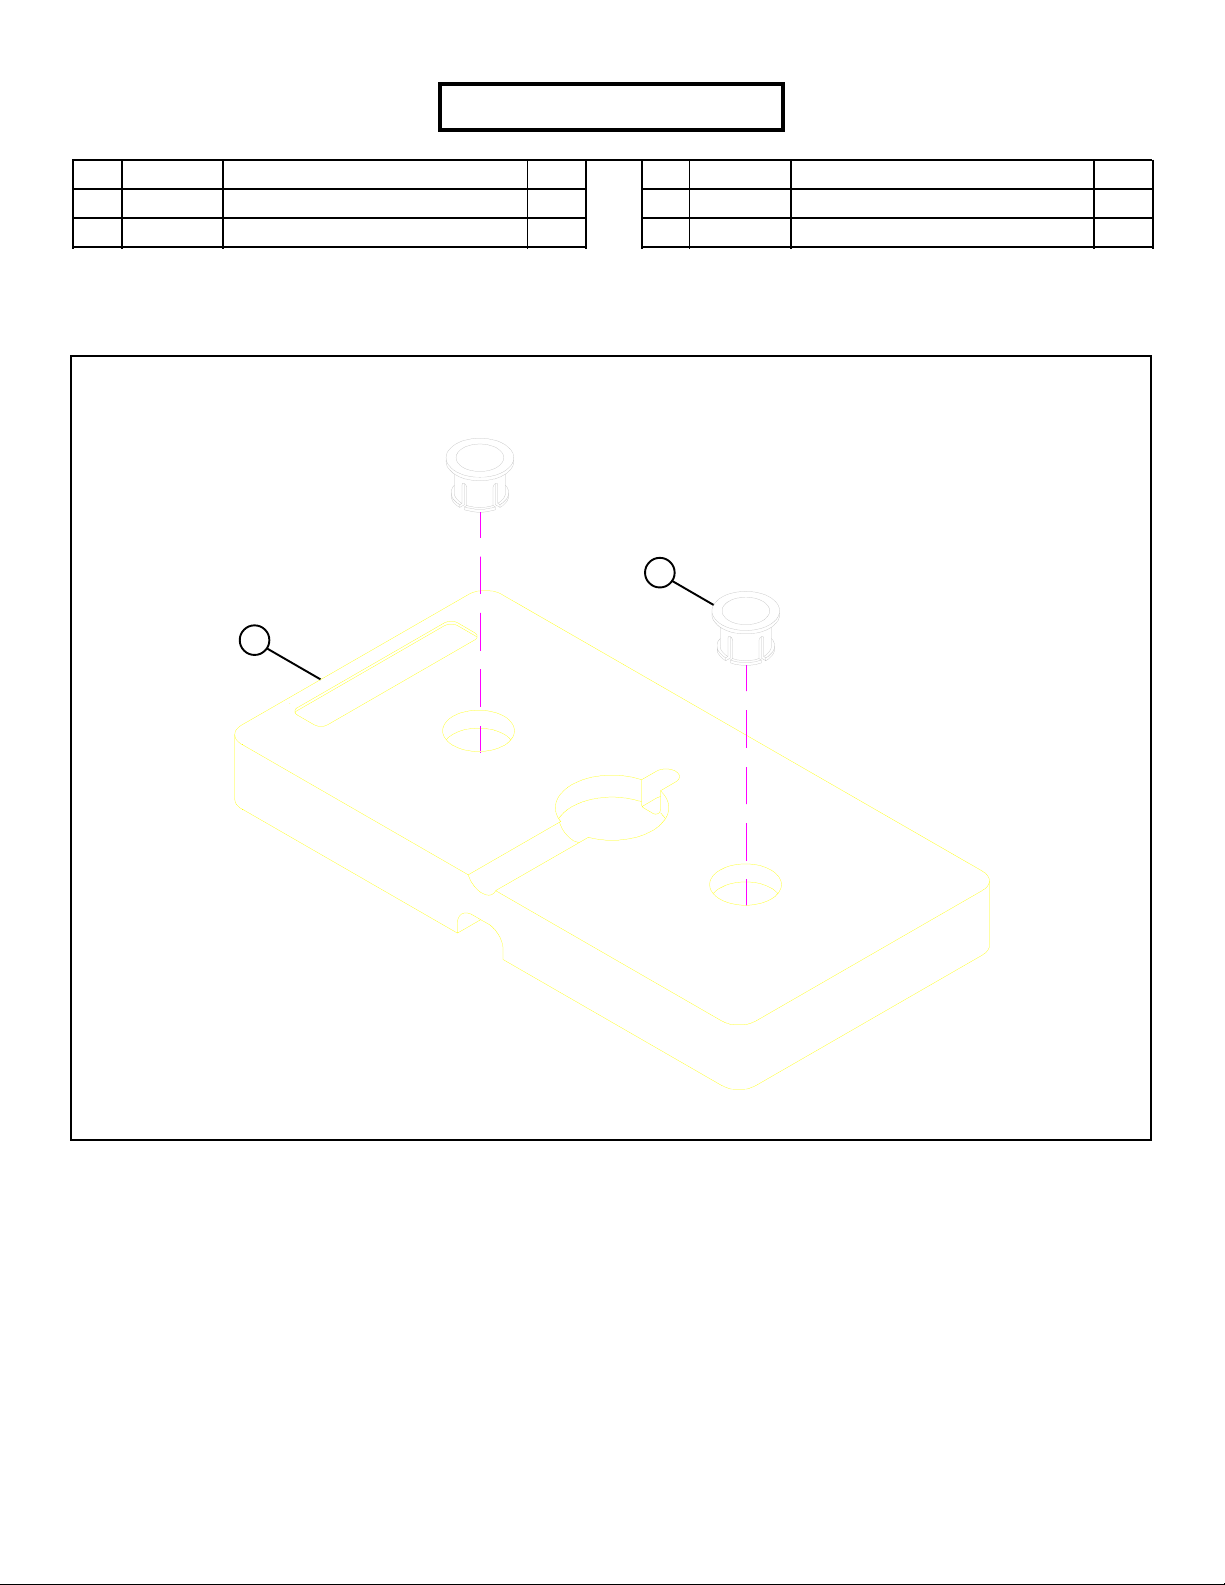
FIGURE 1
STEP 1:
• Snap two WEIGHT PLATE BUSHINGS (3) into the top of all five WEIGHT PLATES (6) as shown in FIGURE 1.
2

TOP BOOM or GUIDE ROD SUPPOR T
GUIDE ROD
HEAD PLA TE
WEIGHT ST ACK SHAFT
WEIGHT PLA TE
WEIGHT ST ACK PIN
WEIGHT ST ACK CUSHION
3/4” W ASHER
WEIGHT ST ACK SP ACER
FIGURE 2
STEP 2:
• Remove the WEIGHT ST ACK SELECTOR PIN from the WEIGHT ST ACK as shown in FIGURE 2.
• Unthread the CABLE from the WEIGHT ST ACK SHAFT of the HEAD PLA TE as shown in FIGURE 2.
• Remove or loosen the TOP BOOM or GUIDE ROD SUPPORT. (Refer to Home Gym instructions)
• Tilt the GUIDE RODS back and remove the HEAD PLA TE ASSEMBL Y, fifteen WEIGHT PLA TES, two WEIGHT ST ACK CUSHIONS,
two 3/4” W ASHERS, and two WEIGHT ST ACK SP ACERS as shown in FIGURE 1. (NOTE: Please discard the two 3/4” W ASHERS,
and the two WEIGHT ST ACK SP ACERS.)
• Unbolt the old WEIGHT ST ACK SHAFT from the HEAD PLA TE. (NOTE: Please discard the old WEIGHT STACK SHAFT .)
1/2 1/2 1/2 1/2 1/2 1/2
0
1
2
345
3
6

STEP 4:
• SECURELY assemble the 20 HOLE WEIGHT ST ACK SHAFT
(1) to the HEAD PLA TE. (NOTE: The bolt hole in the HEAD
PLATE should be on top.)
HEAD PLA TE
GUIDE ROD
1
• Insert the two GUIDE RODS through the two WEIGHT
ST ACK CUSHIONS into the base as shown in FIGURE 3.
Lubricate the GUIDE RODS with a silicon or teflon
spray that is available at most hardware stores.
USING EXTREME CARE, slide the five new WEIGHT
•
PLATES (4) and the previous fifteen WEIGHT PLATES
down over the GUIDE RODS onto the WEIGHT STACK
CUSHIONS. (NOTE: Make sure that the key holes of the
WEIGHT PLA TES all face the same way.)
• Carefully Slide the new HEAD PLA TE ASSEMBLY down
over the GUIDE RODS onto the weight stack as shown in
FIGURE 3.
• Attach the WEIGHT ST ACK LABELS (3) (#16-20) to the
five WEIGHT PLA TES (4) as shown on FIGURE 3.
• Screw the CABLE into the WEIGHT ST ACK SHAFT of the
HEAD PLA TE until the CABLE slightly pulls on the HEAD
PLATE.
• TIGHTEN jam nut securely!
• SECURELY tighten all loose connections.
4
3
WEIGHT
ST ACK
CUSHION
FIGURE 3
Thank you for purchasing the Parabody 359101 50 LB. ADD-ON KIT . If unsure of proper use of equipment, call your local
LifeFitness distributor or call the Parabody customer service department at (800) 328-9714.
4
 Loading...