

Panasonic of North America 96NKX FPG391 User Manual

5.8 GHz Expandable
Cordless Phone System and Fax
Operating Instructions
Model No. KX-FPG391
Please read these Operating
Instructions before using the unit
and save for future reference.

For your future reference
Date of purchase Serial number
(found on the rear of the unit)
Dealer’s name and address
Dealer’s telephone number
Caution:
●
The Telephone Consumer Protection Act of 1991 makes it unlawful for any person to use a
computer or other electronic device, including fax machines, to send any message unless such
message clearly contains in a margin at the top or bottom of each transmitted page or on the
first page of the transmission, the date and time it is sent and an identification of the business or
other entity, or other individual sending the message and the telephone number of the sending
machine or such business, other entity, or individual. (The telephone number provided may not
be a 900 number or any other number for which charges exceed local or long-distance
transmission charges.)
In order to program this information into your fax machine, you should complete the instructions
on page 5 to page 7.
●
Note that the images of copied or received documents will remain on the used film. When
disposing of the used film, use discretion.
●
Do not rub or use an eraser on the printed side of recording paper, as the print may smear.
2

Important safety instructions!
When using this unit, basic safety precautions
should always be followed to reduce the risk of
fire, electric shock, or personal injury.
1. Read and understand all instructions.
2. Follow all warnings and instructions marked
on this unit.
3. Unplug this unit from AC outlets before
cleaning. Do not use liquid or aerosol
cleaners. Use a damp cloth for cleaning.
4. Do not use this unit near water, for example
near a bath tub, wash bowl, kitchen sink, or
the like.
5. Place the unit securely on a stable surface.
Serious damage and/or injury may result if
the unit falls.
6. Do not cover slots and openings on the unit.
They are provided for ventilation and
protection against overheating. Never place
the unit near radiators, or in a place where
proper ventilation is not provided.
7. Use only the power source marked on the
unit. If you are not sure of the type of power
supplied to your home, consult your dealer
or local power company.
8. For safety purposes this product is equipped
with a three prong grounded plug. If you do
not have this type of outlet, please have one
installed. Do not use any type of adaptor
plug to defeat this safety feature.
9. Do not place objects on the power cord.
Install the unit where no one can step or trip
on the cord.
10. Do not overload wall outlets and extension
cords. This can result in the risk of fire or
electric shock.
11. Never push any objects through slots in this
unit. This may result in the risk of fire or
electric shock. Never spill any liquid on the
unit.
12. To reduce the risk of electric shock, do not
disassemble this unit. Take the unit to an
authorized servicenter when service is
required. Opening or removing covers may
expose you to dangerous voltages or other
risks. Incorrect reassembly can cause
electric shock when the unit is subsequently
used.
13. Unplug this unit from the wall outlet and refer
servicing to an authorized servicenter when
the following conditions occur:
A. When the power supply cord or plug is
damaged or frayed.
B. If liquid has been spilled into the unit.
C. If the unit has been exposed to rain or
water.
D. If the unit does not work normally by
following the operating instructions.
Adjust only controls covered by the
operating instructions. Improper
adjustment may require extensive work
by an authorized servicenter.
E. If the unit has been dropped or physically
damaged.
F. If the unit exhibits a distinct change in
performance.
14. During thunderstorms, avoid using
telephones except cordless types. There
may be a remote risk of an electric shock
from lightning.
15. Do not use this unit to report a gas leak,
when in the vicinity of the leak.
SAVE THESE
INSTRUCTIONS
INSTALLATION:
1. Never install telephone wiring during a
lightning storm.
2. Never install telephone jacks in wet locations
unless the jack is specifically designed for
wet locations.
3. Never touch uninsulated telephone wires or
terminals unless the telephone line has been
disconnected at the network interface.
4. Use caution when installing or modifying
telephone lines.
WARNING:
To prevent the risk of fire or electrical shock, do
not expose this product to rain or any type of
moisture.
OTHER INFORMATION
●
Keep the unit away from electrical noisegenerating devices, such as fluorescent lamps
and motors.
●
The unit should be kept free from dust, high
temperature and vibration.
●
The unit should not be exposed to direct
sunlight.
●
Do not place heavy objects on top of this unit.
●
Do not touch the plug with wet hands.
3
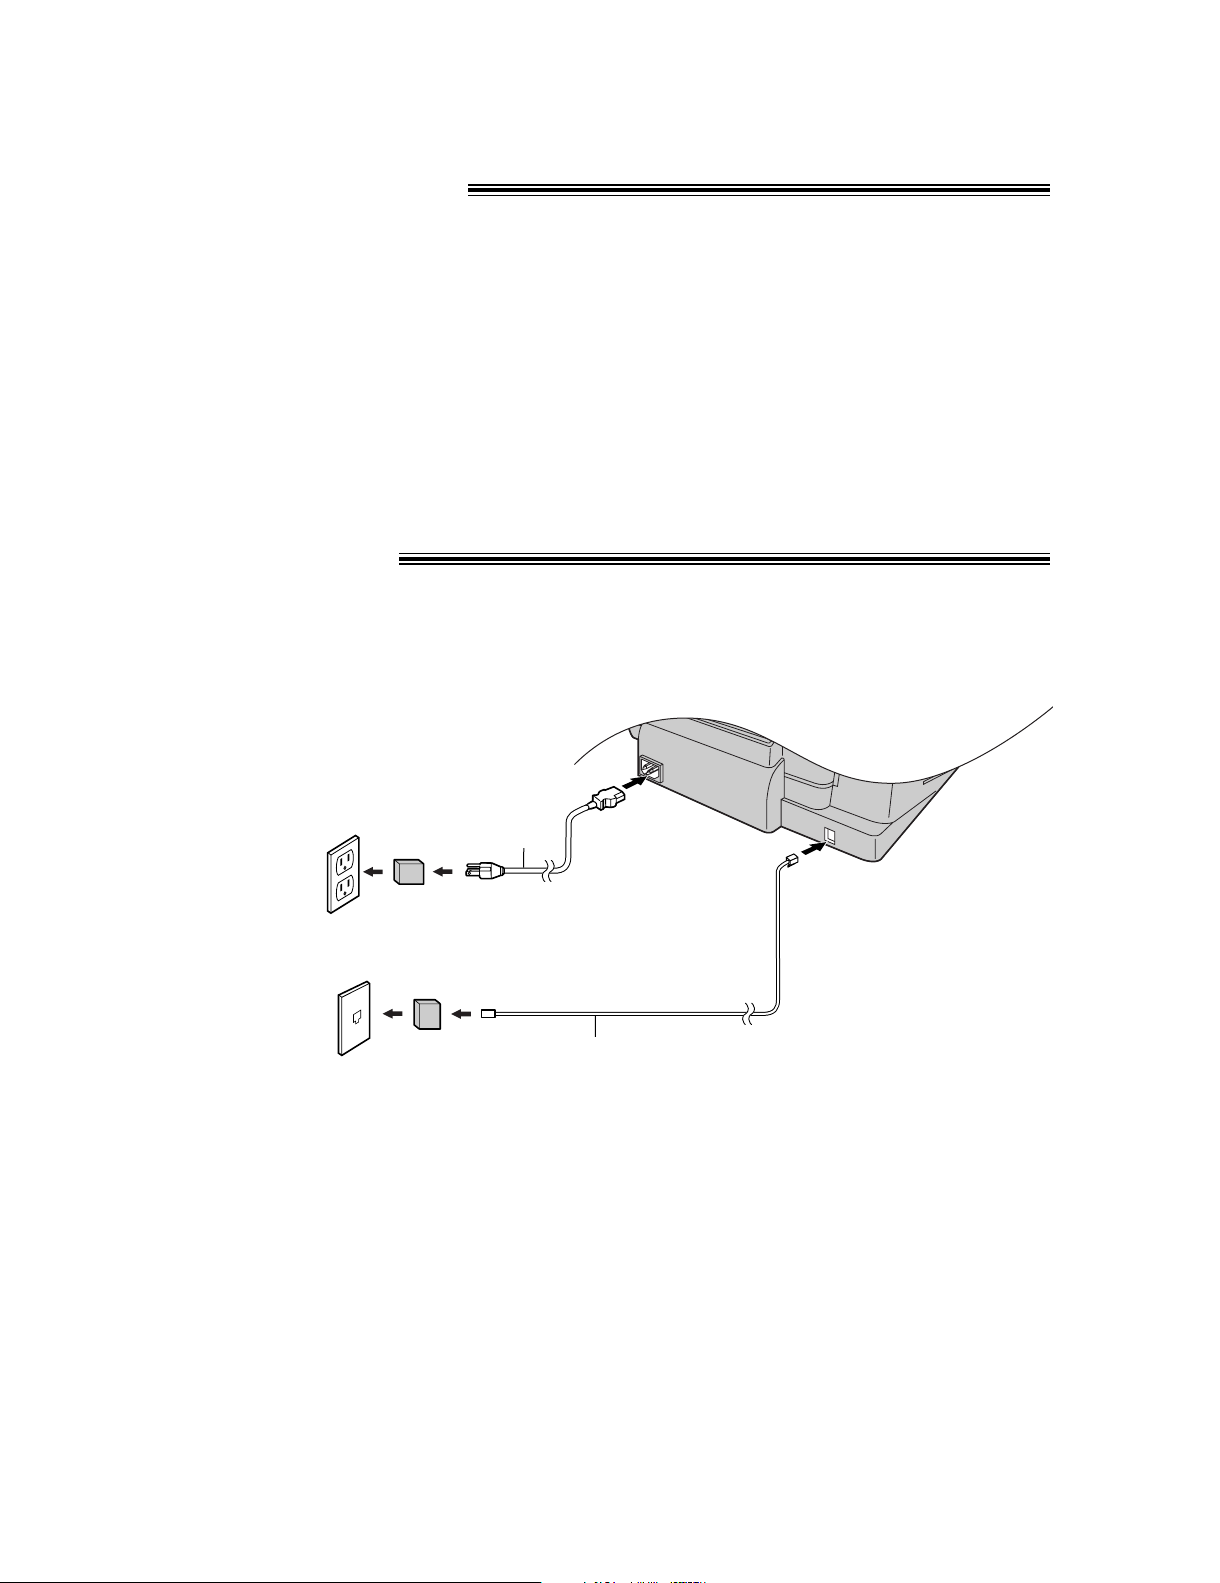
Recording paper!
To a single
telephone line
jack (RJ11C)
To a power
outlet
(120 V, 60 Hz)
Telephone
line cord
Power cord
Power surge
protector
( )
Line surge
protector
( )
Fan the stack of paper to prevent a paper
1
jam.
Insert the paper into the paper tray.
2
Connections!
Connect the telephone line cord.
1
Connect the power cord.
2
Caution:
●
When you operate this product, the power outlet should be near the product and easily accessible.
Note:
●
The warranty does not cover damage due to power line surges or lightning. For additional equipment
protection, we recommend you use a surge protector.
4
Date and time, your logo and facsimile
Fax Correspondence
Your logo
Your facsimile telephone number
Date and time
FROM : Panasonic Fax
Example:
FAX NO. : 1234567 Feb. 26 2004 09:02AM P1
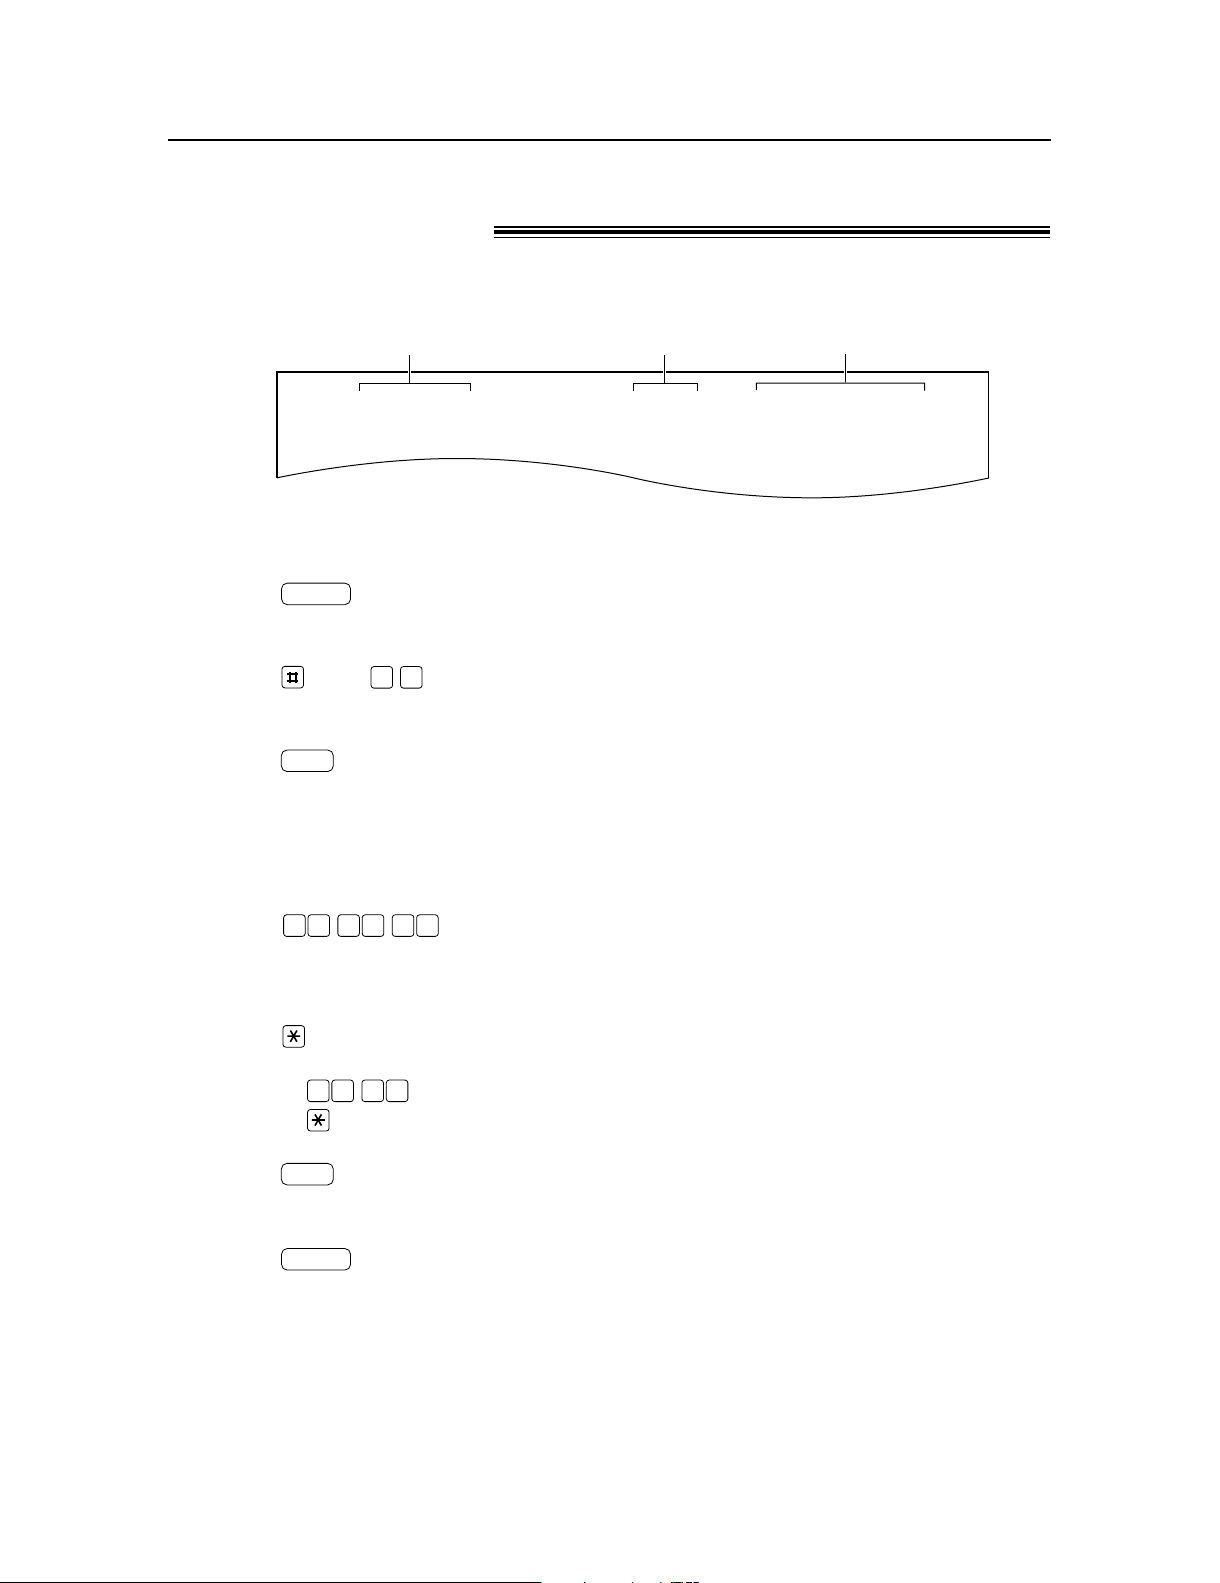
MENU
SET
1503
001 480
SET
0 1
MENU
telephone number!
You should program the date and time, your logo and facsimile telephone number. This
information will be printed on each page transmitted from your unit.
Setting the date and time
Press .
1
Press , then .
2
Press .
3
Enter the correct month/day/year by selecting
4
2 digits for each, using the dial keypad.
Example: Aug. 10, 2004
Press .
Enter the correct hour/minute by selecting
2 digits for each, using the dial keypad.
5
Press to select “AM” or “PM”.
Example: 3:15PM
1. Press .
2. Press until “PM” is displayed.
Press .
6
Press .
7
5
 Loading...