

Panasonic SL-XP600 User Manual
Dear customer
Thank you for purchasing this product.
For optimum performance and safety,
please read these instructions carefully.
Teclmics’
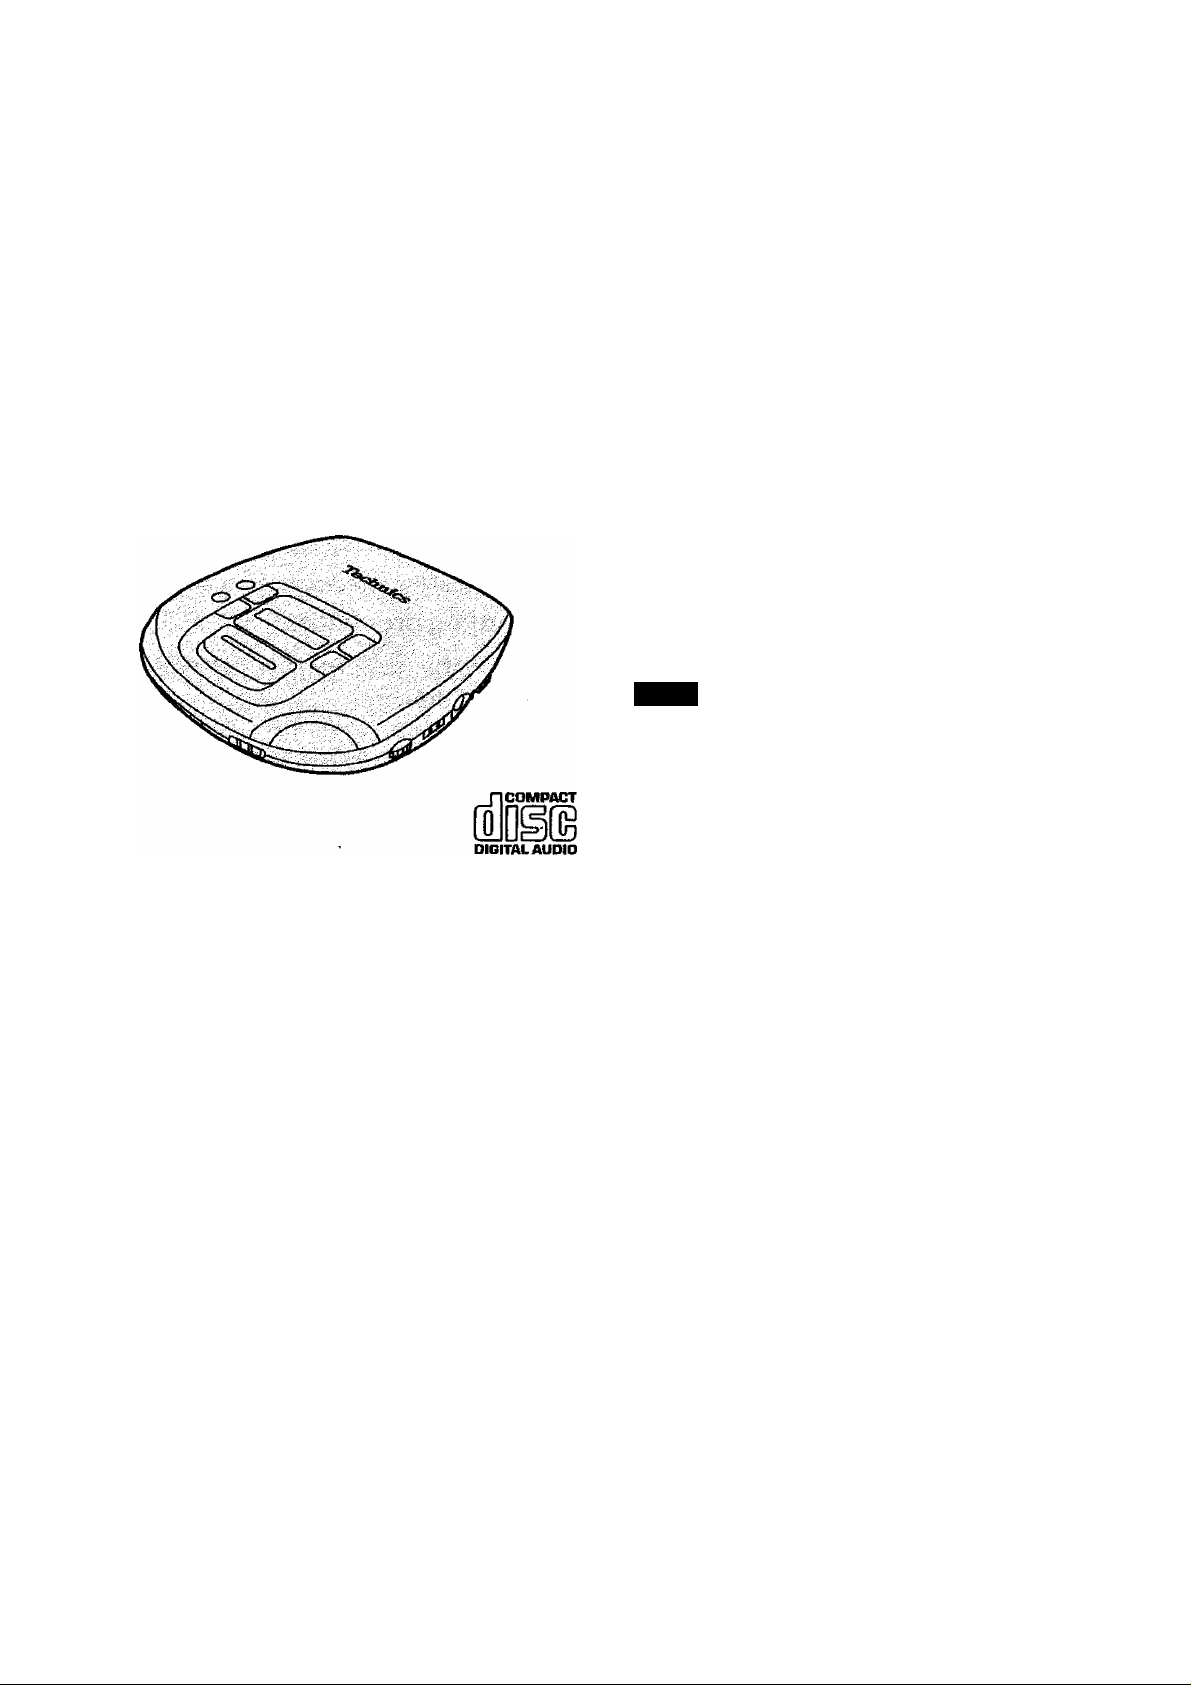
Portable CD Player
SL-XP600
Operating Instructions
Note
The “EB” indication shown on the packing
case indicates United Kingdom.
Before connecting, operating or adjusting
this product, please read these instructions
completely. Please save this manual.
I
Supplied Accessories
AC adaptor.........................................1 pc.
For United Kingdom (RFEA406B-1W^)
The number indicated with ^ is for ordering
replacement parts.
For Continental Europe (RFEA401E-2S)
For Australia and N.Z. (RFEA403A-S)
For others (RFEA403Z-S)
Stereo earphones with remote
controller
(RFEV133A-KS)
Rechargeable Ni-Cd batteries
For United Kingdom and Continental
Europe (RP-BP60EYS1)
For others (RP-BP60SYS2)
.......................................
...........
1 pc.
2 pcs.
Check the packing carton for these acces
sories.
Battery carrying case
(RFKNLS370-K)
Remove the rechargeable batteries from
their case before use.
Wireless remote controller
(RAK-SL923WK)
Dry cell batteries
For United Kingdom and Continental
Europe (R03UPE/2ST)
For others (R03NP/2ST)
Power plug adaptor.............................1 pc.
(SJP9223-1)
(For areas except United Kingdom, Conti
nental Europe, Australia and N.Z.)
Use numbers indicated in parentheses when ask
ing for replacement parts.
..........................
..................
............................
1 pc.
1 pc.
2 pcs.
...........
EG EB GC GN

CAUTION!
THIS PRODUCT UTILIZES A LASER.
USE OF CONTROLS OR ADJUST
MENTS OR PERFORMANCE OF
PROCEDURES OTHER THAN THOSE
SPECIFIED HEREIN MAY RESULT IN
HAZARDOUS RADIATION EXPO
SURE.
DO NOT OPEN COVERS AND DO NOT
REPAIR YOURSELF. REFER SERV
ICING TO QUALIFIED PERSONNEL.
SUOMI
WARNING:
TO PREVENT THE RISK OF FIRE OR
ELECTRIC SHOCK, DO NOT EXPOSE
THIS APPLIANCE TO DRIPPING OR
SPLASHING.
ADVARSEL:
FOR AT REDUCERE RISIKOEN FOR
BRAND ELLER ELEKTRISKE ST0D
mA DETTE APPARAT IKKE UDS/ET-
TES FOR VANDDRYP ELLER VAND-
SPR0JT.
VAROITUS!
LAITTEEN KAYTTAMINEN MUULLA
KUIN TÀSSÀ KÀYTTÒOHJEESSA
MAINITULLA TAVALLA SAATTAA
ALTISTAA KÀYTTÀJÀN TURVALLISUUSLUOKAN 1 YLITTÀVÀLLE
NÀKYMÀTTÒMÀLLE LASERSÀTEILYLLE.
ADVARSEL:
FOR À HINDRE BRANN ELLER
STR0MSJOKK, MÀ DETTE APPARA-
TET IKKE UTSETTES FOR HVERKEN
VANNDRAPER ELLER VANNSPRUT.
Matsushita Electric Industrial Co., Ltd.
Central P.O. Box 288, Osaka 530-91, Japan
VAROITUS:
TULIPALO- JA SÀHKÒISKUVAARAN
VÀLTTÀMISEKSI El LAITETTA SAA
ALTISTAA VESIPISAROILLE TAI
-ROISKEELLE.
(For areas except United Kingdom, Conti
nental Europe, Australia and N.Z.)
CAUTION:
The AC voltage is different according
to the area.
Be sure to set the proper voltage in
your area before use.
(For details, please refer to the at
tached sheet.)
Printed in Japan
RQT3420-B
F0296W0
Location of Controls H Power Supply Preparatior
Ф
Refer to the specifications (page 11) for the durati<
dry cell batteries are used.
Using rechargeable batteries
Make sure that the rechargeable batteries have be
_________
Recharging procedure
1 Place the rechargeable batteries
inside the unit.
(No batteries other than RP-BP60/
SH-CDB8D can be recharged.)
О
[f the battery compartment lid becomes dis
engaged, position it horizontally and press it
back into position.
Portable CD Player
® Hold lock switch (HOLD-LOCK)
(2) Repeat button (REPEAT)
(g) Memory/recait button
(MEMORY/RECALL)
<S> Skip/search buttons
(H^, «SKIP/-SEARCH)
(D Display
(§) Play/pause button (>■ 11)
® Stop/power off button
(■/POWER OFF)
(§) Remote sensor
(SENSOR)
® Extra anti-shock switch
(EXTRA ANTI-SHOCK)
@ Open button (OPEN)
Headphones volume control
(VOLUME)
® High filter/XBS selector
(HIGH FILTER, XBS, OFF)
® Headphones Jack (Q)
® Play mode selector (MODE)
® Push button (PUSH)
® Out jack (OUT)
® DC in jack (DC IN 4.5 V )
® Hole for car mounting base
Stereo earphones
® Play/stop/off button
© Volume control (VOLUME)
® Hold switch (HOLD)
@ Plug
(D Skip/search buttons (—, +)
2 Connect the AC adaptor.
DC IN jack (DC IN 4.5V )
AC power outlet
Power
indicator
The power indicator is provided only for
United Kingdom.
The configuration of the AC adaptor differs
according to the area.
•When charging is commenced, the re
charging indicator "B” flashes on the dis
play panel.
• It takes about one and a half hours to
recharge the batteries fully at which point
the recharging indicator will go off.
3 Upon completion of the recharg
ing, disconnect the AC adaptor
from the DC IN Jack and power
outlet.
Removing the batteries
Push the batteries upward in the direction of
the arrow to remove them.
•The batteries can be used for about
10 months (300 times) if they are used
every day.
They will need to be replaced if the duration
of their operation drops drastically.
Accidental
)п of the play time provided when rechargeable or
iien recharged before use.
• Recharging should be performed at
5“C~40'’C.
•While recharging, the AC adaptor and re
chargeable batteries may get warm. This is
normal.
The batteries can be recharged only during
off mode (see page 4).
Using dry cell batteries
(not included)
Disconnect the AC adaptor and then install
two LR6 (UM-3) type alkaline batteries.
The batteries are inserted and removed in
the same way as for the rechargeable bat>
teries.
Using the AC adaptor
Connect the AC adaptor supplied.
Refer to the section on “Using recharge
able batteries” for details on the connec
tions.
__________________
____________
Operation
Prevention Function
This function prevents the unit from operat
ing even if a control button is pressed in
error. (When the unit is in the hold mode, the
disc lid can not be opened.)
Use the function to prevent the following sit
uations:
•The unit is in the standby condition when
the AC adaptor Is connected. The primary
circuit is always "live” as long as the AC
adaptor is connected to an electrical outlet.
• For UK only
When the AC adaptor is connected, the
power indicator is always illuminating.
Using the car adaptor
(not included)
Be sure to obtain the car adaptor
(SH-CDC9). available as an optional acces
sory .
The batteries can be recharged inside the
car using the car adaptor.
__________________
Battery indicator
/и W VSa.
This starts flashing when the batteries have
run down, and after a short while the power
is automatically cut off.
(The amount of time during which play con
tinues after the indicator has started flashing
differs slightly depending on the type of bat
teries used.)
Type of
battery
Recharge*
abe
batteries
Dry ceil
batteries
Action
Recharge the batteries
again.
Replace with new
batteries.
Battery
' indicator
Example 1:
While the unit is not in use, the power is
inadvertently turned on and the batteries run
down.
Example 2:
Play is interrupted while the unit is in use.
Example 3:
(Available only from the unit)
The disc lid is opened accidentally during
play.
To use the accidental operation
prevention function
Both the unit and stereo earphones with re
mote controller have a HOLD-LOCK switch
and a HOLD switch, each of them works
individually.
[Using the unit]
Set HOLD-LOCK to the HOLD position.
[Using the stereo earphones with remote controller]
Set HOLD to the HOLD position.
“ho / ¿y” indicator
If the unit is in the hold mode, the “ho I d"
indicator appears when any of the unit’s
function buttons (except OPEN) is pressed.
When the unit Is turned off
The “ho I d” indicator appears only when
► H is pressed.
Before operating the buttons
Be absolutely sure to move HOLD-LOCK
to release the unit from the hold mode.
(The battery indicator may not flash if re
chargeable batteries, other than those desig
nated by Panasonic, are used.)
 Loading...