

Panasonic S-26PU1U6, S-36PU1U6, S-42PU1U6, CZ-RTC2, S-26PK1U6 operating instructions
...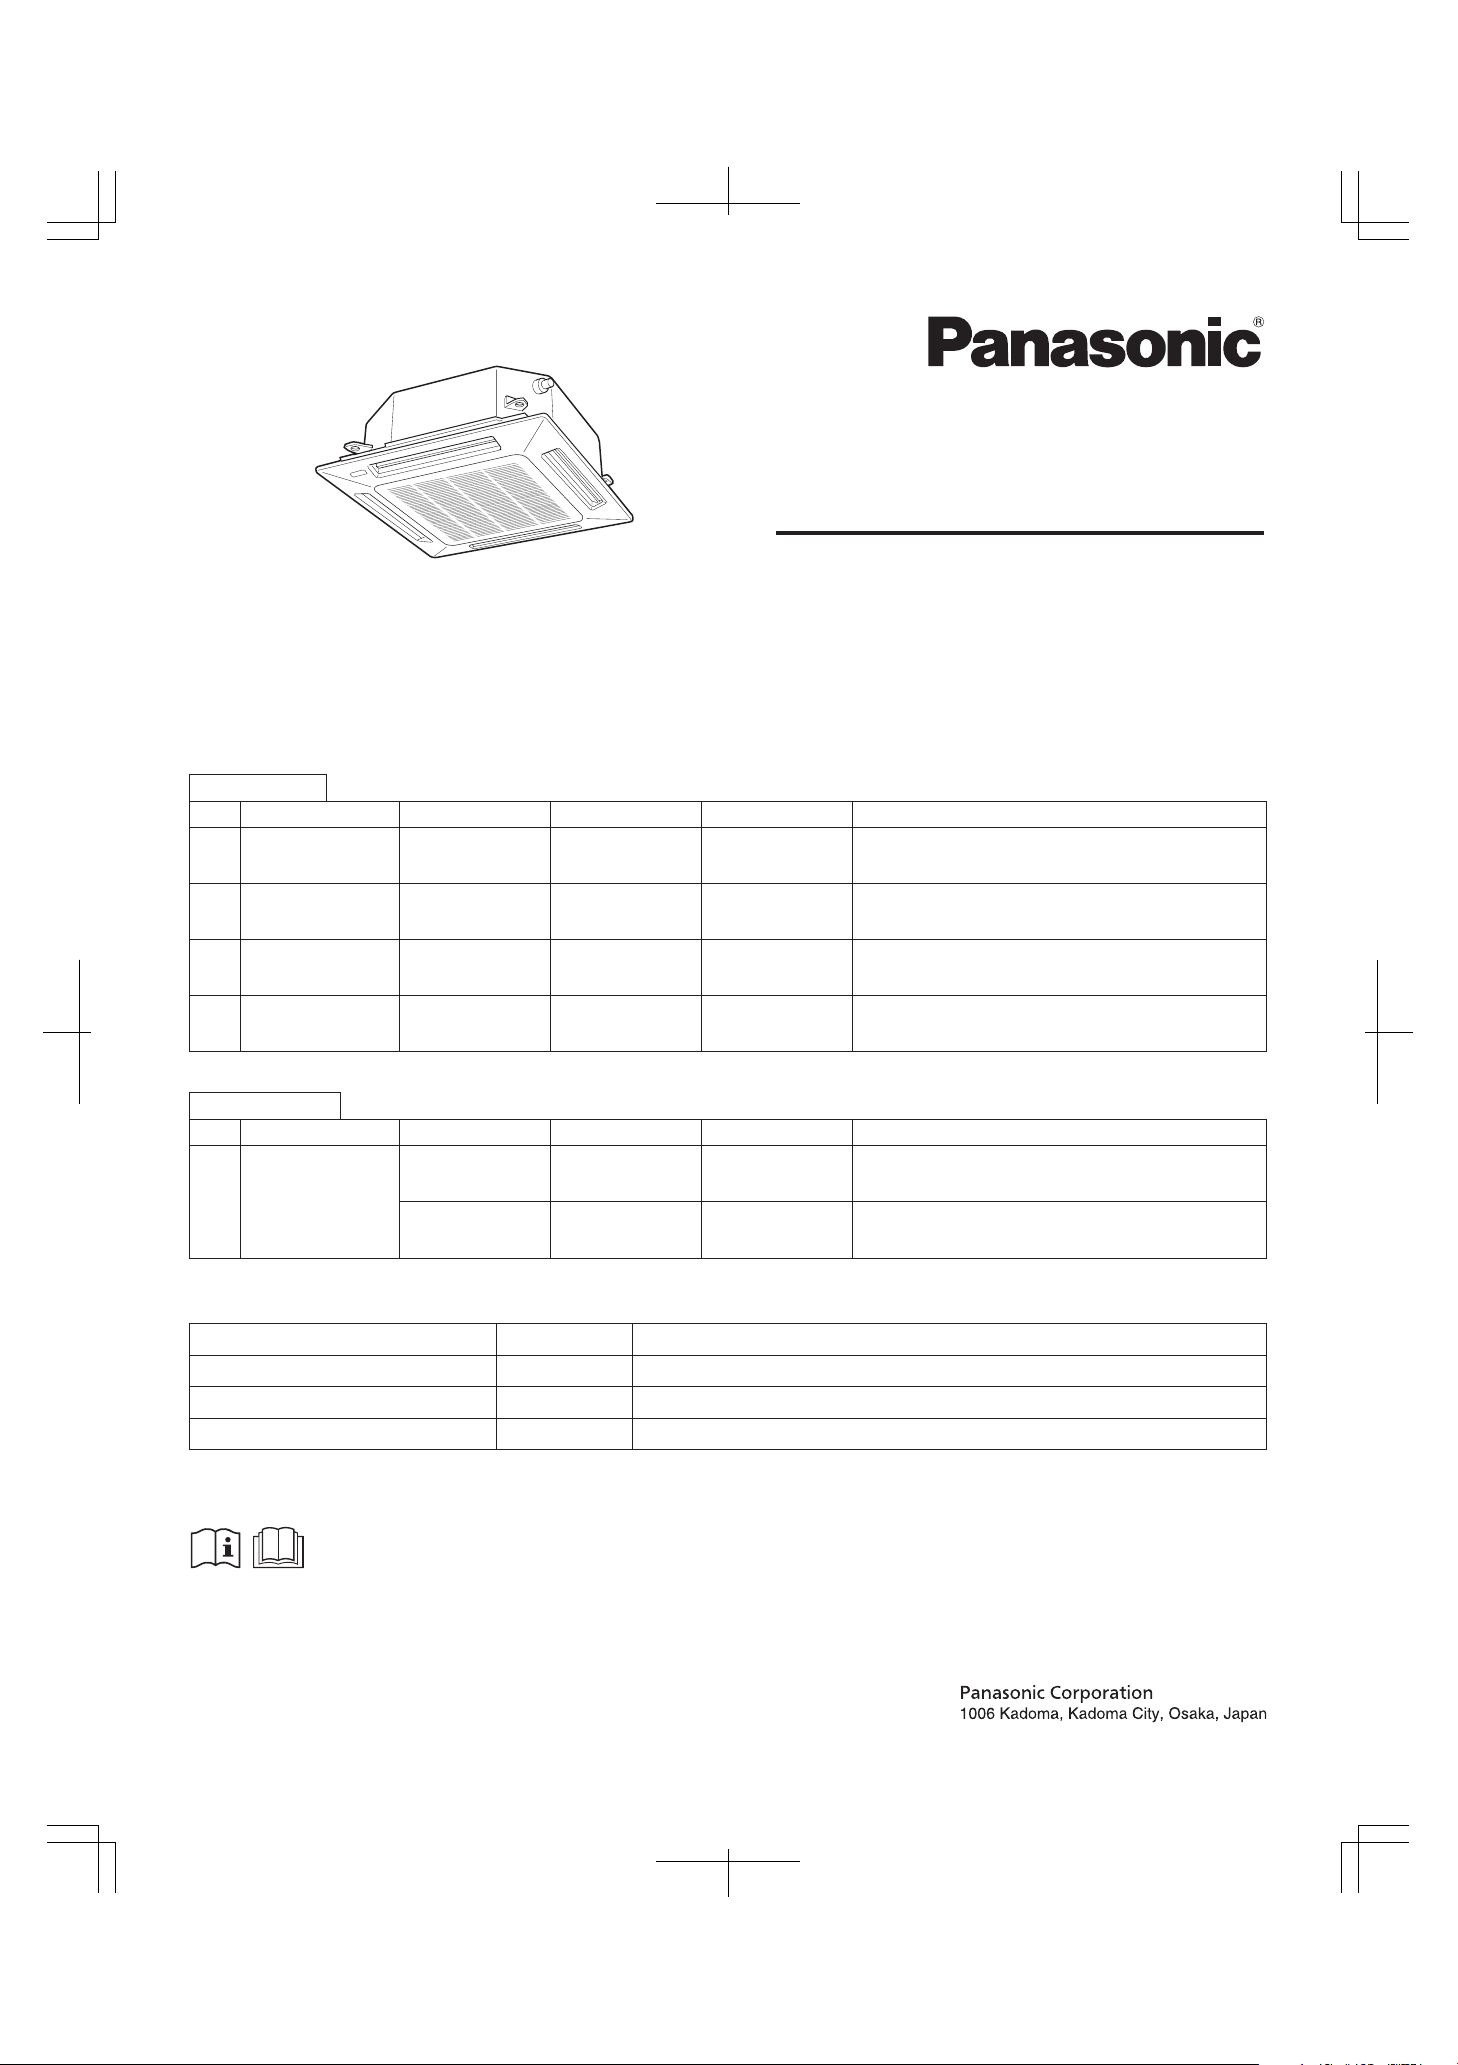
Operating Instructions
Split System Air Conditioner
* Shows U1 type
Model No.
Indoor Units
Type
Indoor Unit Type Remarks423626
U1
4-Way Cassette S-26PU1U6 S-36PU1U6 S-42PU1U6 with Wired Remote Controller: CZ-RTC2
K1
T1
Low Silhouette
F1
Ducted
S-26PK1U6 with Wireless Remote Controller: CZ-RWSK1UWall Mounted
S-26PT1U6 S-36PT1U6 S-42PT1U6 with Wired Remote Controller: CZ-RTC2Ceiling
S-26PF1U6 S-36PF1U6 with Wired Remote Controller: CZ-RTC2
Outdoor Units
Outdoor Unit Type
Type
U-26PE1U6 U-36PE1U6 U-42PE1U6
U Single
U-26PS1U6 U-36PS1U6 U-42PS1U6
Remote Controllers
Wireless Remote Controller (for F1 type) CZ-RWSC1U
Wireless Remote Controller (for U1 type) CZ-RWSU1U
Wireless Remote Controller (for K1 type) CZ-RWSK1U
Remarks423626
Cooling/Heating
Cooling
Timer Remote Controller comes with Instructions Manual.Timer Remote Controller (wired) CZ-RTC2
This air conditioner uses the refrigerant R410A.
Before operating the unit, read these operating instructions thoroughly and keep them for future reference.
85464609163012
CV6233186917
163011_SingleSplit_EN_1.fm Page 2 Thursday, September 15, 2011 9:00 AM
CONTENTS
PRODUCT INFORMATION ...........................................................................................................2
SAFETY PRECAUTIONS..............................................................................................................2
INSTALLATION LOCATION...........................................................................................................3
ELECTRICAL REQUIREMENTS ..................................................................................................3
SAFETY INSTRUCTIONS.............................................................................................................3
OPERATION CONDITION ............................................................................................................4
NAMES OF PARTS .......................................................................................................................5
ADJUSTING AIRFLOW DIRECTION ............................................................................................6
CARE AND CLEANING ................................................................................................................8
SPECIAL REMARKS ..................................................................................................................10
TROUBLESHOOTING (BEFORE CALLING FOR SERVICE).....................................................11
TIPS FOR ENERGY SAVING .....................................................................................................11
WIRELESS REMOTE CONTROLLER........................................................................................12
SPECIFICATIONS .......................................................................................................................25
Page
PRODUCT INFORMATION
If you have problems or questions concerning your Air Conditioner, you will need the following
information. Model and serial numbers are on the nameplate on the bottom of the cabinet.
Model No. _________________________________ Serial No. _______________________
Date of purchase ______________________________________________________________
Dealer’s address ______________________________________________________________
Phone number________________________________________________________________
SAFETY PRECAUTIONS
The following symbols used in this manual, alert you to potentially dangerous conditions to
users, service personnel or the appliance:
This symbol refers to a hazard or unsafe practice
which can result in severe personal injury or
death.
This symbol refers to a hazard or unsafe practice
which can result in personal injury or product or
property damage.
2
Power mains
ON
NOTE
163011_SingleSplit_EN_1.fm Page 3 Thursday, September 15, 2011 9:00 AM
INSTALLATION LOCATION
• We recommend that this air conditioner be installed properly by qualified installation
technicians in accordance with the Installation Instructions provided with the unit.
• Before installation, check that the voltage of the electric supply in your home or office is the same
as the voltage shown on the nameplate.
• Do not install this air conditioner where there are fumes or flammable gases, or in an
extremely humid space such as a greenhouse.
• Do not install the air conditioner where excessively high heat-generating objects
are placed.
Avoid: To protect the air conditioner from heavy corrosion, avoid installing the outdoor unit where
salty sea water can splash directly onto it or in sulphurous air near a spa.
ELECTRICAL REQUIREMENTS
1. All wiring must conform to the local electrical codes. Consult your dealer or a qualified electrician
for details.
2. Each unit must be properly grounded with a ground (or earth) wire or through the supply wiring.
3. Wiring must be done by a qualified electrician.
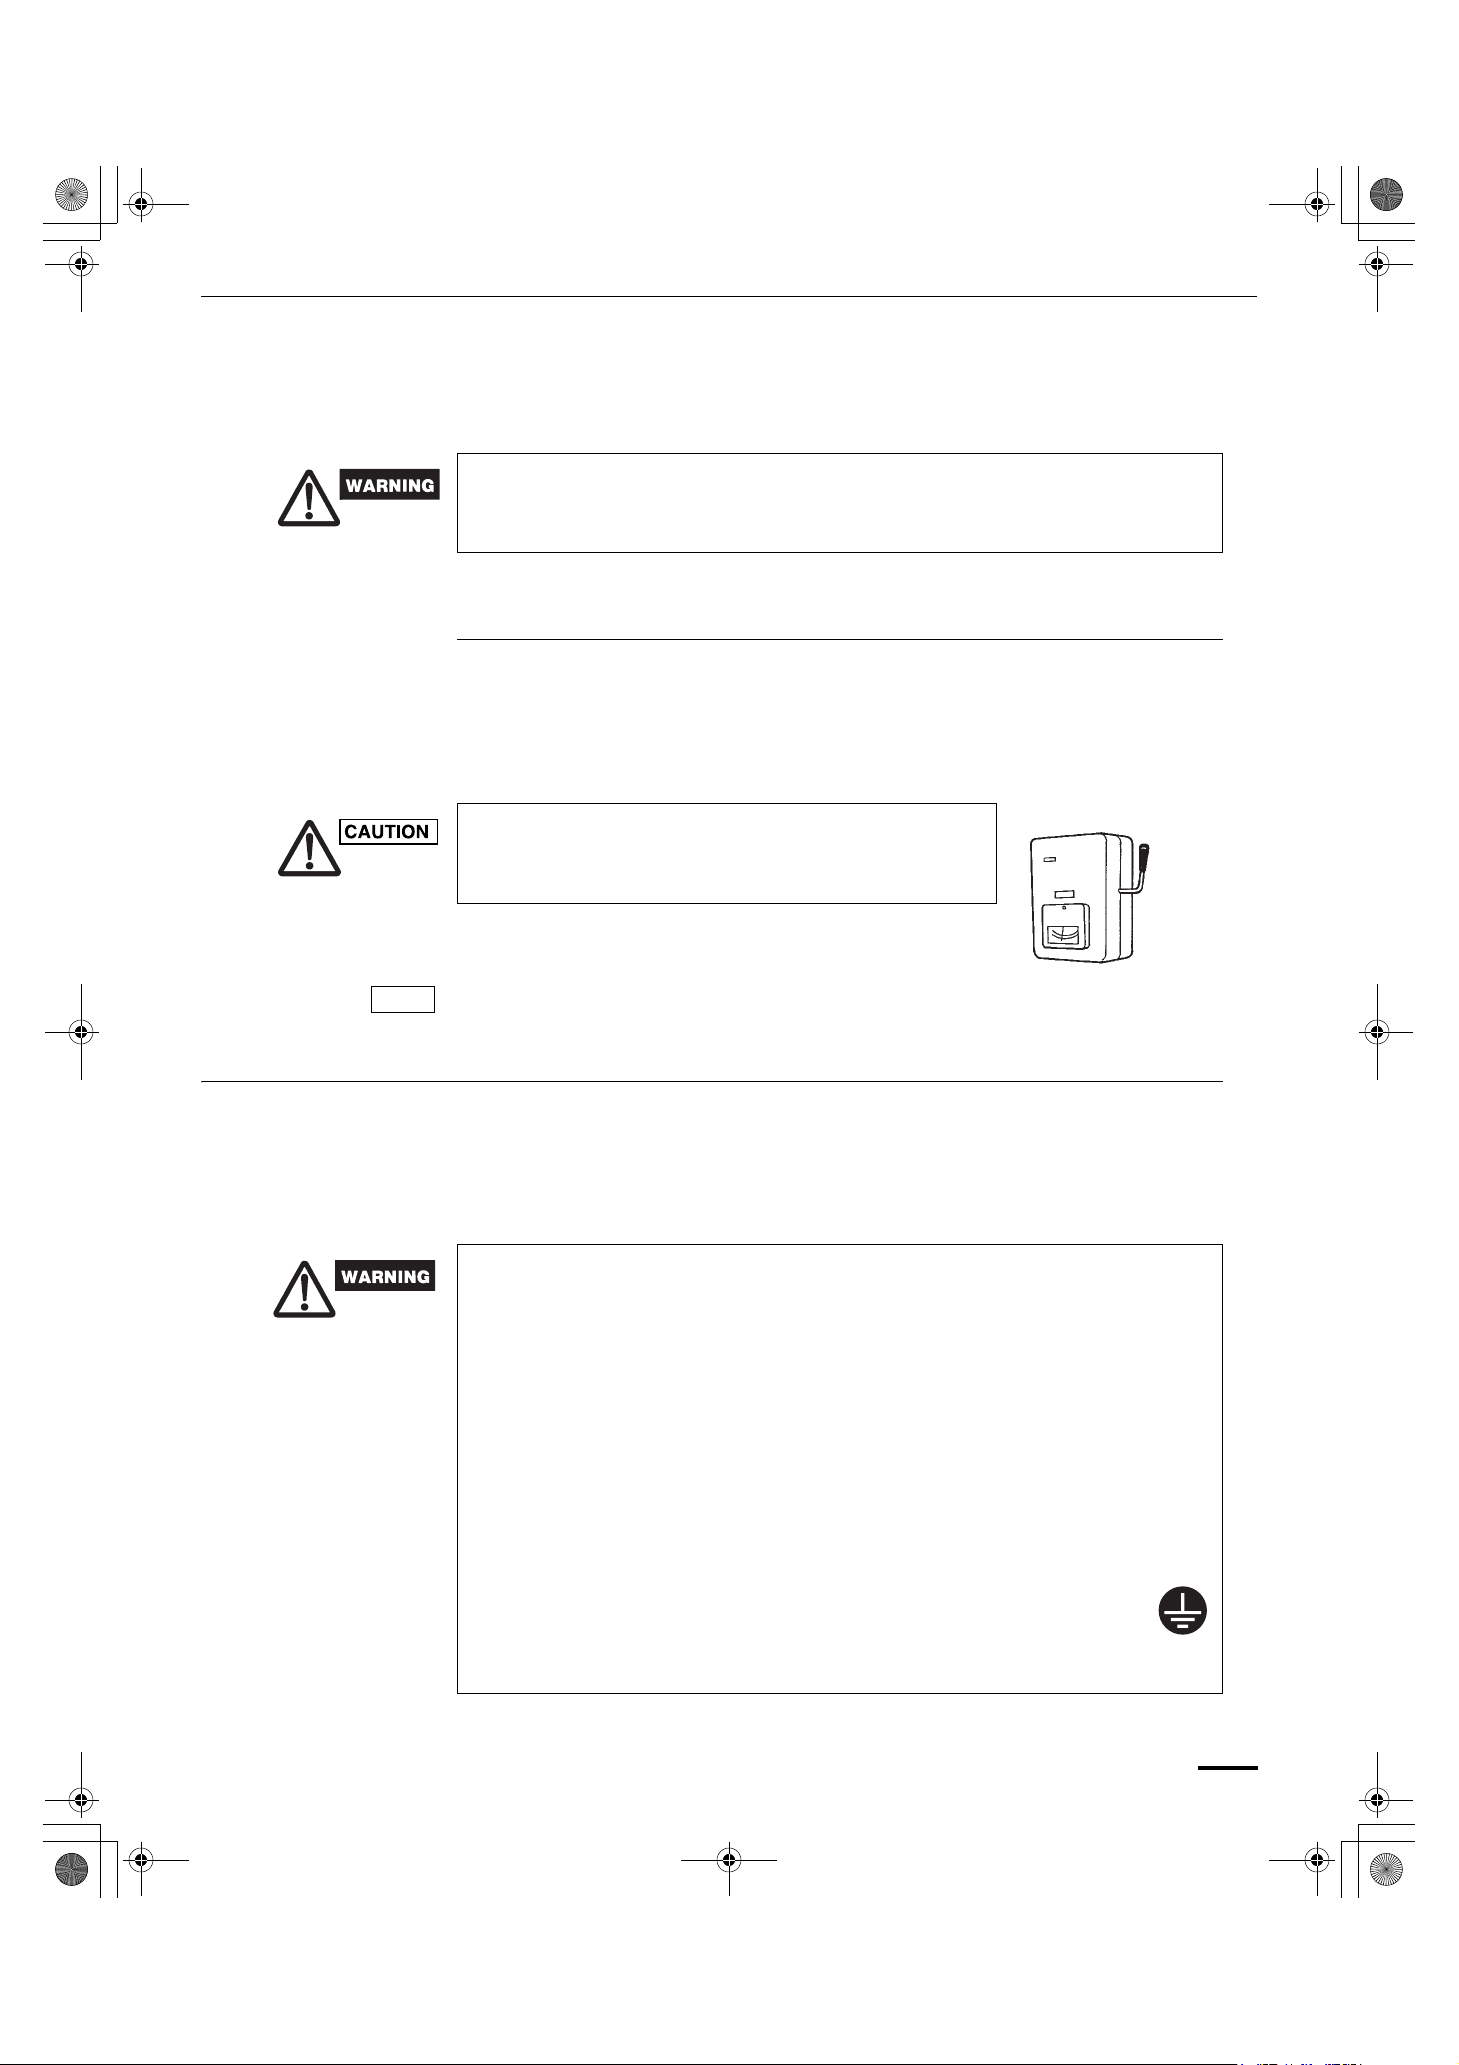
To warm up the system, the power mains must be turned on
at least five (5) hours before operation. Leave the power
mains ON unless you will not be using this appliance for an
extended period.
Pull off the power plug from a receptacle, or switch off the breaker, or switch off the power
disconnecting mean to isolate the air conditioner from the main power supply when not in use
for a long time.
SAFETY INSTRUCTIONS
• Read these Operating Instructions carefully before using this air conditioner. If you still
have any difficulties or problems, consult your dealer for help.
• This air conditioner is designed to give you comfortable room conditions. Use this only for
its intended purpose as described in these Operating Instructions.
• Confirm to authorized dealer or specialist on usage of specified refrigerant type.
Using of refrigerant other than the specified type may cause product damage, burst
and injury etc.
• Never touch the unit with wet hands.
• Never use or store gasoline or other flammable vapor or liquid near the air
conditioner — it is very dangerous.
• Do not use this appliance in a potentially explosive atmosphere.
• This air conditioner has no ventilator for intaking fresh air from outdoors. You must
open doors or windows frequently when you use gas or oil heating appliances in
the same room, which consume a lot of oxygen from the air. Otherwise there is a
risk of suffocation in an extreme case.
• Do not swallow the battery.
• After removing the battery from remote controller, keep it away from the reach of
children. The battery can cause death by suffocation if swallowed.
• When inserting the battery, make sure the polarities (+ and -) are correct.
• To prevent possible hazards from insulation failure, the unit must be
grounded.
• In case of malfunction of this appliance, do not repair by yourself. Contact
to the sales dealer or service dealer for a repair.
• Refrigerant gas leakage may cause fire.
3
163012_SingleSplit_EN_1.fm Page 4 Tuesday, November 1, 2011 9:58 AM
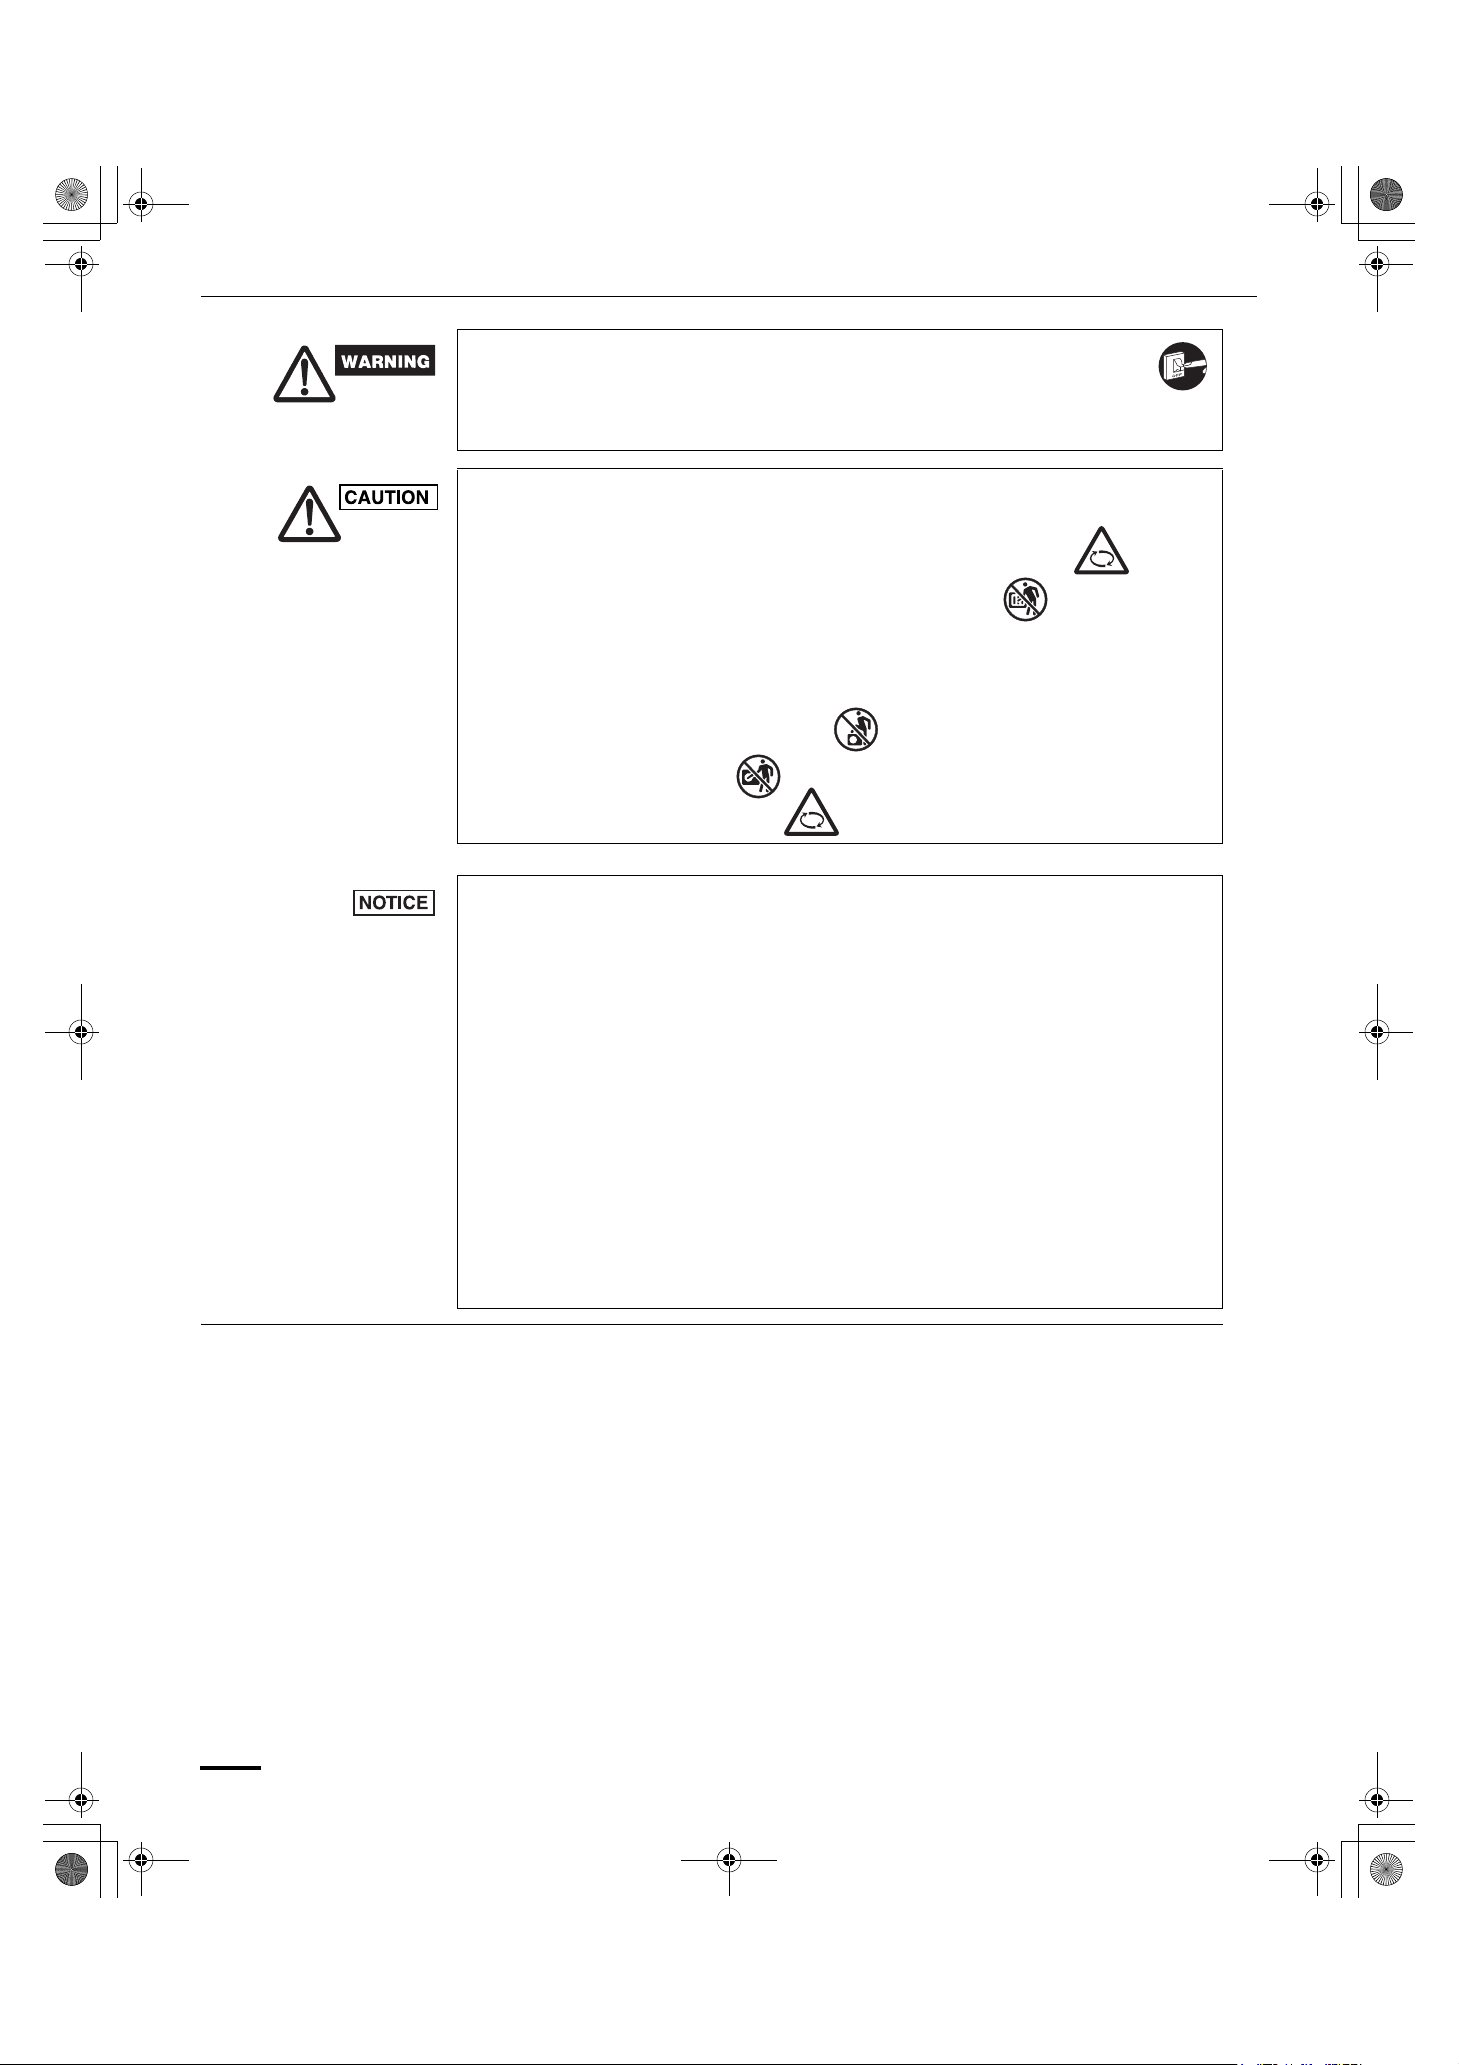
• For safety, be sure to turn the air conditioner off and also to disconnect the
power before cleaning or servicing.
• Pull off the power plug from a receptacle, or switch off the breaker, or switch
off the power disconnecting mean to isolate the air conditioner from the main power
supply in case of emergency.
• Do not turn the air conditioner on and off from the power mains switch. Use the ON/
OFF operation button.
• Do not stick anything into the air outlet of the outdoor unit.
This is dangerous because the fan is rotating at high speed.
• Do not touch the air inlet or the sharp aluminum
fins of the outdoor unit. You may get injured.
• Keep the fire alarm and the air outlet at least
5 feet away from the unit.
• Do not let children play with the air conditioner.
• Do not cool or heat the room too much if babies or invalids are present.
• Do not sit or step on the unit.
You may fall down accidentally.
• Do not stick any object
into the FAN CASE.
You may be injured and
the unit may be damaged.
Single Split System
• This device complies with part 15 of the FCC Rules.
Operation is subject to the following two conditions:
(1) This device may not cause harmful interference,
and (2) this device must accept any interference received,
including interference that may cause undesired operation.
• This equipment has been tested and found to comply with the limits fora Class B
digital device, pursuant to part 15 of the FCC Rules.
These limits are designed to provide reasonable protection against harmful interference when
the equipment is operated in a commercial environment. This equipment generates, uses and
can radiate radio frequency energy and, if not installed and used in accordance with the
instructions manual, may cause harmful interference to radio communications. Operation of this
equipment in a residential area is likely to cause harmful interference in which case the user will
be required to correct the interference at his own expense.
• Reorient or relocate the receiving antenna.
• Increase the separation between the equipment and receiver.
•
Connect the equipment into an outlet on a circuit different from that to which the receiver is connected.
• Consult the dealer or an experienced radio/TV technician for help.
• FCC Caution: To assure continued compliance, follow the attached installation instructions.
Any changes or modifications not expressly approved by the party responsible for compliance
could void the user's authority to operate this equipment.
OPERATION CONDITION
Use this air conditioner under the following temperature range.
Indoor temperature range :
Cooling mode 57°F ~ 77°F (*WBT) / 64°F ~ 90°F (*DBT)
Heating mode 61°F ~ 86°F (*DBT)
Outdoor temperature range :
Cooling mode 14°F ~ 115°F (*DBT)
Heating mode -4°F ~ 64°F (*WBT) / -4°F ~ 75°F (*DBT)
* DBT: Dry bulb temperature
* WBT: Wet bulb temperature
4
Celling panel
(optional)
Air outlet Air intake
Air outlet
Air intake
Air outlet
Air intake
Air outlet
(optional)
Ceiling
Air intake
(optional)
NOTE
163011_SingleSplit_EN_1.fm Page 5 Thursday, September 15, 2011 9:00 AM
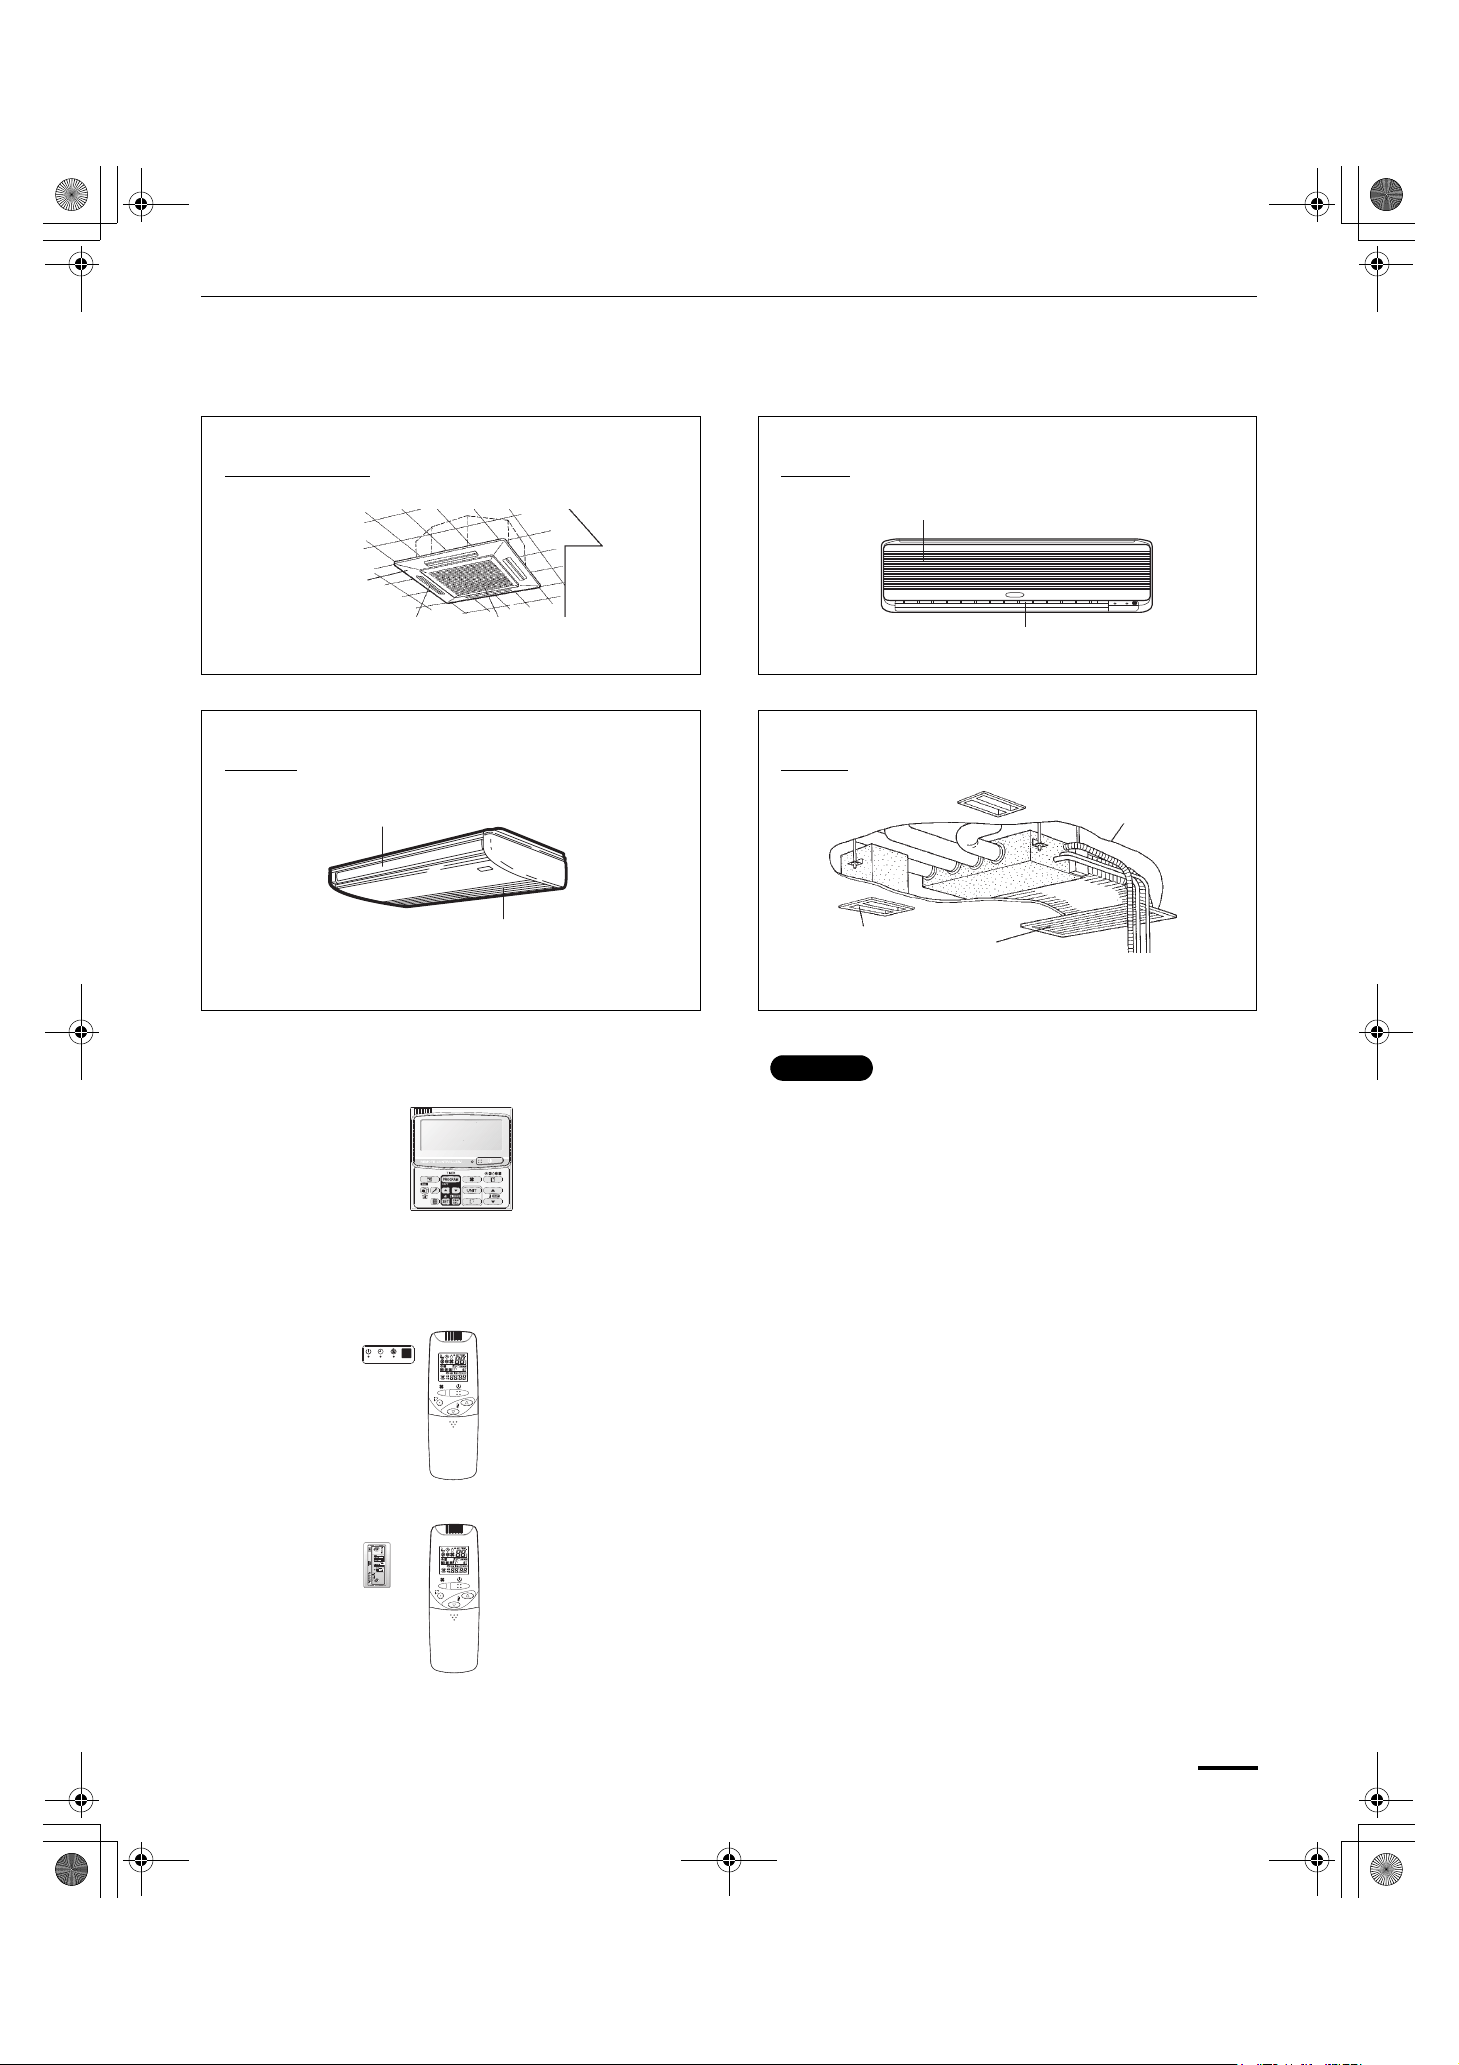
NAMES OF PARTS
INDOOR UNIT
4-Way Cassette Wall Mounted
U1 type (4-WAY) K1 type
Ceiling Low Silhouette Ducted
T1 type F1 type
REMOTE CONTROLLER
(Wired type: available for all indoor units)
REMOTE CONTROLLER
(Optional)
(Wireless type: all available for U1 and T1)
(Wireless type : available for F1)
This illustration is based on the external
appearance of a standard model.
Consequently, the appearance may differ
from that of the air conditioner you have
selected.
5
Auto flap
163011_SingleSplit_EN_1.fm Page 6 Thursday, September 15, 2011 9:00 AM
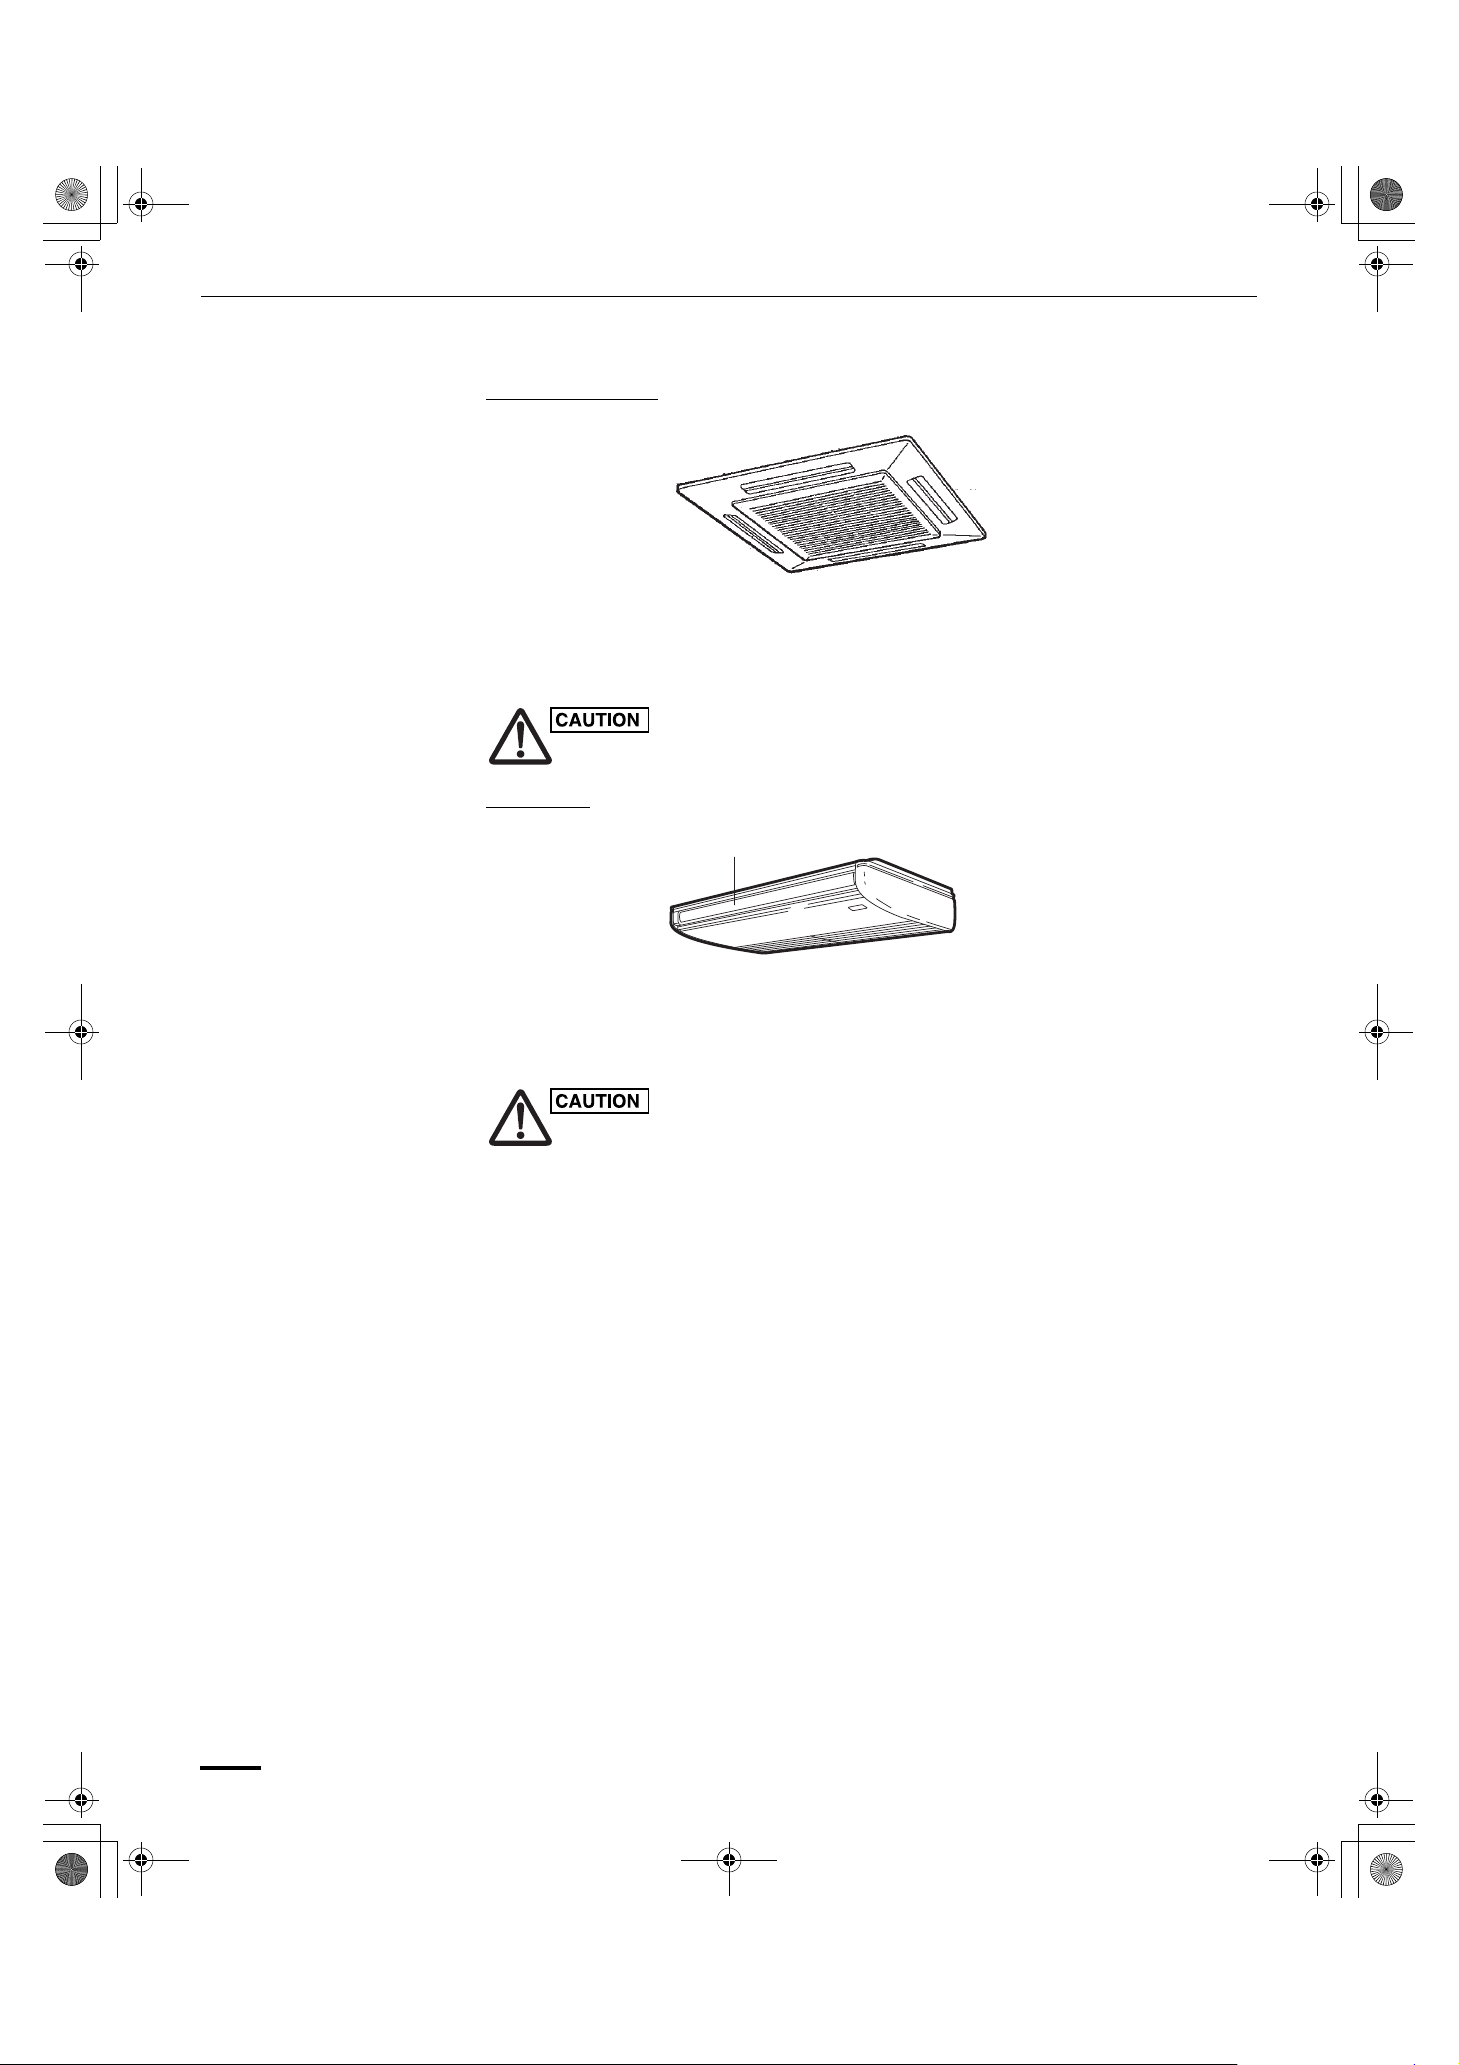
ADJUSTING AIRFLOW DIRECTION
4-Way Cassette (U1)
This air conditioner is equipped with auto flaps.
You can set the airflow direction to a specific angle or to the sweep mode using the remote
controller. (Refer to the description of the remote controller.)
Do not move the flap with your hands.
Ceiling (T1)
This air conditioner is equipped with an auto flap. You can set the airflow direction to a specific
angle or to the sweep mode using the remote controller. (Refer to the description of the remote
controller.)
Do not move the flap with your hands.
6
Indoor unit
Zone ‘‘B’’ for
heating
Zone ‘‘A’’
for cooling
30°
60°
Left
Air outlet
grille
Right
Vertical vanes
Up
Down
Flap
163011_SingleSplit_EN_1.fm Page 7 Thursday, September 15, 2011 9:00 AM
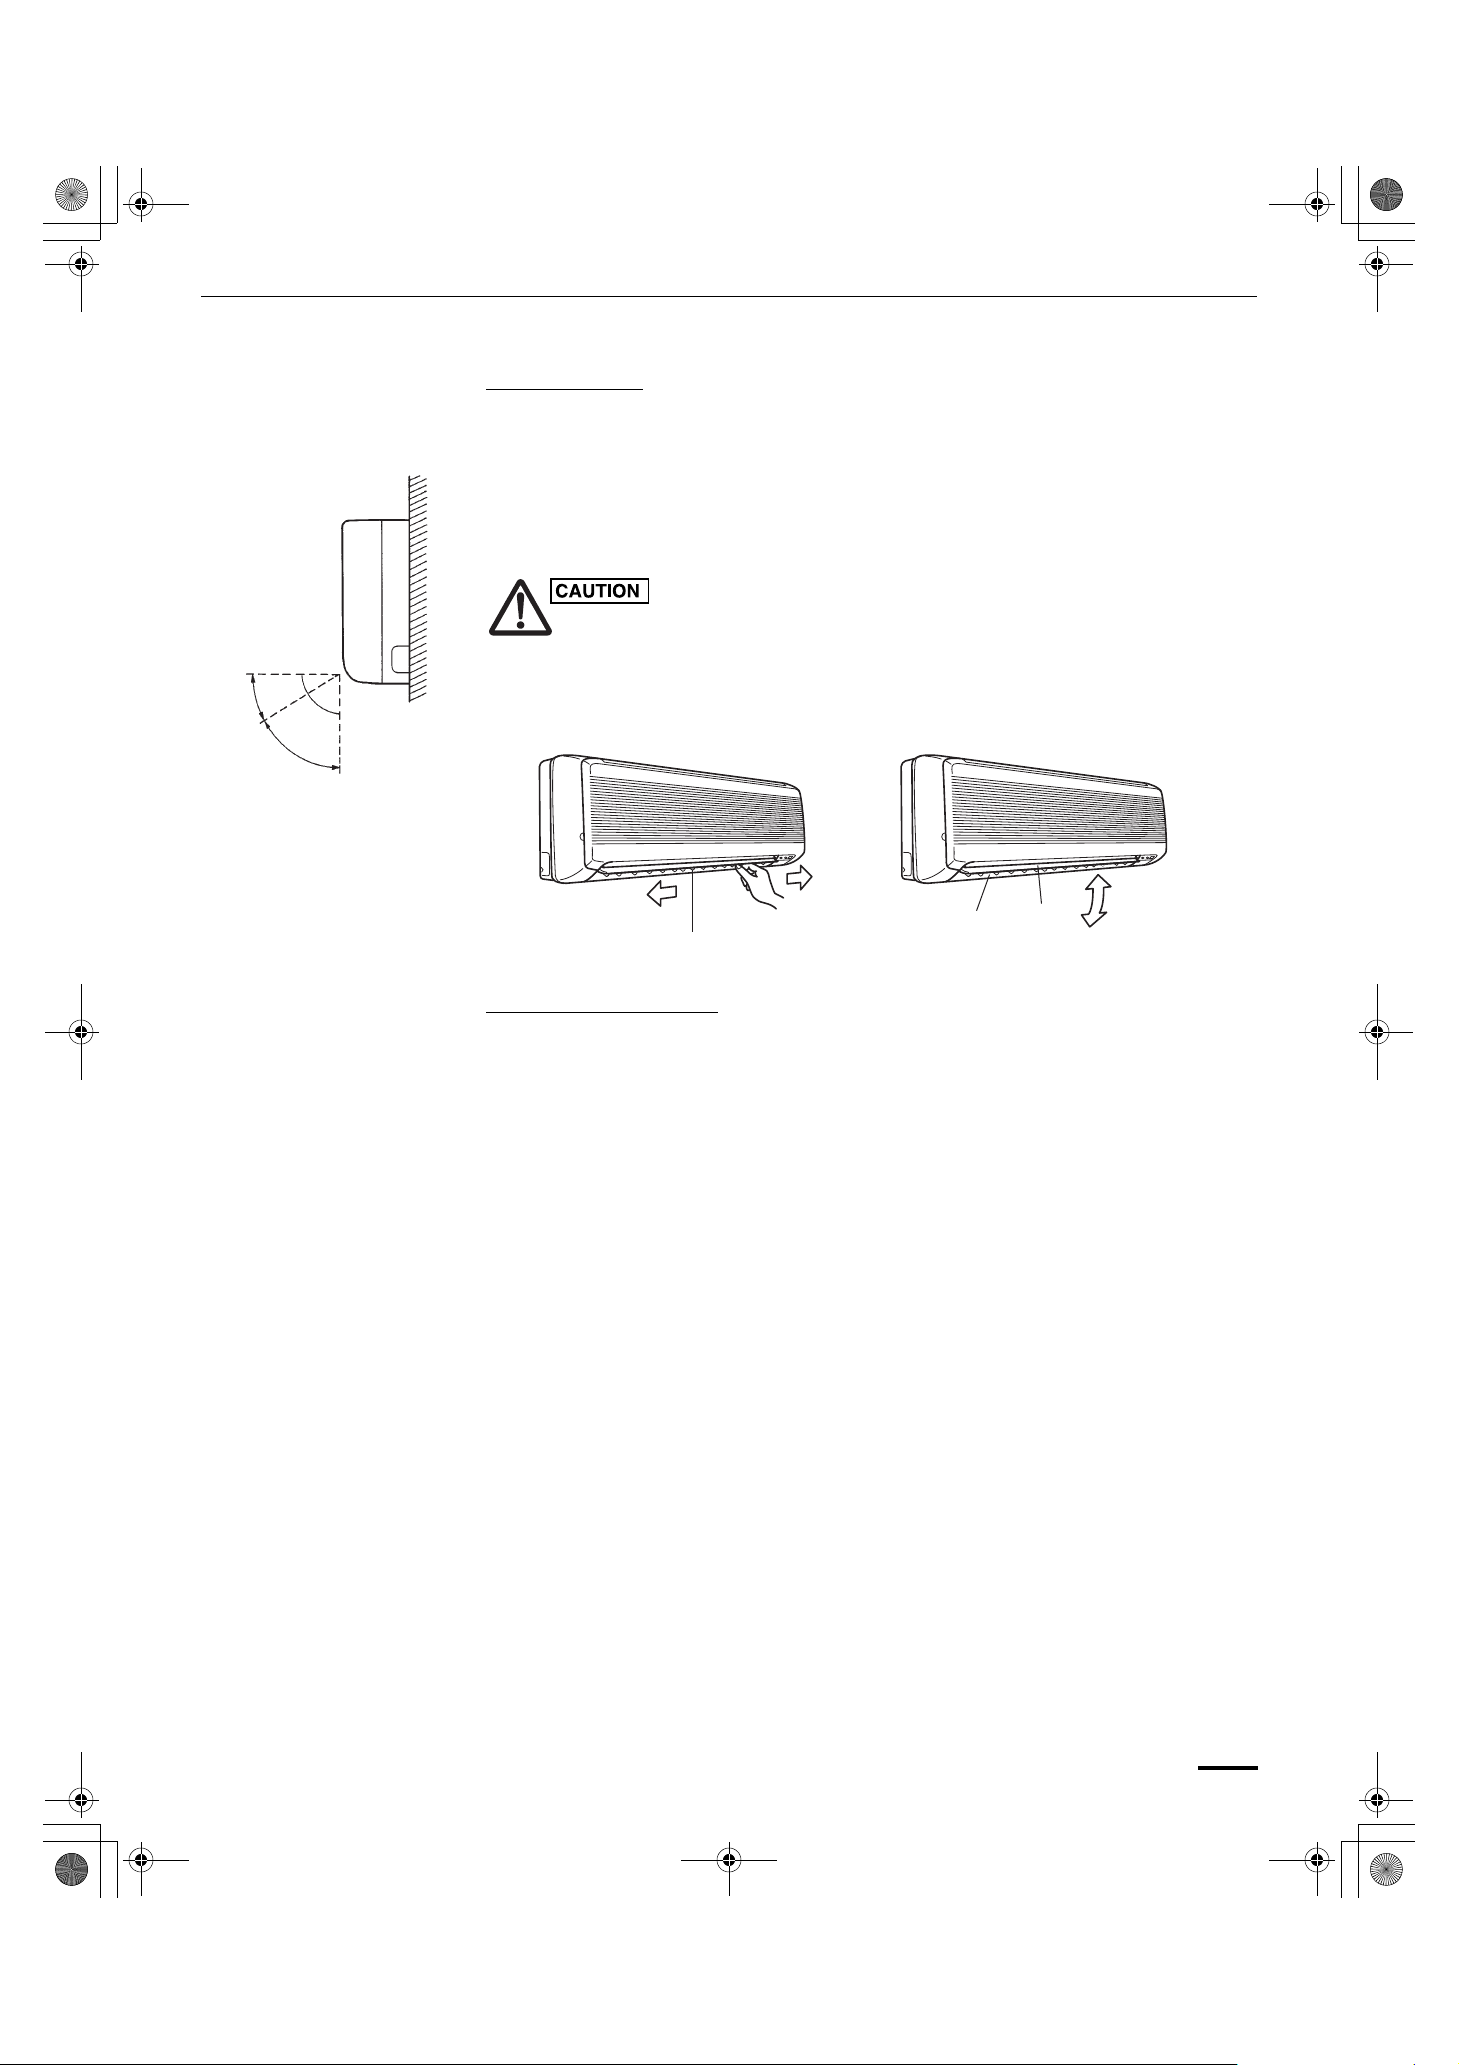
ADJUSTING AIRFLOW DIRECTION (CONTINUED)
Wall mounted (K1)
A. Vertical directions (automatic)
Confirm that the remote controller has been turned on. Press the FLAP button to start the flap
moving up and down. If you want to stop the flap movement and to direct the air in the desired
direction, press the FLAP button again. In the cool mode, don’t direct the flap down more than
30°, otherwise, condensation may drip on to the floor. Zone “A” is the recommended flap
position for cooling.
B. Horizontal directions (manual)
The horizontal airflow can be adjusted manually by moving the vertical vanes to the left or right.
Do not move the flap with your hands.
Low Silhouette Ducted (F1)
This air conditioner is not equipped with air outlet parts. These must be obtained locally. Please
refer to the manual of the locally adopted air outlet parts.
7
NOTE
163011_SingleSplit_EN_1.fm Page 8 Thursday, September 15, 2011 9:00 AM
CARE AND CLEANING
1. For safety, be sure to turn the air conditioner off and also to disconnect the power
before cleaning.
2. Do not pour water on the indoor unit to clean it. This will damage the internal
components and cause an electric shock hazard.
Air Intake and outlet side
(Indoor Unit)
Air filter The air filter collects dust and other particles from the air and should be cleaned at regular
* Low Silhouette Ducted (F1) An air filter is not provided with this air conditioner at the time of shipment. To get clean air and
How to clean the filter 1. Remove the air filter from the air intake grille.
How to remove the filter
Clean the air intake and outlet side of the indoor unit with a vacuum cleaner brush,
or wipe them with a clean soft cloth.
If these parts are stained, use a clean cloth moistened with a mild liquid detergent. When
cleaning the air outlet side, be careful not to force the vanes out of place.
1. Never use solvents or harsh chemicals when cleaning the indoor unit. Do not wipe
plastic parts using very hot water.
2. Some metal edges and the fins are sharp and may cause injury if handled
improperly; be especially careful when you clean these parts.
3. The internal coil and other components of the outdoor unit must be cleaned every
year. Consult your dealer or service center.
intervals as indicated in the table below or when the filter indication ( ) on the display of the
remote controller (wired type) shows that the filter needs cleaning. If the filter gets blocked, the
efficiency of the air conditioner drops greatly.
Ty pe U 1 T 1 K 1 F 1
Period Six months Six months Two weeks (depending on filter
specifications)
to extend the service life of the air conditioner, an air filter must be installed in the air intake.
For installation and cleaning the air filter, consult your dealer or service center.
The frequency with which the filter should be cleaned depends on the environment in which
the unit is used.
2. Use a vacuum cleaner to remove light dust. If there is sticky dust on the filter, wash the
filter in lukewarm, soapy water, rinse it in clean water, and dry it.
4-Way Cassette (U1): 1. Remove the bolt screw on each side out of the latch using a screwdriver. (After cleaning,
be sure to reattach the two bolt screws.)
2. Slide the two latches of the air intake grille to the direction of the arrow to open the grille.
3. Open the air intake grille downward.
When cleaning the air filter, never remove the safety chain. If it is necessary to remove
it for servicing and maintenance inside, be sure to reinstall the safety chain securely
(hook on the grille side) after the work.
8
Air intake
grille
Safety
chain
Bolt screw
Air filter
Latch
Finger-hold
Air intake grille
Air filter finger-hold
Catch
Air filter
Air intake grille
Air filter
NOTE
163011_SingleSplit_EN_1.fm Page 9 Thursday, September 15, 2011 9:00 AM
CARE AND CLEANING (CONTINUED)
How to remove the filter
(continued)
How to remove the filter (continued)
Ceiling type (T1): 1. Remove the bolt screws on the finger-hold using a screw driver. (After cleaning, be sure to
4. Remove the air filter attached to the air intake grille.
attach the two bolt screws.)
2. Take hold of the finger-hold on the air intake grille and slide it to the rear, and the grille will
open downward.
3. Take hold of the finger-hold on the air filter, first lift it and then pull it toward you to release it
from the catch.
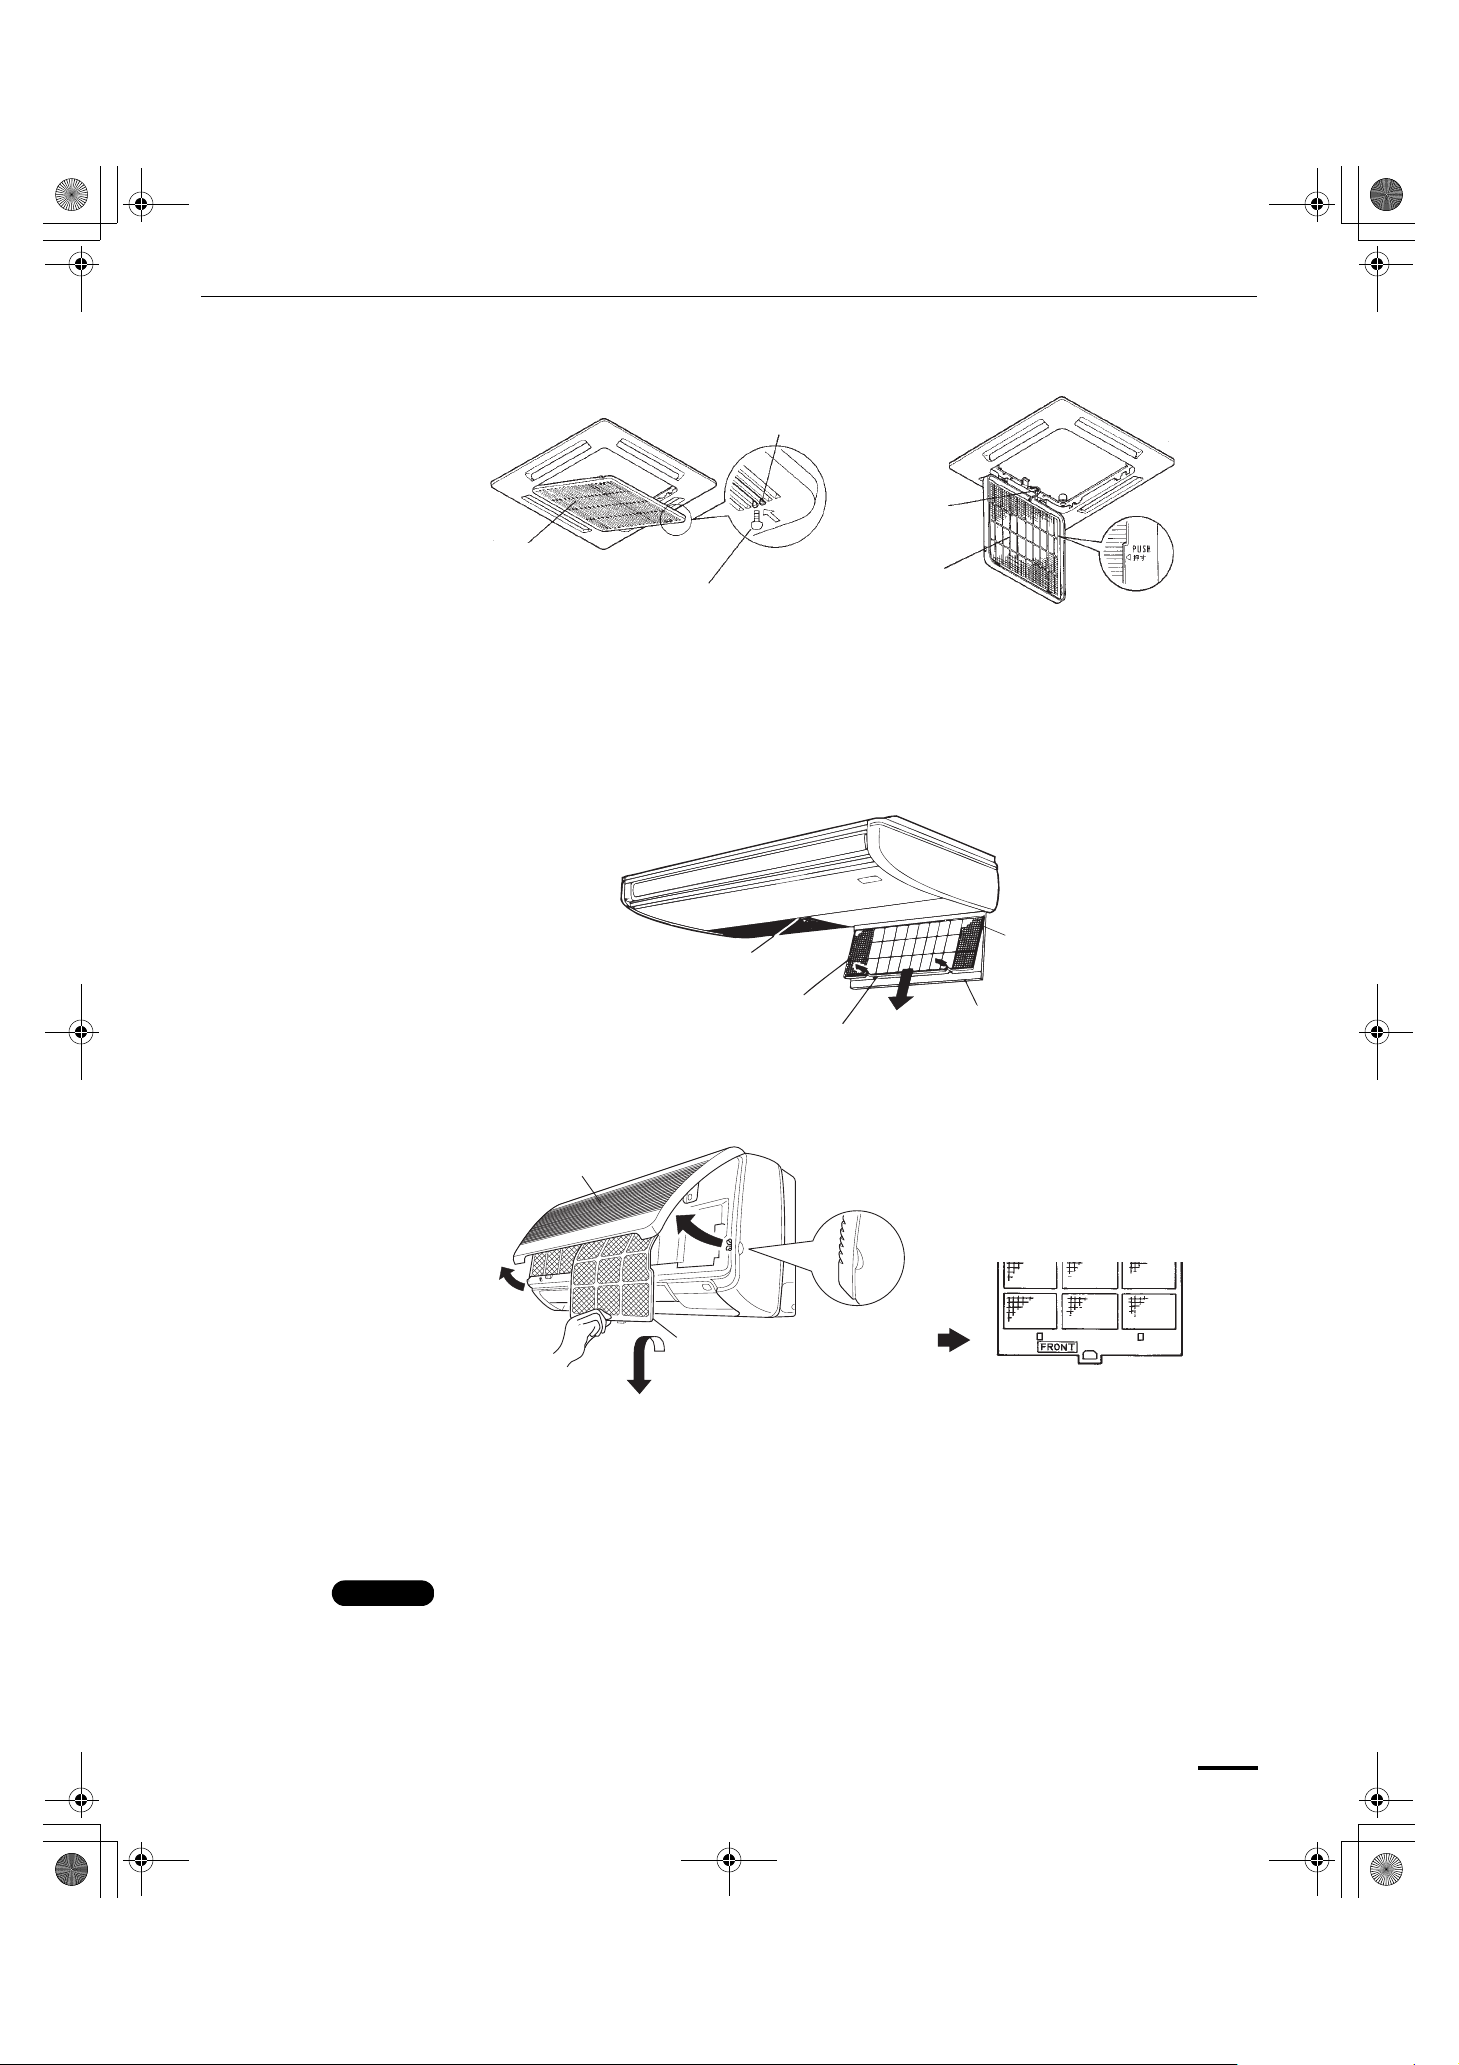
Wall mounted type (K1): 1. Move the flap on the air outlet grille to its lowest position with the remote controller.
2. The filter is disengaged by pushing the tab up gently. Hold the air filter by the tab at the
bottom, and pull downward.
When replacing the filter, make sure that the FRONT mark is facing you.
Push it up until you hear it click back into position.
* Low Silhouette ducted type (F1):
An air filter is not provided with this air conditioner at the time of shipment. To get clean air and
to extend the service life of the air conditioner, an air filter must be installed in the air intake. For
installation and cleaning the air filter, consult your dealer or service center.
The frequency with which the filter should be cleaned depends on the environment in which the
unit is used.
How to clean the filter 1. Remove the air filter from the air intake grille.
2. Use a vacuum cleaner to remove light dust. If there is sticky dust on the filter, wash the filter
in lukewarm, soapy water, rinse it in clean water, and dry it.
9
 Loading...