

Panasonic PT-JX200FBE, PT-JX200WE, ETJPC200BU, ETJPC200WU Installation Instructions Manual
Installation Instructions
Mount Bracket
Model No. ET-JPC200BE
ET-JPC200WE
ENGLISH
FRANÇAIS
DEUTSCH
PУССКИЙ
* Above illustration is shown in combination of this product and optional projector.
Thank you for purchasing this Panasonic product.
■ To c u sto m ers
This manual is intended for use by installation personnel. Be sure to employ cer tified personnel to perform the
installation.
After installation, have the installation personnel return this manual to you, and save it for future use.
When moving or removing the projector, give this manual to the certified personnel and have them perform the procedure.
■ To installation personnel
Read the instructions thoroughly and then perform the installation correctly and safely.
Be sure to read through the section entitled “Read this first!” ( pages 3 to 5) before proceeding with the
installation.
After installation, return this manual to the customer.
ENGLISH
DPQX1149ZA

Contents
Read this rst! ................................................................................................... 3
Installation precautions .................................................................................... 6
Product composition ......................................................................................... 7
Before installation ............................................................................................. 9
Items to prepare ................................................................................................................. 9
Installation orientation ....................................................................................................... 10
Installation position ............................................................................................................11
Installation ........................................................................................................ 13
Main procedures ............................................................................................................... 13
Preparing the adapter cover ............................................................................................. 13
Mounting the attachment plate to a wall or ceiling ............................................................ 13
Changing the orientation of the main unit of the projector ................................................ 19
Mounting the projector mount bracket to the projector ..................................................... 20
Mounting the projector to the attachment plate ................................................................ 22
Connecting the power cord to the projector ...................................................................... 25
Adjusting the projection position ....................................................................................... 27
Specications .................................................................................................. 28
External dimension diagram ............................................................................................. 28
Assembly dimension diagram ........................................................................................... 29
2 - ENGLISH

Read this rst!
WARNING
Ask a qualied technician or your dealer to perform the installation work.
Inadequate installation may result in re, electric shocks, or falling of the projector.
zFollow the instructions specied in “Installation” of this manual, and perform secure installation.
zTo be installed by qualied personnel only.
zDo installation in accordance with your country regulations.
Install the certied wiring circuit breaker (breaker with rated current of 16 A or less) in a location that
can be easily reached.
Insufcient capacity of the indoor wiring for the power supply or incorrect installation may result in a re or
electric shock.
zIf anything abnormal occurs, immediately shut off the power supply of the indoor wiring with the certied
wiring circuit breaker.
Make sure that your footing is safe and secure during installation.
zIf your footing is not secure, you may fall down or drop the projector, and an injury may result.
Install the product in a way that is suitable for the structure and material of the installation location.
Performing the installation work in an incorrect way may cause a re, electric shock, or falling accident.
Make sure that the mounting work is carried out by two or more persons.
Failure to observe this may result in damage or deformation of the projector, serious accidents or injury caused
by falling.
Do not mount the product to a wall or ceiling that is unable to withstand the weight.
Doing so may cause injury due to falling or a re or electric shock.
Do not install the projector in a passageway.
Bumping into the projector or tripping on the power cord may cause a re, electric shock, or injury.
zWhen installing the projector in a passageway, take measures to prevent physical contact with the projector
by setting up a fence or similar things.
Do not install the product in a location where the intake and exhaust of the projector will be blocked.
Heat accumulating inside the projector may cause a re.
Do not set up the projector in humid or dusty places or in places where the projector may come into
contact with oily smoke or steam.
Using the projector under such conditions will result in re or electric shocks.
Do not use other than a specied projector.
Do not install a projector in a way other than specied.
Doing so may cause a failing accident or a re or electric shock.
Be sure to use the supplied parts that make up this product when installing the product.
Insufcient strength or improper installation may cause injury due to falling or a re or electric shock.
Do not dismantle or modify this product.
Doing so may cause it to break or injury due to falling.
Do not do anything that might damage the power cord or power plug.
If the power cord is used while damaged, electric shocks, short-circuits or re will result.
zDo not damage the power cord, make any modications to it, place it near any hot objects, bend it
excessively, twist it, pull it, place heavy objects on top of it or wrap it into a bundle.
Ask your dealer to carry out any repairs to the power cord or power plug that might be necessary.
Do not use anything other than the provided power cord.
Failure to observe this will result in electric shocks or re. Please note that if you do not use the provided power
cord to ground the device on the side of the outlet, this may result in electric shocks.
Completely insert the power plug into the wall outlet and the power connector into the projector
terminal.
If the power plug or power connector is not completely inserted, electric shocks or overheating may result.
zDo not use plugs which are damaged or wall outlets which are coming loose from the wall.
ENGLISH - 3

Read this rst! (continued)
WARNING
Do not handle the power plug and power connector with wet hands.
Failure to observe this may result in electric shocks.
Do not use the supplied power cord with equipment other than a specied projector.
Using the supplied power cord with equipment other than a specied projector may cause electric shock or re
due to a short or heat generation.
Do not allow children to reach the supplied screws and the string.
Accidentally swallowing them can cause physical harm.
zIf swallowed, seek medical advice immediately.
CAUTION
Do not install this product in a location where salt damage occurs or corrosive gas is generated.
Doing so may cause falling due to corrosion.
Do not put excessive force on the projector by hanging on the projector or dangling any object.
Doing so may result in falling of the projector and injuries.
Mount this product according to the specied orientation.
Mounting this product to the oor or in an improper orientation may result in tumbling or the falling of projector.
When disconnecting the power cord, be sure to hold the power plug (the outlet side) and the power
connector (the projector side) and pull it off.
If the power cord itself is pulled, the lead may become damaged, and re, short-circuits or serious electric
shocks may result.
4 - ENGLISH
Read this rst! (continued)
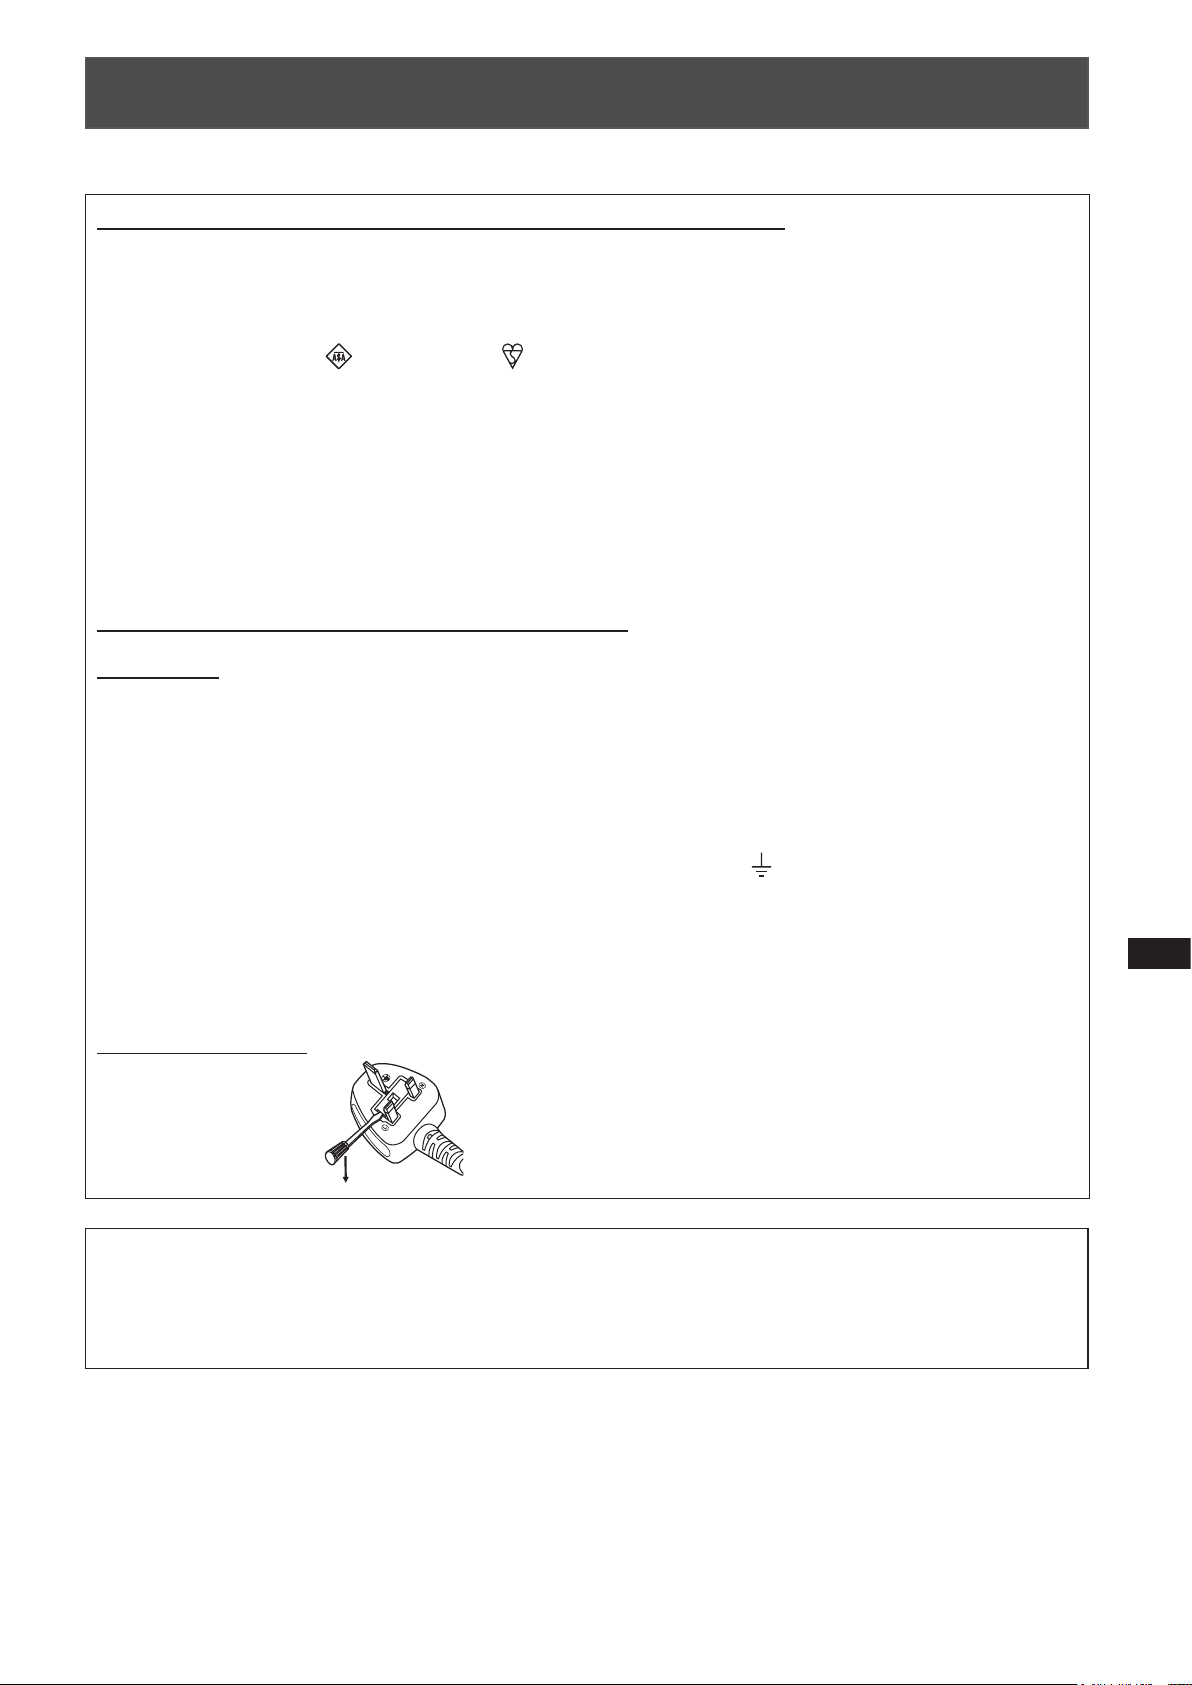
IMPORTANT: THE MOULDED PLUG (U.K. only)
FOR YOUR SAFETY, PLEASE READ THE FOLLOWING TEXT CAREFULLY.
This appliance is supplied with a moulded three pin mains plug for your safety and convenience. A 13 amp fuse
is tted in this plug. Should the fuse need to be replaced, please ensure that the replacement fuse has a rating
of 13 amps and that it is approved by ASTA or BSI to BS1362.
Check for the ASTA mark or the BSI mark on the body of the fuse.
If the plug contains a removable fuse cover, you must ensure that it is retted when the fuse is replaced. If you
lose the fuse cover, the plug must not be used until a replacement cover is obtained. A replacement fuse cover
can be purchased from an Authorised Service Centre.
If the tted moulded plug is unsuitable for the mains socket in your home, then the fuse should be removed and
the plug cut off and disposed of safely. There is a danger of severe electrical shock if the cut off plug is inserted
into any 13 amp socket.
If a new plug is to be tted, please observe the wiring code as shown below.
If in any doubt, please consult a qualied electrician.
WARNING:
IMPORTANT:
As the colours of the wire in the mains lead of this appliance may not correspond with the coloured markings
identifying the terminals in your plug, proceed as follows.
How to replace the fuse: Open the fuse compartment with a screwdriver and replace the fuse.
THIS APPLIANCE MUST BE EARTHED.
The wires in this mains lead are coloured in accordance with the following code:
Green - and - Yellow: Earth
Blue: Neutral
Brown: Live
The wire which is coloured GREEN - AND - YELLOW must be connected to the terminal in the
plug which is marked with the letter E or by the Earth symbol or coloured GREEN or GREEN -
AND - YELLOW.
The wire which is coloured BLUE must be connected to the terminal in the plug which is marked
with the letter N or coloured BLACK.
The wire which is coloured BROWN must be connected to the terminal in the plug which is
marked with the letter L or coloured RED.
Panasonic disclaims all liability for any accidents or any damage caused by the installation
of the attachment plate using methods that are not described in these Installation
Instructions or methods that do not use the parts specied in these Instructions.
If products are no longer being used, they should be dismantled and removed by the
certied personnel as soon as possible.
ENGLISH - 5
Installation precautions
Install this product in a place that is strong enough to withstand the weight of both the projector and
product.
Install this product in a place where the intake and exhaust of the projector will not be blocked.
Do not install this product in a place near the sea or where corrosive gas is generated.
Do not install this product in places subject to sudden temperature changes, such as near an air con-
ditioner air outlet or lighting equipment (studio lamps, etc.).
If wallpaper is afxed to the surface where the product will be mounted to the ceiling, make sure the
wallpaper paste is sufciently dry before installing this product.
Failing to do so may result in rusting or discoloration of the paint.
With the exception of wood screws, use the following tightening torques for the screws.
Size Tightening torque
M4 1.2 ± 0.3 N•m
M10 20 ± 1 N•m
When tightening screws or bolts, use a torque driver or torque wrench. Do not use electrical drivers
or impact drivers.
6 - ENGLISH
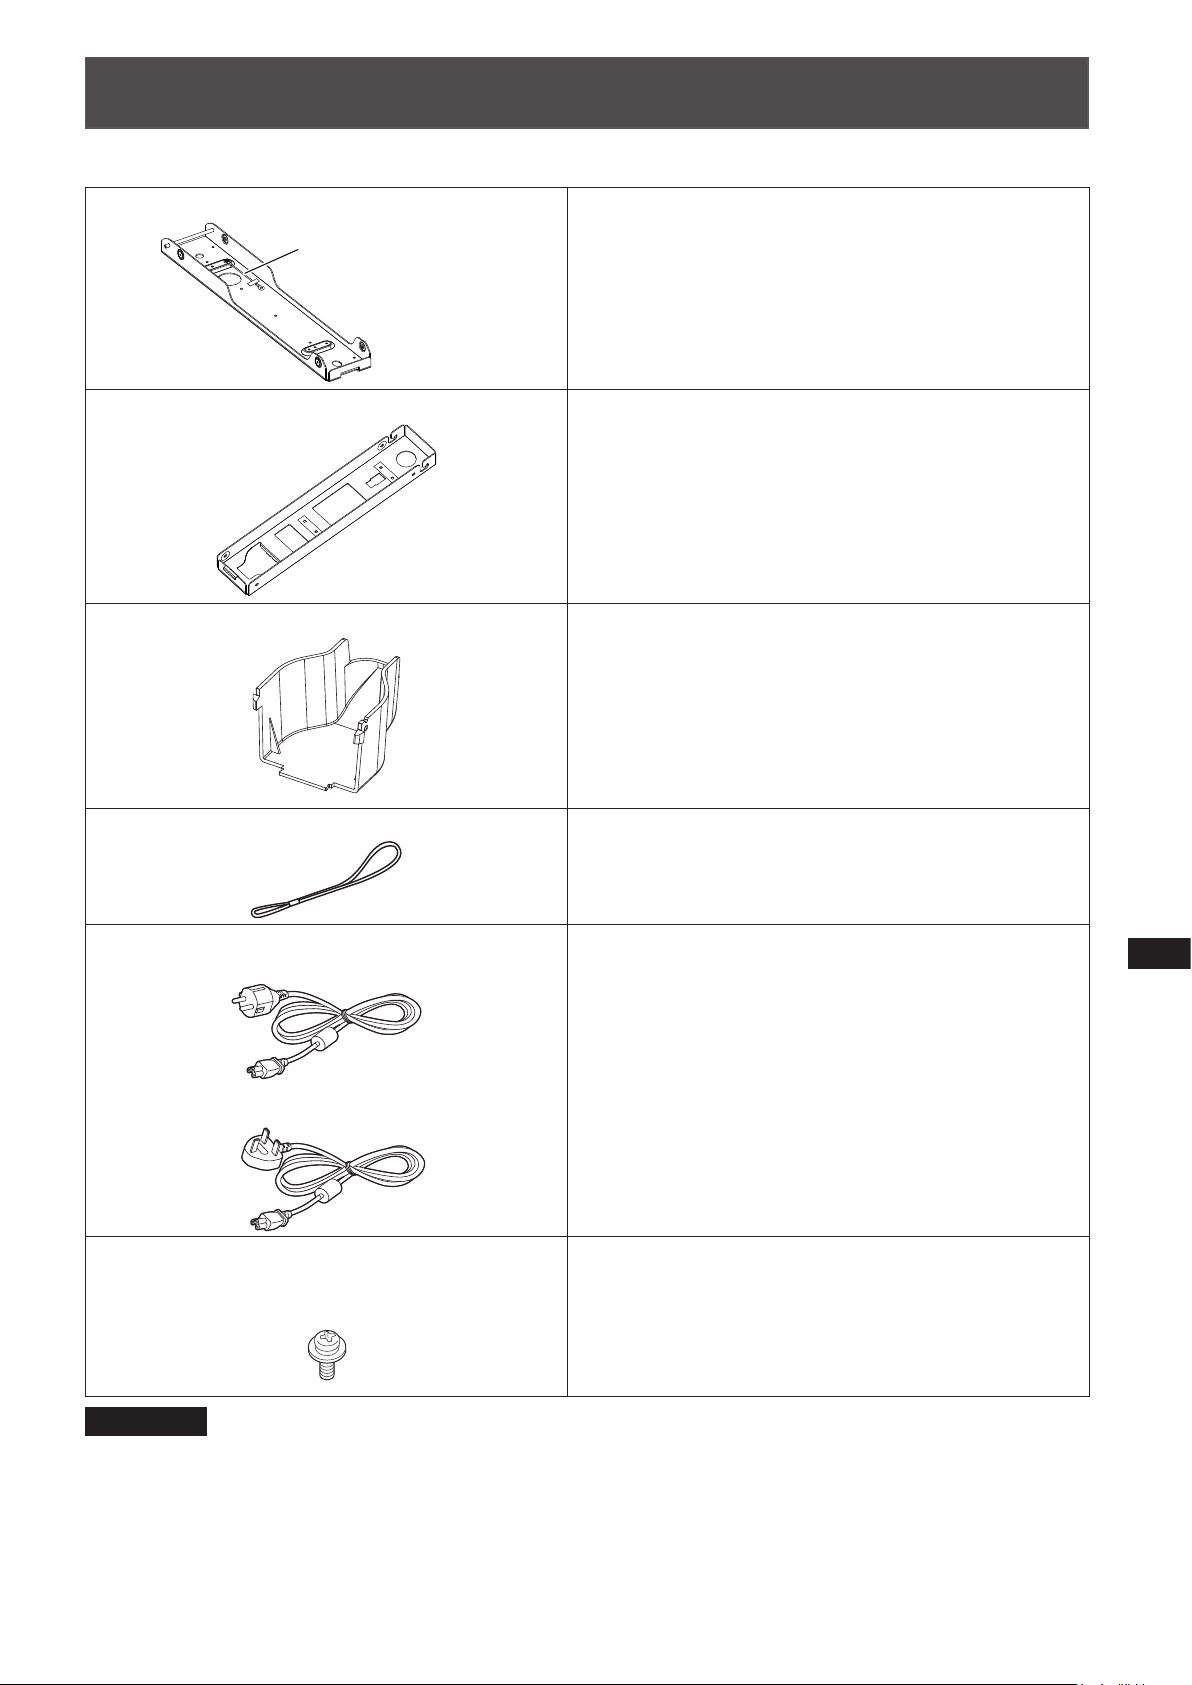
Product composition
Check that the package contains the following parts. The number enclosed in < > is the quantity.
Attachment plate <1>
Falling prevention wire
Projector mount bracket <1> The projector mount bracket is mounted to the projector
Adapter cover <1> The adapter cover hides the <AC IN> socket part of the
The attachment plate is mounted to the wall or ceiling to
support the entire product.
The falling prevention wire is secured with tape at the
inner side of the attachment plate.
and then attached to the attachment plate.
projector.
String <1> This is to prevent the adapter cover from dropping.
Power cord
(K2CM3YY00038) <1>
(K2CT3YY00078) <1>
Screw with captive washer (M4 x 8) <8>
(ET-JPC200BE: XYN4+F8FJK)
(ET-JPC200WE: 4112055002)
Connect to the
These are used to mounting or assembling the product.
<AC IN>
socket of the optional projector.
Attention
zAfter removing the product from the package, dispose of the power cord cap and packing material appropriately.
zThe supplied power cord should not be used with projectors other than specied.
zIf any part is missing, please contact the dealer.
zStore small parts appropriately in a place out of the reach of infants and small children.
ENGLISH - 7

Product composition (continued)
Note
zThe part numbers of the parts are subject to change without notice.
zPlease note that an assembly test has been performed using all parts so this product may have screw
tightening marks around the parts where the attachment plate and projector mount bracket t together.
zThe product composition, projector, combination of the product and projector, etc. shown in the illustrations may
differ from the actual equipment.
8 - ENGLISH
Before installation
Items to prepare
The items that you need to provide in advance in addition to the supplied parts to mount this product to a wall or
ceiling are as follows.
This product is a tool used for mounting the projector (optional) to a wall or ceiling. Use it to
install a compatible projector.
Compatible projectors: PT-JX200FBE / PT-JX200FWE
The following parts are required when mounting the attachment plate to a wall or ceiling.
Please prepare the suitable commercially available products depending on the structure of
the wall or ceiling and the installation method.
The number enclosed in < > is the quantity.
Structure of mounting area Commercially available parts
Ensure there will be thread engagement of at least 20 mm
For the wall or ceiling with wooden
reinforcement
For concrete beams or alike
(Bolt diameter: M10)
(25/32") in the wall or ceiling reinforcement member; (round
head) wood screws with nominal diameter of 4.1 mm (5/32")
<5> and 3.1 mm (1/8") <4>
Hanging bolt <2>
Hexagonal nut <6>
Flat washer <6>
Spring washer <4>
Anchor nut or curled plug <2>
Hanging bolt <2>
For wooden beams or alike
(Bolt diameter: M10)
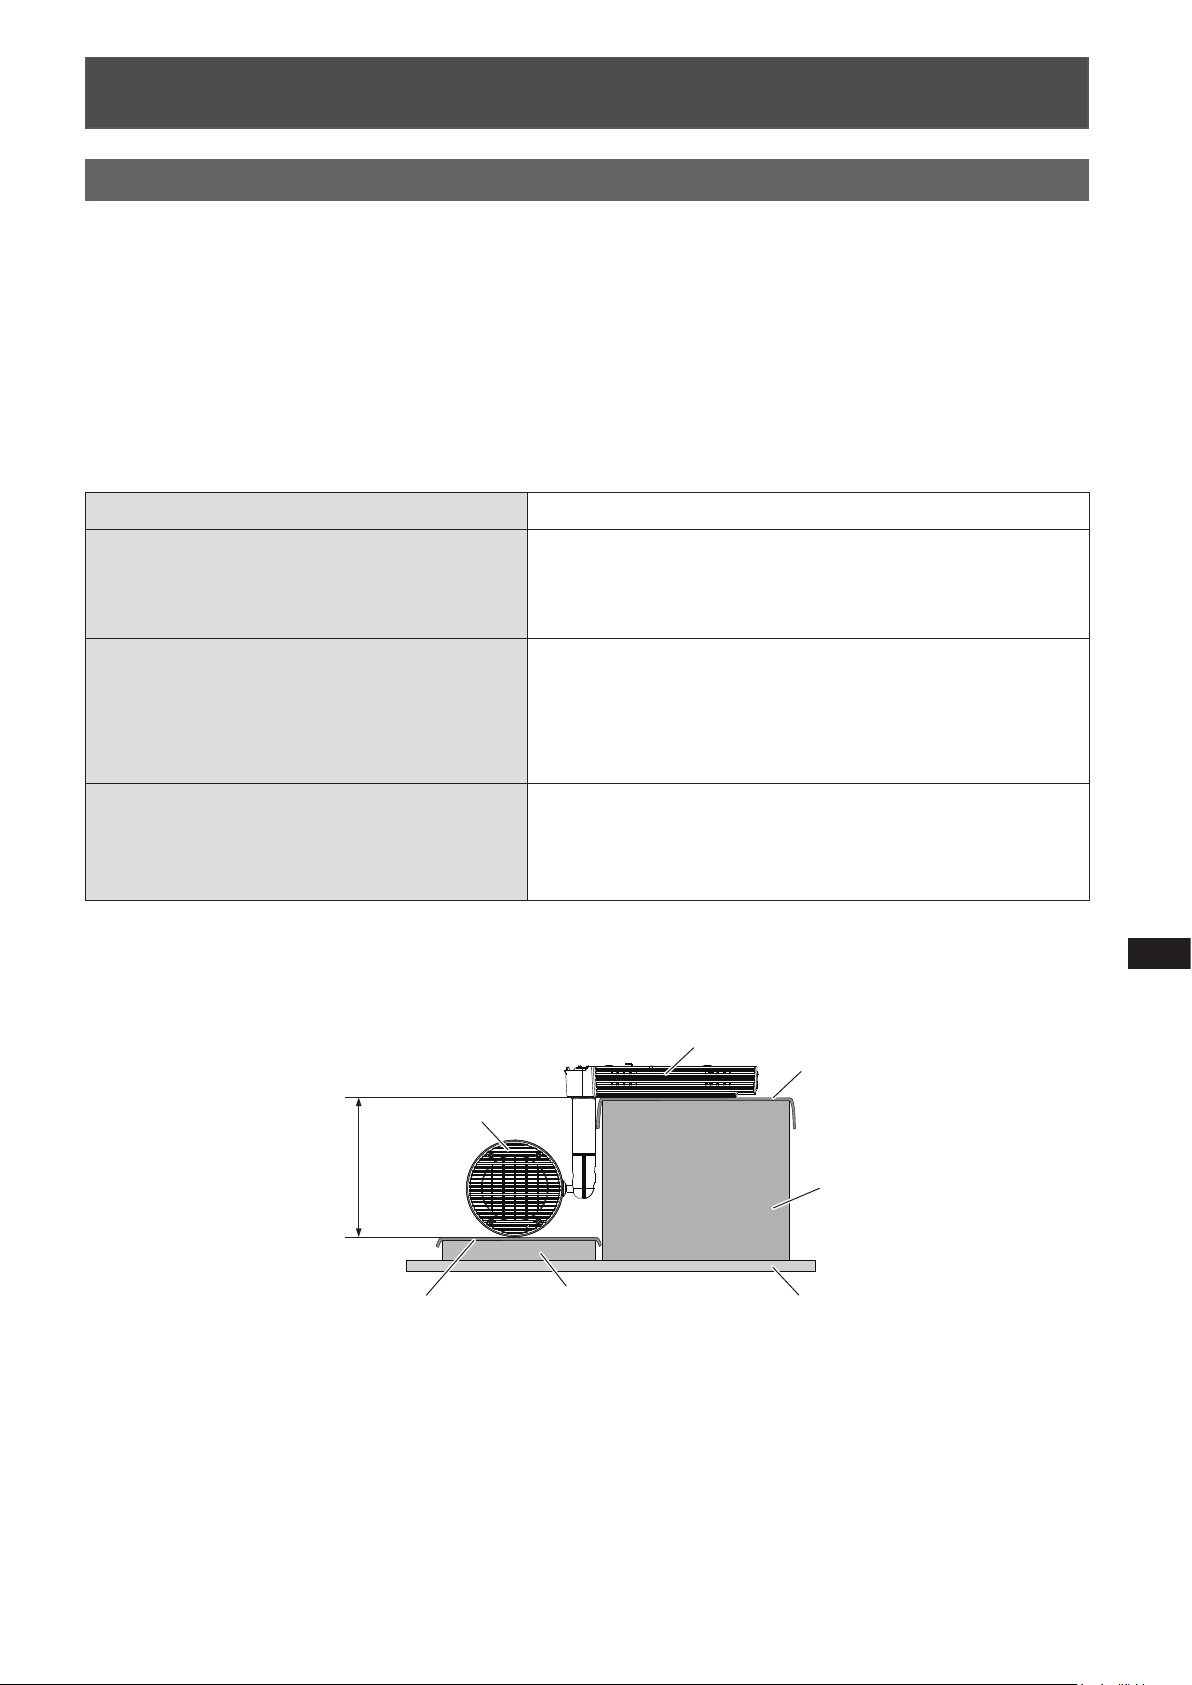
A work bench and a soft cloth to prevent scratches are necessary when mounting the
Hexagonal nut <8>
Flat washer <8>
Spring washer <4>
projector mount bracket to the projector.
Prepare a bench for the mounting work with a height of at least 250 mm (9-27/32") and lay a soft cloth or the
like below the projector to prevent scratches.
Power supply unit
Soft cloth or alike
Main unit
(9-11/16")
246.4 mm
Soft cloth or alike
Disposal
When disposing of this product, ask your local authority or dealer about the correct disposal method.
Bench to adjust height
(If necessary, use a plate or corrugated
paper, etc.)
Work bench
(Table or box, etc.)
Base
ENGLISH - 9
 Loading...