

Panasonic Palmcoder PV-L757, Palmcoder PV-L657 Service Manual
ORDER No.MKW9703M312
B15 (U.S.A.)
B4 (CANADA, PUERTO RICO)
ServiceManual
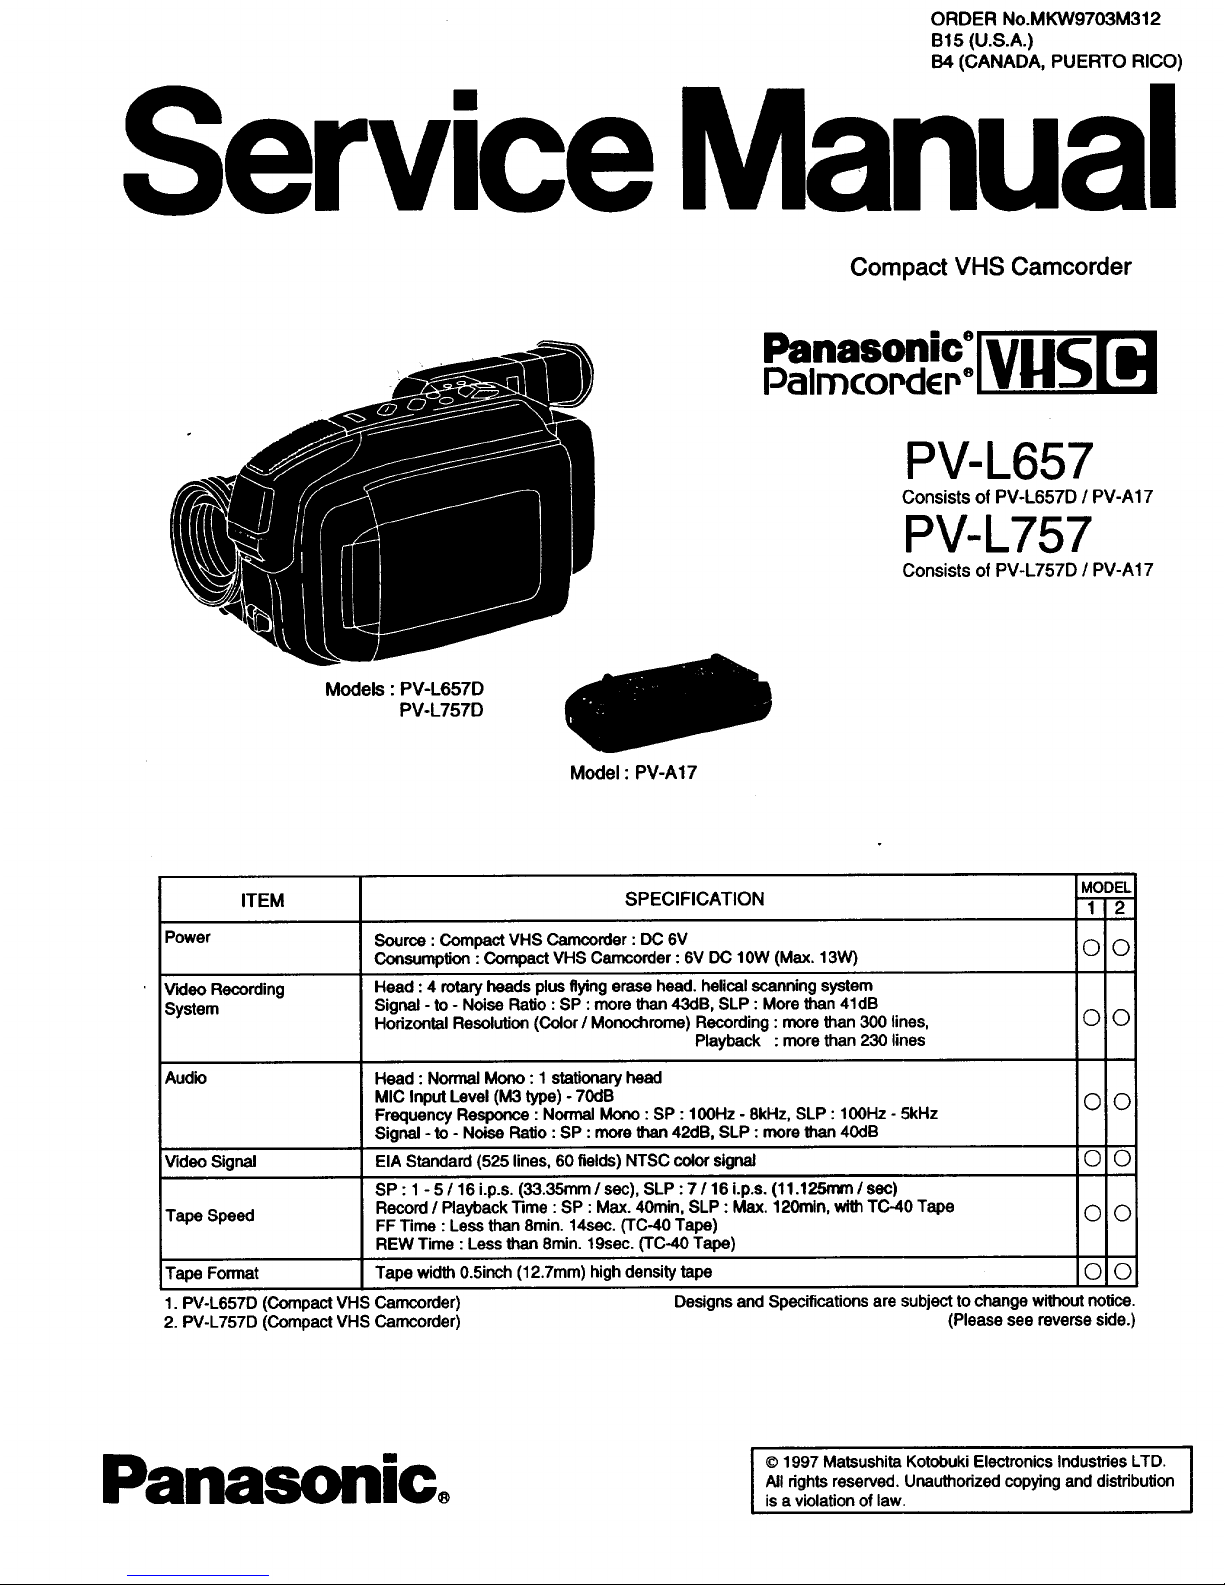
Compact VHS Camcorder
Panasonic'
PalmcordcP'! l
PV-L657
Consists of PV-L657D / PV-A17
PV-L757
Consists of PV-L757D / PV-A17
Models : PV-L657D
PV-L757D
Model : PV-A17
MODEL
ITEM SPECIFICATION 1 2
Power Source : Compact VHS Camcorder : DC 6V (_) O
Consumption : Compact VHS Camcorder : 6V I)(3 10W (Max. 13W)
V'KleORecording Head : 4 rotary heads plus flying erase head. helical scanning system
System Signal - to- Noise Ratio : SP : more than 43dB, SLP : More than 41dB
Hodzontal Resolution (Color / Monochrome) Recording : more than 300 lines, (_) (_
Playback :more than 230 lines
Audio Head : Normal Mono : 1 stationary head
MIC Input Level (M3 type) - 70dB (_)
Frequency Responoe : Normal Mono : SP : 100Hz - 8kHz, SLP : 100Hz - 5kHz
Signal - to - Noise Ratio : SP : more than 42dB, SLP : more than 40dB
iVideo Signal EIA Standard (525 lines, 60 fields) NTSC color signal (_ O
SP : 1 - 5 / 16 i.p.s. (33.35mm /sec), SLP : 7 / 16 i.p.s. (11.125mm / sec)
Record / Playback "13me: SP : Max. 40min, SLP : Max. 120rain, with TC-40 Tape (_) (_)
Tape Speed FF Time : Less than 8min. 14sec. (TC-4O Tape)
REW Time : Less than 8min. 19sec. (TC-40 Tape)
Tape Format Tape width O.5inch (12.7mm) high density tape _
1. PV-L657D (Compact VHS Camcorder) Designs and Specifications are subject to change without notice.
2. PV-L757D (Compact VHS Camcorder) (Please see reverse side.)
Panasonico
© 1997 Matsushita Kotobuki Electronics Industries LTD.
All rights reserved. Unauthorized copying and distribution
is a violation of law.

k.,e,mu_ Irh, r_,e,xi_n_=
Tally
TAPE
EJECT
WARNING:
• Do not leave the Pslmcorder with the EVF
aimed directly at the sun as this may cause
damage to the internal parts of the EVF.
"(55
• When your Pelmcorder is aimed at excessively
bright objects, or bright lights, a vertical bar
may appear in the picture. This is a normal
charactedstic of the CCD pick-up device. Try
to avoid this when possible.
Before you begin...
• Connect the Pslmcorder to s power eoume.
• Insert s cassette with record tab.
Set the POWER switch to CAMERA.
The built-in Lens Cover opens.
EVF
PAUSE1
Record/Pause
mode.
With the Vlewfincler Eye Cup
against your eye, adjust the Vision
Adjustment Control to your eye-
sight.
SIIcle the TAPE SPEED Selector
to SP or SLP.
Press RECORD/PAUSE to start
recording.
The Tally LampandREC Indicatorare
titdudng recording.
I RECORD
Press the RECORD/PAUSE again to
the recording.
Set the Power switch to OFF after
recording isfinished.
• To remove the cassette
In Record/Pause mode, slide the TAPE EJECT
switch.
I! _/ni,,Uih a Ji[||| 7inn illmla
|
The LCD (Uquid Crystal Display) monitor
can be used while recording.
OFF
max.
PHONE (earphone) j
min.
Before you begin...
• Connect the Palmcorder to a power source.
Press the LCD-OPEN button to unlock
the LCD monitor.
Swing the LCD monitor fully open
and adjust the angle.
• Rotating the LCD monitor while it is
only partially open may block the
cassette door and cause damage to
the Palmcorder body. p
LCD AUTO ON [_
• Set the LCD-POWER switch to
AUTO ON. The LCD monitor will then m
turn on/off according to the (_t
Palmcorder's POWER switch setting. (")
• When the LCD monitor is turned ON,
the Viewfinder automatically turns =[3
OFF. _l
• If the LCD monitor is rotated 180 ° to B
face the same direction as the lens/ O
subject, the Viewfinder turns back on Z
allowing both you and the subject to
monitor the recording. 0
LCD POWER OFF "!1
• Set the LCD-POWER switch to OFF 0
to have Vlewflnder on only.
• When the LCD monitor is completely 0
closed, It will shut off automatically to Z
save power even if the LCD-POWER "1
switch is left on. ;:0
, When the LCD monitor tums off, the O
_ Viewfinder turns on automatically, p
Start recording. O)
Note:
• Using the LCD monitorreduces battery
operatingtime.
• Youcannot monitorthe sound from the speaker
duringrecording.Connectthe earphone (M3
type, not supplied) toPHONE (earphone)jack
and adjustthe volumeof the earphoneusing
the VOLUME control.
• Closethe LCD monitorcompletelywhennot in
use.
.=
(n
i
3
r_m_._worillak,-l...m,A_
m,.'_...Bml_l .m_A Wtt_ru..._,
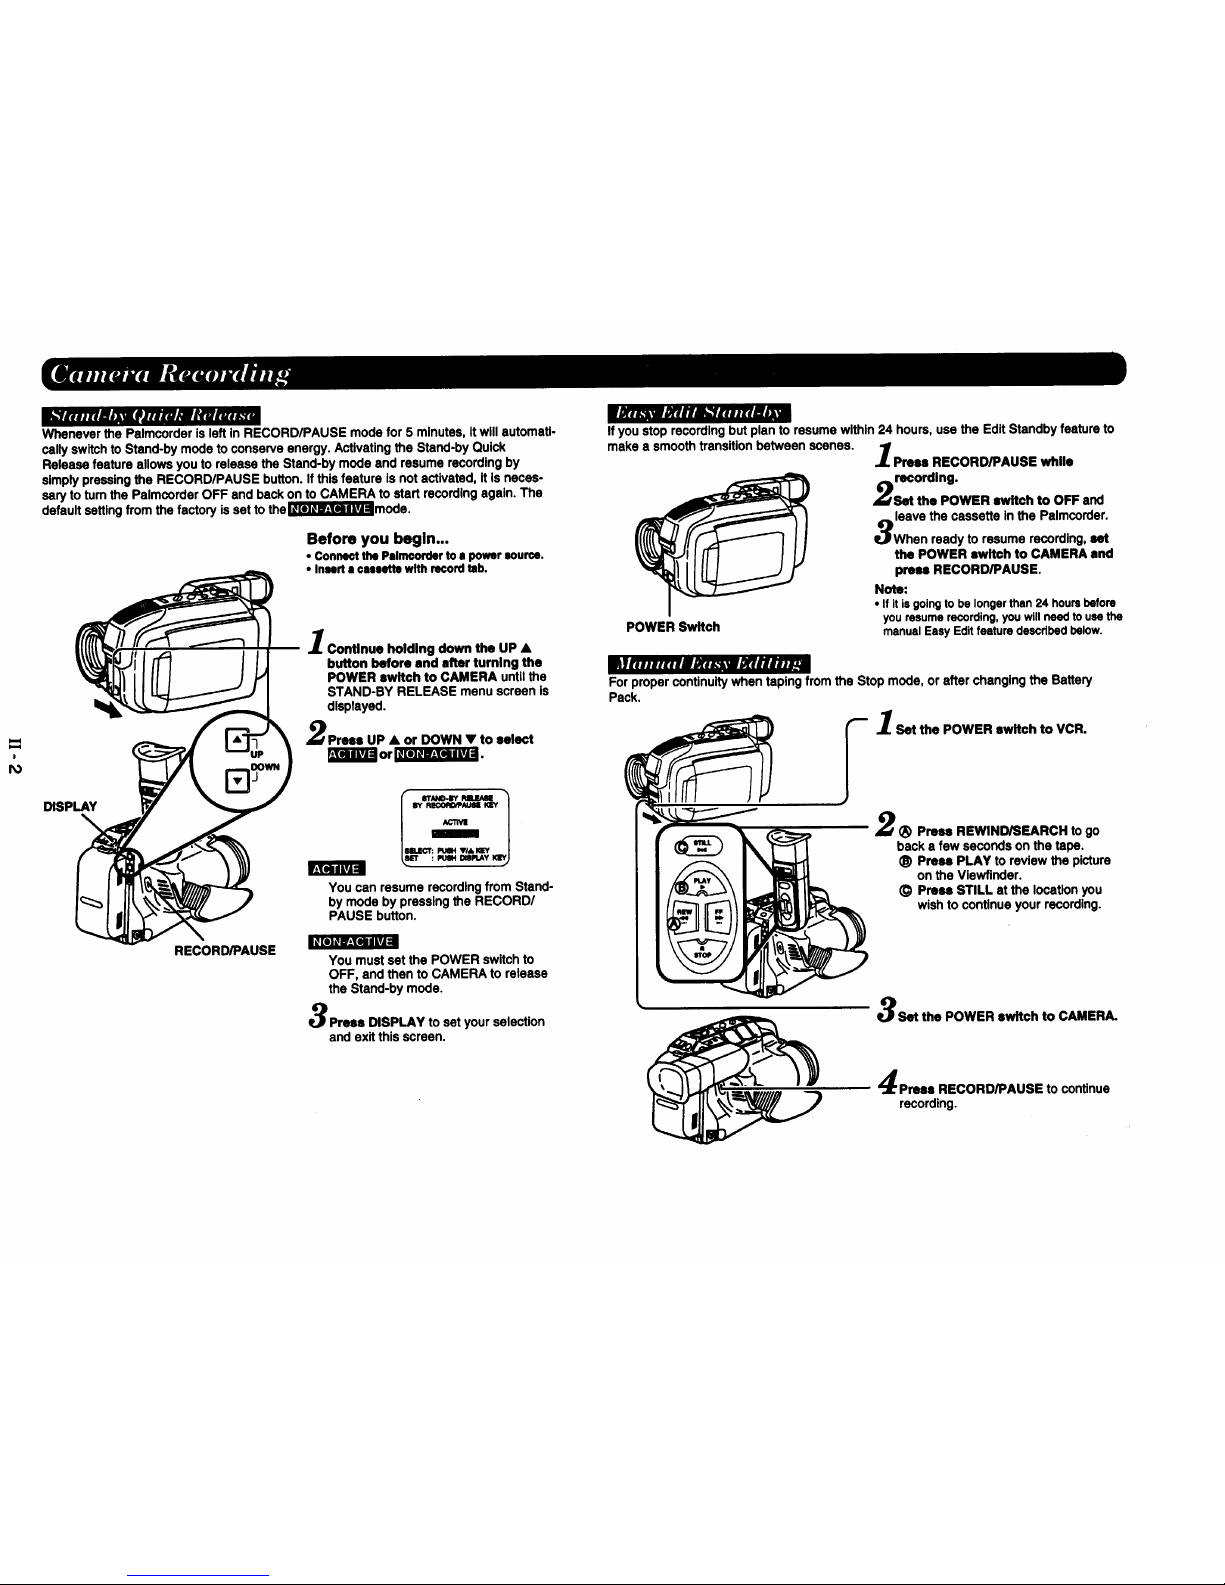
Whenever the Palmcorderis left In RECORD/PAUSE modefor 5 minutes,It willautomati-
callyswitchto Stand-by mode to conserveenergy. Activatingthe Stand-by Quick
Release feature allows you torelease the Stand-bymode and resume recordingby
simplypressingthe RECORD/PAUSE button.If thisfeature is notactivated, itIs neces-
saryto tum the Palmcorder OFF and backon to CAMERA to start recordingagain. The
defaultsettingfrom the factoryis set totheIZIf|l_[,'_r_Jlmode.
Before you begin...
• Conne,:t the Palmoorder to a power source.
• InNrt I csesettl with record tab.
Continue holding down the UP •
.h|,,m,.m_,..lwDrlH_mm_
button before and after turning the
POWER ewitch to CAMERA untilthe
STAND-BY RELEASE menu screen is
displayed.
Prssa UP • or DOWN • to select
mrm:Jormammm.
DISPLAY
_TqdkvJ:
B[o]]_l£_Iq I kvJ:1
RECORD/PAUSE
: PtJl&_ VI& IIY
: IRJIH _SR.AY KI!
You can resume recordingfrom Stand-
by mode by pressingthe RECORD/
PAUSE button.
You mustset the POWER switch to
OFF, and then to CAMERA torelease
the Stand-bymode.
Press DISPLAY to setyour selection
and exit thisscreen.
If you stoprecordingbutplan to resumewithin24 hours,use the EditStandby feature to
make a smoothtransitionbetween scenes. 1
Press RECORD/PAUSE whllo
recording.
Set the POWER swit©h to OFF and
leave the cassette in the Palmcorder.
When ready to resume recording,set
the POWER switch to CAMERA and
press RECORD/PAUSE.
Note:
• If it is going to be longer than 24 hours before
you resume recording, you will need to use the
POWER Switch manual Easy Edit feature described below.
For propercontinuitywhen tapin_lfromthe Stop mode, or afterchangingthe Battery
Pack.
,("--L I Set the POWER switch to VCR.
2(_ Press REWIND/SEARCH to go
back a few seconds on the tape.
0 Press PLAY toreview the picture
on the Vlewfinder.
(_ Press STILL at the locationyou
wishto continueyour recording.
Set the POWER switch to CAMERA.
Press RECORD/PAUSE to continue
recording.
 Loading...