

Panasonic KX-TG2205W User Manual

Useful Information
Preparation Basic Operation Advanced Operation
2.4GHz Digital Cordless Phone
Model No.
KX-TG2205W
Pulse-or-tone dialing capability
Operating Instructions
Charge the battery for about 15 hours before initial use.
PLEASE READ BEFORE USE AND SAVE.
Panasonic World Wide Web address: http://www.panasonic.com
for customers in the USA or Puerto Rico
2
Before Initial Use
Please read IMPORTANT SAFETY
INSTRUCTIONS on page 26 before use.
Read and understand all instructions.
Thank you for purchasing your new Panasonic cordless
telephone.
Attach your purchase receipt here.
For your future reference
Serial No. Date of purchase
(found on the bottom of the unit)
Name and address of dealer
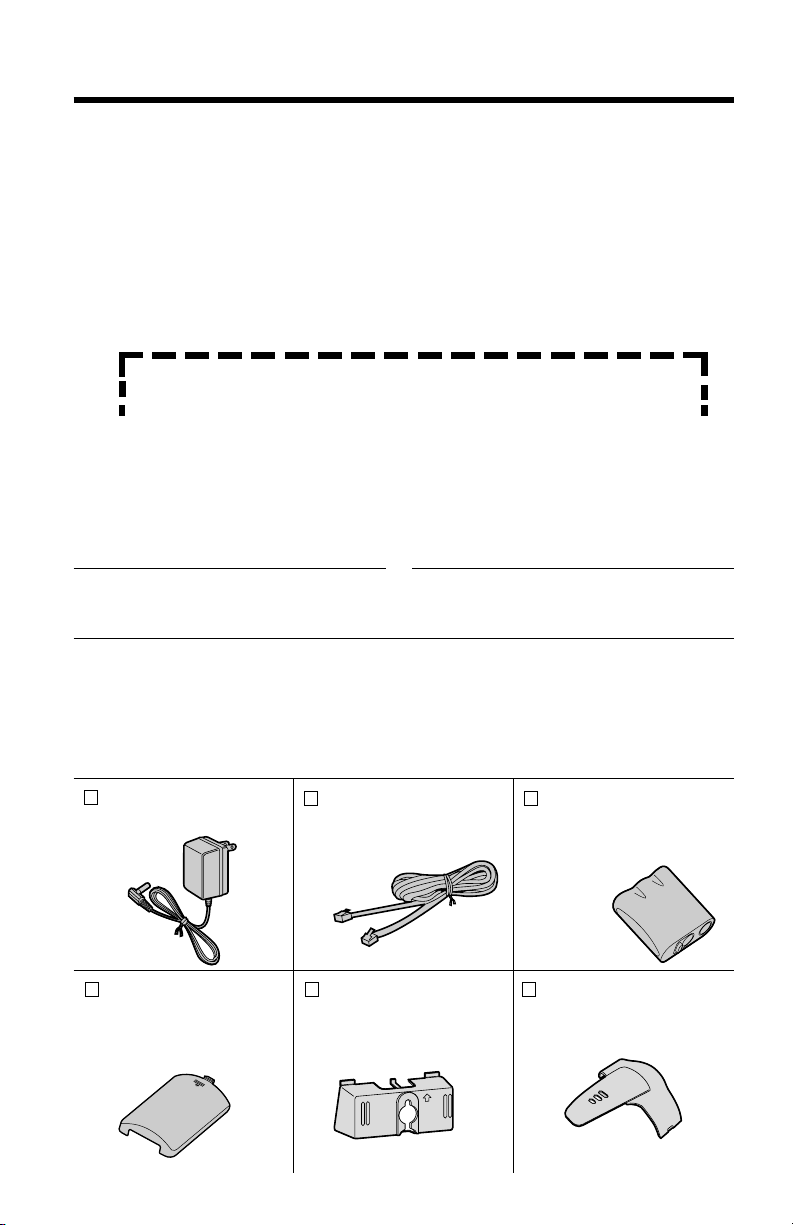
Accessories (included) For extra orders, call 1-800-332-5368.
AC Adaptor (p. 7)
Order No. KX-TCA1-G
one
Telephone Line Cord
(p. 7)
Order No. PQJA10075Z
one
Battery
(p. 8, 22)
Order No.
PQPP511SVC
(P-P511)
one
Wall Mounting
Adaptor (p. 20)
Order No.
PQKL10035Z2
one
Belt Clip (p. 19)
Order No.
PQKE10341Z2
one
Handset Cover
(p. 8, 22)
Order No.
PQKK10127Y2
one
3
For assistance, please call: 1-800-211-PANA(7262)For assistance, please call: 1-800-211-PANA(7262)
For Best Performance
Battery Charge
A rechargeable Ni-Cd battery powers the
handset. Charge the battery for about 15
hours before initial use (p. 8).
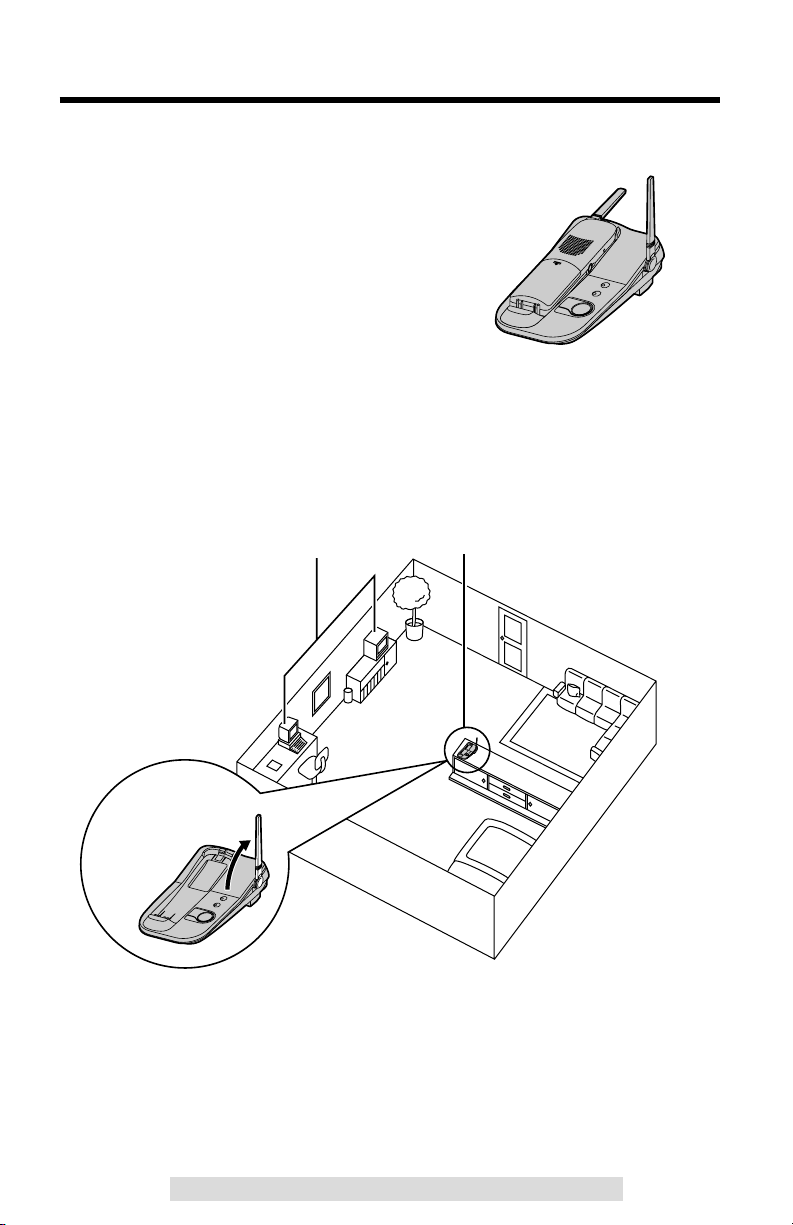
Base Unit Location/Noise
Calls are transmitted between the base unit and the handset using
wireless radio waves. For maximum distance and noise-free
operation, the recommended base unit location is:
Note:
While using the handset:
•If you are near a microwave oven which is being used, noise may be heard from
the receiver or the speaker. Move away from the microwave oven and closer to
the base unit.
•If more than one cordless phone is being used and your handset is near another
cordless phone’s base unit, noise may be heard. Move away from the other
cordless phone’s base unit and closer to your base unit.
Away from electrical appliances
such as a TV, personal computer or
another cordless phone.
In a HIGH and CENTRAL location
with no obstructions such as walls.
Raise the
antenna.

Useful Information
Belt Clip....................................19
Optional Headset.....................19
Wall Mounting ..........................20
Battery Replacement...............22
Adding Another Phone ...........23
Troubleshooting ......................24
Important
Safety Instructions ..................26
FCC and Other Information ....28
Index .........................................31
Contents
4
Preparation
Location of Controls ............... 5
Settings ..................................... 7
Connections ............................. 7
Installing the Battery in the
Handset .....................................8
Battery Charge ..........................8
Dialing Mode ...........................10
Ringer Volume.........................11
Ringer Pattern .........................11
Basic Operation
Making Calls.............................12
Answering Calls.......................14
Advanced Operation
Speed Dialer.............................15
Storing Phone Numbers ..........15
Dialing a Stored Number .........15
Special Features......................16
Automatic Security Code
Setting .....................................16
Handset Locator ......................16
Temporary Tone Dialing
(For Rotary or Pulse Service
Users) .....................................17
Muting Your Conversation.......17
For Call Waiting Service
Users .......................................17
How to Use the PAUSE Button
(For Analog PBX Line/Long
Distance Service Users)..........17
FLASH Button .........................18
5
Preparation
For assistance, please call: 1-800-211-PANA(7262)
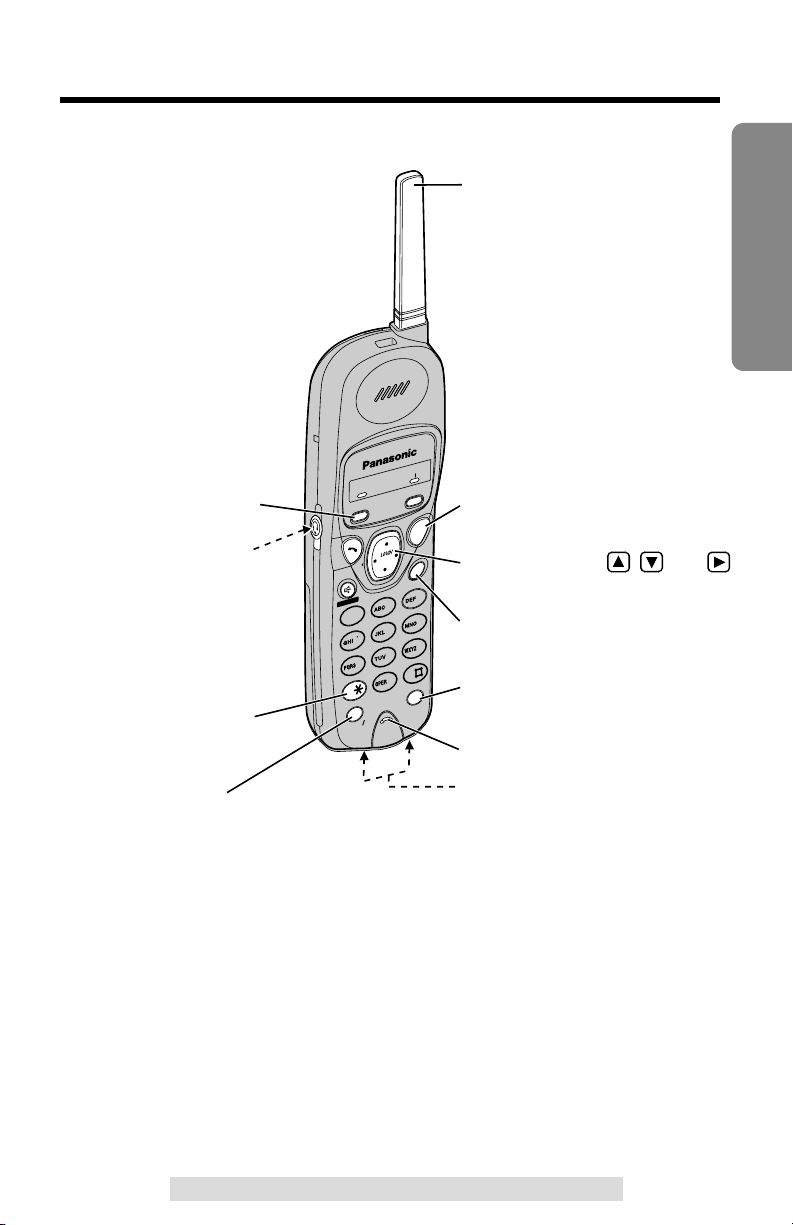
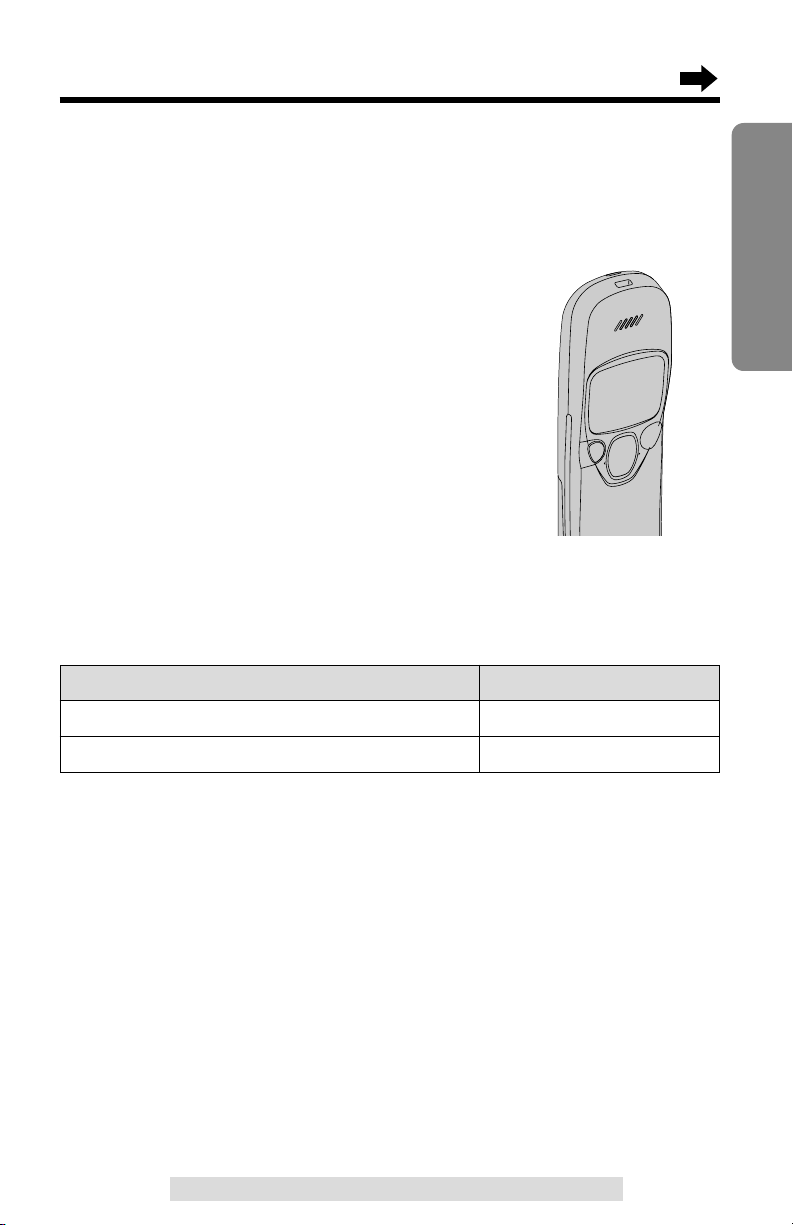
Location of Controls
Handset
CH
A
U
T
O
AUTO
CALL L W
A
WAIT
PAUSEUSE
TONETONE
9
8
3
2
1
6
5
4
7
0
SP
-
PHONE
HOL HOLD
REDIAL
FLASH H
TA
LK
/
R
E
C
H
A
R
G
E
MUTEMUTE
PROGRAM
RINGERRINGER
MUTE
Antenna
(MUTE) Button (p. 17)
(OFF) Button (p. 10, 12)
(HOLD) Button (p. 13)
(REDIAL/PAUSE) Button
(p. 13, 17)
(TONE) Button (p. 17)
(FLASH/CALL!WAIT)
Button (p. 17, 18)
6
H
O
L
D
HOLD
IN
U
N US
E
SE
C
H
A
R
G
E
CHARGE
H
A
N
D
S
E
T
HANDSET
LOCAT
O
R
TOR
KX
-
TG
22052205
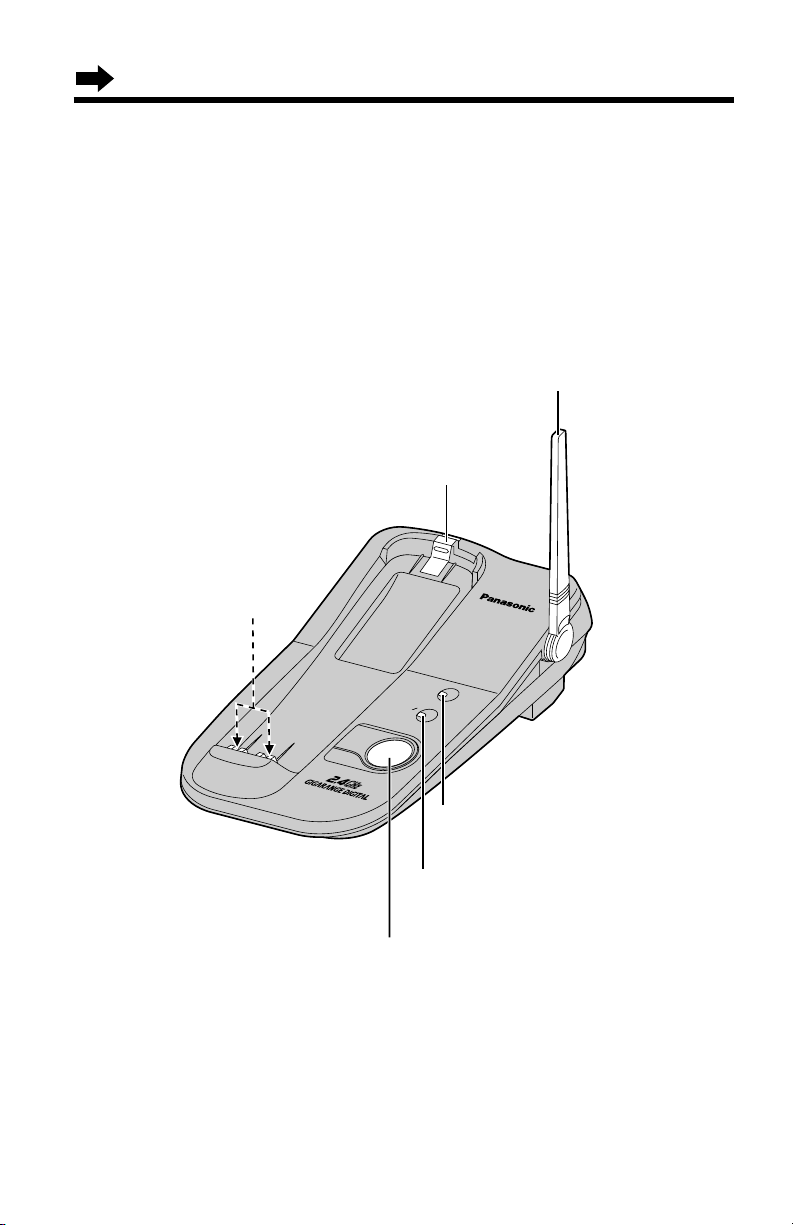
IN USE/HOLD Indicator
(p. 13, 16)
CHARGE Indicator (p. 8)
Antenna (p. 3, 7)
Hook (p. 20, 21)
Charge Contacts (p. 9)
(HANDSETÒLOCATOR) Button
(p. 16)
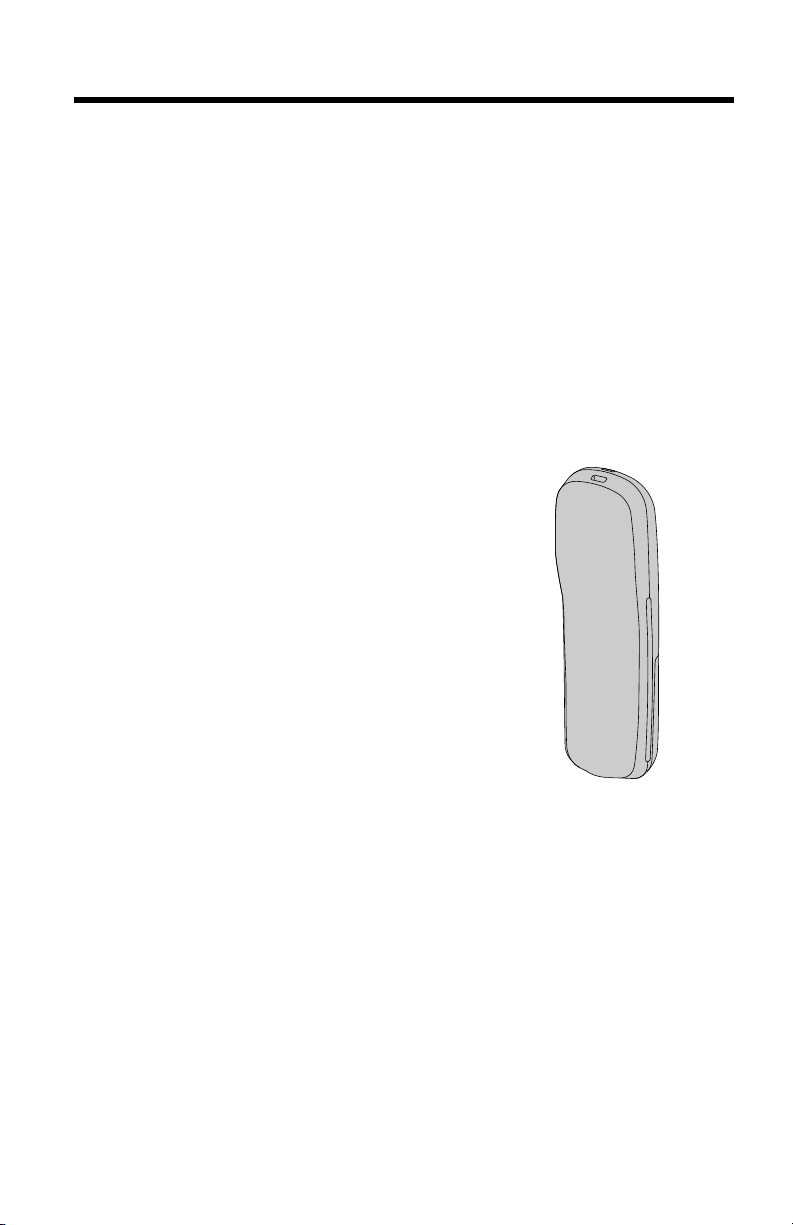
Base unit
Location of Controls

7
8
Battery Charge
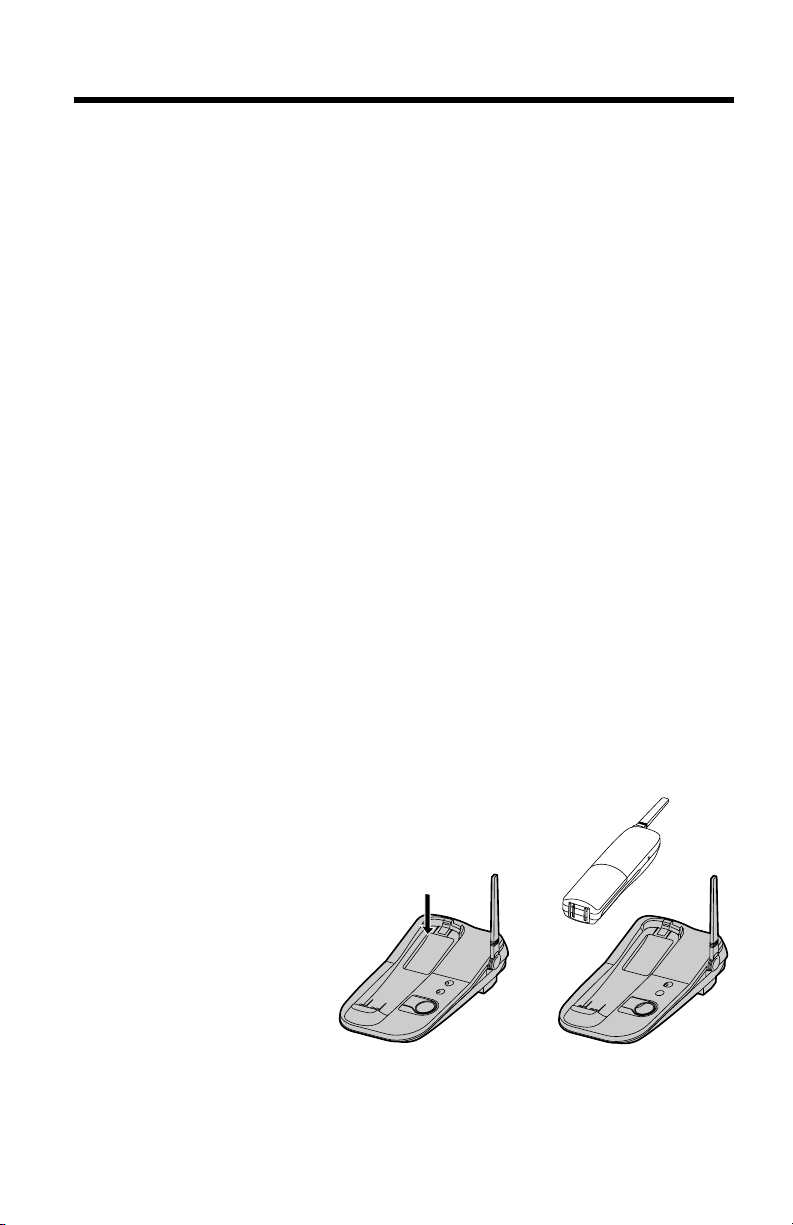
Place the handset on the base unit and charge for about 15 hours before
initial use.
•The CHARGE indicator lights and a beep sounds.
Installing the Battery in the Handset
9
Preparation
For assistance, please call: 1-800-211-PANA(7262)
Up to 11 days
Operation Operating time
While in use (TALK)
Up to 5 hours
While not in use (Standby)
•The battery operating time may be shortened depending on usage conditions
and ambient temperature.
•Clean the handset and the base unit charge contacts with a soft, dry cloth
once a month. Clean more often if the unit is subject to grease, dust or
high humidity. Otherwise the battery may not charge properly.
•If the battery is fully charged, you do not have to place the handset on the base
unit until the RECHARGE indicator flashes. This will maximize the battery life.
•The battery cannot be overcharged.
Battery information
After your Panasonic battery is fully charged (p. 8):
Recharge
When the RECHARGE indicator flashes
or the unit beeps intermittently while it is
use, place the handset on the base unit to
recharge the battery for 15 hours.
•If you DO NOT recharge the handset battery
for more than 15 minutes, the RECHARGE
indicator will continue to flash.
SP
-
PHONE
10
Dialing Mode
You can program the dialing mode using the handset near the base unit.
If you have touch tone service, set to TONE. If rotary or pulse service is
used, set to PULSE. Your phone comes from the factory set to TONE.
Make sure the unit is not being used and the handset is lifted off the
base unit.
1
Press (PROGRAM).
•The TALK/MUTE indicator flashes.
2
Press á.
3
To select PULSE, press (#) twice.
OR
To select TONE, press (*) twice.
4
Press (PROGRAM).
•A beep sounds.
•You can exit the programming mode anytime by pressing (OFF).
•If 3 beeps sound during programming,
—a wrong key was pressed. Start again from step 1.
—the handset is too far from the base unit. Move closer to the base unit or place
the handset on the base unit. Start again from step 1.
•If you do not press any buttons for 60 seconds, the unit will exit the programming
mode.
 Loading...