

Page 1
August, 1998
Page 2

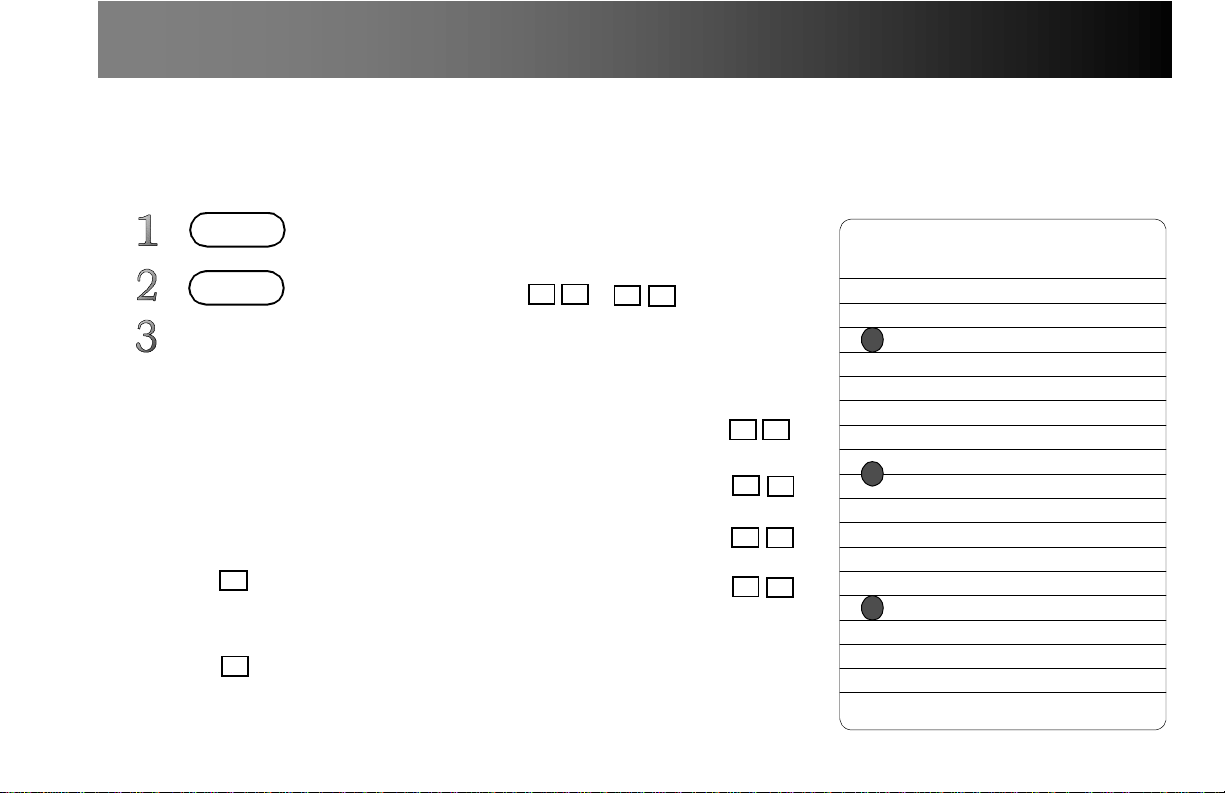
Name________________________________ __________________
Personal ID ___________________________ __________________
Dial Voice Mail Code _____________________________________
Dial Voice Mail Code From Outside _____ _____________________
System Administrator _____________________________________
System Administrator Extension _____________________________
August, 1998
Page 3

Built-I n Voice Ma il
Quick Reference
Page 4

Contents
1
Contents
Getting Started . . . . . . . . . . . . . . . . . . 2
Security. . . . . . . . . . . . . . . . . . . . . . . . 3
Playback Options . . . . . . . . . . . . . . . . 3
Message Copy Services. . . . . . . . . . . 5
Leaving a Message. . . . . . . . . . . . . . . 6
Broadcast Messages . . . . . . . . . . . . . 7
Outside Access. . . . . . . . . . . . . . . . . . 8
Outside Notification. . . . . . . . . . . . . . . 9
Returning to VM from Other Service Menus
10
Recording Conversations . . . . . . . . . 11
Advanced Recording . . . . . . . . . . . . 13
Welcome to ICX Built-In Voice Mail
Your new Built-In Voice Mail al lows you to
record telephone calls and access many
basic voice mail (VM) features. You may
use your system to gr eet callers, retrieve
and leave messages, notify outside
telephones and pagers of messages, and
many other powerful options to improve
your productivity.
This system is easy to use and custo mize.
The system has automated com m ands
which you can access via a syst em o f
option menus. The system informs you
which buttons to press; all you have to do
is press them! Usually you will input
keypad characters like t he “7” (seven) key
and the “#” (pound) key.
Page 5
2
*
#7#3#7#
Getting Started
Entering Yo ur Mail Box
There are three ways to enter your Voice
Mail (VM) box.
RETRIEVE
key
START VM
key
Dial VM extension.
Accessing VM with Keys
Press the “RETRIEVE” key or “START
VM” key to access your mail box. The
system dials your mailbox number for you.
Accessing VM by Dialling
Enter the VM number, then your mailbox
number followed by the “#” (pound) key.
[123]
If you assigned a password to your
mailbox, enter the password code
followed by the “#” (pound) key.
[456]
The messages play automatically, newest
to oldest. (See
additional messa ge options.)
#
#
Playback Options
for
Your Personal Greeting
The system provides an aut om ated
greeting, “
system
message when you enter the mail box
(look to the left for instructions) by
pressing “*” (star) “ #” (po und), then the
number “7” and “#”.
Only then can you perform the steps
outlined below. Services in Personal
Greetings:
You should set a personal security code
(password). (See Setting a Password.)
Only you know your code, so don’t forget
what it is!
Welc ome to the voi ce mail
.” You may set a personali zed
#
*
1.To start recording, press
“1” then “#”. .
2.To stop recording, press
press “7” then “#”.
3.To repeat your greeting,
press “3” then “#”.
4.To delete the greeting,
press “5” then “#”.
7 #
Think Ab out It!
Write your gr eeting here before you re cord
it; it’s easier to remember what you want
to say if it’s right in front of you.
Page 6
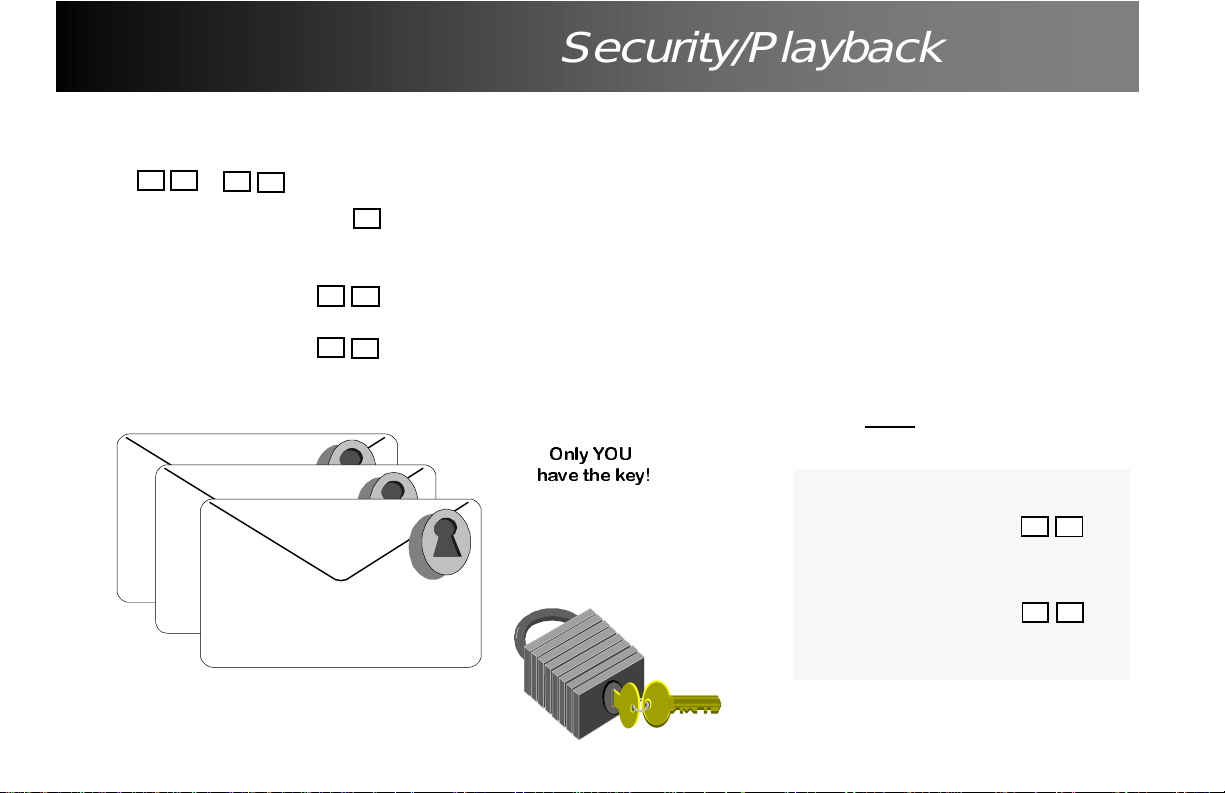
Security/Playback Options
3
Setting a Password
Enter VM then press “*” star, then “#”
(pound), then number “8” and “#” (pound).
#
8
1.Enter the new
*
password and “#”.
2.T o acce pt, press “ 1” and
“#”.
3.If you want to modify the
password, press “2” and
“#”.
#
[1234]
#
1
#
2
#
✶✭
✶✭
✶✭
You can change your passw ord as
frequently as you wish. The code can be
anywhere between 3 - 10 numbers. If it is
easier for you to remember letters than
numbers, don’t forget that you can spell it
with letters on the keyp ad. Longer codes
are more secure than shorter ones.
If you fo rget your co de, yo u must a sk your
ICX Telephone Syst em distributor to
reprogram a new security code.
Basic Message Playback Options
By default, mess ages play back
sequentially from the newest one. Once
you have dialle d your voice mailbox, you
can use several opt ions, including:
•Repeat the message
•Delete, then hear the next message
•Save, then hear the next message
•Go back in message
•Skip forward in message
•Message Copy
Note: The following commands may be
entered duri ng
the message.
Quick Tip:
To speed the Message
up/down, toggl e the
“4” “#” (pound) keys..
To adjust the Vol ume
up/down, toggl e the
“6” “#” (pound) keys.
4 #
6
#
1234
Page 7

4
#
X
Playback Options (Cont)
Repeating the Message
1.Press “3” and “#” (pound).
Deleting the Message
2.Press “5” and “#” (pound). The
following message plays
automatically.
✶✭
3 #
5
Saving the Message
1.Press “ 8” an d “ #” (poun d). Th e nex t
message plays automatically.
8
Going Backward in a Message
You can go back in any message while
you are listening to it. The system de fault
is to go back 10 seconds, but system
programming can change it to any time
increment you want.
1.Press “1” and “#” (pound). The
message skips backwards the
amount of seconds you have
programmed.
1
#
✶✭
✶✭ ✶✭ ✶✭ ✶✭ ✶✭
#
Going Forward in a Message
You may skip over part of a message
while you are listening to it. Again, the
system default is 10 seconds.
1.Press “7” and “#”
(pound). The message
skips forward to t he
specified time increment.
✶✭
7
#
✶✭ ✶✭ ✶✭ ✶✭ ✶✭
✶✭
Page 8

1
#2#*#
or
Broadcast
Code
Message Copy Services
5
Copying Messages
You can copy a message to another
mailbox or multiple mailboxes while you
are listening to the message. You also
may copy it when you hear the
announcement, “
To Save, press 8 and #
T o Delet e, press 5 and #.
.”
Original Message
to You
✶✭
✶✭
cc:Ted
✶✭
cc:Connie
✶✭
cc:John
Copying the Message to Another
Mailbox
1.Press the COPY key or “1” “9” and
“#” pound. The system announces:
“
Please enter the mailbox number
and press Pound
COPY
Softkey
.”
or
1
9 #
2.Press the MAILBOX key or enter
the mailbox number and “#” (pound).
MAILBOX
key
3.Press “1” and “#” to copy
the message.
•If you selected the wrong mailbox
number, press “2” and “#” (pound).
The system takes you bac k to Step
One above.
•To Cancel copying, press “*” “#”.
Copyin g to M u lt ip le M a ilb o x e s
Instead of entering the MAILBOX key or
mailbox numbers in Step Two abov e,
enter the broadc ast code and “#” (pound).
1.Press the COPY key or “1” “9” and
“#” (pound). The system annou nces:
“
Please enter the mailbox number
and press # (pound)
COPY
Softkey
.”
1 9 #
2.Press “*” BROADCAST CODE “#”
(pound) or press the pre-assigned
broadcast MAILBOX key.
3.Press “7” and “#” (pound).
*
7
#
#
✶✭
✶✭
✶✭
✶✭
✶✭
✶✭
Page 9

6
g
g
FULL
Leaving a Message
You may want to leave a message in
another party’s mailbox. One message
can be recorded for up to 4 minutes.
(Recording time is set upon installation,
but can be changed.) One mailbox can
contain up to 30 mess ages. (T his number
can also be changed.)
“...And the
reason I think i t should be
done this way is... and
another
is...”
eighteenth
consideration here
Calling Another Party’s Mailbox
1.Press the START VM key or dial the
Voice M ail number. Do not enter
your personal mailbox.
2.Press “
3.You will hear the other person’ s
If you chose “7” “#” (pound), you may
then choose several options.
*”, dial the mailbox number,
and press “#” (pou nd).
Dial Ma il bo x
Number
*
greeting. L eave a m essage af ter t he
tone and press “7” “#” (pound) or
hang up to stop recording.
•Press “1” “#” (pound) to re-record
the message..
1
#
•Press “3” “#” (pound) to repeat the
message..
3
#
•Press “5” “#” (pound) to cancel the
message..
5
#
Re-Record
Me ssa
Repeat
e
Messa
Cancel
Message
#
e
If the other party’ s mailbox is full, you will
hear the announcement, “
Sorry, you
cannot leave a message in mailb ox XXX
✶✭
✶✭
✶✭
.”
✶✭
Page 10

Broadcasti ng Messages
7
Recording Your Message in Multiple
Mailboxes
The same message can be left in up to 50
other mailboxes. To use this service, your
system administrator must set up
broadcast codes. Up to 30 broadcast
codes can be assigned in one system.
Ask your administr ator for details
regarding broadcast codes.
Quick Tip:
My broadcast code is:
1.Press the VOICE MAIL key or dial
the Voice Mail number .
START VM
key
2.When you hear the system
announcement
broadcast code, and pr ess “#”
(pound).
,
press “*” enter the
*
✶✭
✶✭
Broadcast Code
Record Message
✶✭
3.Record the message.
4.Press “7” “#” (pound) when you are
finished or hang up.
#
✶✭
✶✭
✶✭
✶✭
7 #
Page 11

8
Outside Access
Accessing Voice Mail from the Outside
If an outside access telephone number
has been assigned, you can access the
voice mail from the outside. Once
connected to voice mail, you can access
the voice mail features.
1.Call the Voice Mail outside access
telephone number.
2.Enter the box numb er and press #.
3.Enter your password and #.
Your messages play automatically,
newest to oldest. You can access the
voice mail features as if your were at
an extension.
uick Tip:
The outside access phone number is:
Page 12

#
Outside Notification
9
Outside Notifica ti on Services
After a message is recorded in your
mailbox, you can be informed in one of the
following two methods:
•Calling a pager
•Calling an outside telephone or
extension
Calling a Pager
You can instruct VM to notify a pager.
1.Enter VM then press
2. Press “9” “ #” (pound)
to access out side
notification service.
3.Press “1” '#” to notify
pager.
4.Enter the phone
number (with t runk
access #).
5.Press “#” (pound).
6.If you are done, hang
up or press “1” and
“#”.
7.If you want to modify
the notification, press
“2” “#”.
* and #
*
9
1 #
9-555-1234
1 #
2 #
#
#
#
Calling an Outside Phone or Extension
You can instruct VM to notify an outside
phone after you le ave the message.
1.En ter VM t h en pres s
*
and #
*
2.Press “9” “#” (pound)
to access outside
notification service.
3.Press “2” '#” to notify
outside phone.
4.Enter the phone
number.
5.Press “#” (pound).
6.If you are done, hang
up or press “1” or “#”.
7.If you want to modify
the notification, press
“2” “#”.
Some systems are se t up to perform these
services aut om ati cally. Large display
telephones show an notify option on the
soft key screen. Press the button beside
the appropri ate di splay to execute the
command.
9
#
2
#
[ABC-WXYZ]
#
1
#
2
#
Page 13

10
*
Returning to VM from Other Service Menus
Some other options which are availabl e to
you with th e ICX Voice Mail s ervice are as
follows:
•Go back to message retri eve service
•Go back to m essage ret rieve/r etrieve
oldest message
•Successive me ssage retrieve
Go Back
If you have gone into VM features other
than message retrieve, such as recording
your greeting or changing your password,
and you want to go back to message
retrieve, you can do so wi thout e xiti ng and
starting all over again.
1.Press
2.Press 3 and # to go back t o
*
and #.
message retri eve service.
#
*
3
#
Go Back and Listen
If you want to return to message retrieve
from other areas of VM, but you want to
listen to your message oldest-first, then
you may do so.
1.Press
2.Press “3” “0” “#”.
*
and #.
NEW
#
3 #0
✶✭
LESS
NEW
✶✭
Successive Messag e Retrieve
You can go directly to Successive
Message Retrieve from any area of VM.
Retrieving messages successively plays
them from the most recent to the ol dest.
1.Press
2.Press 3 1 #, then 3 #.
*
OLD
and #.
3 #1
*
3 #
#
✶✭
LESS
OLD
✶✭
OLD
✶✭
NEW
✶✭
Page 14

OR
#
OR
#
OR
#
OR
#
Recording Co nversations
11
You can record normal CO tr unk calls,
ISDN trunk calls, pri vate lines, and
interc o m ca lls . Th e re c o rd in g is re t ained
as a voice mail message. Recording can
be either automatic or manual. Automatic
recording is set at installati on. Phones set
for automatic re cording record every
incoming/outg oing call. Ask your
administrator about your phone.
Precautions:
!
•Make sure the other person knows you
are recording the call. Without hi s or
her consent, you could be invading
privacy.
•Calls cannot be recorded if your
mailbox is full.
•You cannot record a call made with a
locally-supplied ISDN terminal adaptor.
•If Handset Mute is enabled for the
extension, the voice on the Mute
handset is still r ecorded on an intercom
call.
•While a conversation is being
recorded, key tones are not sent out
without first dialli ng “0” and “#”.
Manual Conversation Recordi ng to
Your Mailbox
1.Receive or make a cal l.
2.Press the RECORD key to start
recording.
RECORD VM
key
3.Replace the hands et when the call is
terminated. The conversation is
stored in your mail box.
Manual Conversation Recordi ng to a
Designated Mailbox
1.Receive or make a cal l.
2.Press the VOICE MAIL key to start
recording.
START VM
key
3.Press the destination MAILBOX key
or input the destinat ion mailbox
number and press #.
MAILBOX
key
4.Replace the hands et when the call is
terminated. The conversation is
stored in the designated mailbox.
Cancelling While Recording
1.Press CANCEL or 5 #.
CANCEL
Pausing Recording
1.Press PAUSE or 2 #.
PAUSE
2.To resume a paused recording,
press PAUSE or 2 #.
PAUSE
Re-Recording
1.Press Re-Record or 1 #. The
previous recor ding is cancell ed and a
new reco rd in g is in it ia te d .
RE-RECORD
5
2
2
1
Page 15

12
MAILBOX
key
key
ADD
y
Advanced Recording
Playing Back the Recorded
Conversation Before Hanging Up
1.Before hangi ng up, press the ADD
key, 8 #, or Soft Key 5. .
ADD
key
8
5
#
2.If prom p te d , p re s s the destin ation
MAILBOX key or input the
destination mailbox number and
press #.
3.Press 3 # or Soft Key 10.
3
10
#
4.Replace the Handset.
Cancelling the Recorded Conversation
Before Hanging Up
1.Before hangi ng up, press the ADD
key, 8 #, or Soft Key 5. .
2.If prom p te d , p re s s the destin ation
MAILBOX key or input the
destination mailbox number and
press #.
3.Press 5 # or Soft Key 5. The
recorded conversation is cancelled.
4.Replace the Handset.
I'm going to give
ou a raise, Joe!
ADD
key
MAILBOX
5
#
8
#
key
5
Can I record
that?!
Changing the Destin ation Mailbox Aft er
Recording
1.Before hangi ng up, press the ADD
key, 8 #, or Soft Key 5. .
5
8
5
#
2.If prom p te d , p re s s the destin ation
MAILBOX key or input the
destination mailbox number and
press #.
MAILBOX
key
3.Press * # or Soft Key 9.
9
#
4.Choose a new recording destination.
5.Replace the Handset.
Page 16

key
ADD
Advanced Recordin
g
13
HOLDing During Recording
•If you place t he c all on HOLD wh ile
you are recording it, then recording
is paused.
•If you place the call on HOLD for
more than 10 minutes, th en recording terminates automatically.
•If you resume a recorded call
which you placed on HOLD within
less than ten minutes, recording
resumes.
•If someone else retrieves the call
you placed on HOLD while recording, then the person who picks up
can either continue recording or terminate recordi ng. The rec orded
part of the con versat io n is st ill in the
designated mailbox.
Adding a Message to a Recorded
Conversation
After you have recorded a conversation,
you may want to add thoughts or
comments to the recording.
1.Before hangi ng up, press the ADD
key, 8 #, or Soft Key 5. .
ADD
key
8
5
#
2.If prompt ed, press the destination
MAILBOX key or input the
destination mailbox number and
press #.
MAILBOX
key
3.Press Soft Key 4 or 1 #.
4
4
#
4.Add your message.
5.Press 7 # when you have finished.
3
#
6.You should hear, “
recorded
,” before yo u hang up.
Message
Outside Notification of Recorded
Conversations
Y ou can not i fy outside pho nes and pag ers
after recor ding a conversation. You may
also add a message to the recording
before notifying. (See “
to a Recorded Conversation
Adding a Message
.”)
NOTE: Prior to using outside notification,
you must fir st set up o uts ide no ti fic ation as
described on page 10.
1.Before hanging up, press the ADD
key, 8 #, or Soft Key 5. .
8
5
#
2.If prompte d, press the destination
MAILBOX key or input the
destination mailbox number and
press #.
MAILBOX
key
3.Press Sof t Key 1 or 9 #.
1
9
#
4.To cancel the notifi cati on, pre ss Sof t
Key 9, 9 #, or the Notify key .
9
9
#
Notify
Page 17

Notes
Page 18

Built-In Voice Ma il Q u ic k Re fe re n c e
Page 19

Notes
 Loading...