

Page 1
Battery charger
Operating Instructions
Model No: EY0110
IMPORTANT
This manual contains safety information. Read manual completely before fi rst using
this product and save this manual for future use.
Page 2

.
IMPORTANT SAFETY
INSTRUCTIONS
IMPORTANT SAFETY
INSTRUCTIONS
1)
SAVE THESE INSTRUCTIONS
contains important safety and
operating instructions for battery
charger EY0110.
2) Before using battery charger, read
all instructions and cautionary markings on (1) battery charger, (2) battery
pack.
3)
CAUTION
risk
of injury, charge only Battery Pack
as shown below.
EY9065, EY9066, EY9168, EY9080,
EY9086, EY9180, EY9182, EY9001,
EY9006, EY9101, EY9106, EY9200,
EY9201, EY9136, EY9230, EY9231,
EY9251, EY9117, EY9210
Other types of batteries may burst
causing personal injury and damage.
4) Do not expose charger to rain or
snow.
5) To reduce risk of damaging the electric
plug and cord, pull by plug rather than
cord when disconnecting charger.
6) Make sure cord is located so that it will
not be stepped on, tripped over, or otherwise subjected to damage or stress.
7) An extension cord should not be used
unless absolutely necessary.
Use of improper extension cord could
result in a risk of fire and electric
shock. If extension cord must be used,
make sure that:
a. pins on plug of extension cord are
the same number, size and shape
as those of plug on charger.
b. extension cord is properly wired and
in good electrical condition.
c. wire size is large enough for ampere
rating of charger as specified below.
-This manual
- To reduce the
RECOMMENDED MINIMUM AWG SIZE OF
EXTENSION CORDS FOR
BATTERY CHARGERS
AC Input Rating.
Equal to or
greater than
0 2 18 18 18 16
8) Do not operate charger with damaged
cord or plug—replace them immediately.
9) Do not operate charger if it has received a sharp blow, been dropped, or
otherwise damaged in any way; take it
to a qualified serviceman.
10) Do not disassemble charger; take it to
a qualified serviceman when service
or repair is required. Incorrect reassembly may result in a risk of electric
shock or fire.
11) To reduce the risk of electric shock,
unplug charger from outlet before attempting any maintenance or cleaning.
12) The charger and battery pack are
specifically designed to work together.
Do not attempt to charge any other
cordless tool or battery pack with this
charger.
13) Do not attempt to charge the battery
pack with any other charger.
14) Do not attempt to disassemble the
battery pack housing.
15) Do not store the tool and battery pack
in locations where the temperature
may reach or exceed 50°C (122°F)
(such as a metal tool shed, or a car in
the summer), which can lead to deterioration of the storage battery.
16) Do not charge battery pack when the
temperature is BELOW 0°C (32°F) or
ABOVE 40°C (104°F). This is very important.
17) Do not incinerate the battery pack. It
can explode in a fire.
18) Avoid dangerous environment. Do not
use charger in damp or wet locations.
19) The charger is designed to operate on
standard household electrical power
only. Do not attempt to use it on any
other voltage!
Amperes
But less
than
AWG Size of Cord
Length of Cord, Feet
25 50 100 150
-
2 -
Page 3

20) Do not abuse cord. Never carry char-
.
CHARGING THE
BATTERY
ger by cord or yank it to disconnect
from outlet. Keep cord away from
heat, oil and sharp edges.
21) Charge the battery pack in a well ventilated place, do not cover the charger
and battery pack with a cloth, etc.,
while charging.
22) Use of an attachment not recommended may result in a risk of fire,
electric shock, or injury to persons.
23) Do not short the battery pack. A battery short can cause a large current
flow, over heating and burns.
24) NOTE: If the supply cord of this appliance is damaged, it must only be
replaced by a repair shop appointed
by the manufacturer, because special
purpose tools are required.
25) T O REDUCE THE RISK OF ELECTRIC SHOCK, THIS APPLIANCE HAS
A POLARIZED PLUG (ONE BLADE IS
WIDER THAN THE OTHER).
This plug will fit in a polarized outlet
only one way. If the plug does not fit
fully in the outlet, reverse the plug. If
it still does not fit, contact a qualified
electrician to install the proper outlet.
Do not change the plug in any way.
CHARGING THE
BATTERY
NOTE:
When you charge the battery pack for
the first time, or after prolonged storage, charge it for about 24 hours to
bring the batteries up to full capacity.
1. Plug the charger into the AC outlet.
NOTE:
Sparks may be produced when the
plug is inserted into the AC power
supply, but this is not a problem in
terms of safety.
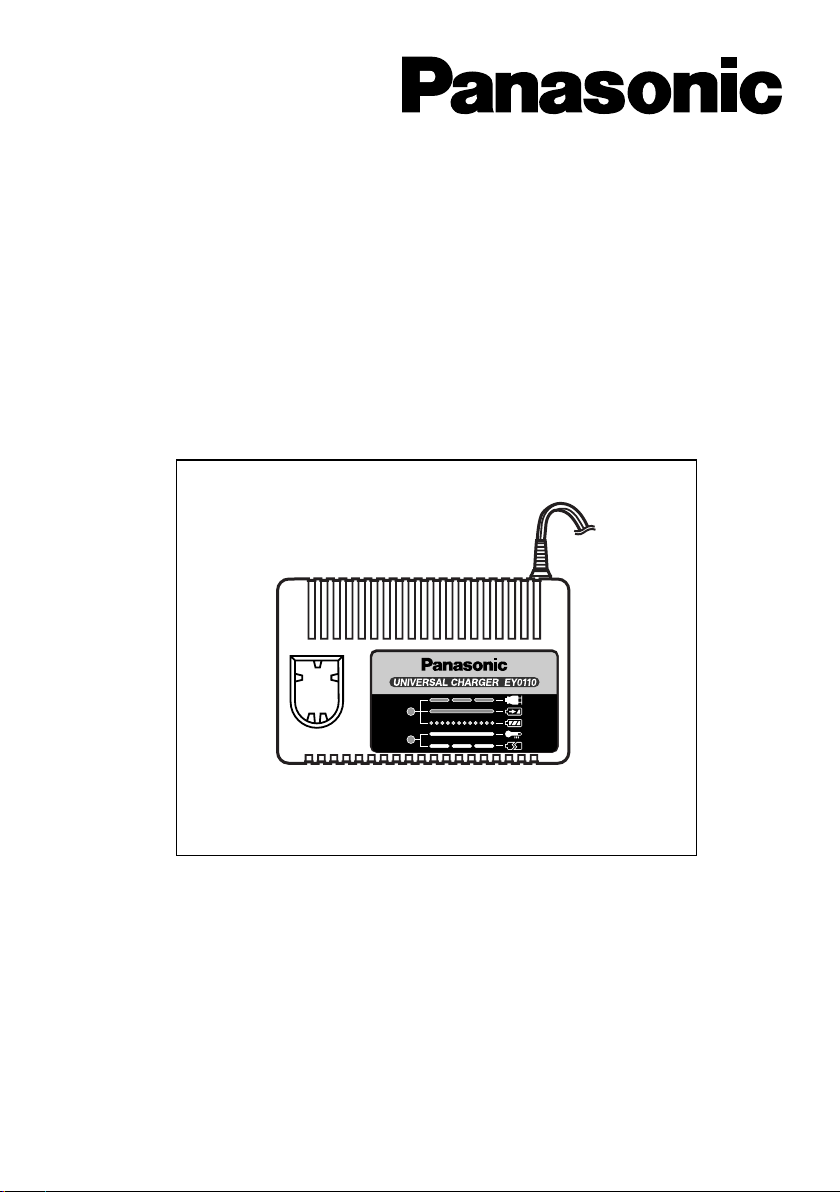
2. Insert the battery pack firmly into the
charger.
Battery pack
To AC
outlet
Battery
charger
3. During charging, the charging lamp
will be lit.
When charging is completed, an inter-
nal electronic switch will automatically
be triggered to prevent overcharging.
Charging will not start if the battery
pack is warm (for example, immediately after heavy-duty operation).
The orange standby lamp will be
lit until the battery cools down.
Charging will then begin automatically.
4. When charging is completed, the
charg ing lamp will start flashing
quickly in green color.
5. When in any of the conditions that battery pack is too cool, or the battery
pack has not been used for a long
time, the charging lamp is lit.
In this case, charging takes longer to
fully charge the battery pack, than the
standard charging time.
If a fully charged battery pack is
inserted into the charger again, the
charging lamp light up. After several
minutes, the charging lamp may flash
quickly to indicate the charging is
completed.
6. If the charging lamp does not light
imme diately after the charger is
plugged in, or if after the standard
charging time the lamp does not go
off, consult an autho rized dealer.
NOTE:
When charging a cool battery pack
(below 5°C (41°F) in a warm place,
leave the battery pack at the place
and wait for more than one hour to
warm up the battery to the level of
the ambient temperature. Other-
-
3 -
Page 4

wise battery pack may not be fully
.LAMP INDICATIONS
. SPECIFICATIONS
charged.
Cool down the charger when
charging more than two battery
packs consecutively.
CAUTION:
Do not use power source from an
engine generator.
Do not cover vent holes on the
charger and the battery pack.
Do not insert your fingers into con-
tact hole, when holding charger or
any other occasions.
.LAMP INDICATIONS
Charger is plugged into the AC outlet.
Red Flashing
Red Lit
Green Flashing quickly
Orange Lit
Orange Flashing
SPECIFICATIONS
Model EY0110
Electrical rating See the rating plate on the bottom of the charger.
Weight 0.78 k
7.2V 9.6 V 12V 15.6V 18V 24V
Charging time
1.2Ah
1.7Ah
2.0Ah
3.0Ah
3.5Ah
EY9065
EY9066
EY9168 EY9106 EY9136 EY9117
30min. 30min. 60min.
EY9080
EY9086
20min.
EY9180
EY9182
25min.
Ready to charge.
Now charging
Charging is completed.
Battery pack is warm. Charging will begin
when temperature of battery pack drops.
Charging is not possible. Clogged with
dust or malfunction of the battery pack.
,
(1.72 lbs.)
EY9001
EY9006
EY9101
EY9200 EY9230 EY9210
45min. 90min.
EY9201 EY9231 EY9251
55min. 65min.
NOTE: This chart may include models that are not available in your area.
Please refer to the catalogue.
PANASONIC CONSUMER ELECTRONICS COMPANY
One Panasonic Way, Secaucus, New Jersey 07094
EY981001101 H1507 Printed in Japan
 Loading...